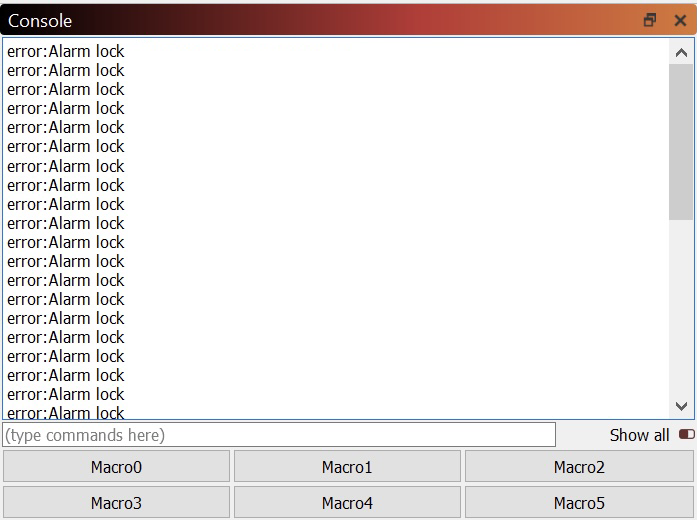
There are several reasons your Emblaser 2 / Core may return an alarm lock error in the Console tab, often accompanied with a constant beep from the Emblaser’s buzzer.
Listed below are some of the main causes of the alarm lock error in order from most to least likely, along with some of the ways to identifying what may be causing the alarm, and finally the steps to resolve the issue in each case.
Firmware:
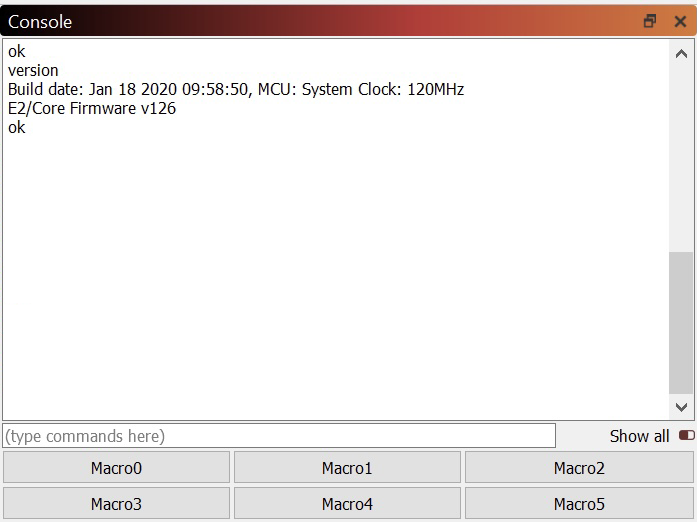
With Firmware versions prior to 126, there was an issue with the sensitivity of some of the sensors which could at times lead to falsely triggered alarm lock errors. These errors often become more frequent after first occurring.
If receiving the alarm lock error due to the Firmware issue, the Emblaser 2 / Core will become un-responsive and require a full restart to return to a usable state. Pressing [STOP] in LightBurn may deactivate the alarm.
To resolve this, simply upgrade to the latest version of Controller Firmware. The following link provides instructions on how to check your current firmware version and also how to perform the update: Emblaser2 / Core Firmware
Laser Driver PCB:
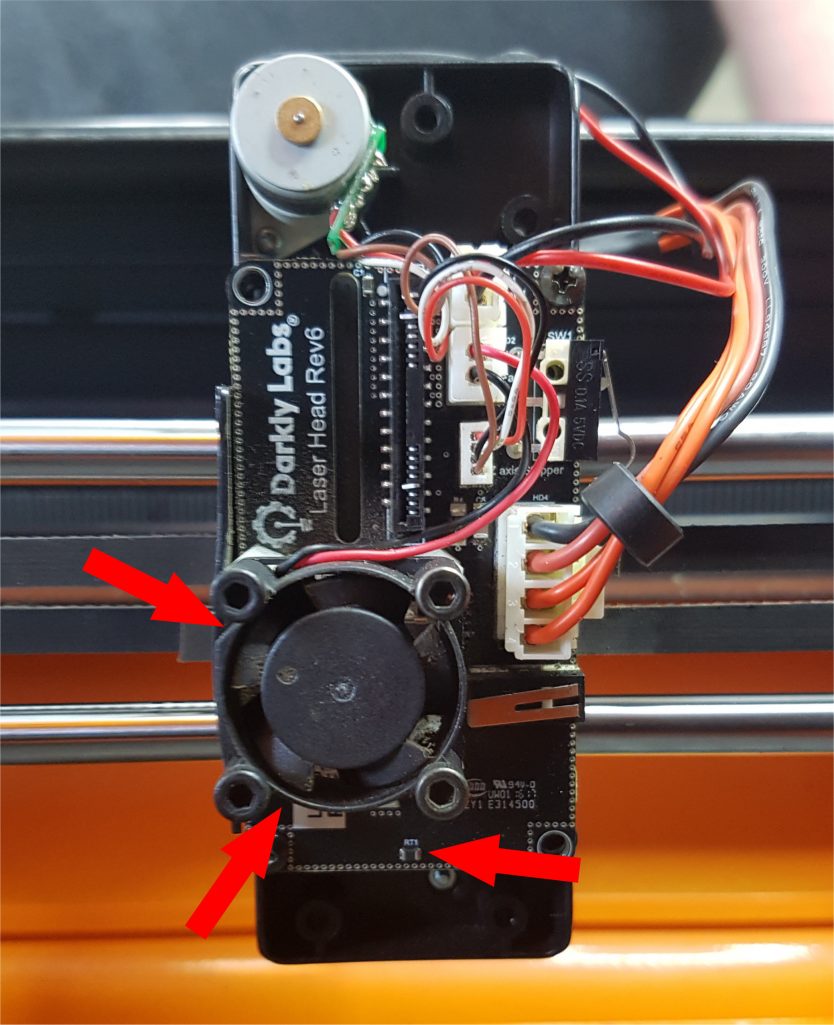
The Emblaser 2 / Core have sensors on the Laser Driver PCB which monitor the surrounding temperature for any sudden rise as a result of a potential fire. The sensor can give false reading if it is not kept reasonably clean.
If this is the cause of the alarm lock error, you may notice that the Laser Carriage moves to the rear of the machine then the Emblaser produces an alarm lock error and sounds the buzzer.
If not caused by a fire, this can be resolved by cleaning the Laser Driver PCB, as described here: How to clean the Laser Driver PCB.
Replacement Laser Driver PCBs can also be bought from the Darkly Labs store here.
Homing Issues:
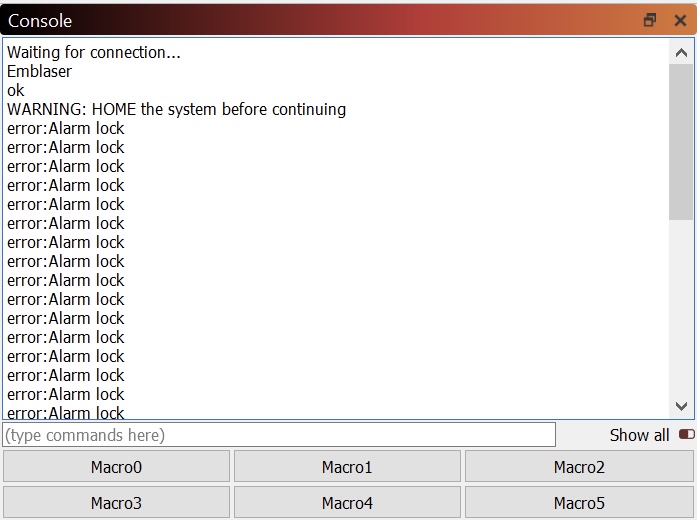
If your Emblaser 2 / Core fails to home, you may receive an alarm lock error. This is caused by something interrupting the machine from completing it’s start-up routine, which sets the origin of the machine.
If this is the cause of the error, your Laser Carriage may not stop in the home position, or may not move far at all before returning an alarm lock error and sounding the buzzer. You will also see a “WARNING: HOME the system before continuing” listed in the Console tab, though may need to scroll up to find this if multiple alarm lock lines are reported.
To resolve this, please check the following:
- That nothing is obstructing the Homing Switches on the Laser Carriage.
- That each Homing Switch makes an audible click when pressed manually.
- That the Fan on the Laser Unit is working
- That, with the machines off, nothing is preventing the Laser Carriage from reaching the home position.
- Emblaser Core: If you have just assembled your machine, see: Emblaser Core: Troubleshooting After Assembly
If you do not identify any issue with the above, please take a video of the procedure described below:
- With the machine off, carefully move the Laser Carriage to the the centre of the workspace.
- Start recording video.
- Turn on the Emblaser.
- Wait for the machine to finish moving.
- Stop video.
Following this, please send the video to support@darklylabs.com along with a brief description of the issue.
FFC (Flat Flexible Cable) or FFC Connector Damage:
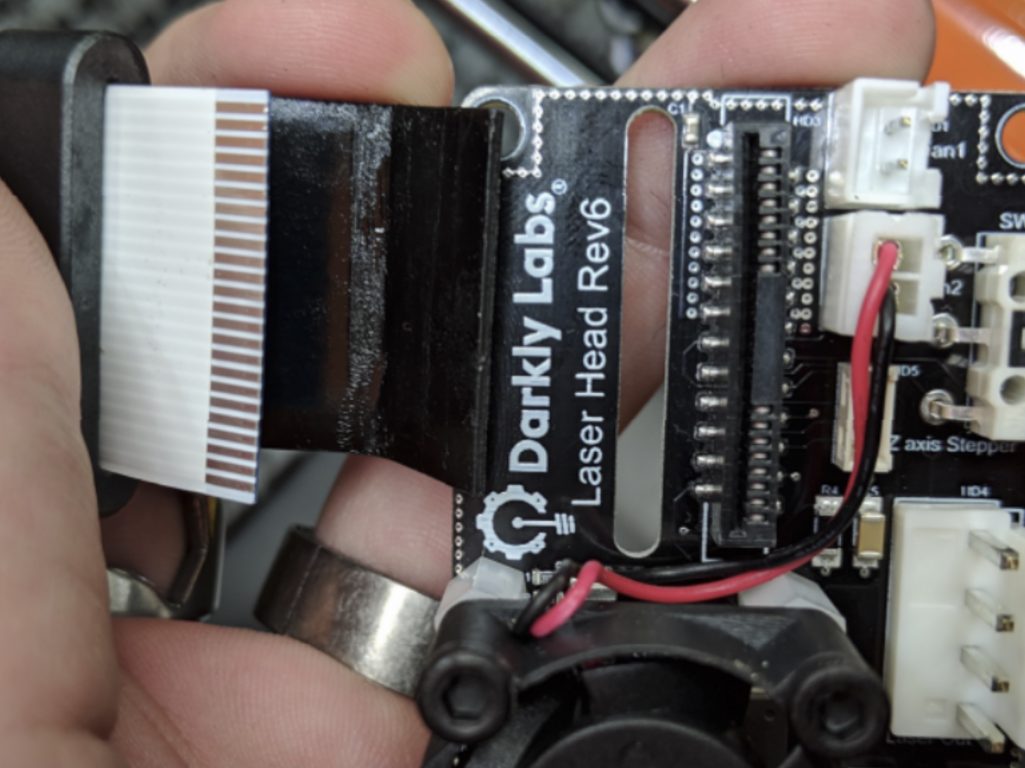
All communication between the Laser Driver PCB and Controller Board goes through the FFC (Flat Flexible Cable). This includes data/control of the Temperature Sensor, Homing Switches, Z-Motor, Heatsink/Laser Cooling Fan and Laser Diode.
An intermittent FFC or FFC Connector can cause the Controller Board to falsely register an alarm lock error or not detect the Homing Switches.
If this is the cause of the alarm lock error, you may notice any/all of the following:
- The machine is not homing correctly,
- The Z-Motor is intermittent or reversed,
- The Laser Diode is intermittent, non-functional, or always on when enabled,
- The Heatsink/Laser Cooling Fan is intermittent or non-functional
Fuction of any/all of the above may be dependant on the Laser Carriage location.
To resolve this issue, without removing the FFC, first check that the FFC is squarely and secularly connected at each end and that there is no obvious damage to the length of the cable.
If you are unable to resolve the issue after the above check, or notice damage to the cable, the FFC and FFC Connectors on the Controller Board and/or Laser Drive PCB may need to be re-seated or inspected and repaired by a Service Technician.
For older machines with a one-part (all black) FFC Connector:
This type of Connector is friction fit, and is very easy to damage. Please contact support@darklylabs.com with your location and any information you can regarding the issue so that we can direct you to the nearest Technician.
Note: Do not remove the FFC from the Controller Board or Laser Driver PCB without direct instruction to do so from Darkly Labs Support, as the FFC Connectors are very delicate.
For machines with a two-part (black and brown) FFC Connector:
This type of Connector has a locking clip, which allows the cable to be locked into place or released. Please see the instructions in the following article to unlock the FFC Connector and carefully re-seat the FFC Cable, please take extreme care when doing this and avoid doing so unless absolutely necessary: Emblaser 2 / Core: Inserting / Removing the FFC (Flat Flexible Cable)
If the issue remains:
If you are unable to resolve the issue please send your location, machine type (E-Core / E2) a description of the issue, the steps above that you tried and a screen shot or copy of the text from the Console tab, to: support@darklylabs.com


