LightBurn is the new software package for the Emblaser range. This article will outline the steps needed to update from using LaserWeb on your Emblaser 2 / Core, to LightBurn.
These steps are only needed for switching from LaserWeb to LightBurn. Subsequent updates to LightBurn and the Emblaser firmware are handled within LightBurn itself.
IMPORTANT: If your Emblaser shipped with a LightBurn license key, you do not need to follow these steps.
Step 1: Purchase a LightBurn update license key
Visit our online store to purchase a LightBurn Update License Key: LINK
Step 2: Update the firmware
Refer to the ‘Updating Old (Pre DL123) Controller Firmware’ section of this article: Emblaser 2 / Core: Firmware
NOTE: You will not be able to update the Firmware using the standard method until you have manually updated to the latest version once. After this, you can update the Firmware from within LightBurn.
After the new Firmware is installed, you will no longer see the Emblaser2 drive appear on your computer. This is intentional as access to it is no longer required.
Step 3: Download & install LightBurn (trial)
Download and install the latest version of LightBurn: LINK
Step 4: Enter license key
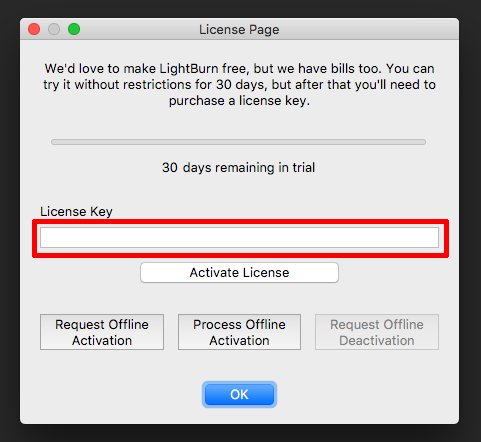
When you first run LightBurn, you will be presented with the License Page.
Enter your license key as shown and press [Activate License].
You will then be prompted to restart LightBurn.
Step 5: Create Emblaser 2 device
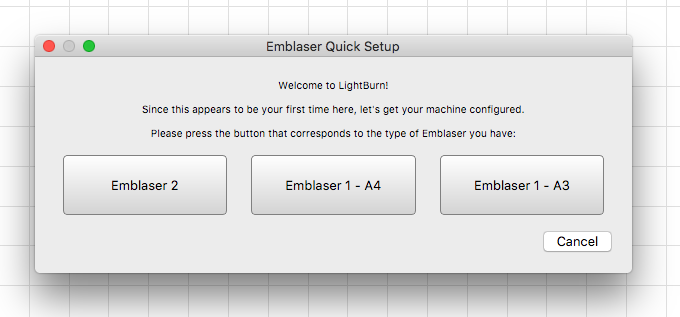
When LightBurn restarts, you will be presented with the ‘Emblaser Quick Setup’ window.
Click the [Emblaser 2] button.
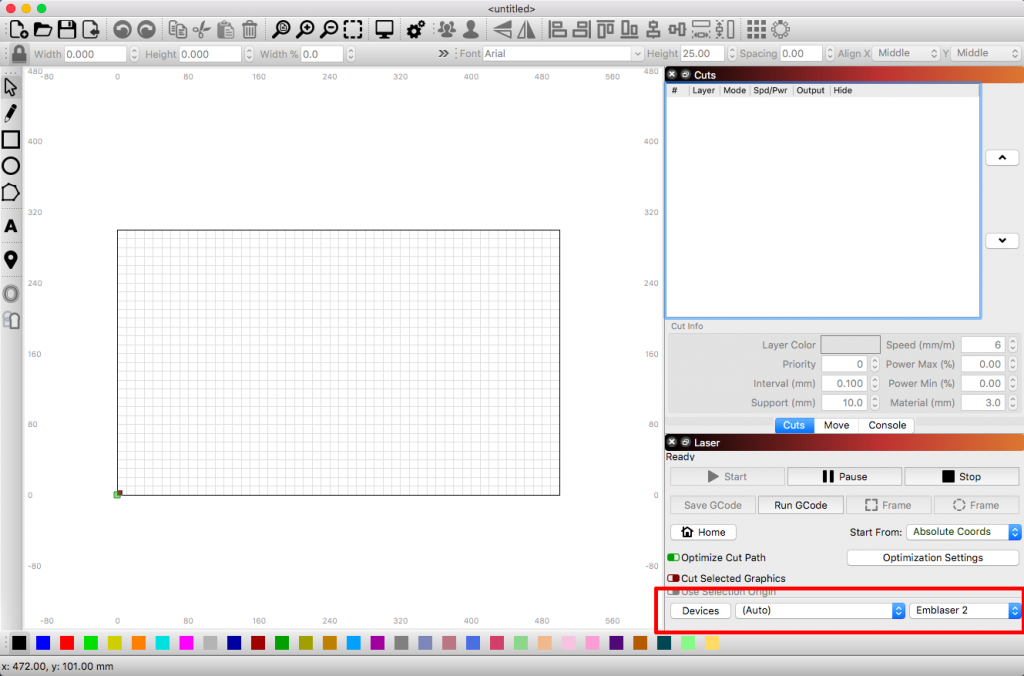
Step 6: Ready to go
Your Emblaser 2 / Core device will now appear within the ‘Laser‘ tab and will automatically find and connect to your machine.
If this does not occur, locate our machine from the ‘Ports’ dropdown menu.