My goal with this project was to design it completely within LightBurn. I thought a lampshade would be an interesting challenge and manageable within an afternoon.
Project Files
Materials:
Other Items Needed:
- Sandpaper
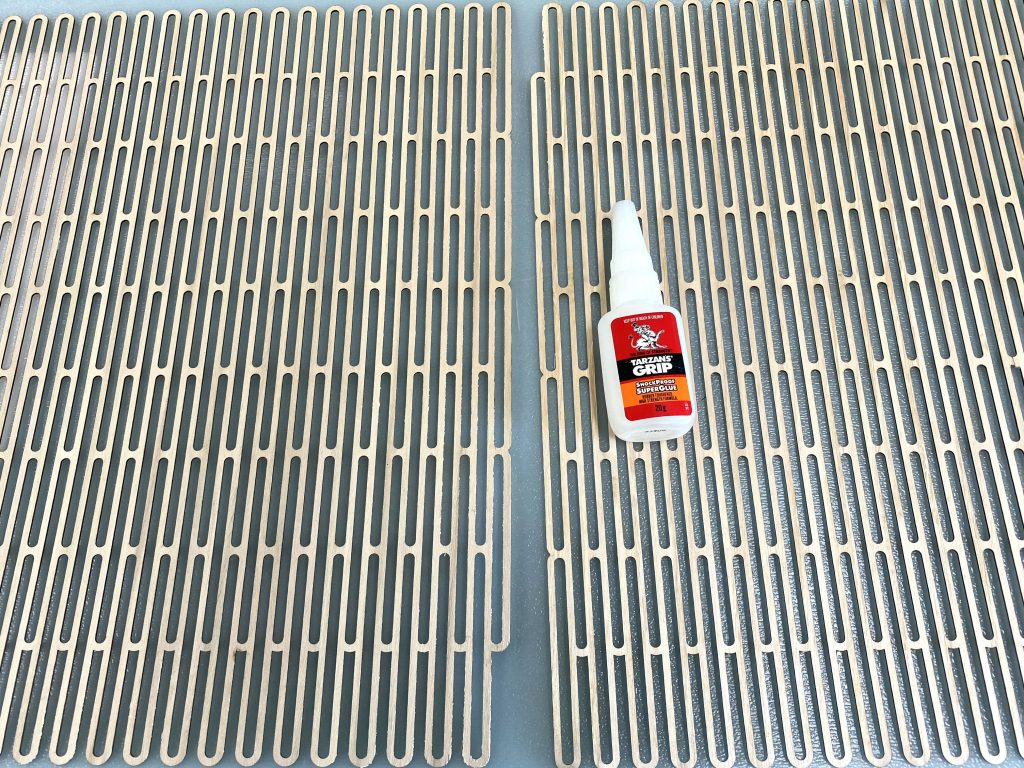
- Wood Glue
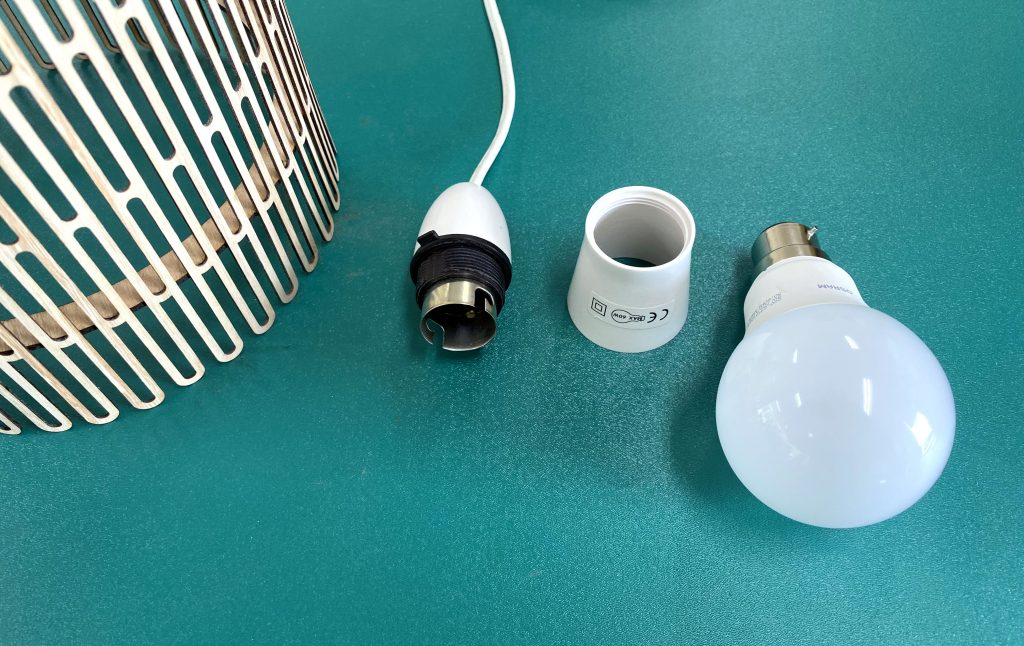
- Lamp fitting & Lightbulb
The Build
I decided to build this project out of 1.2mm & 2.5mm Eucalyptus plywood. This is a very popular material we offer and not only has great strength properties it also has a nice grain and finish.
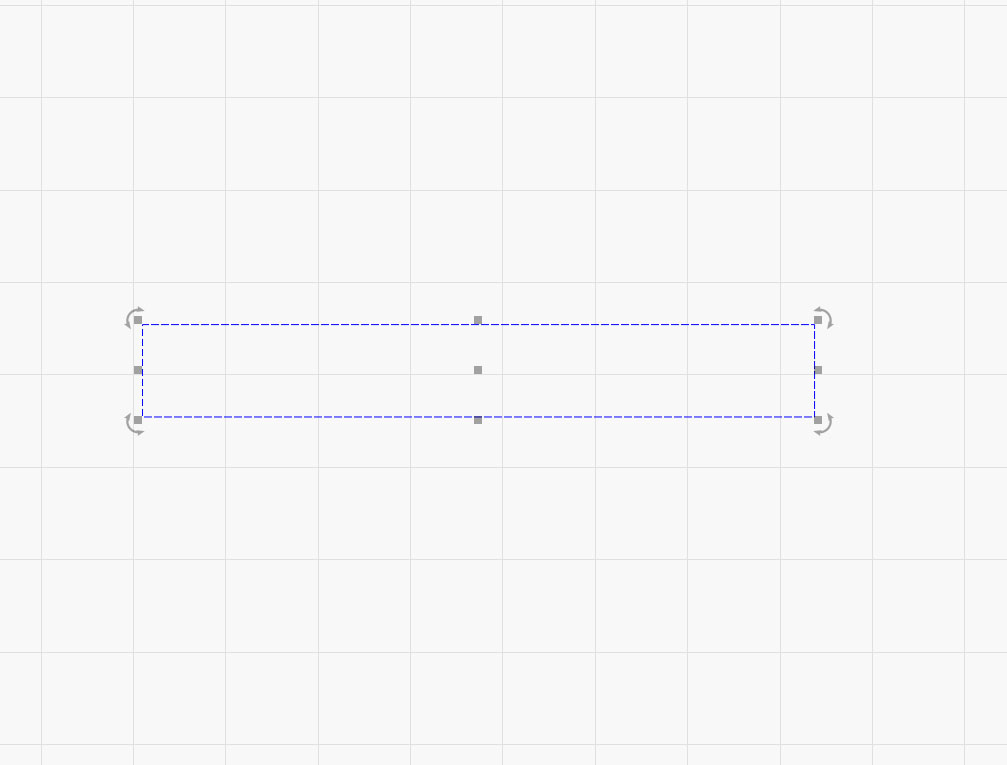
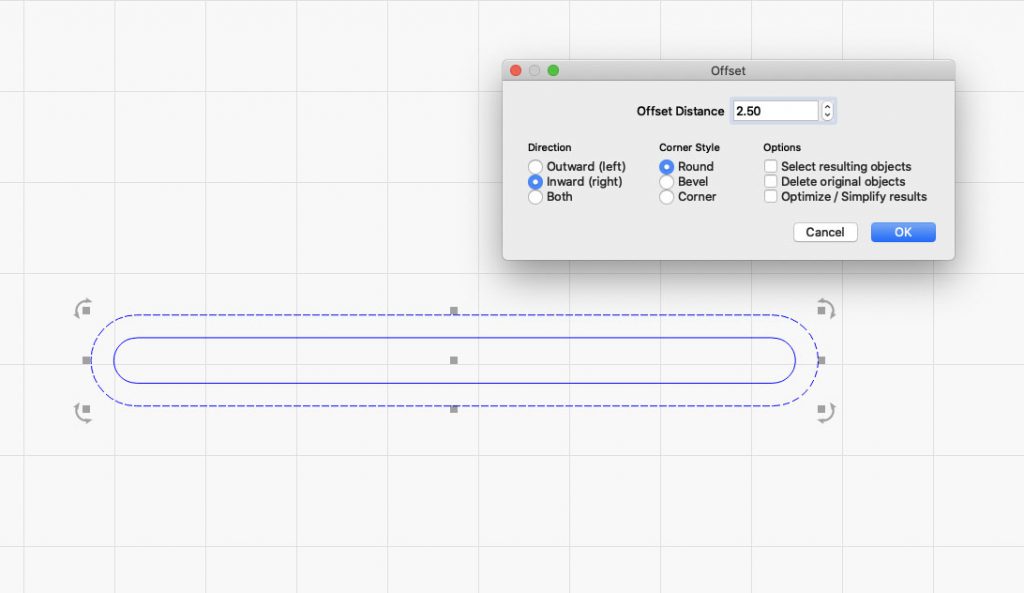
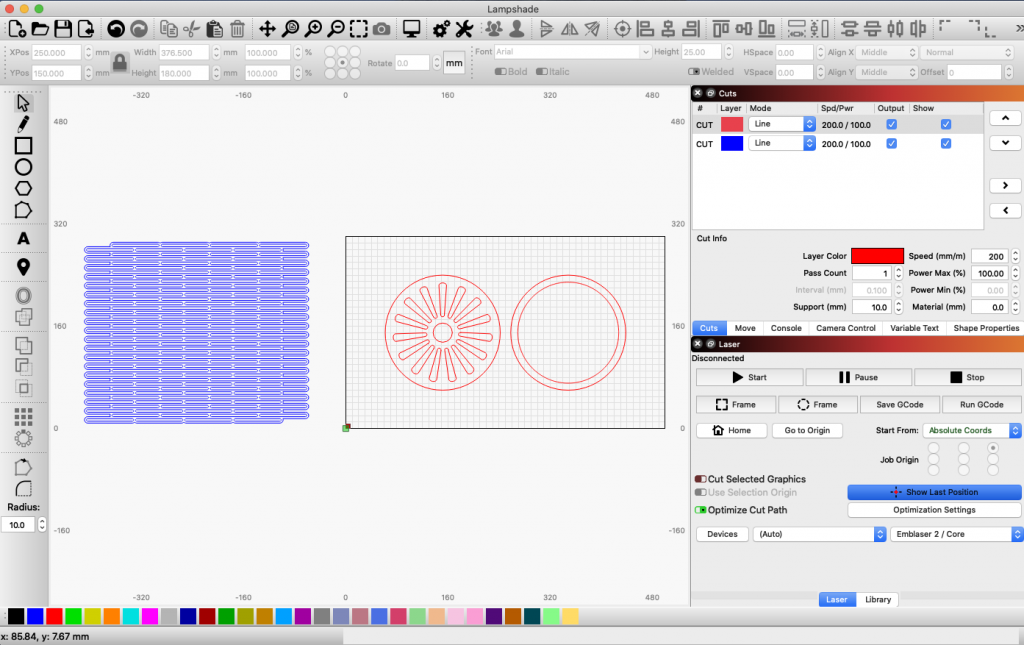
The design is based around an 80mm x 10mm rectangle.
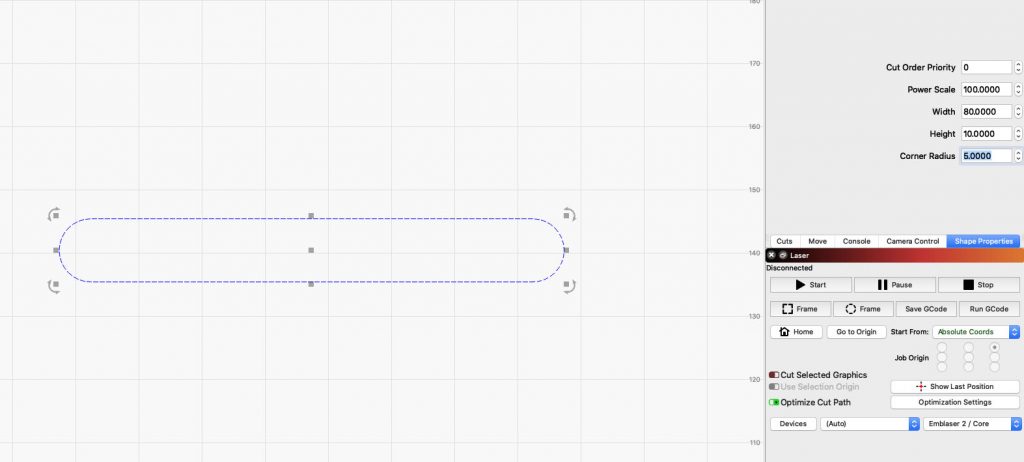
I rounded the corners in the shape properties menu. This is a somewhat hidden feature in LightBurn and you can access the shape properties by right-clicking on the shape, in the recent versions of LightBurn.
I then used the offset tool to create a second shape with a 2.5mm offset. This shape formed the basis of the lampshade design.
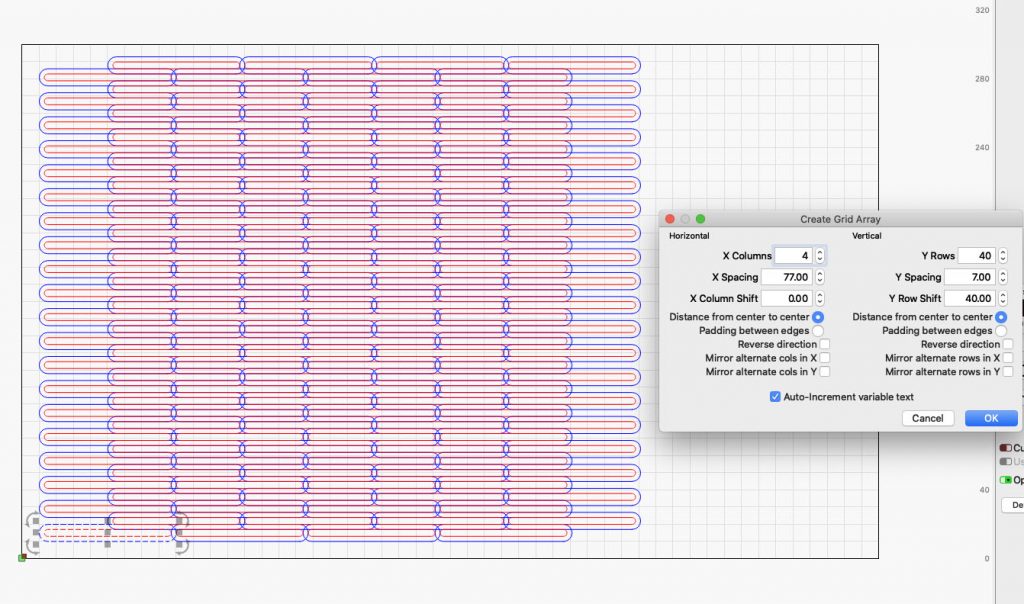
The next step was to array copy the shape. I made sure the array settings were correct to ensure al the copies ended the correct distance from each other. To help with selecting the shapes, I changed the interior shape to red.
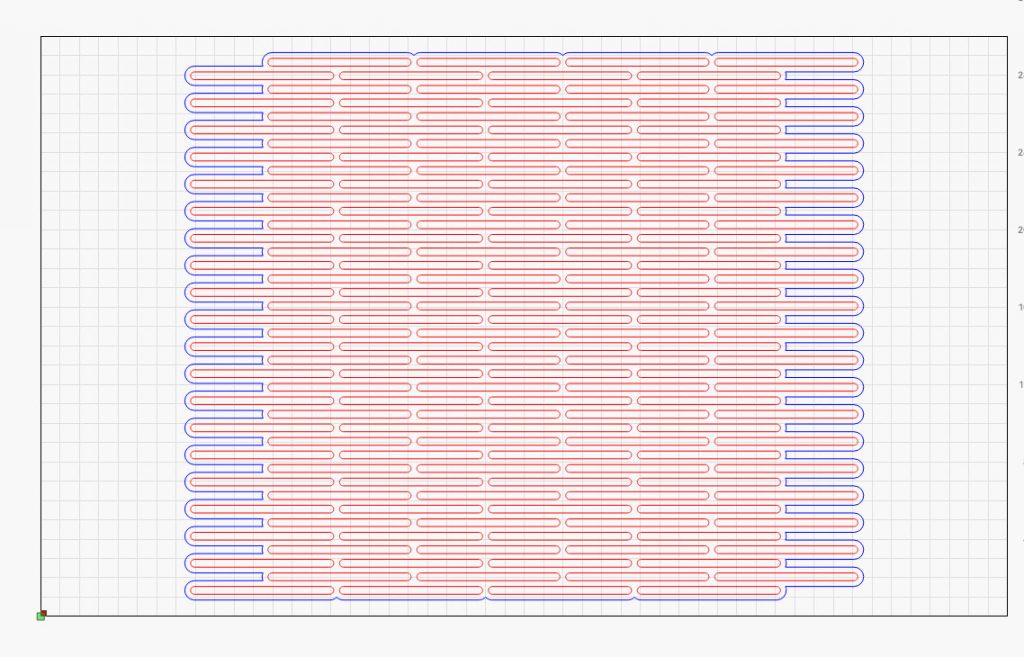
With only the ‘blue’ shapes selected I joined them with the boolean tool. This formed the outer shape for the lampshade.
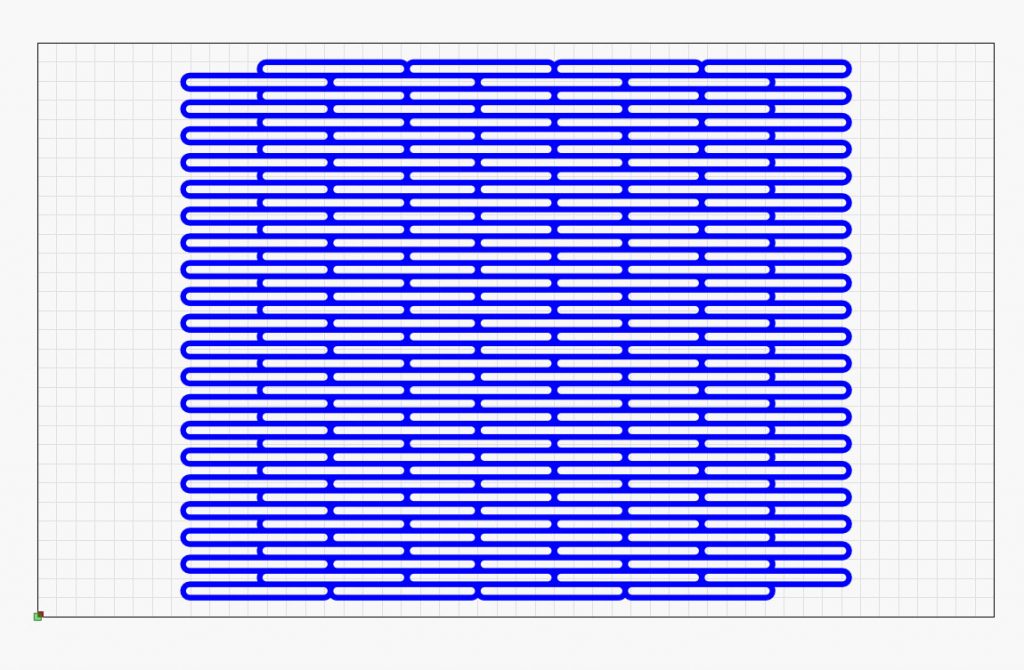
The next step was to change the red shapes back to blue, and the lampshade design is complete.
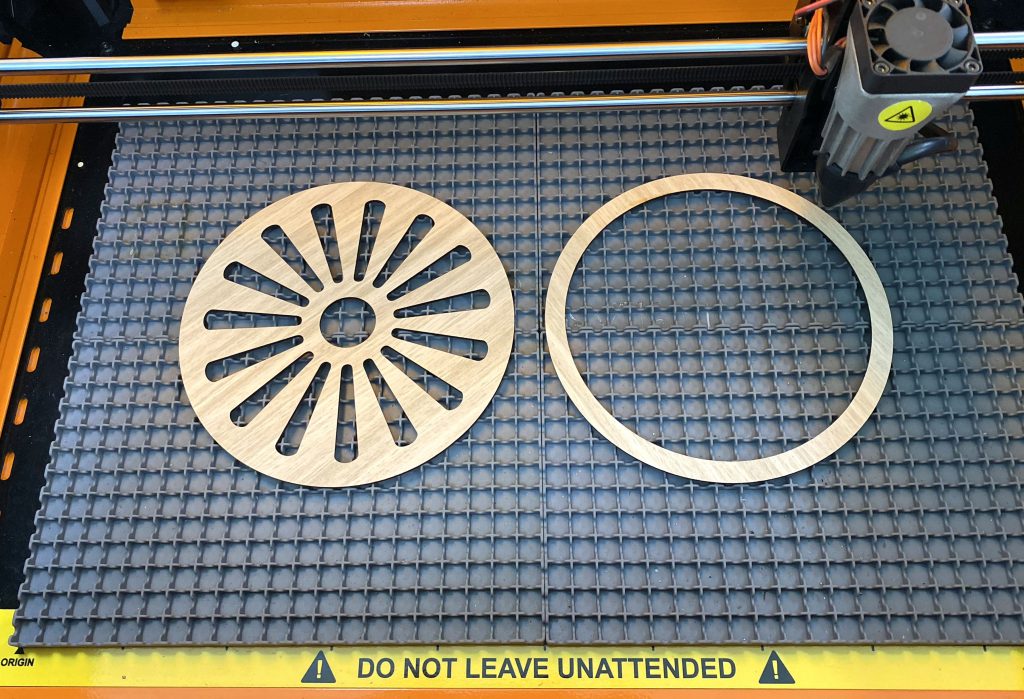
The lampshade is held together by two rings. I ended up using some basic math to calculate the diameter of the rings.
The shade design is 283mm tall. Since we will be using two of these shapes to form our lampshade, the total length that needs to be wrapped around the rings is 283mm x 2 = 566mm. This will be the circumference of our rings.
Diameter_of_Ring = Circumference / Pi = 566 / 3.141 = 180mm
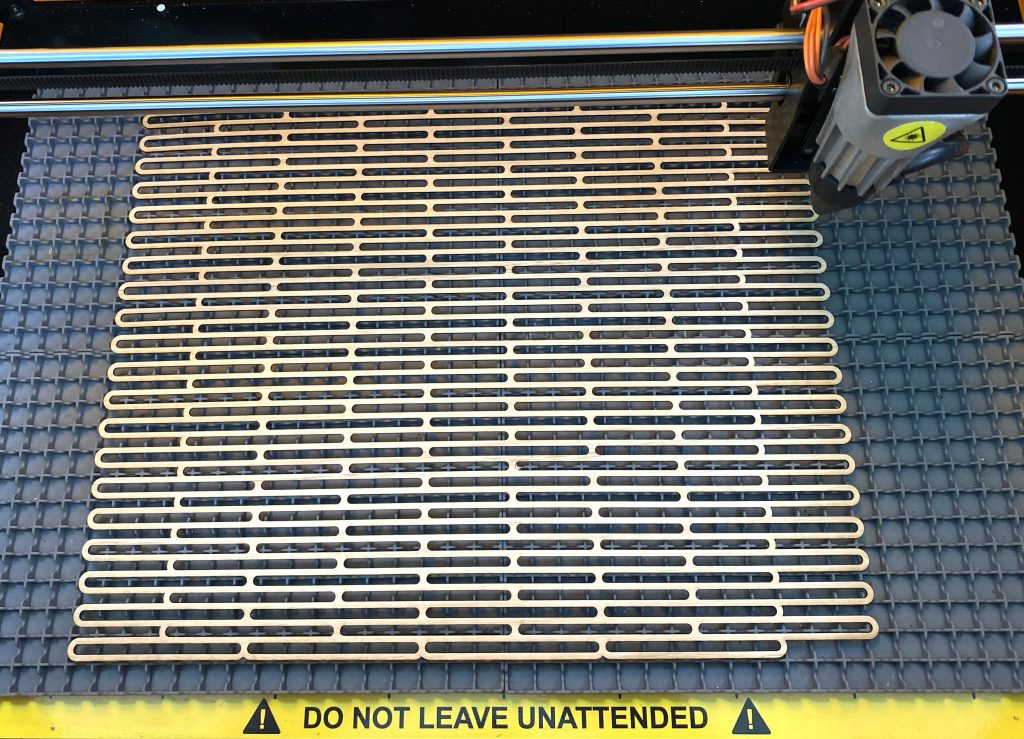
With our parts laser cut, it was time to begin assembly.
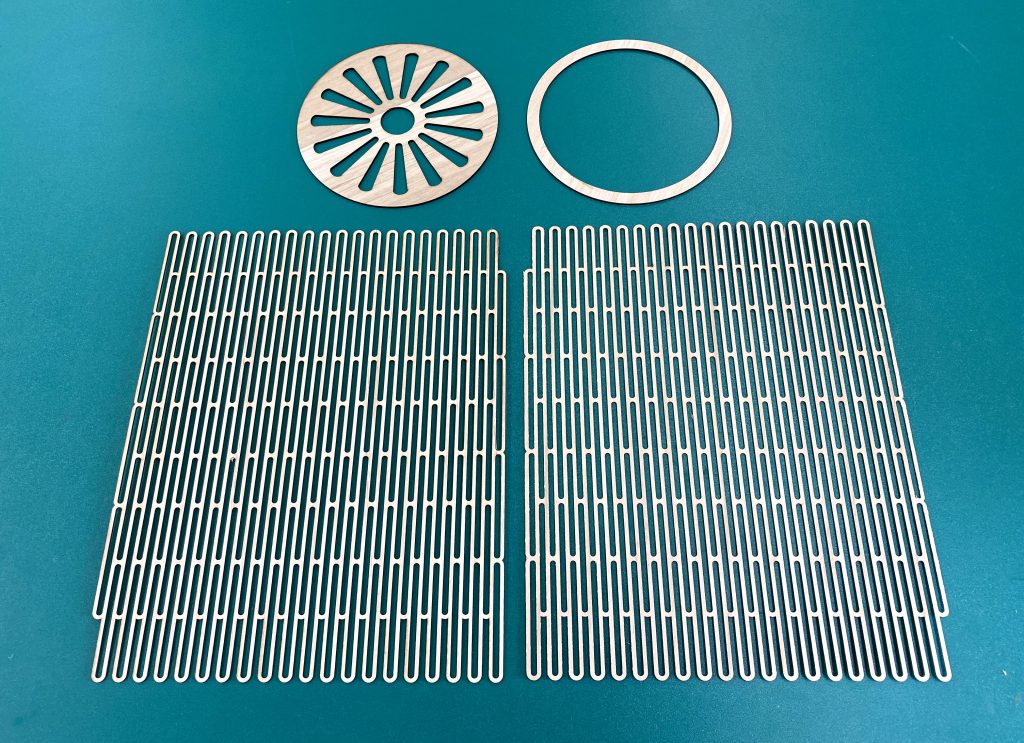
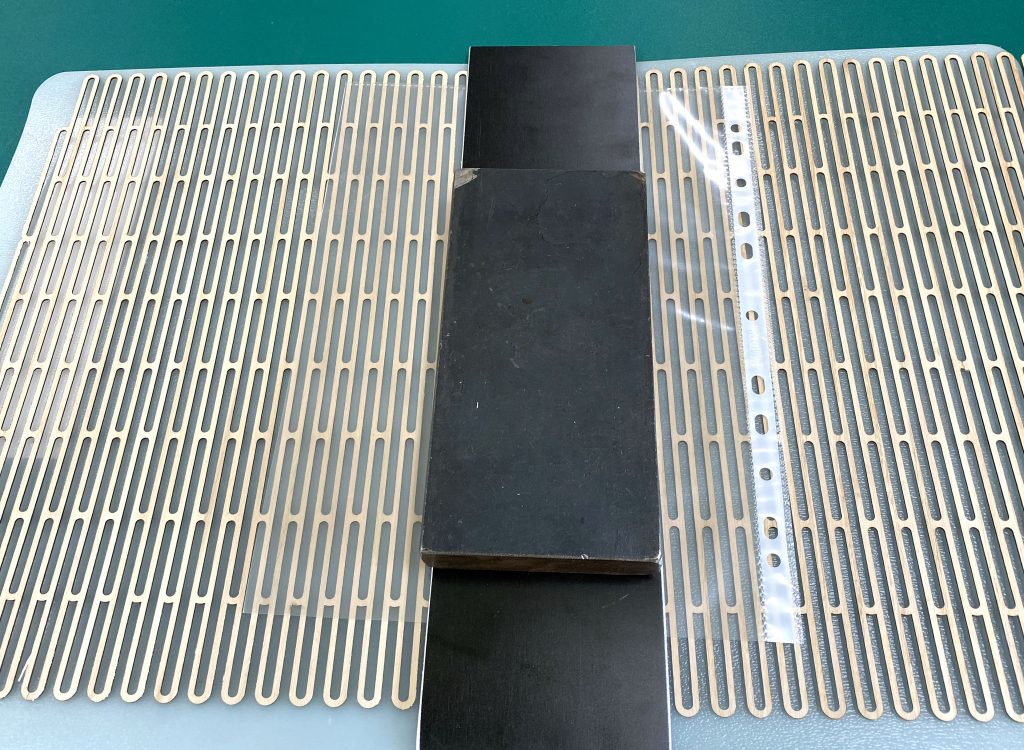
I first glued the two shade sections together.
I placed a piece of plastic over the glued joint, then applied some weights while the glue dried. The plastic helped prevent the weights sticking to the glue.
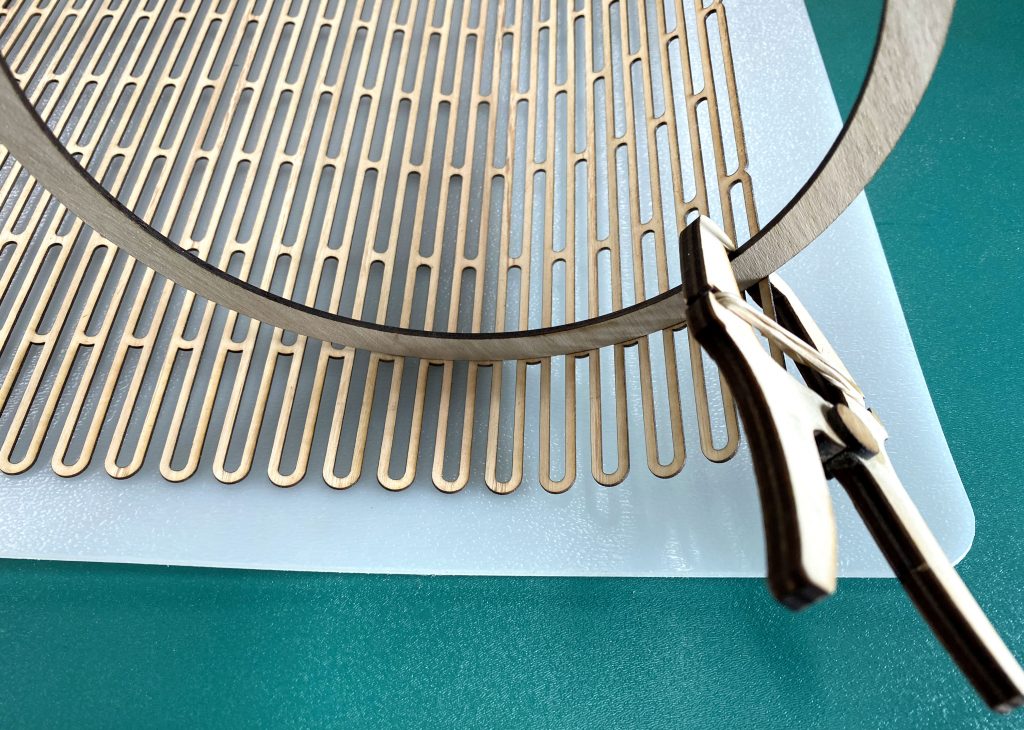
I then began gluing the lower internal ring into place. I first glued a corner and held it together with a clamp. Then slowly applied glue along the ring and holding it until that section was dry, before moving on.

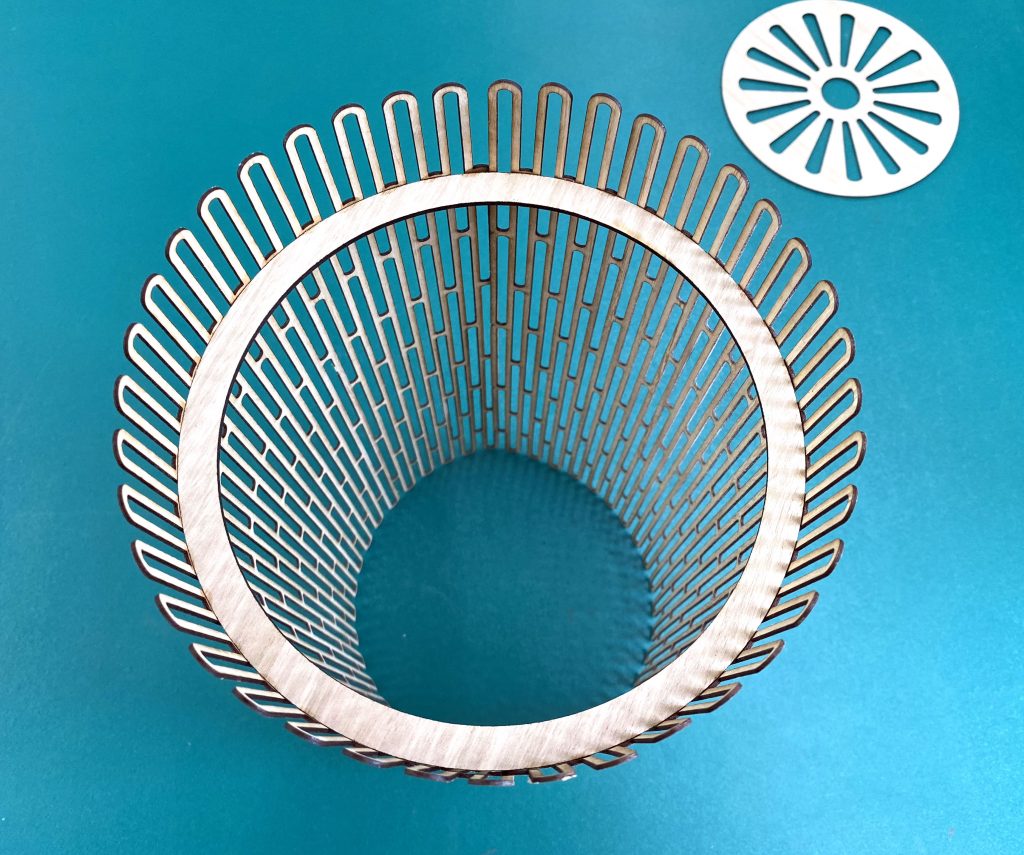
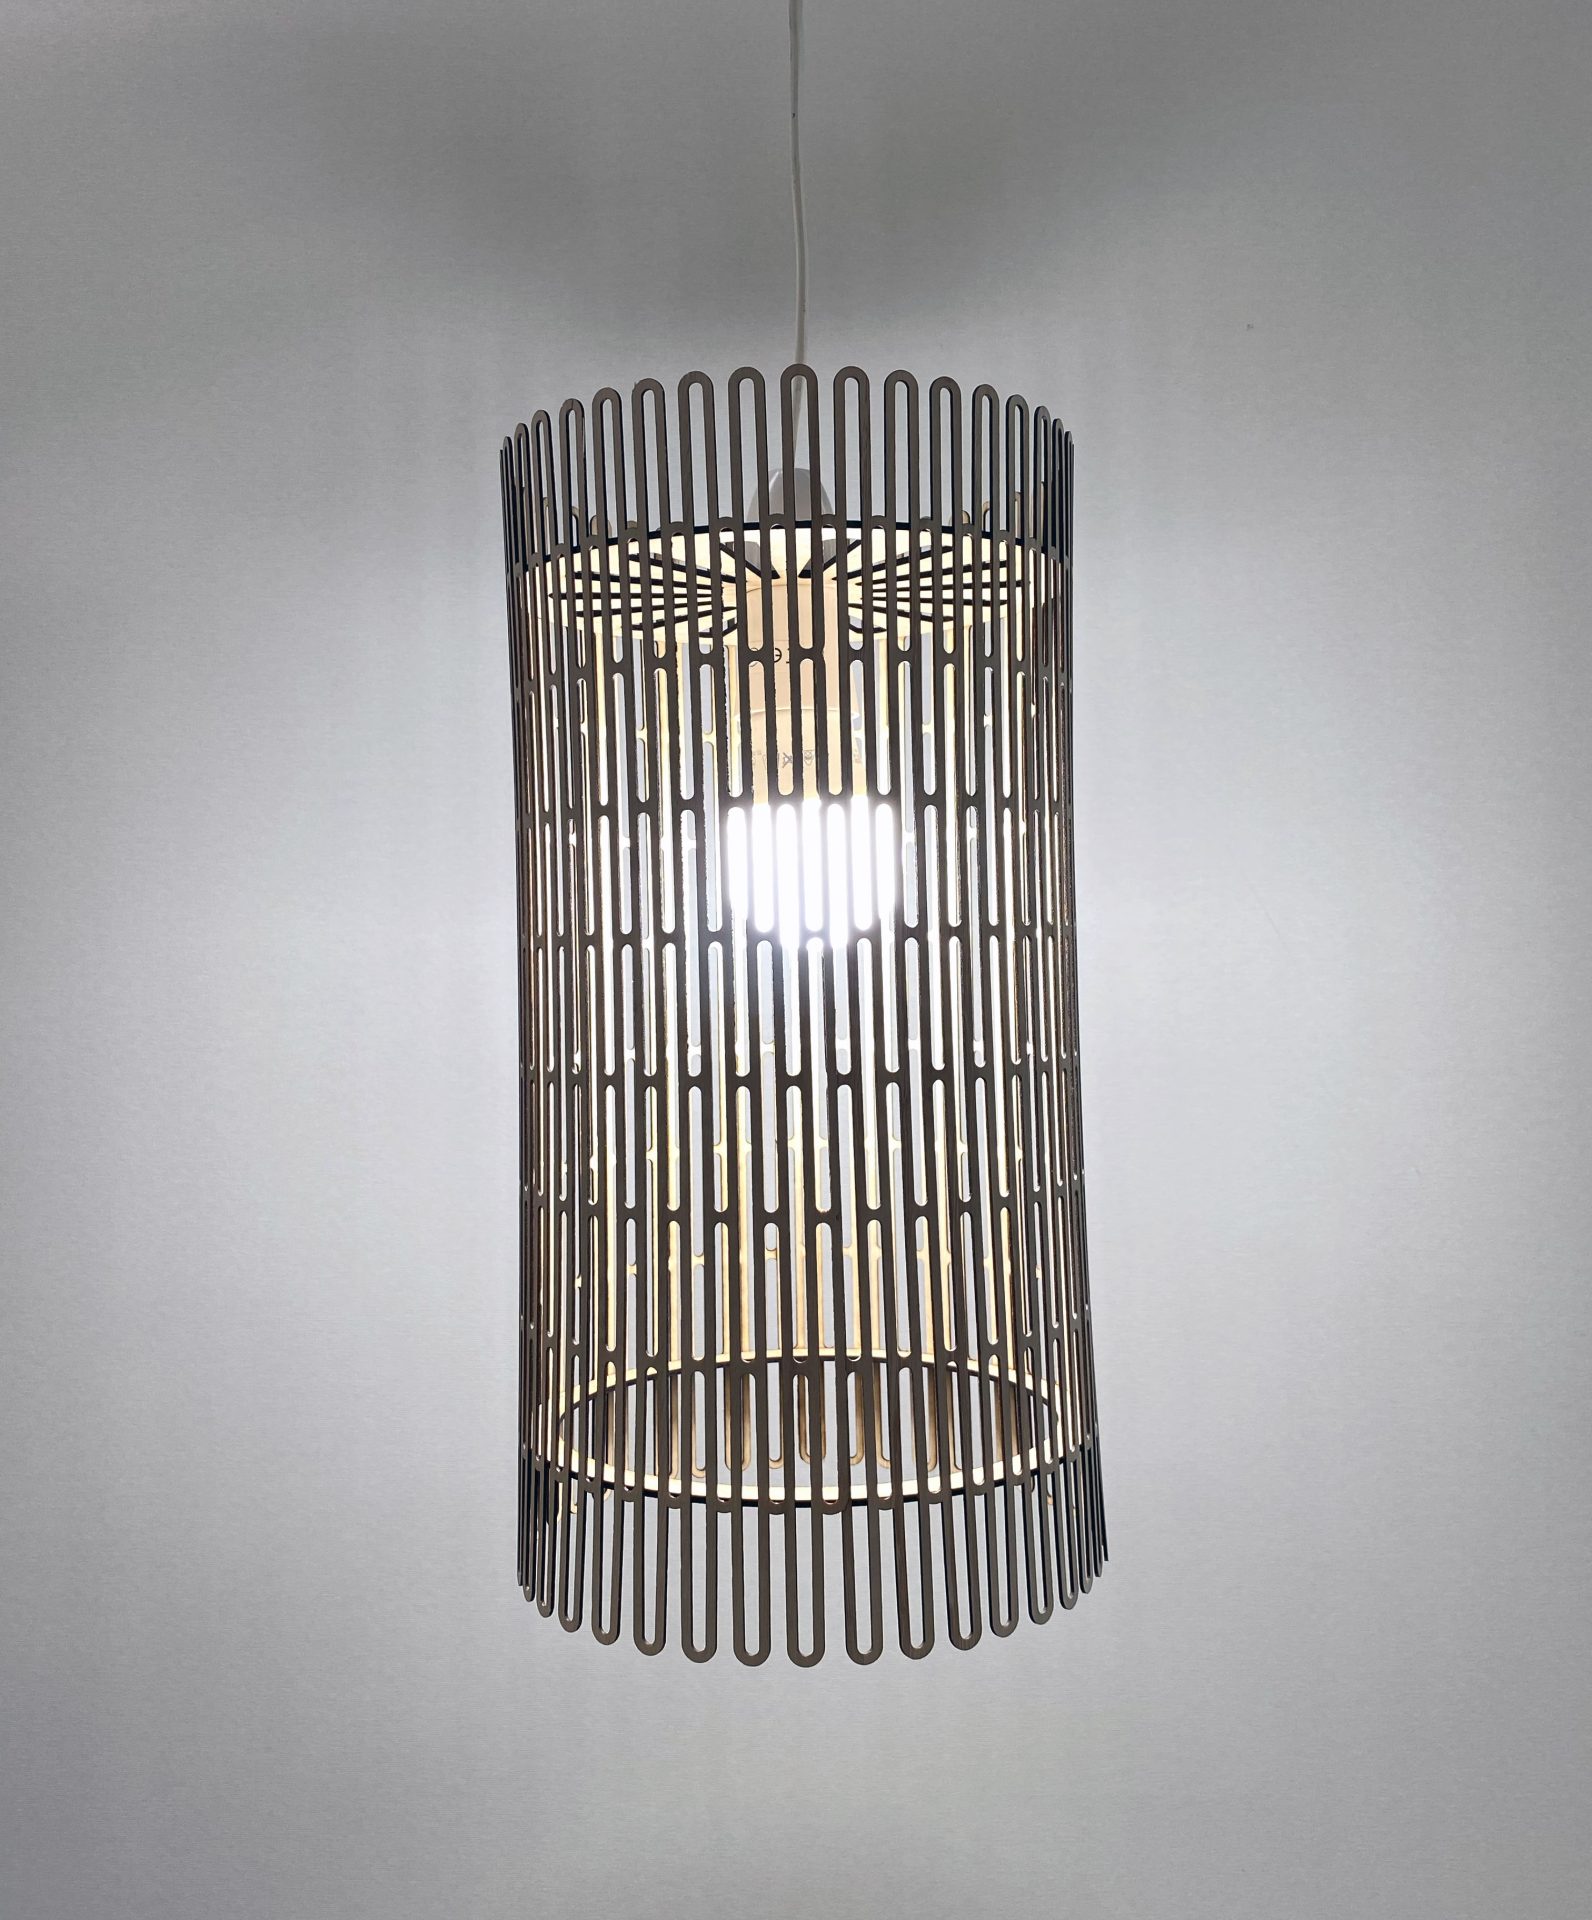
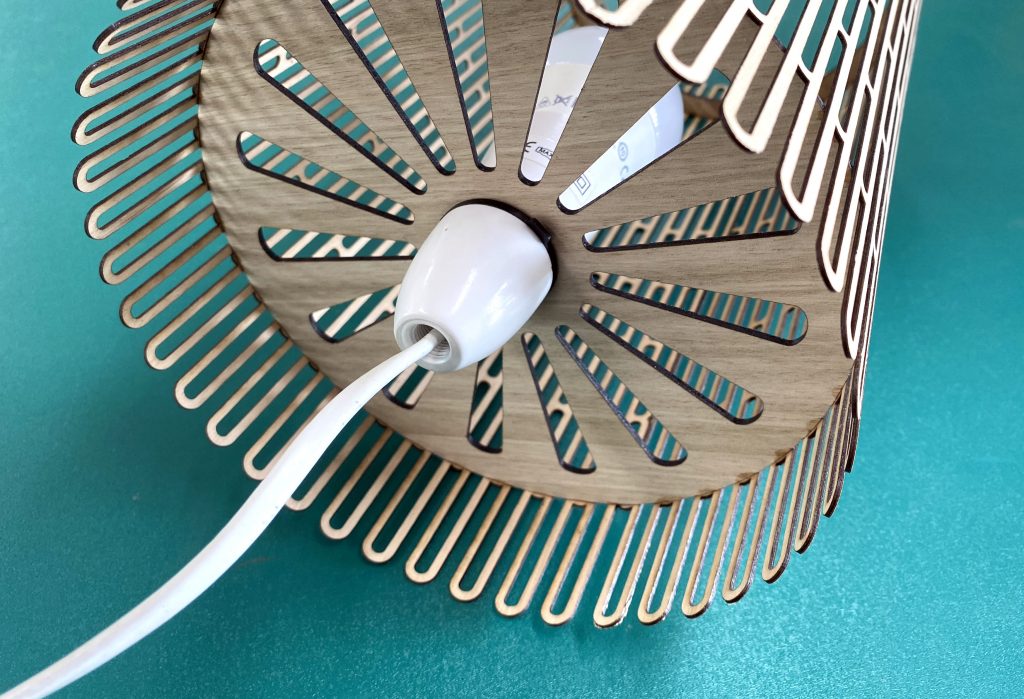
The upper ring was easier to attach, since the shade was now forming a cylinder. I applied glue to the shade and then slid the upper ring in place.
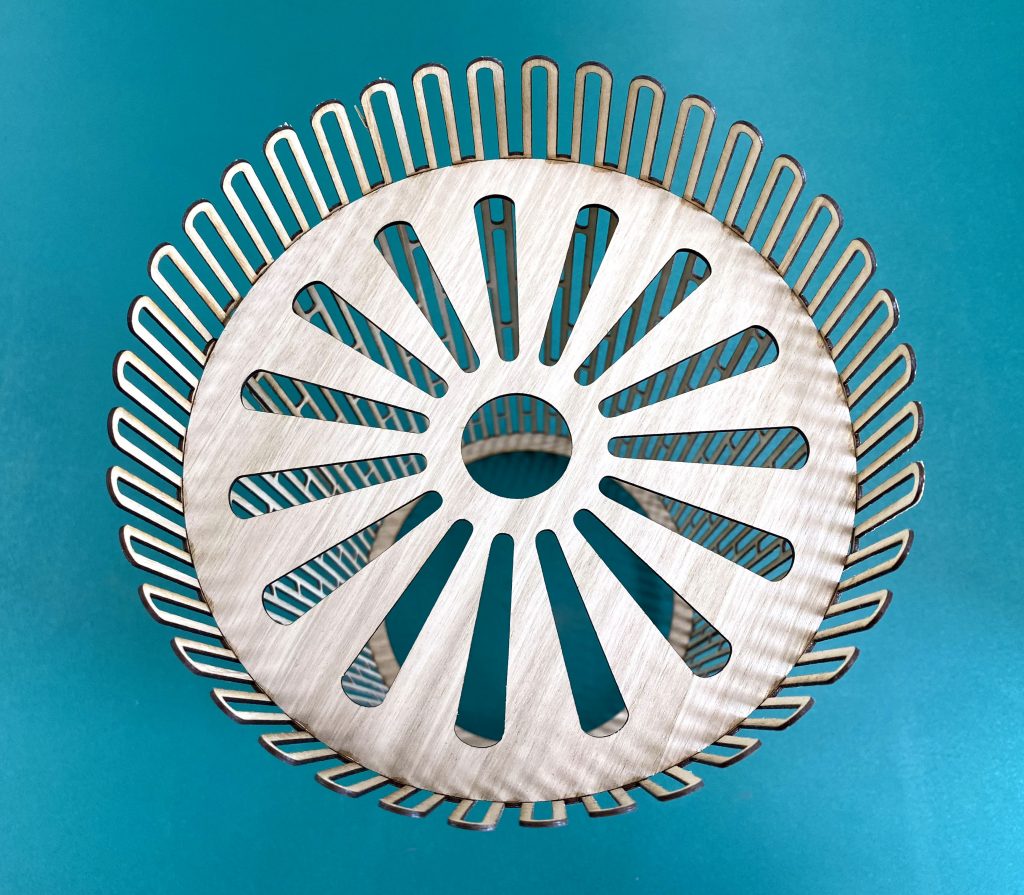
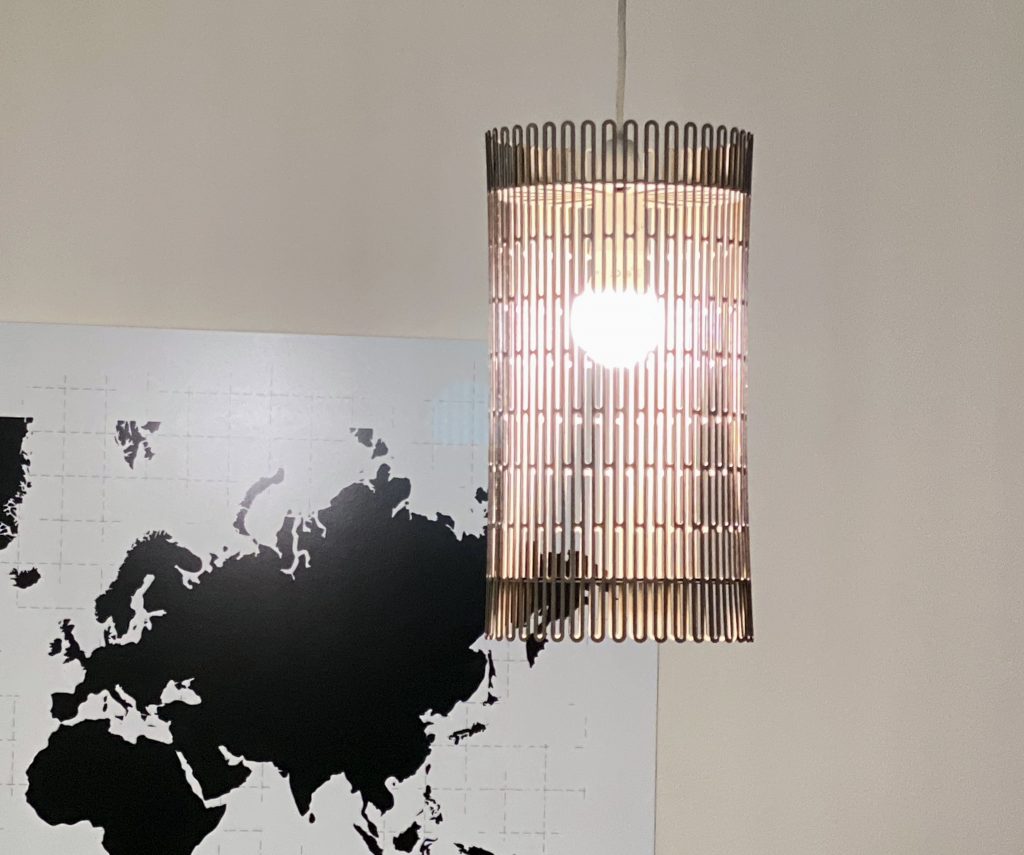
For the electrics, I used a lamp fitting and LED bulb that was purchased from our local hardware store.
This lamp proved a very simple build. I did find that the bulb I used was very bright and down the track, I may insert a diffuser into the lampshade. This will most probably be some thin white paper attached to the inside of the shade, to create a more diffuse effect.