The Laser Carriage Fans (Laser unit and Laser Driver Board Fans) need to be kept clear of debris to function properly. Due to the effect of heat and air born particles on the bearings, there will come a time when they need to be replaced.
Replacement Laser Carriage Fans can be bought from the Darkly Labs store here.
Step 1:
Turn off your Emblaser2 and unplug the power cable.
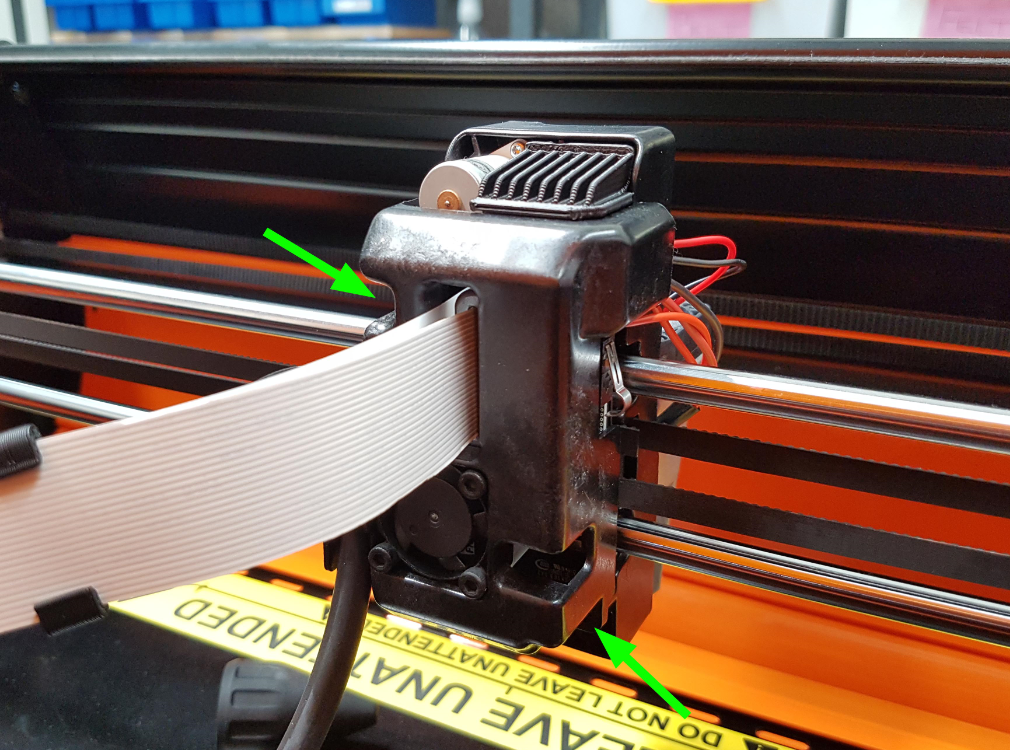
Step 2:
Use a Philips head screw driver to remove the two indicated screws.
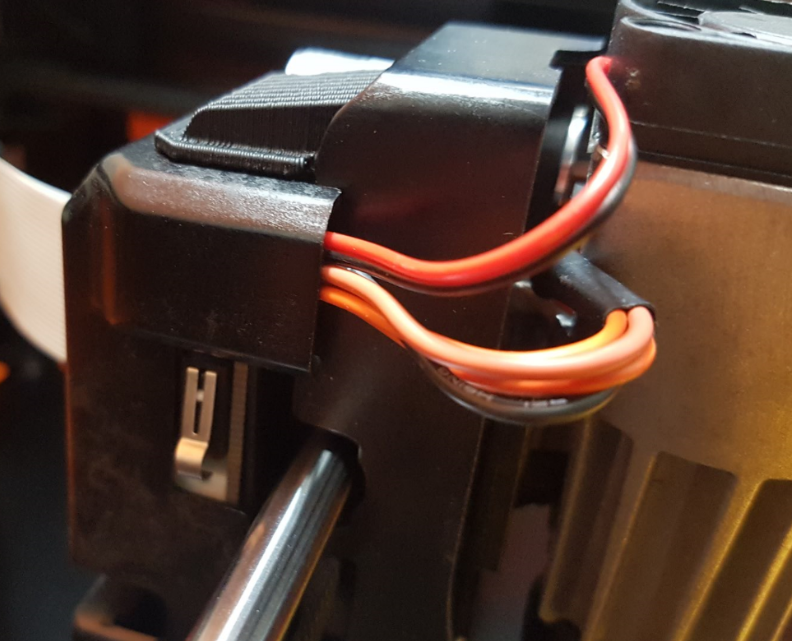
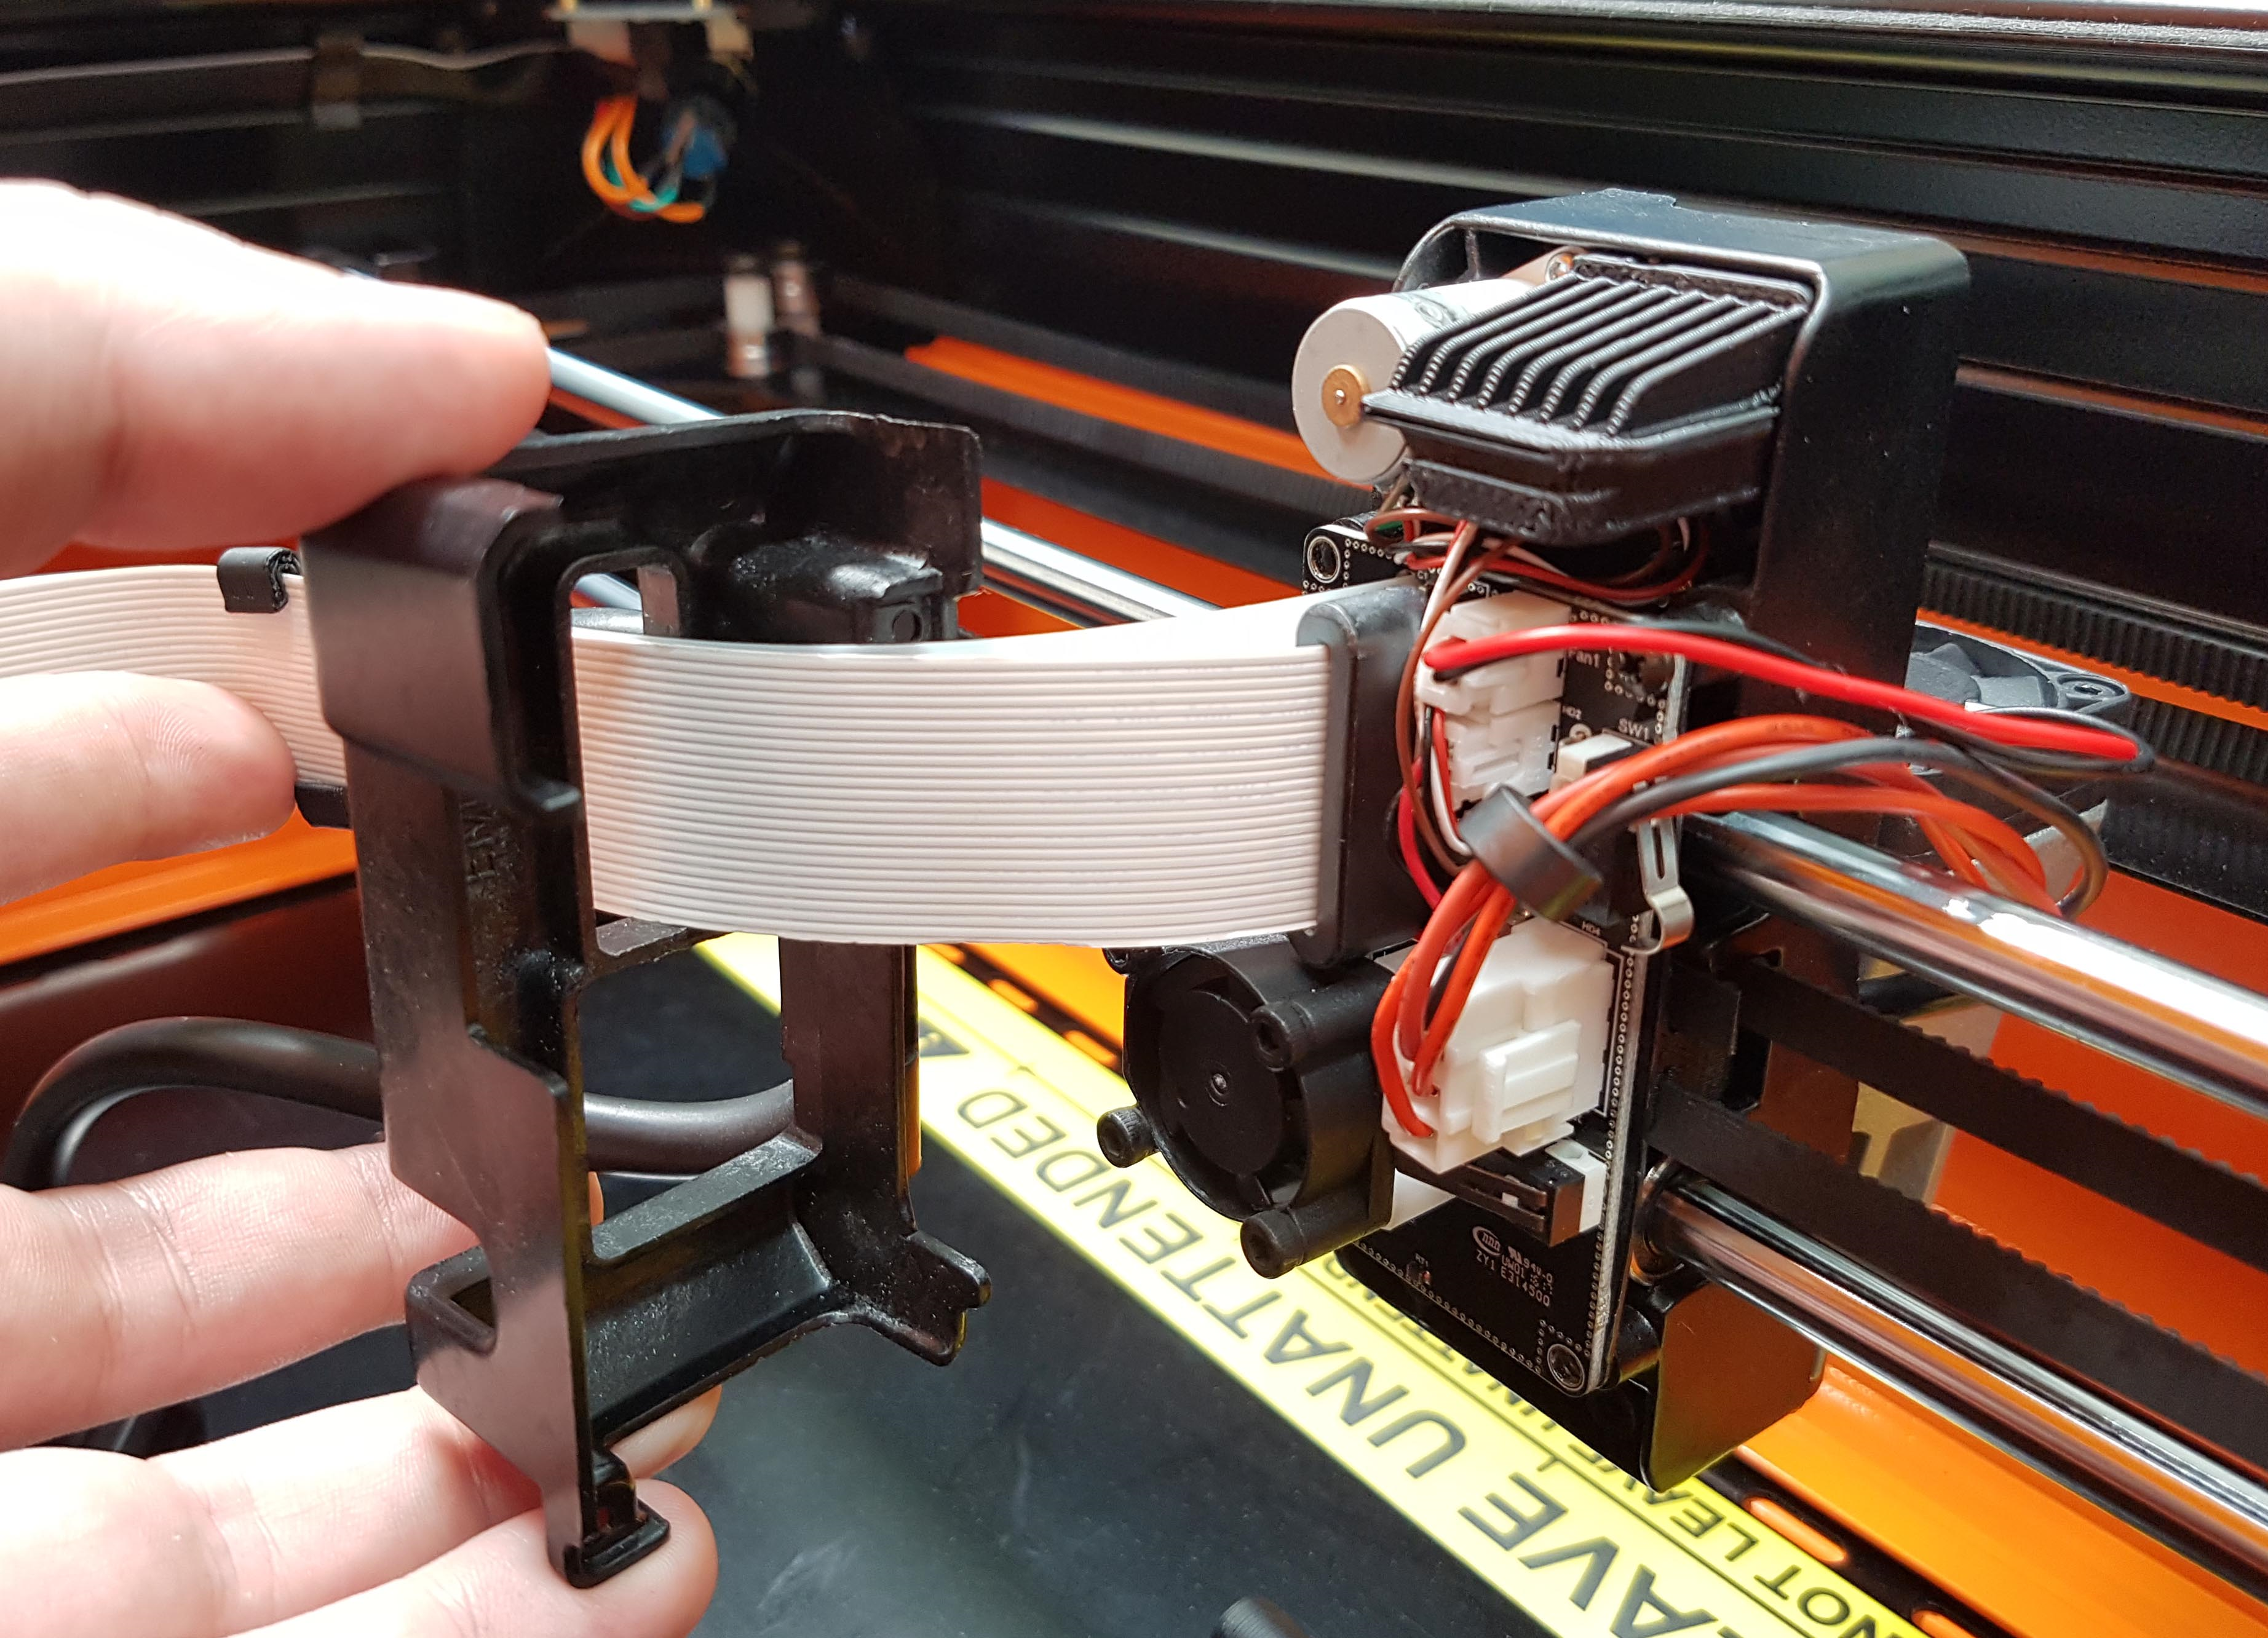
Remove the Laser Carriage Cover. Take note of where the cables and interior components sit, these will need to be returned to their positions when the Laser Carriage Cover is reattached.
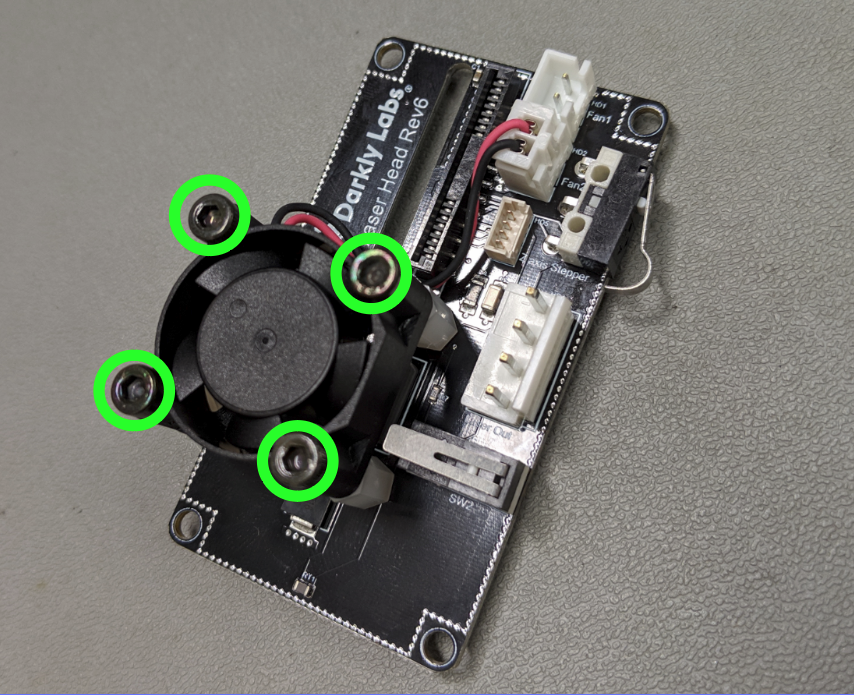
Step 3:
(PCB shown disassembled for instructional clarity)
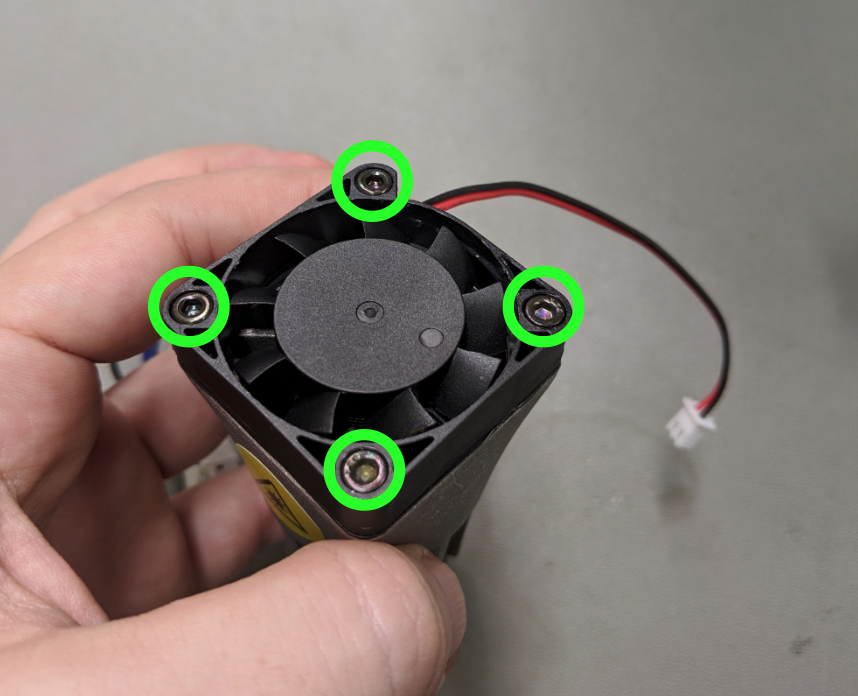
Remove the four screws retaining the Laser Driver Fan to the PCB. You may need to physically stop the white posts from spinning beneath the fan.
Plug in replacement fan and return screws.
Step 4:
(Laser Unit shown disassembled for instructional clarity)
Remove the screws shown in the image.
When removing the Laser Unit Fan take care to leave the black plastic spacer in place.
Plug in replacement fan.
Step 5:
Reattach the Laser Carriage Cover.
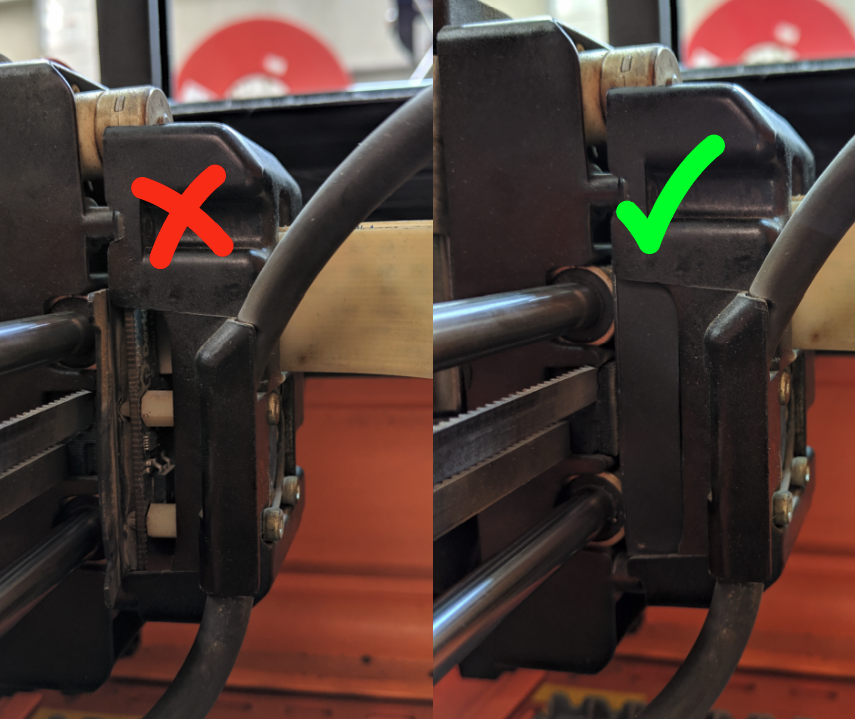
Under the Laser Driver PCB is an insulation layer. Earlier devices may have an insulation layer with an upturned flap like the one shown below.
When reassembling tuck this flap under the cover (if present). Leaving the flap loose may cause problems with the operation of your device.
When reattaching the cover, ensure cables are not being pinched and are routed to allow free up and down movement with the Laser Unit.