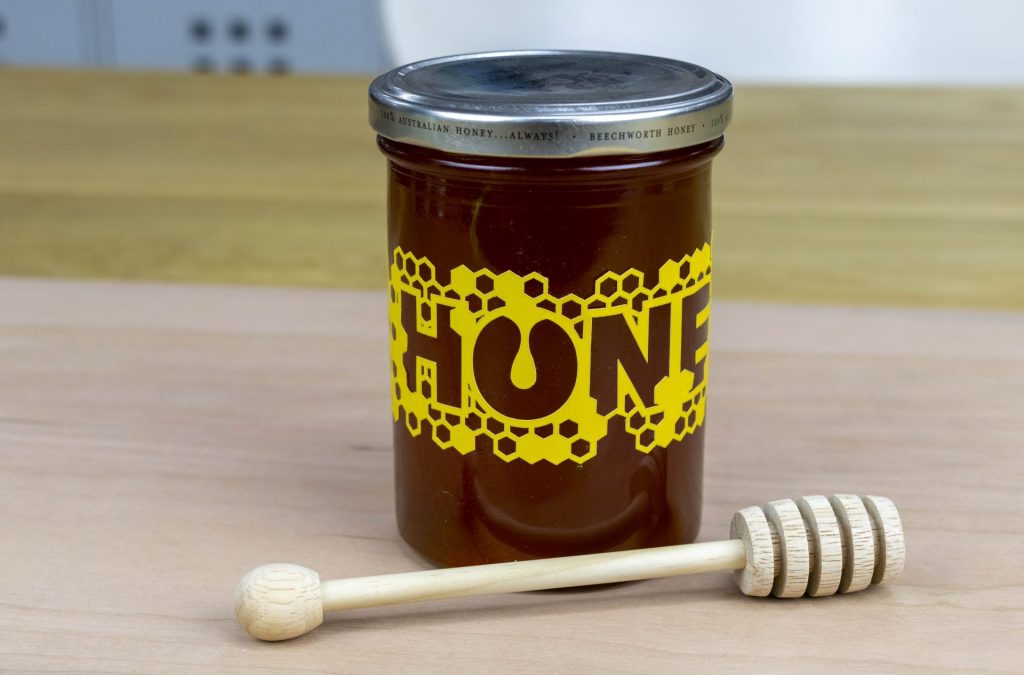
Decorate a honey jar with laser-safe contact film.
Project Files
Materials:
Other Items Needed:
- Honey Jar
- Calipers/ruler
- Tweezers or thin blade (optional)
- Shampoo & water (optional)
The Build
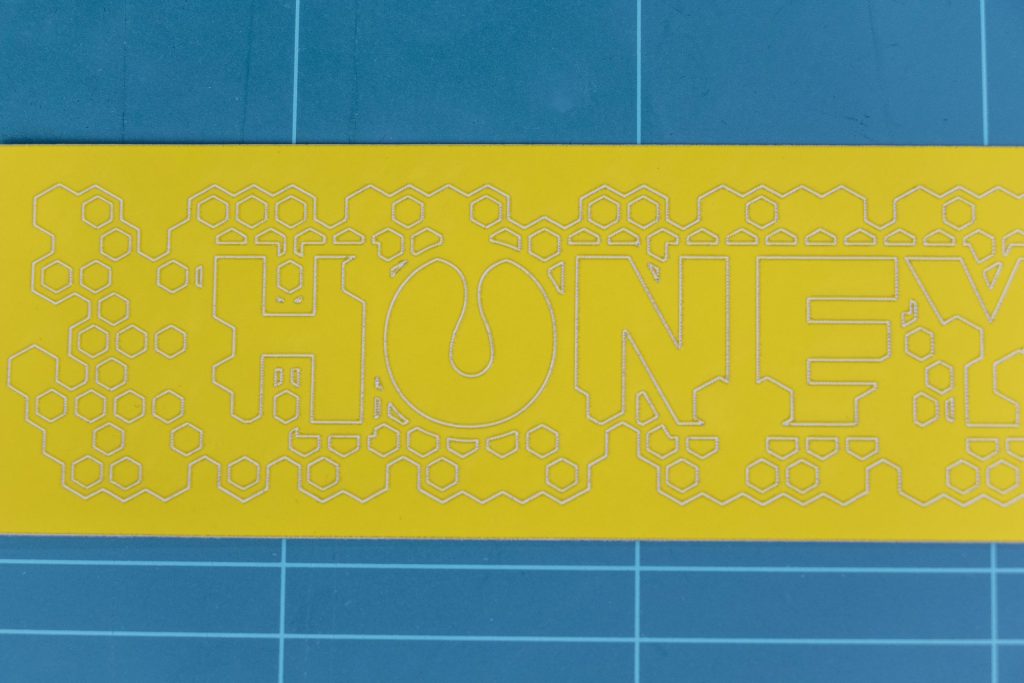
1: Download the project and open it in LightBurn.
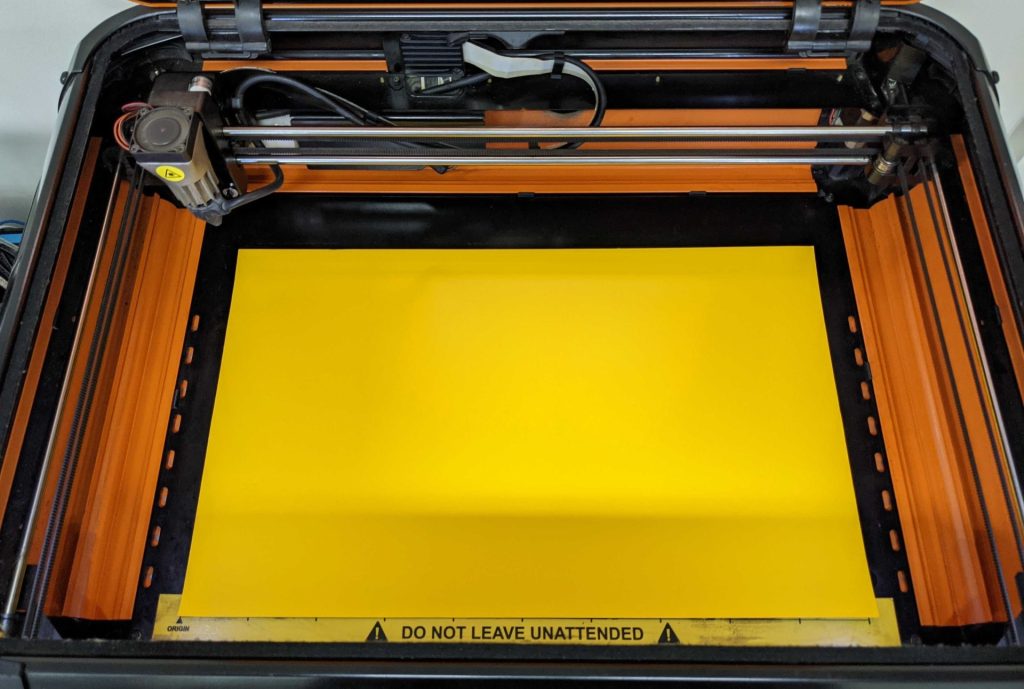
2: Place your Yellow Contact Film into the laser cutter.
3: Use callipers or a ruler to measure the diameter of your jar.
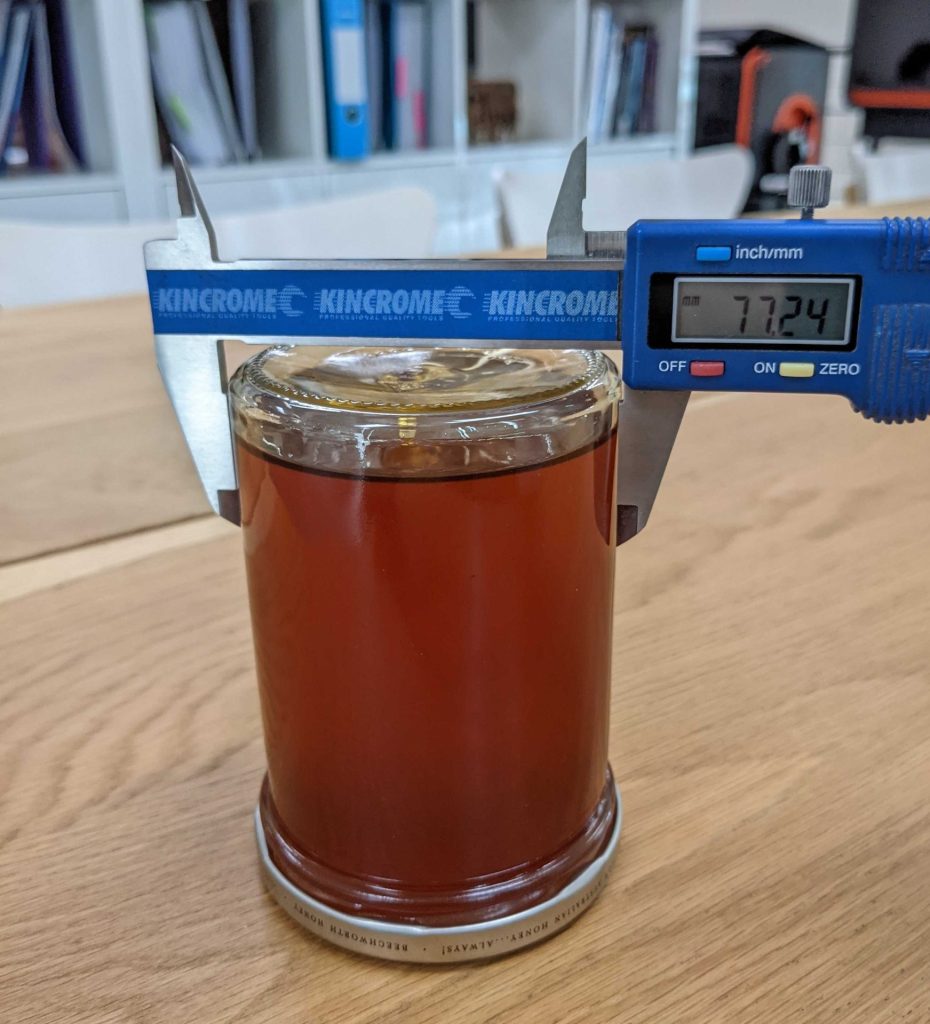
4: Calculate your jars circumference in a calculator (π x Diameter)
For our jar, the calculation was 3.1416 * 77.24 = 242.66 mm
5: To help the label fit nicely on the jar, we subtracted around 40mm from the width and resized the design.

6: Use the ‘frame’ button in LightBurn to ensure your design fits on the material, double check the support and material thickness settings are correct and cut out the design.
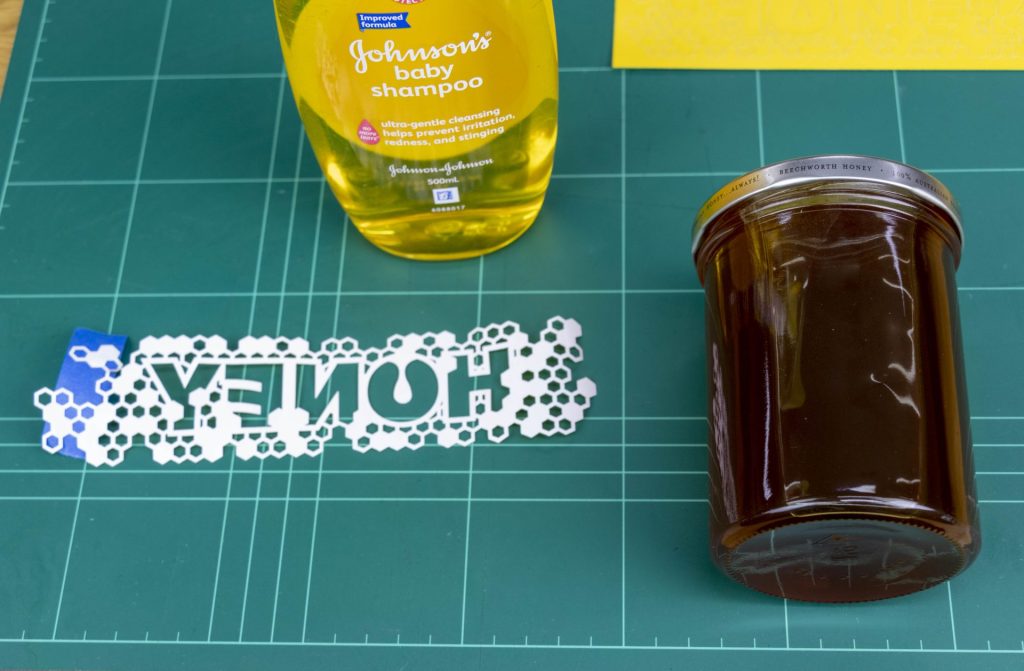
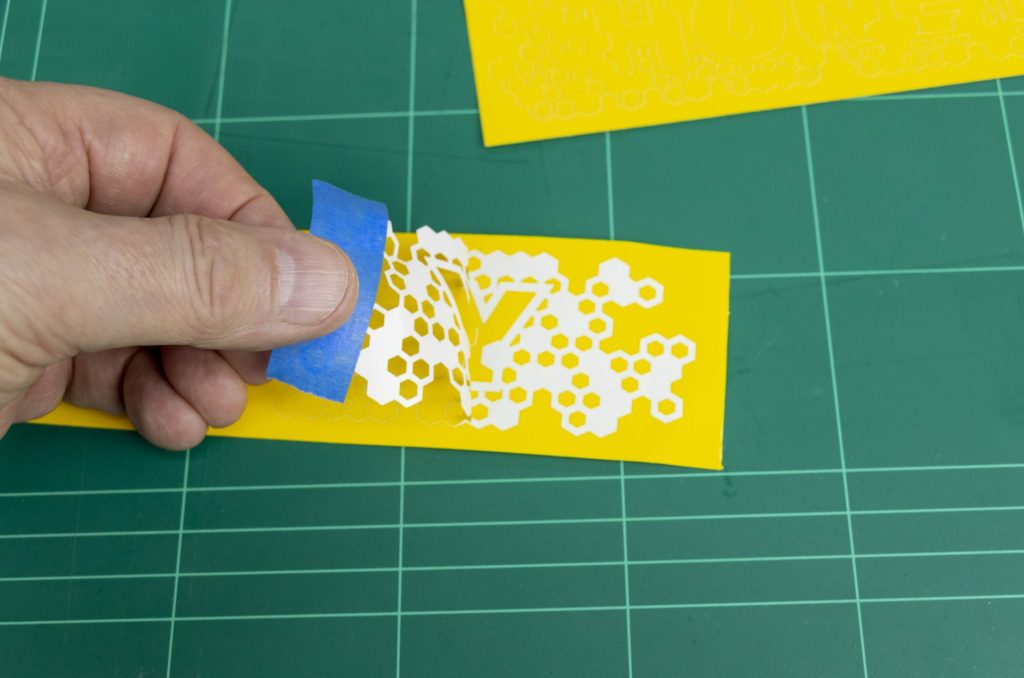
7: Carefully peel off the label from the contact paper, being careful to not rip it. You can use tweezers and some tape to help with this process. Take your time!
8: To make applying the label easier, use a mixture of 1 drop of shampoo in a cup of water. Apply this to the jar before applying the label. This will allow you to slightly position the label.
Once the water has dried, the label will be securely fixed in place.