

Being an Australian company, how long could we go before incorporating the Australian flag into one of our projects!
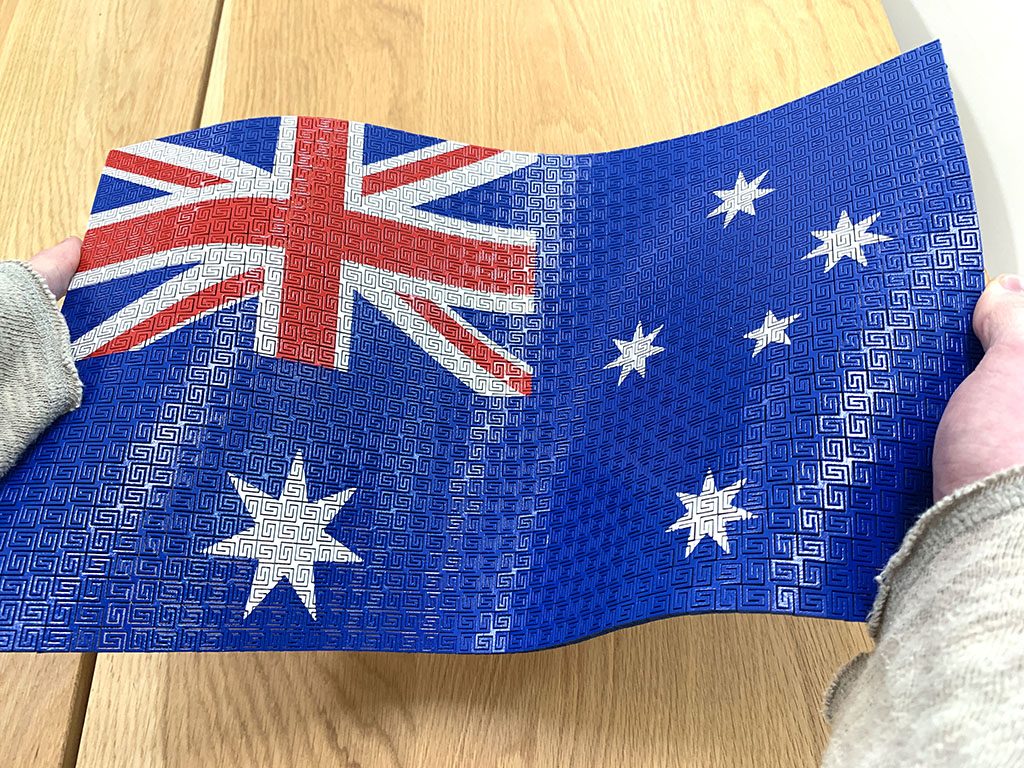
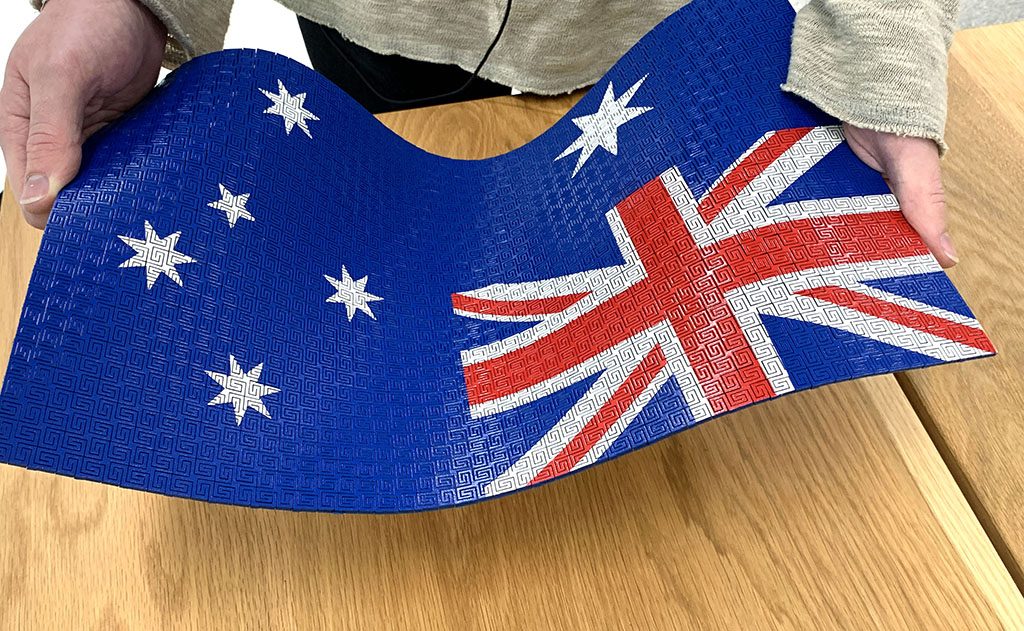
The goal was to create an Australian flag sculpture using solid materials that included some waviness in its form to simulate it blowing in the wind.
This project combines a couple of interesting techniques. We use the Emblaser to make a solid piece of plywood very flexible along with stencils to apply multiple colors.
Project Files
Materials:
Other Items Needed:
- Spray paint (Red, White & Blue)
- Stencil material
The Build
We begin this project by making our piece of plywood flexible, so we can simulate some waviness into the flag.
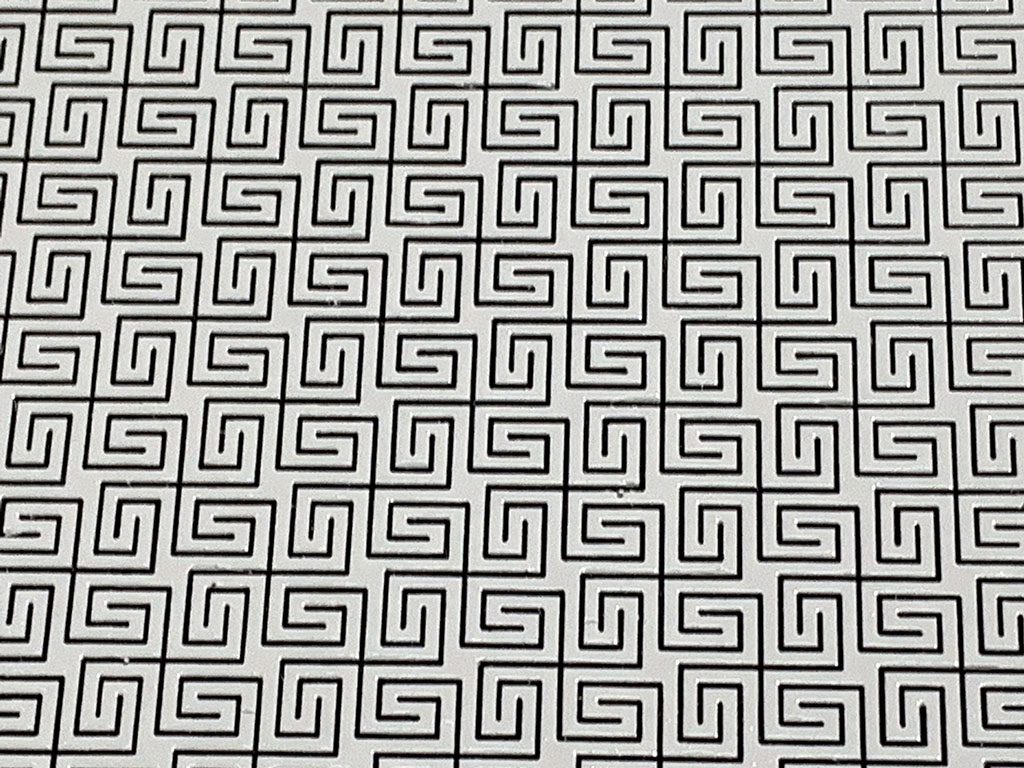
The are many clever patterns that can cut into rigid materials to make them more flexible. For this project we chose a pattern from koFAKTORlab. Click here for a link to their site.

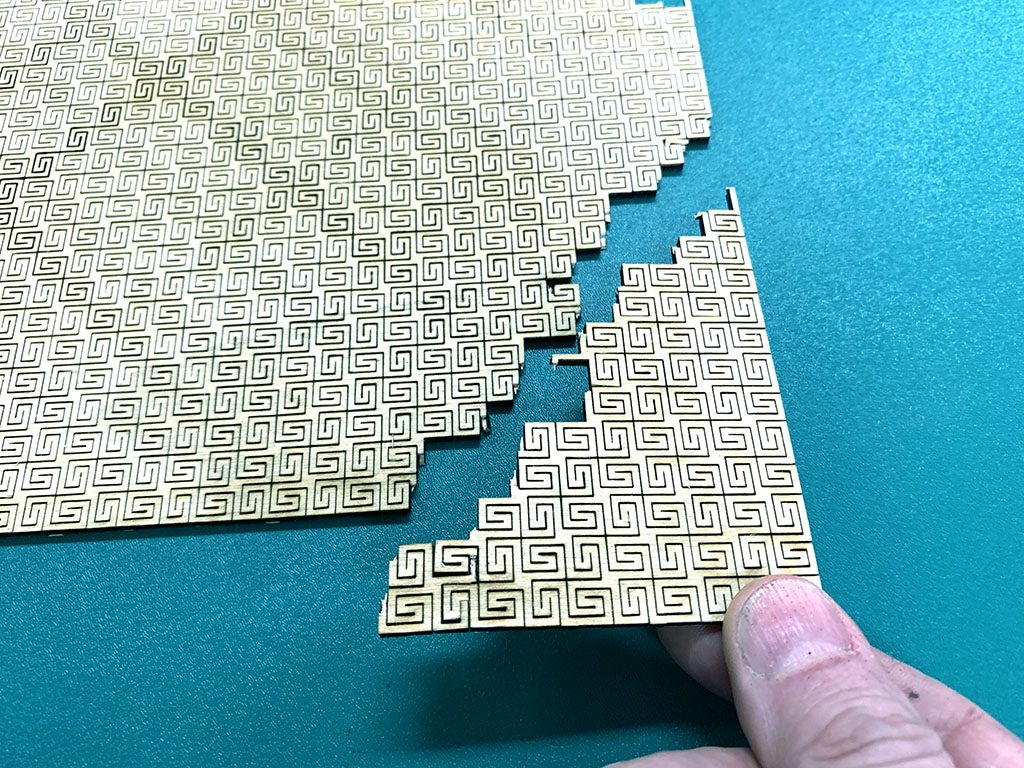
This pattern is very intricate and took quite a while to cut. It was worth the wait.


Although the plywood is now very flexible, it is still somewhat delicate. Be careful when handling as it will only bend up to a limit before it breaks. Here’s how I know this!
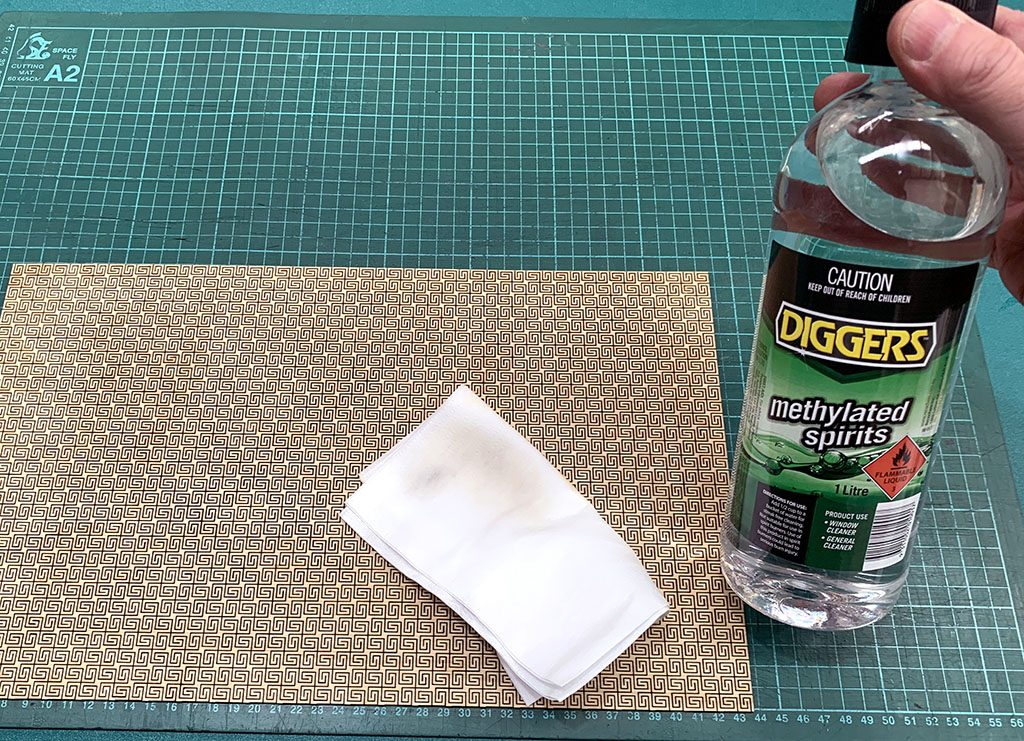
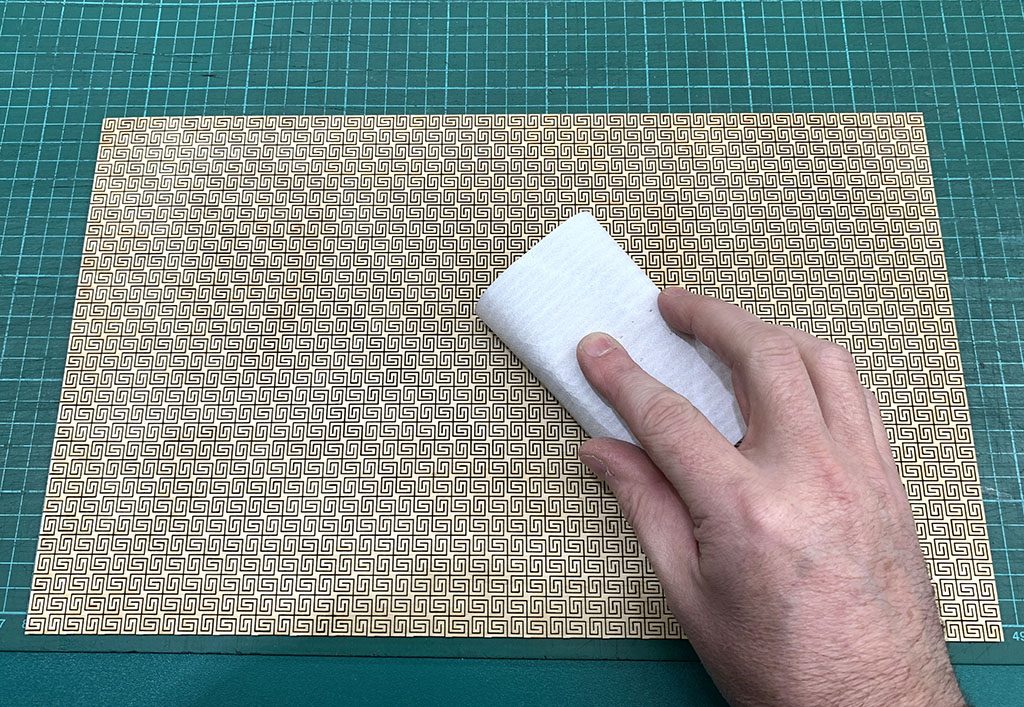
I was recommended a technique to help prepare the wood surface for painting. Methylated spirits is rubbed over the bare wood. This is absorbed into the wood fibres and causes them to swell. Once evaporated, the fine fibres can removed with a light sanding. This leaves a perfect surface for painting.
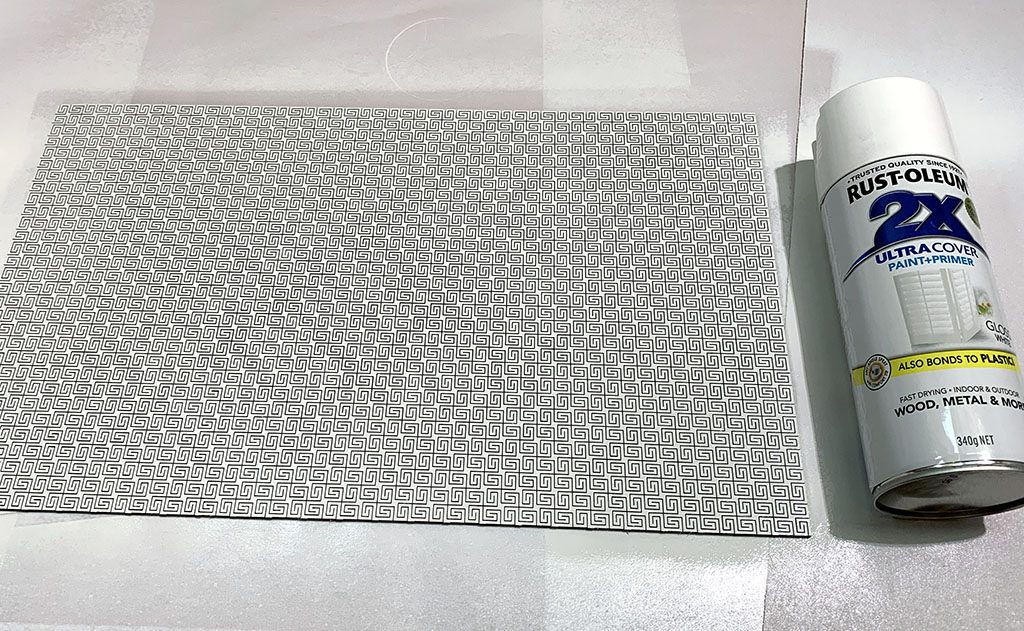
I then painted the plywood with white acrylic. As with any painting, always begin with a very light coating and build the coats up gradually. White will form our background color.
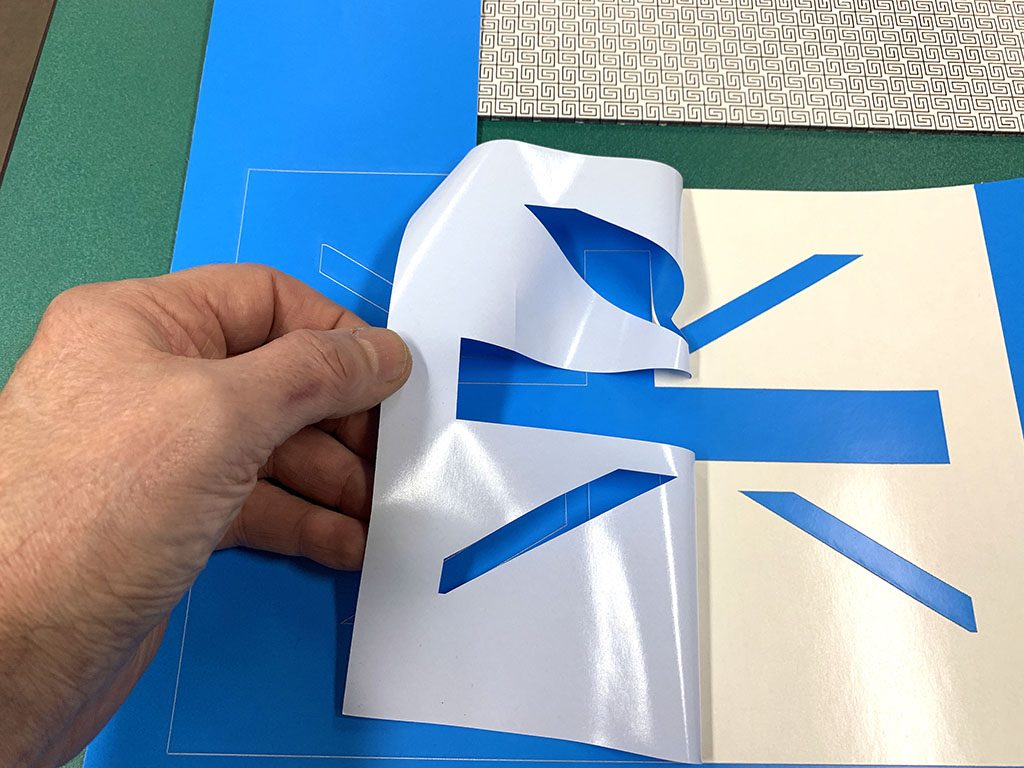
With the background applied, it’s time for stencils to apply the remaining colors. We used a PVC-Free contact paper to cut the stencils using the Emblaser.
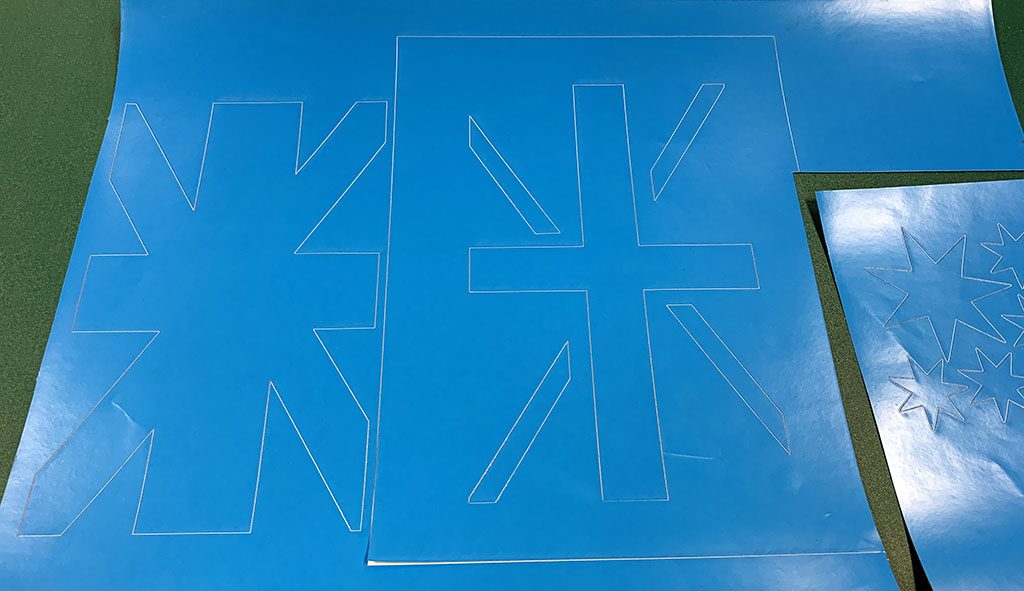
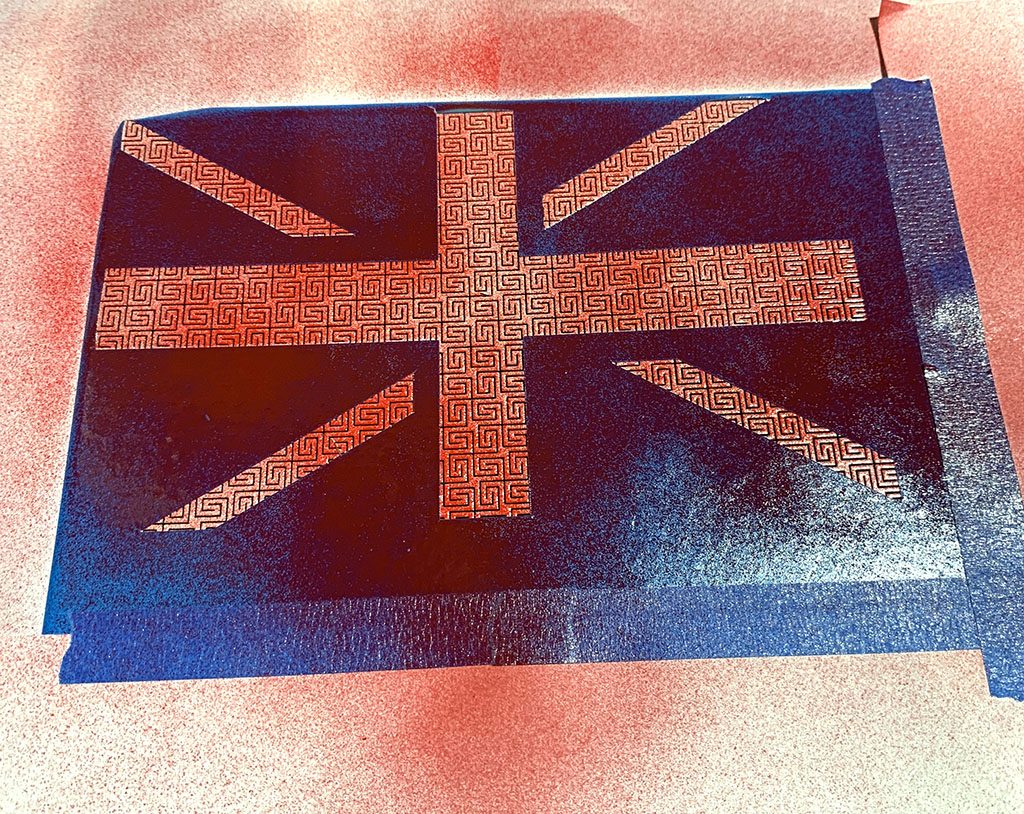
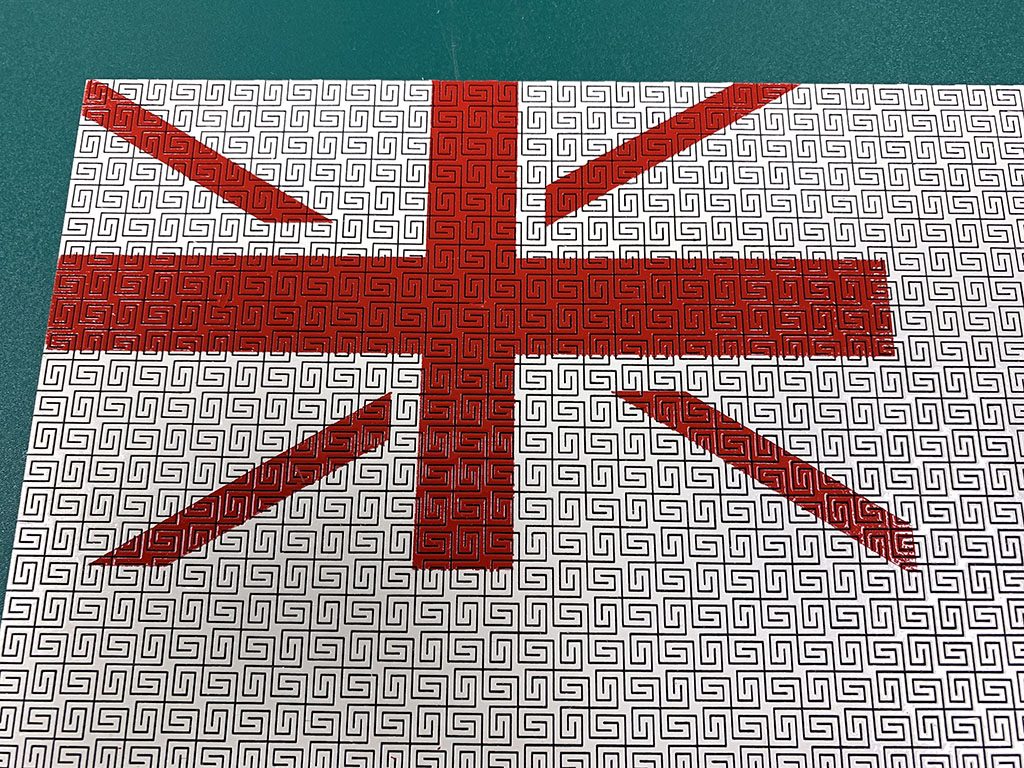
The next color to be applied is red. The stencil will ensure we only apply red to where it should be.
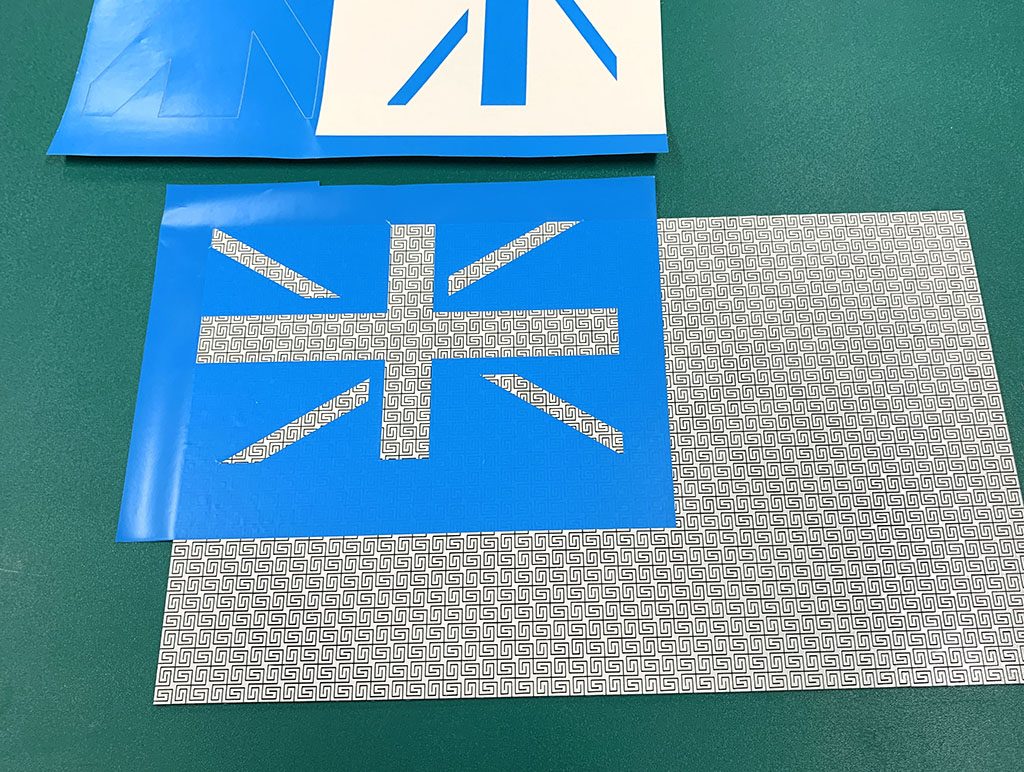
The final color to apply is blue. I once again applied stencils to prevent covering the white and red colors.
It is very important to let the paint fully dry before applying or removing a stencil. Rushing the process will result in paint lifting.
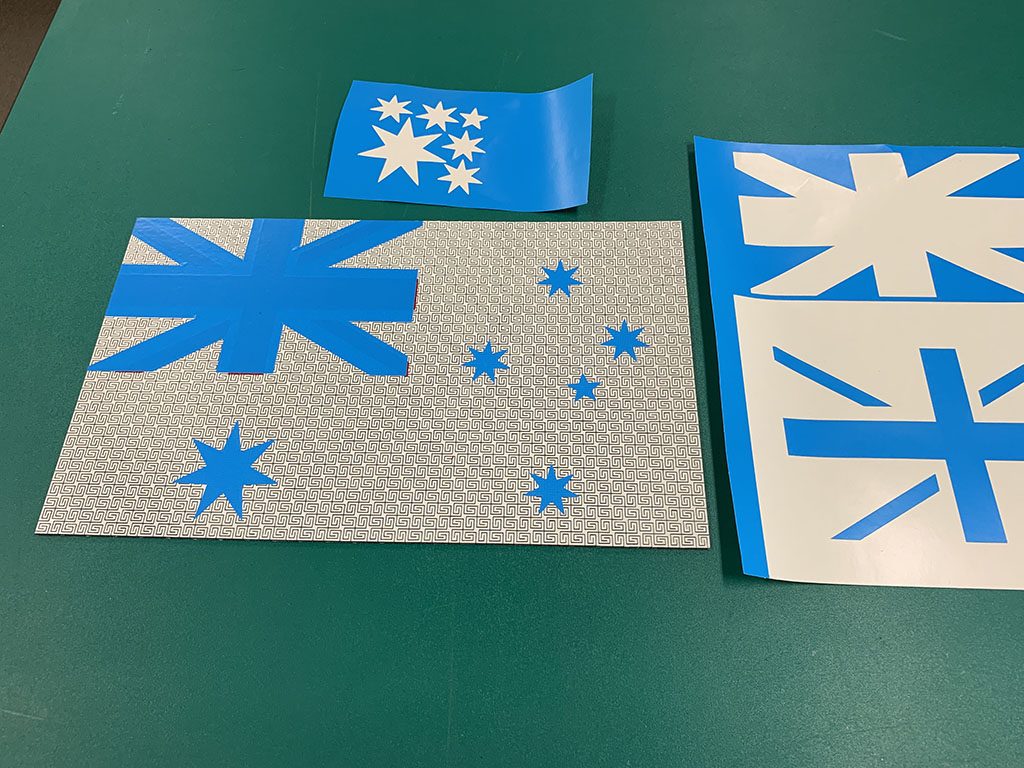
Once dry, the stencils were carefully removed.
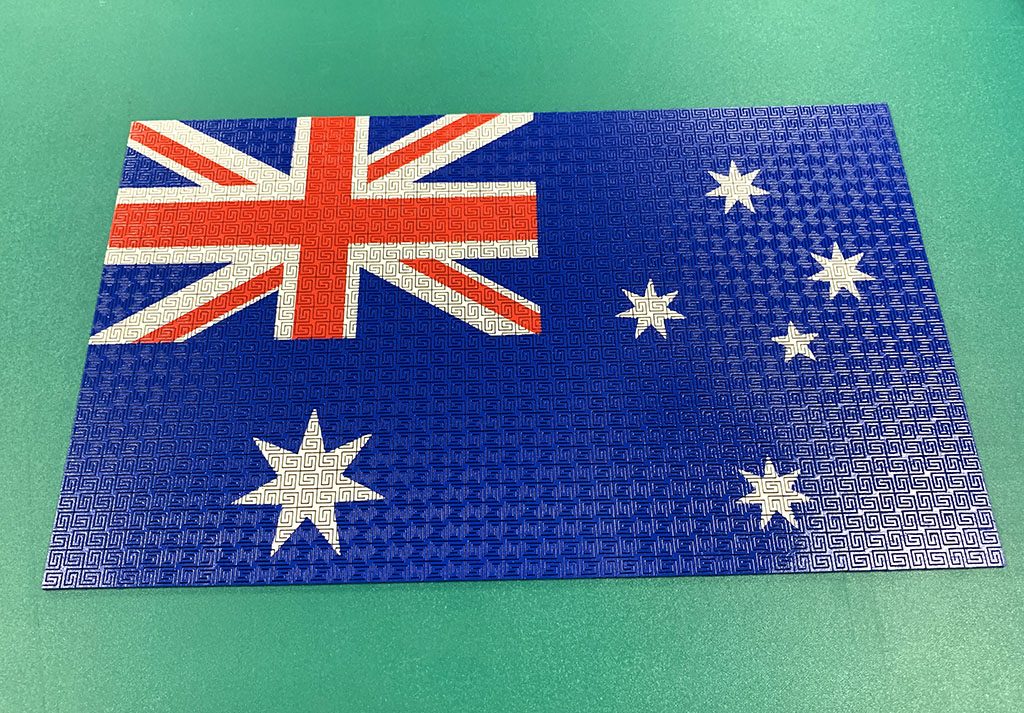
The finished result looks amazing and retained all of the flexibility.
The next step is to mount this onto a backing board to hold the wavy shape and display it in our office.
