This project explores a way to use your Emblaser to create an embossing tool.
I will be embossing aluminium from a can, but these techniques can be used on a variety of materials.
Project Files
Materials:
- Aluminium can
- 600 gsm card
Other Items Needed:
- Paper glue
The Build
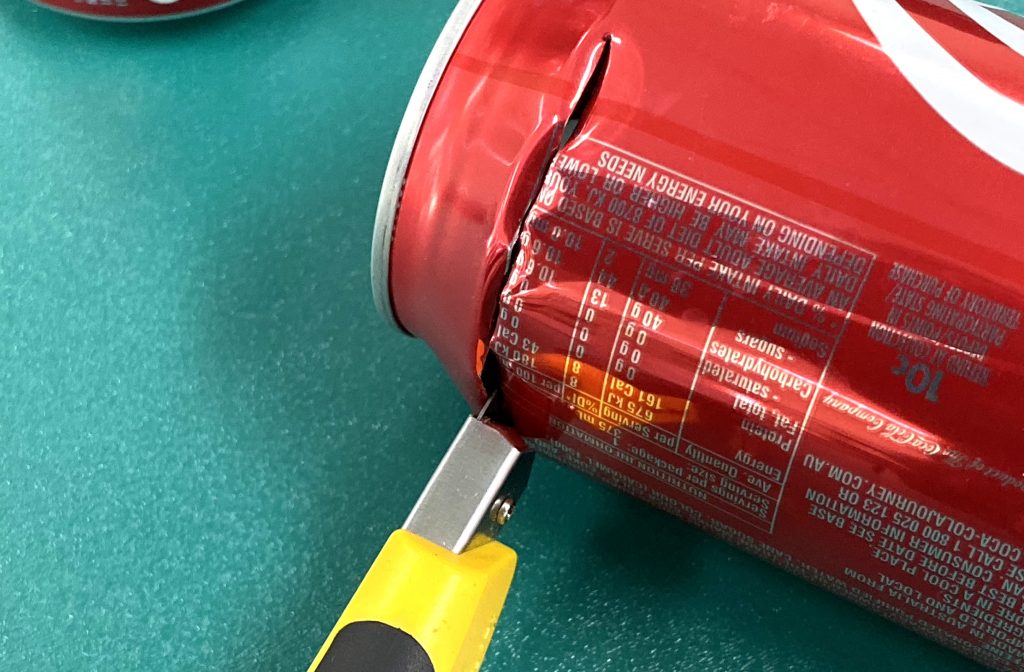
I started the project by harvesting the aluminium from some empty cans.
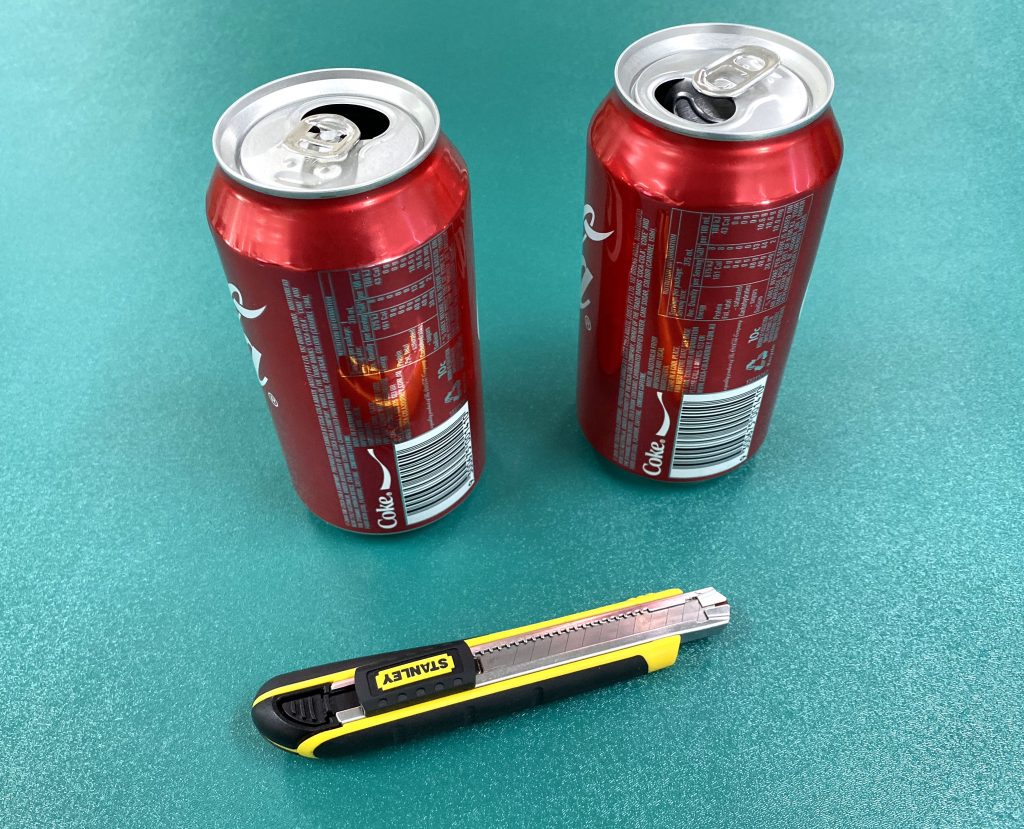
I very carefully cut the ends off the cans. These parts are sharp, so I took my time.
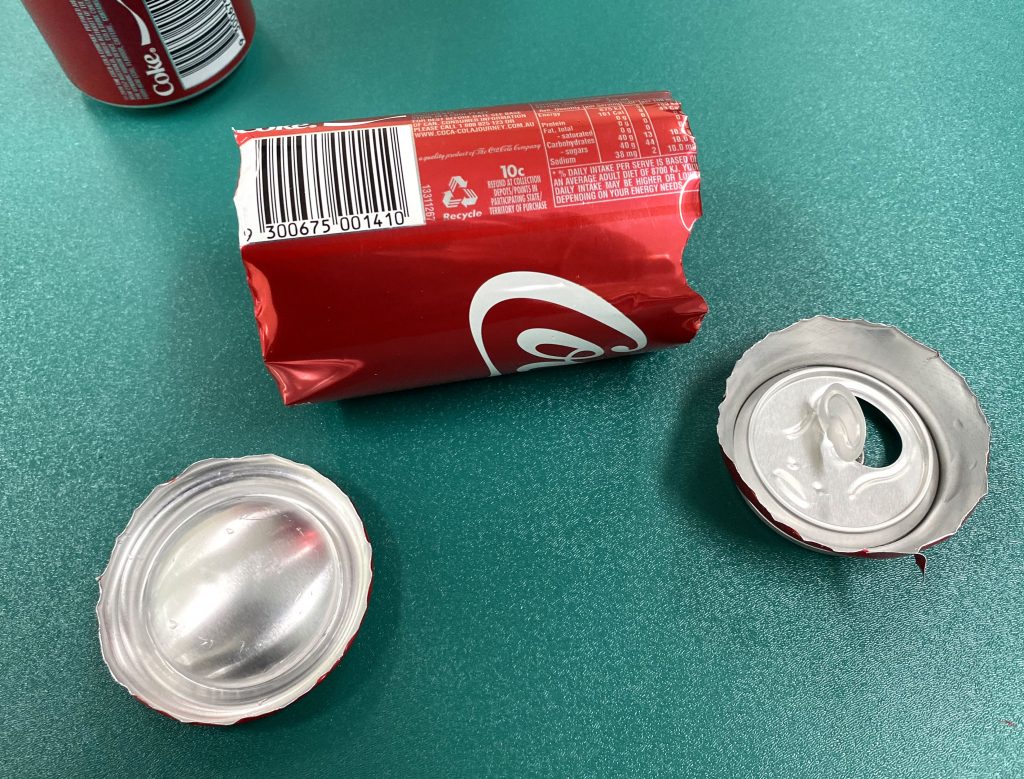
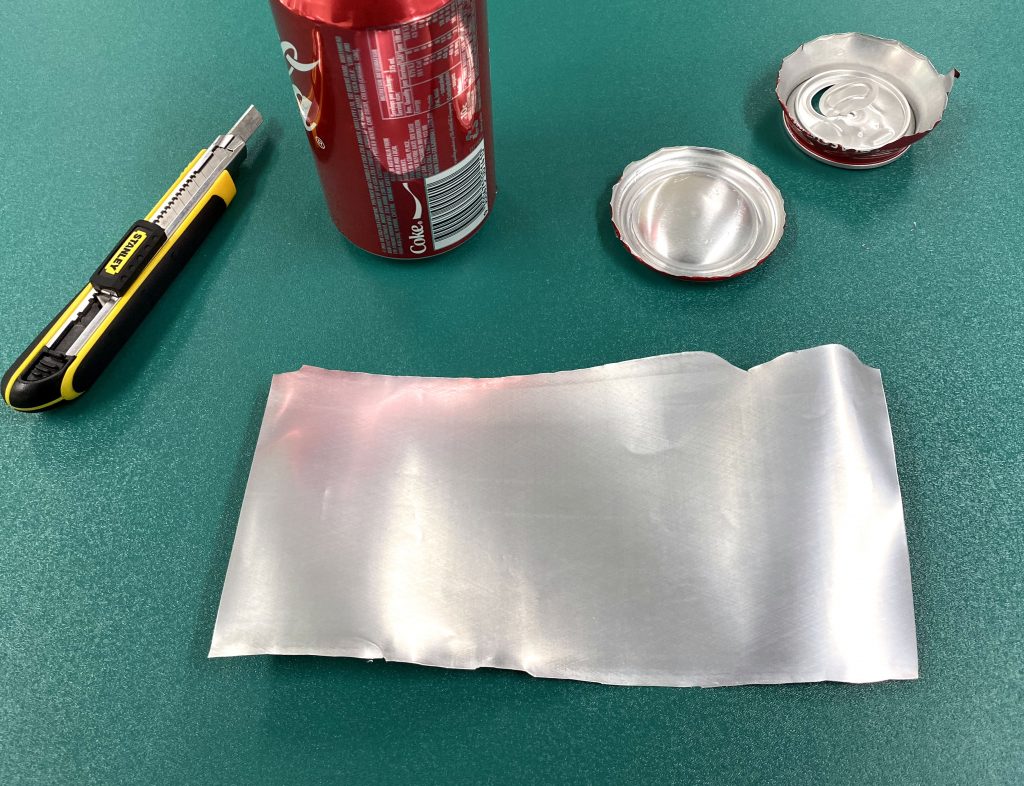
I then cut the remaining cylinder lengthwise to end up with a rectangular sheet. To help flatten the sheet out and remove some of its curvature, I ran it along the edge of the desk.
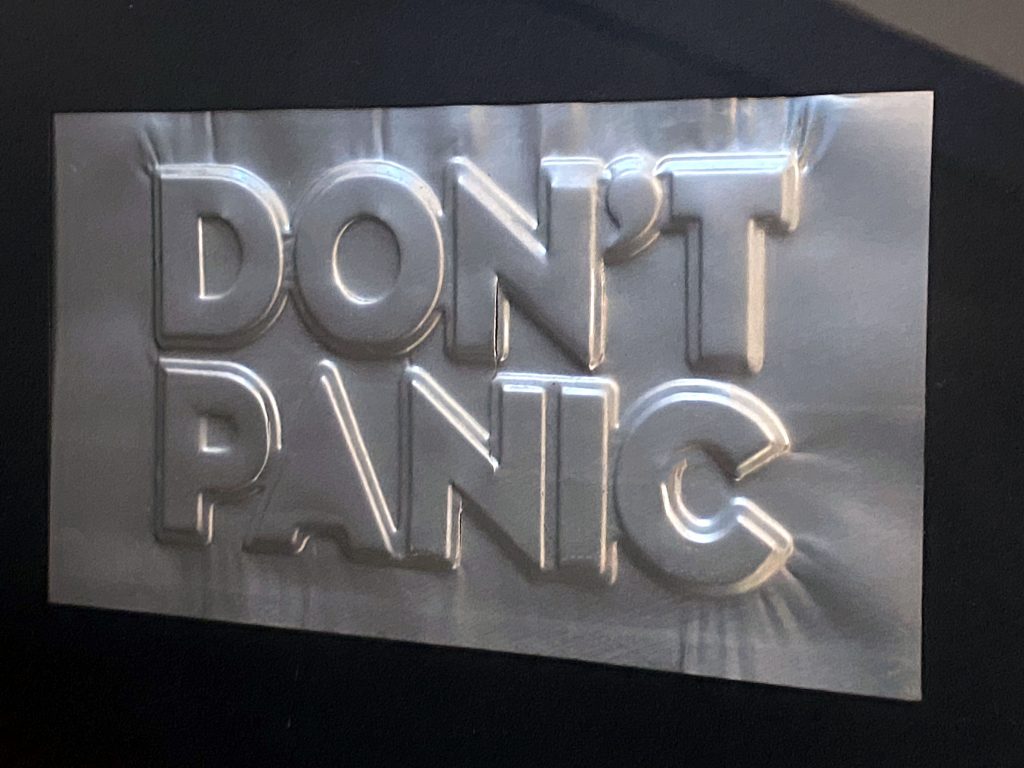
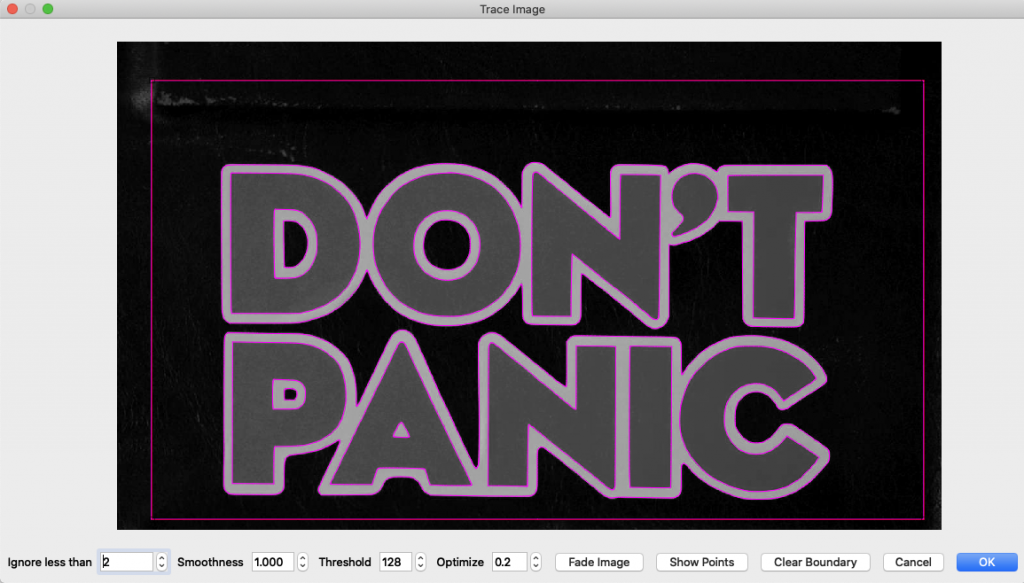
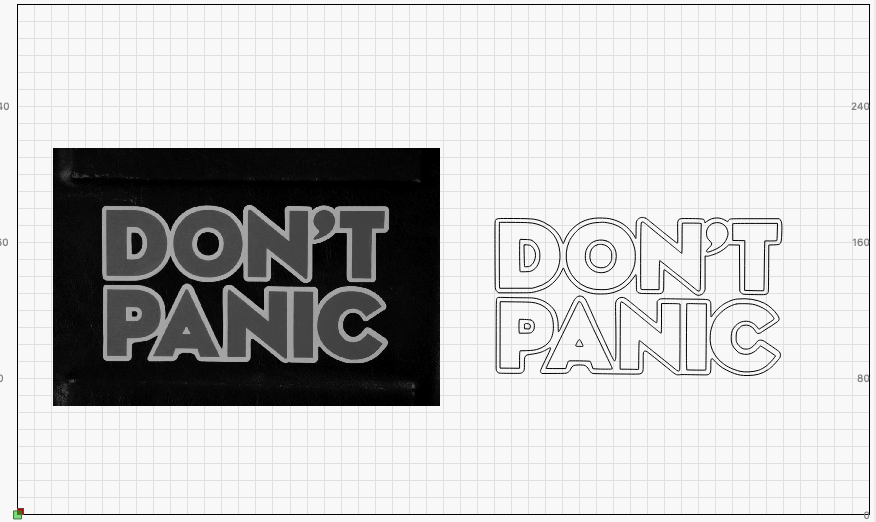
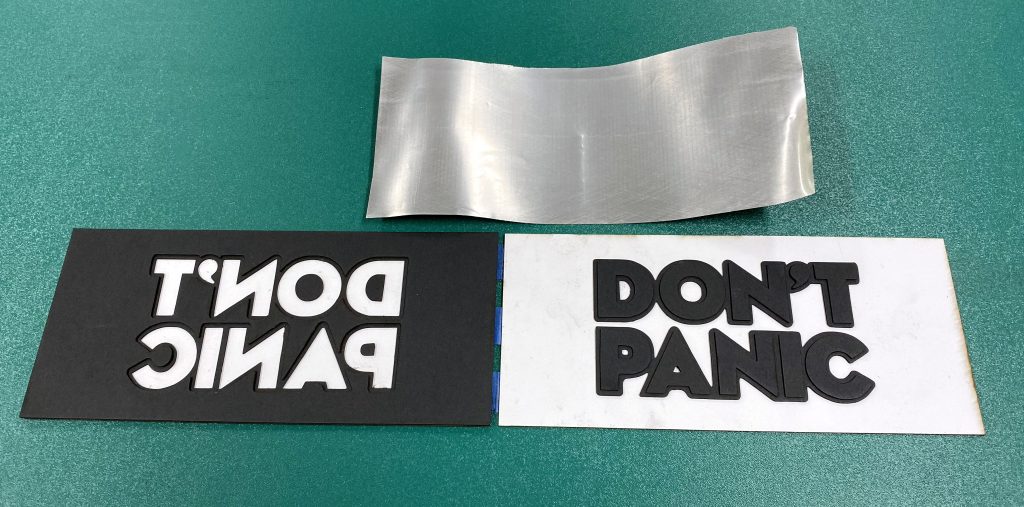
For this project, I chose the famous ‘Don’t Panic’ sign from The Hitchhiker’s Guide to the Galaxy. I particularly liked this design because it would allow me to add 2 levels of embossing from the edge that runs along the outside of the lettering.
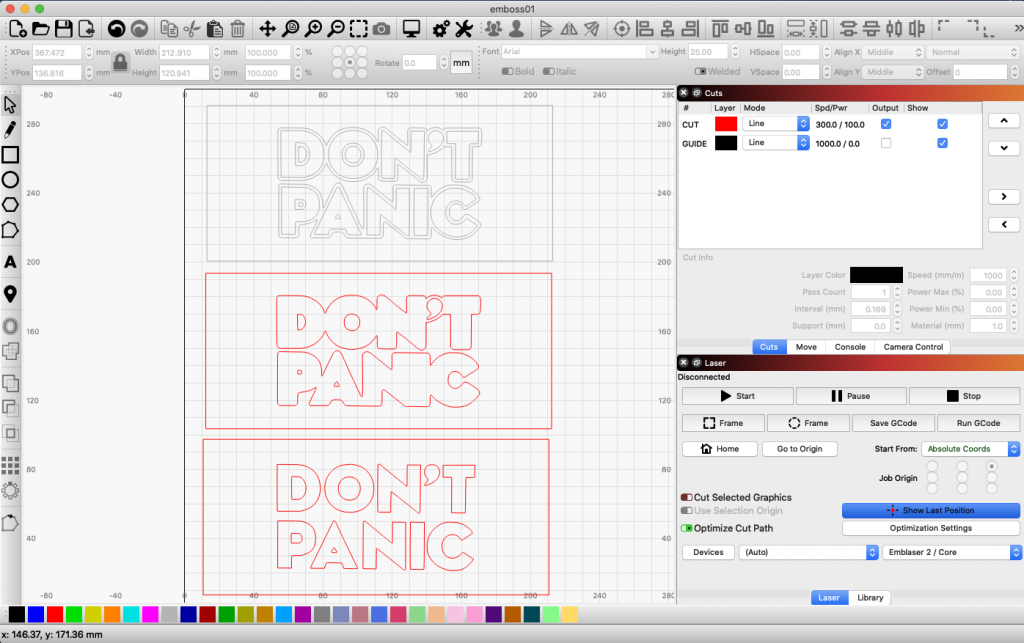
In LightBurn, I used the ‘Trace’ function to create outlines from the image.
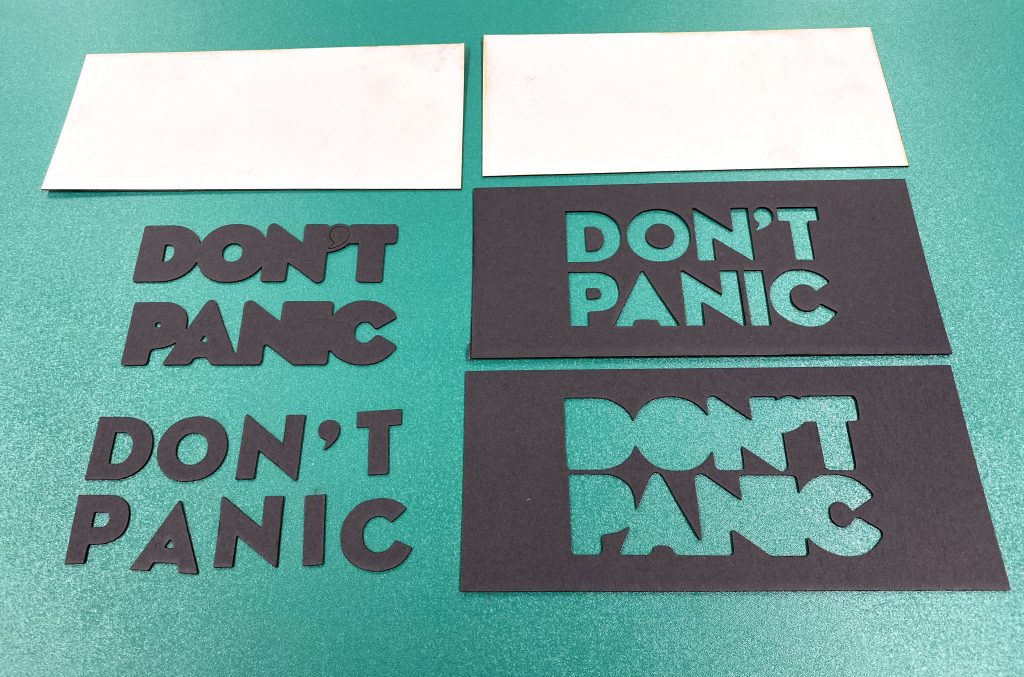
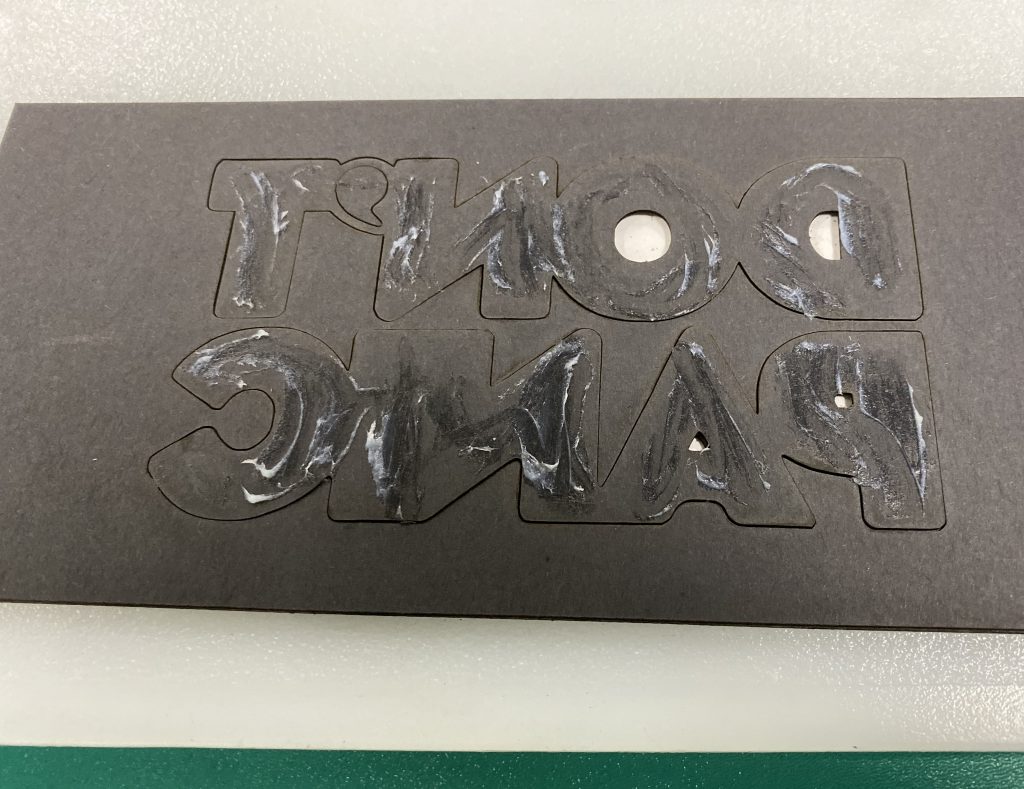
I separated the inner and outer lettering into two parts. These will form the positive and negative parts of the embossing tool.
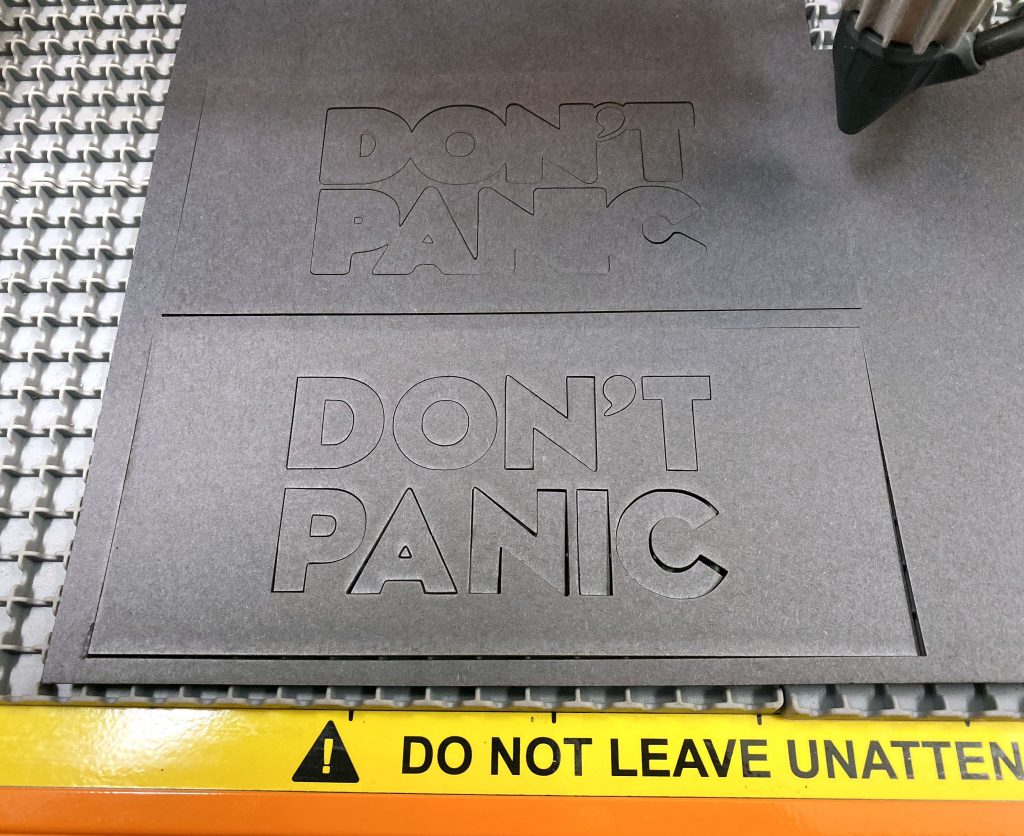
The Emblaser made quick work of cutting these pieces out. Along with the lettering, I also cut out two rectangles from card which will form the backings for the embossing tool.
By using the existing pieces as guides, the assembly proved very easy. I first joined the two negative parts of the tool.

I then used this negative side to help position the positive side letters.
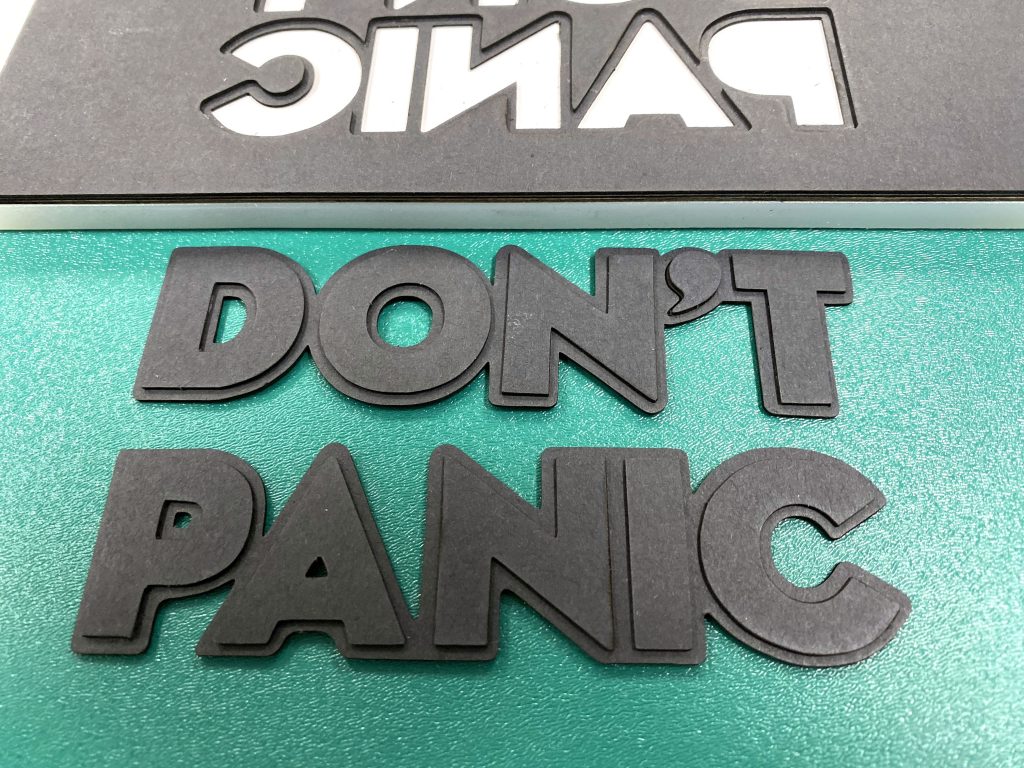
Finally, the backings were added to the tool sides.
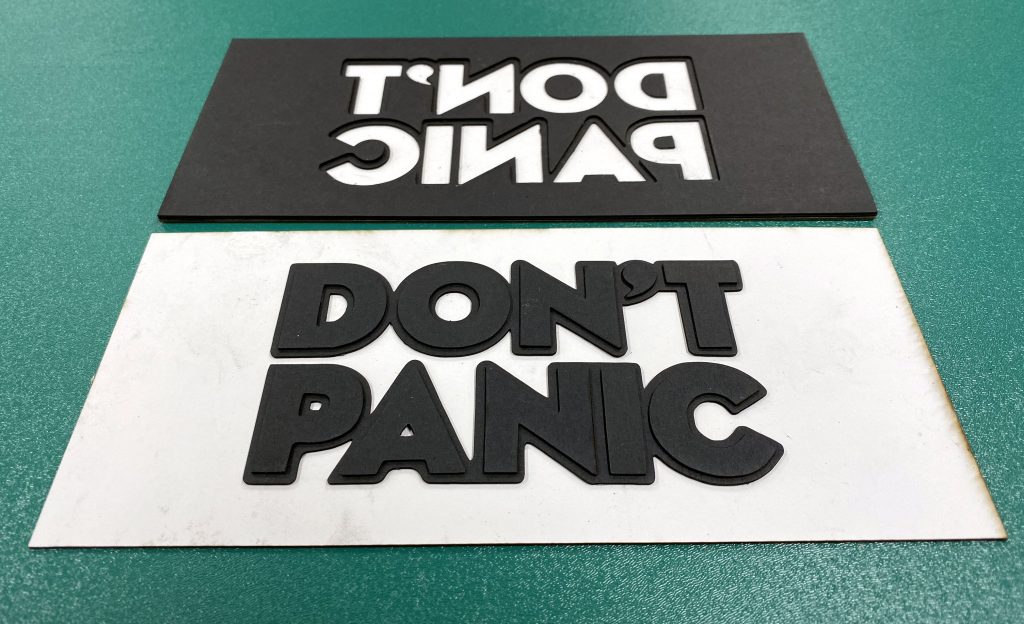
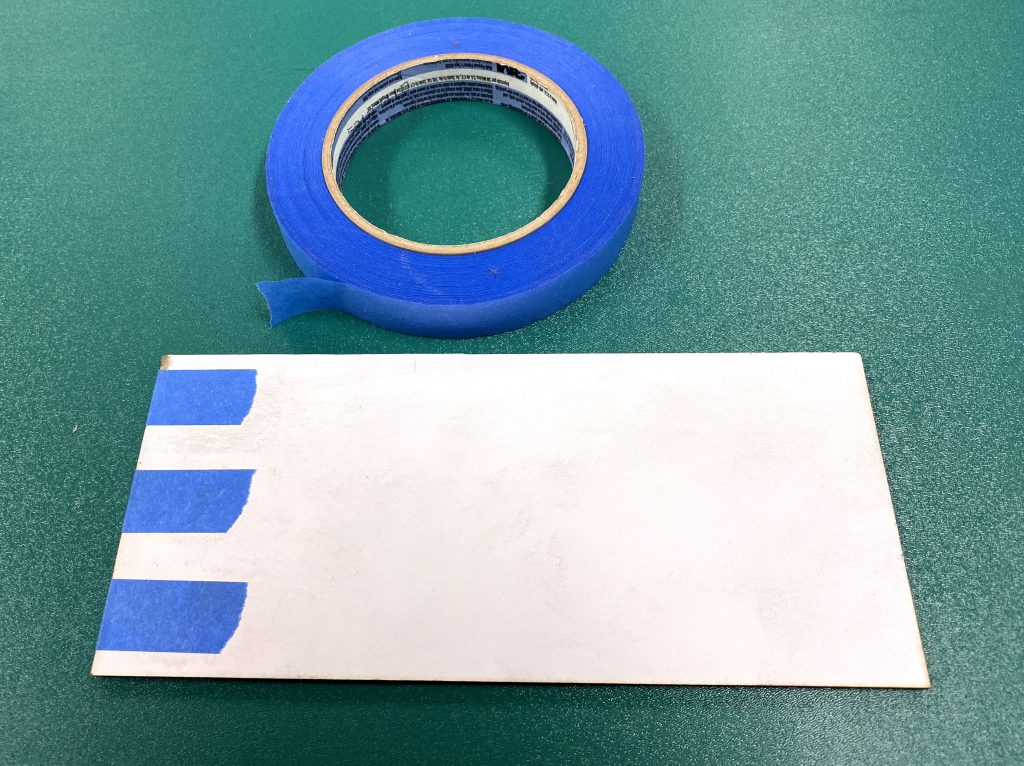
It will be important for both of these parts to perfectly align with each other when the tool is closed. To make sure this happens, I taped one edge together.
There are many techniques for pressing the tool over the aluminium. A rolling pin can be used as well as an embossing press. In our case we used a workshop press to apply pressure to the tool.
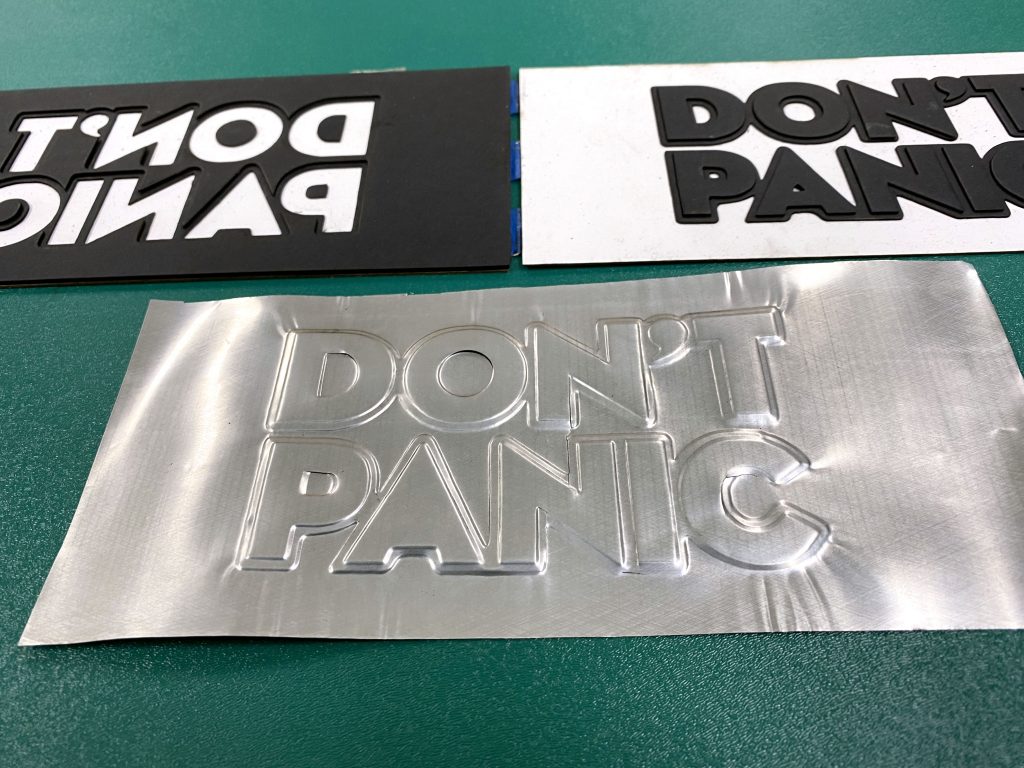
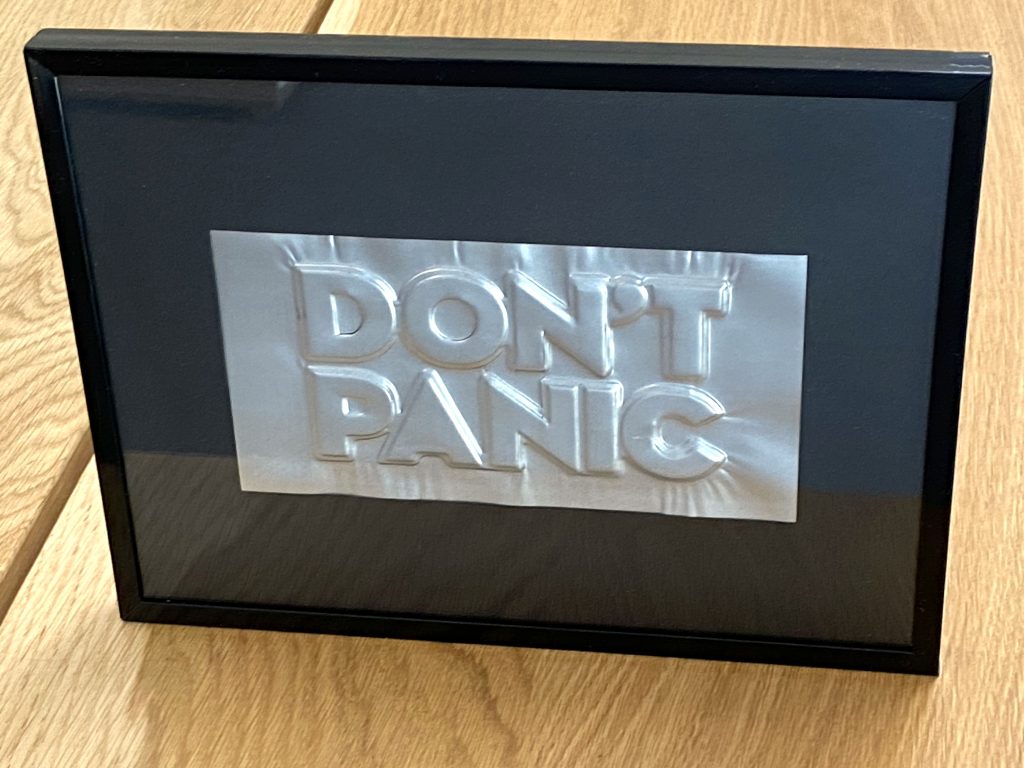
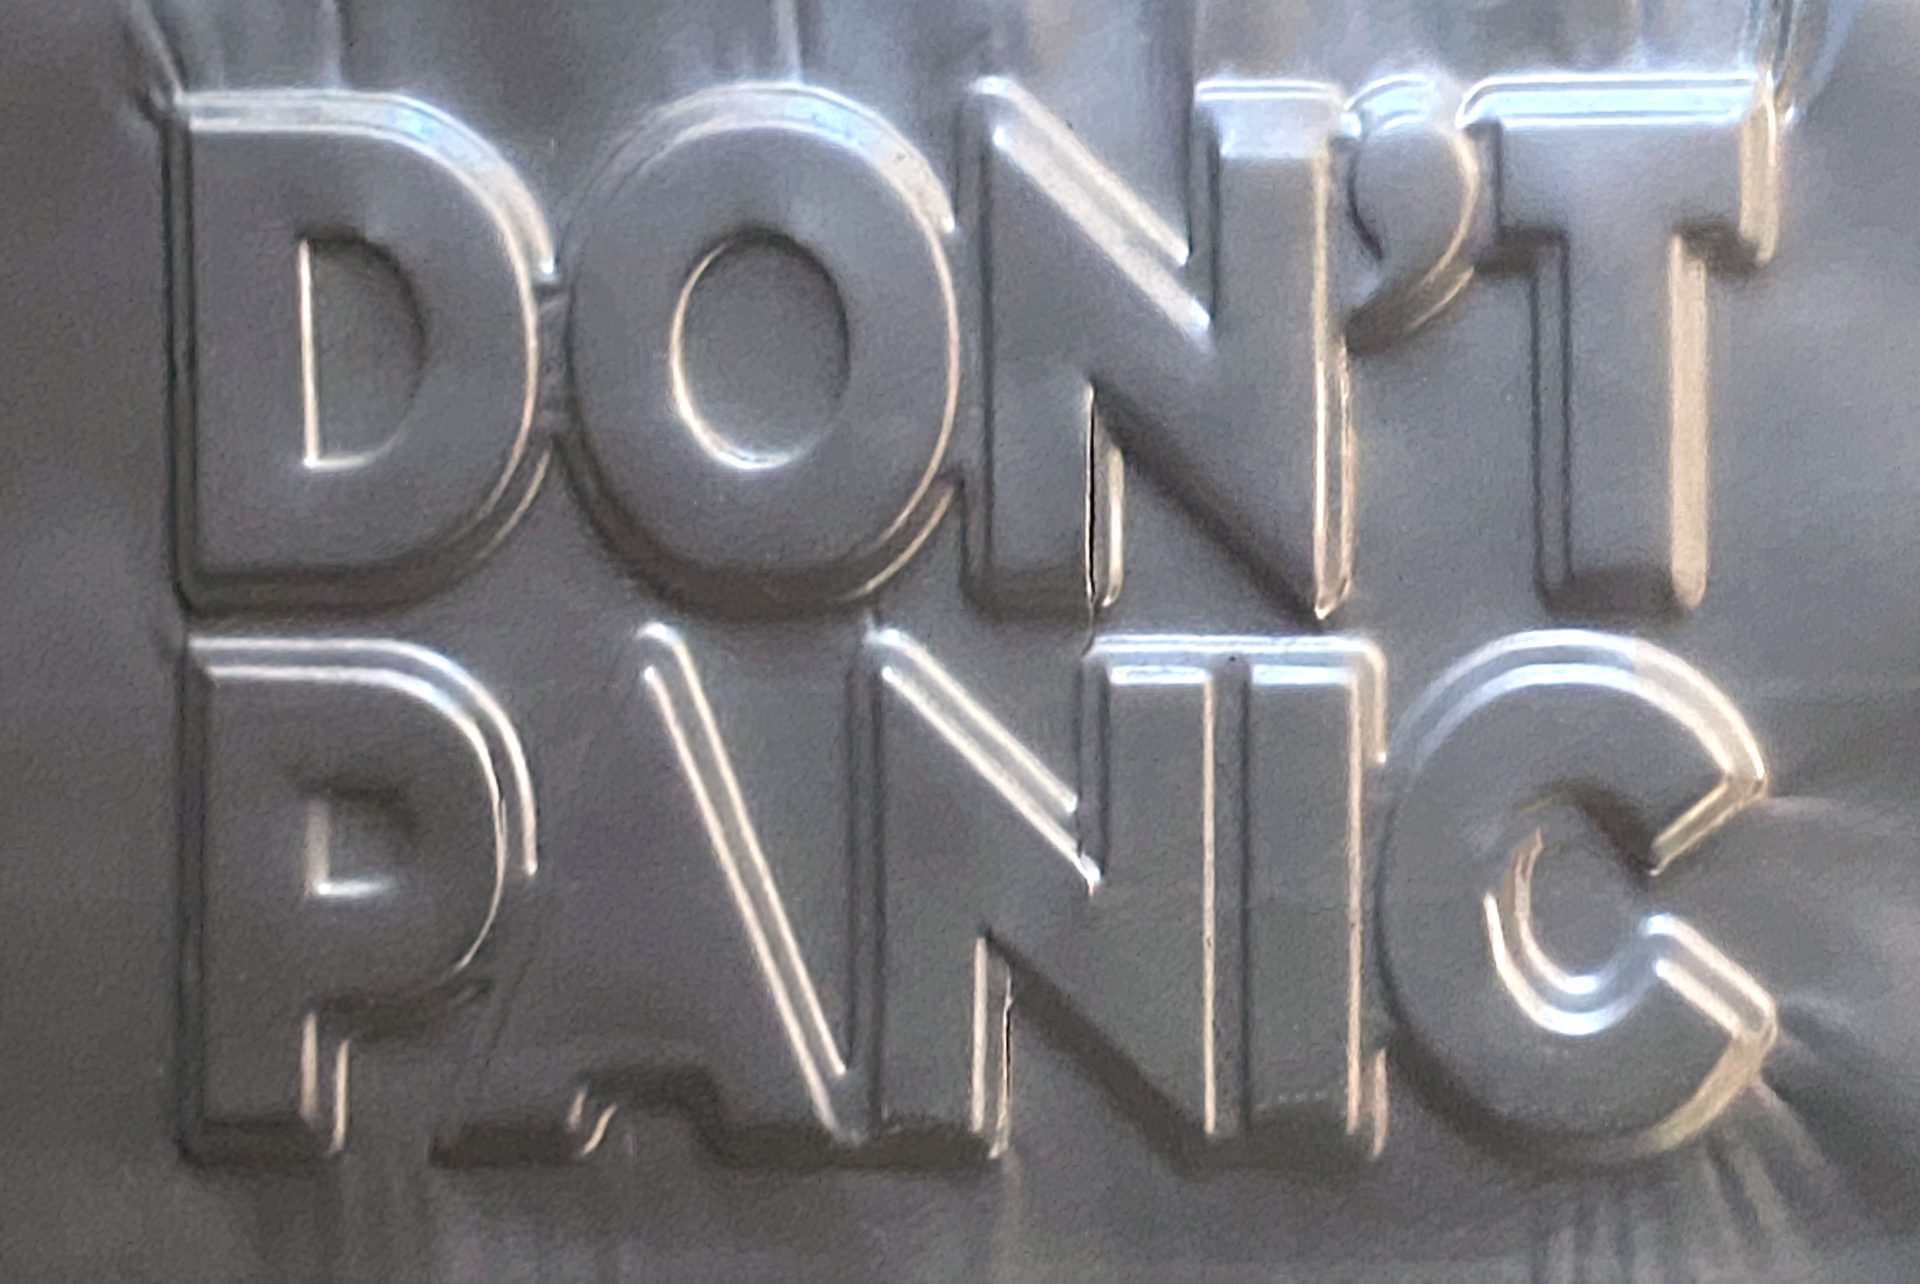
The final results were very promising. I did notice some wrinkling around the lettering which was most likely caused because I was trying to stretch the aluminium a bit too far. There was also a little tearing on some of the inner letters.
In the future I will experiment with allowing a little more gap between the positive and negative sides of the tool which should allow the material to conform a little better.