
This article will explain how to align an item to be engraved/cut precisely, without the use of a Workspace Camera. This method is best for one-off projects or small batches, with easily distinguishable reference points, such as straight edges or corners (however it will also work for circles) and still allows you to achieve a high degree of accuracy.
You will require the following items:
- The object you wish to engrave/cut
- A piece of scrap card, larger than the object
Step 1:
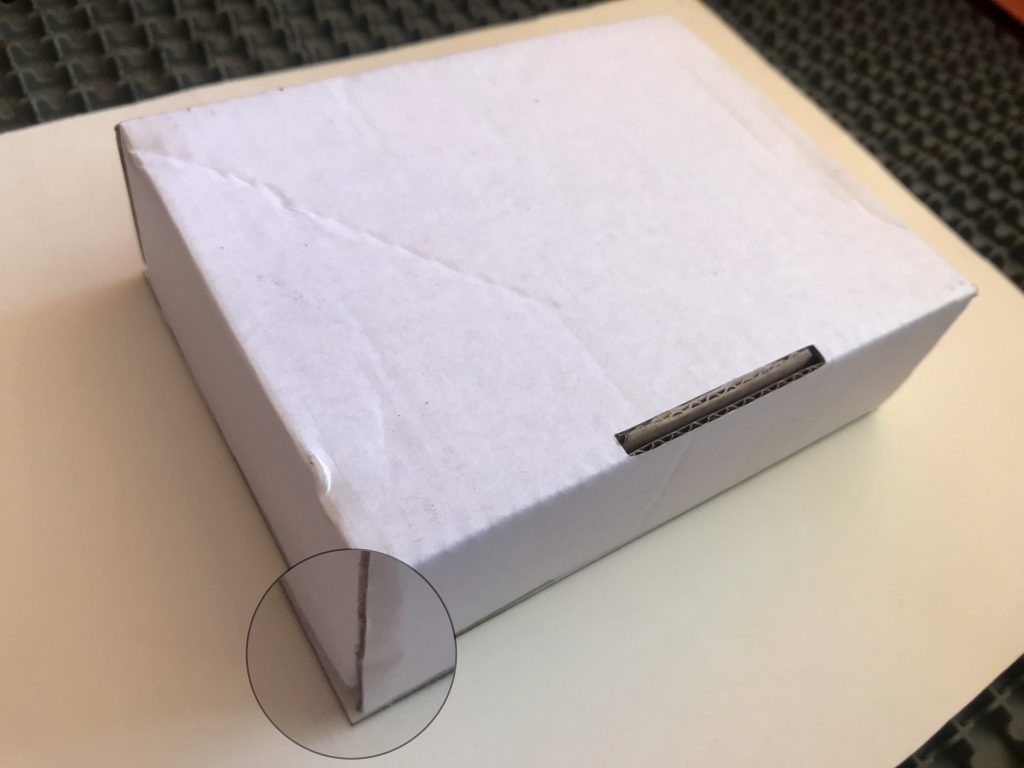
Start by measuring the objects key dimensions.
It is important that this be accurate, however rounding up slightly is preferable over rounding down.
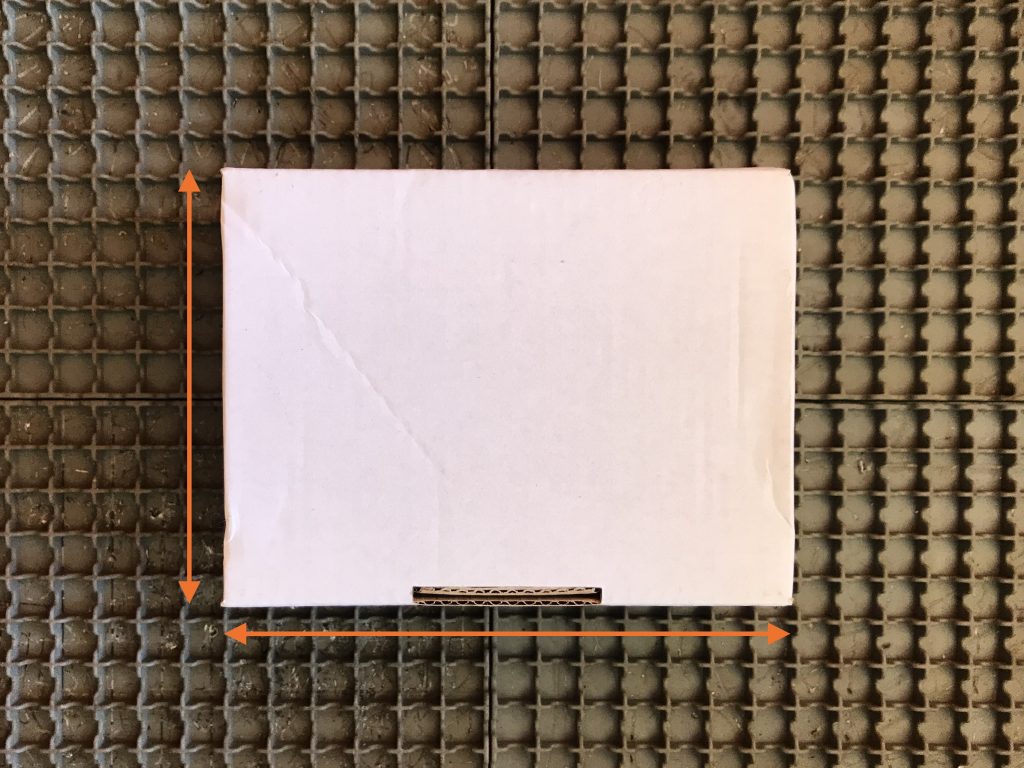
If the object is more complex, choosing a few key points is usually sufficient.
Step 2:
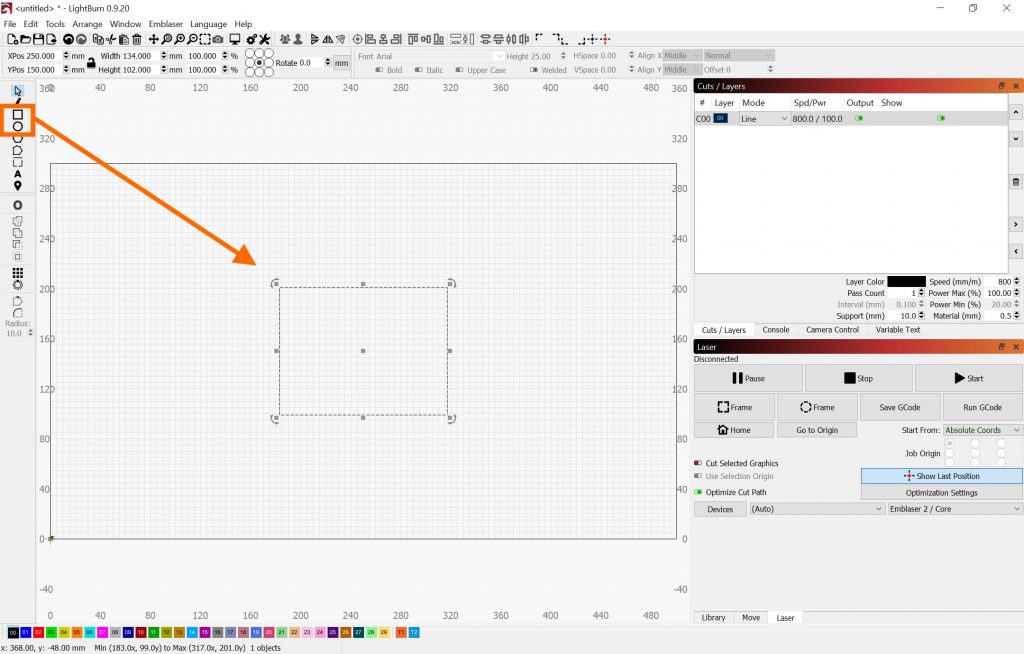
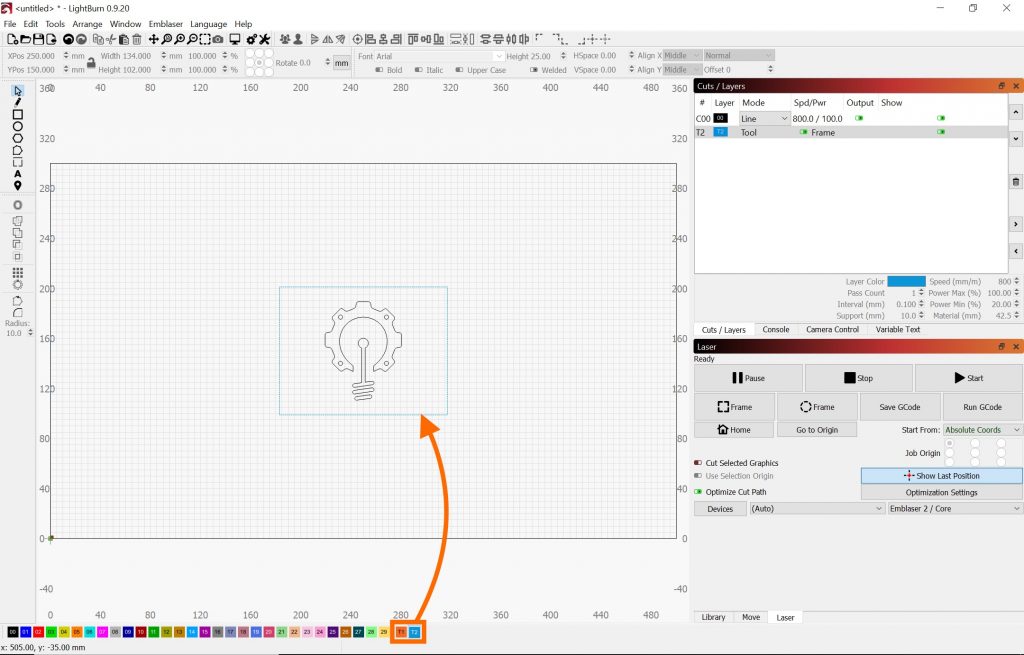
In LightBurn, start a new project, then using the Rectangle or Circle tool as appropriate, roughly draw the outline of the object.
Step 3:
Next, with the shape selected, use the Dimension Values in the top panel and enter the dimensions of the item, as measured.

Note: You may need to ‘unlock’ the aspect ratio using the padlock icon, to allow you to edit the dimensions without one affecting the other.
Step 4:
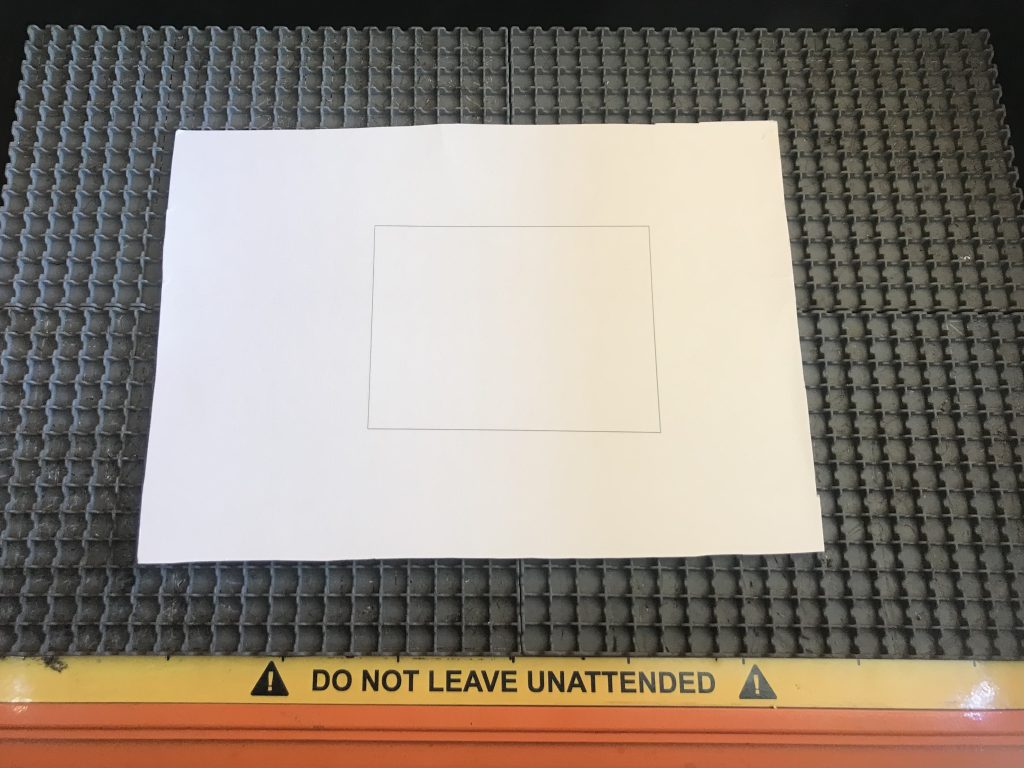
Place the card in the Emblaser, roughly in the same location at the shape in LightBurn. Then engrave the outline onto the scrap card, being sure to use setting that will engrave but not cut the material.
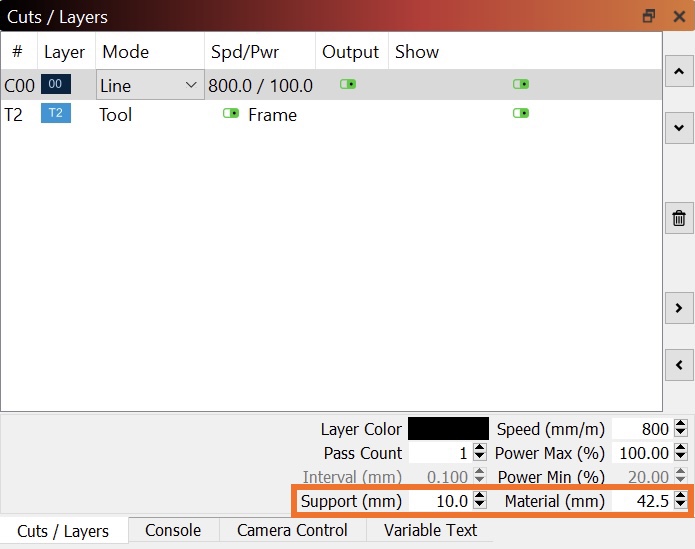
Note: Remember to check the Support and Material values in the Cuts / Layers tab.
Step 5:
Place the object on top of the engraved outline, aligning it by eye and being very carful not to move the card.
If the card is moved, it is best to re-engrave the outline on a new section of card.
Step 6:
Back in LightBurn, move the outline to a ‘tool layer’. Then import/past the artwork to be cut into the current project and align it to the outline of the item drawn previously.
Step 7:
Check your settings for the material are correct, including the Support and Material values.
You will need to add the thickness of the card to either of these values also – Here, it has been added to the Material value.
Step 8
Run the job and you are done!
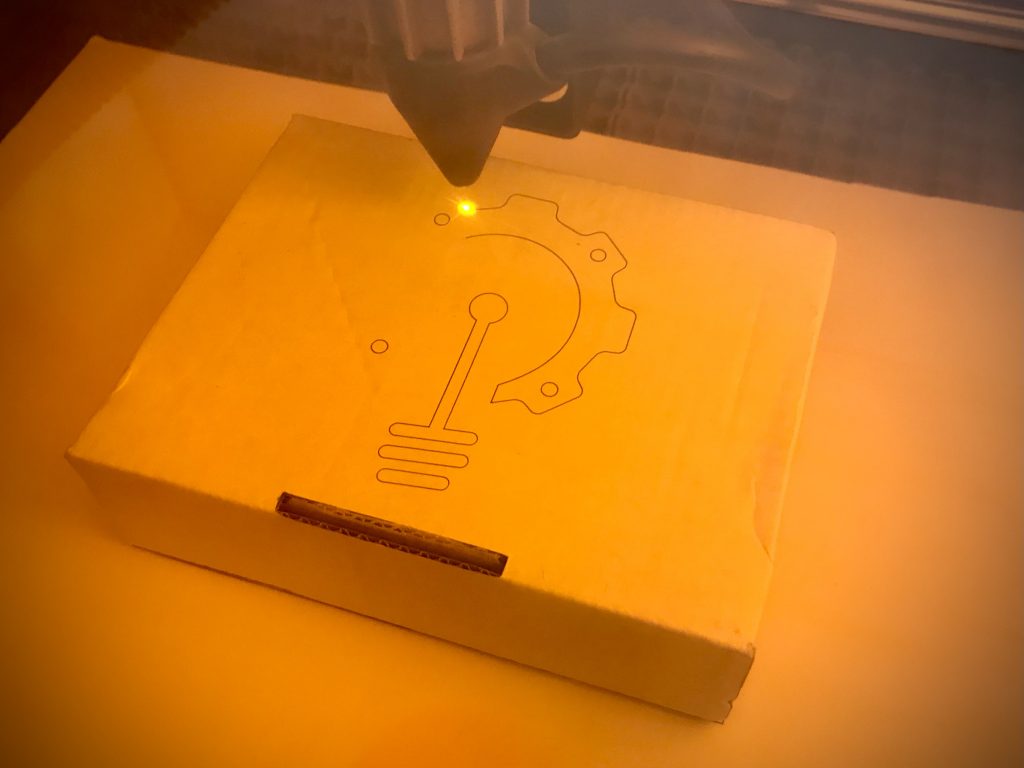
If you are carful when removing the object, you can continue to align additional objects without having to redo the above steps.
