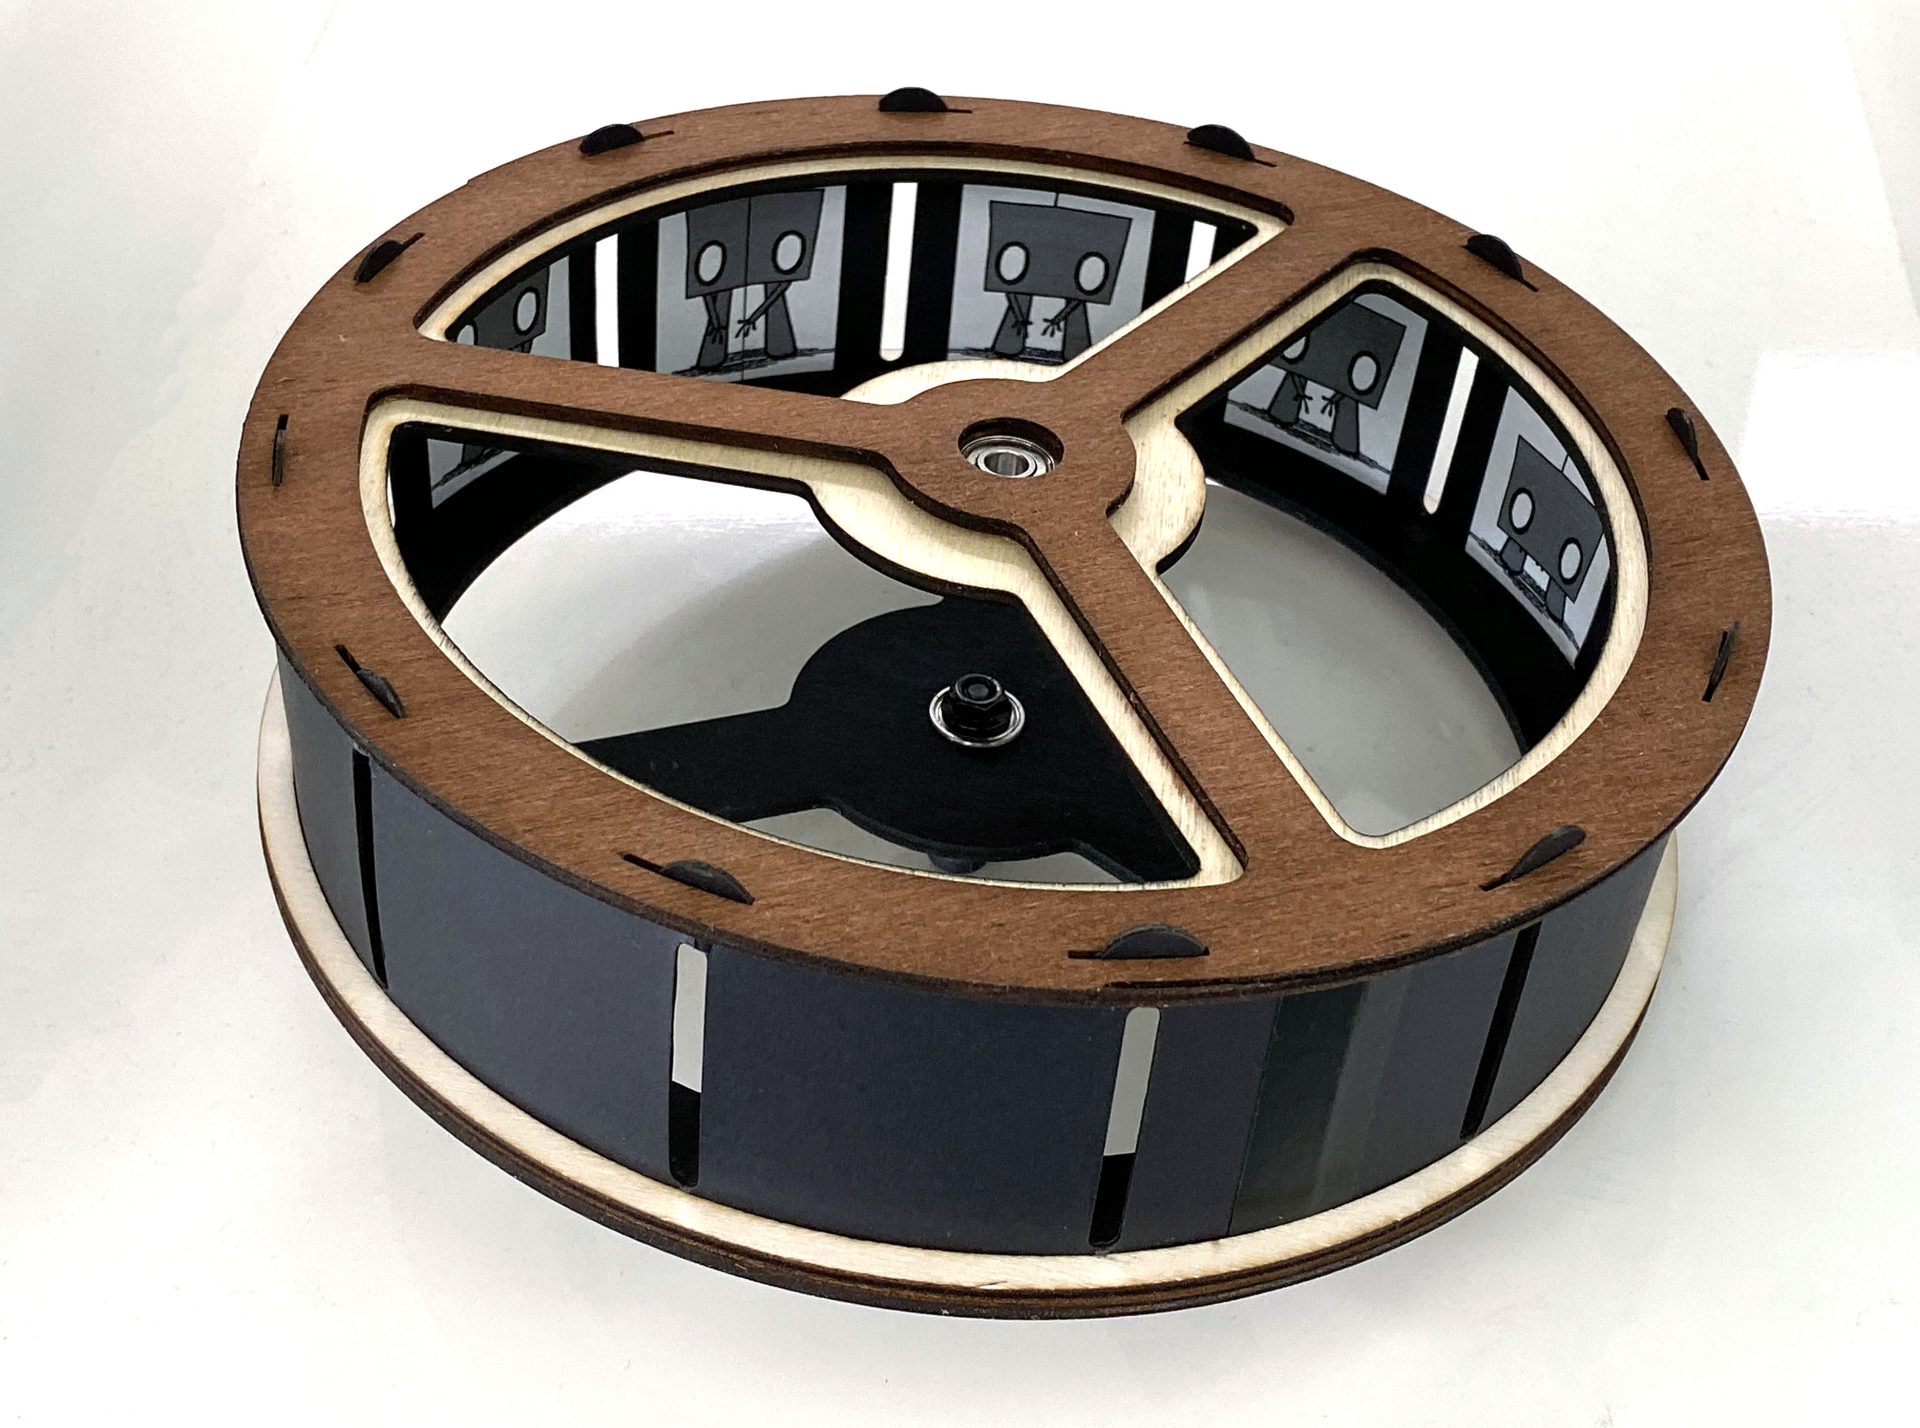
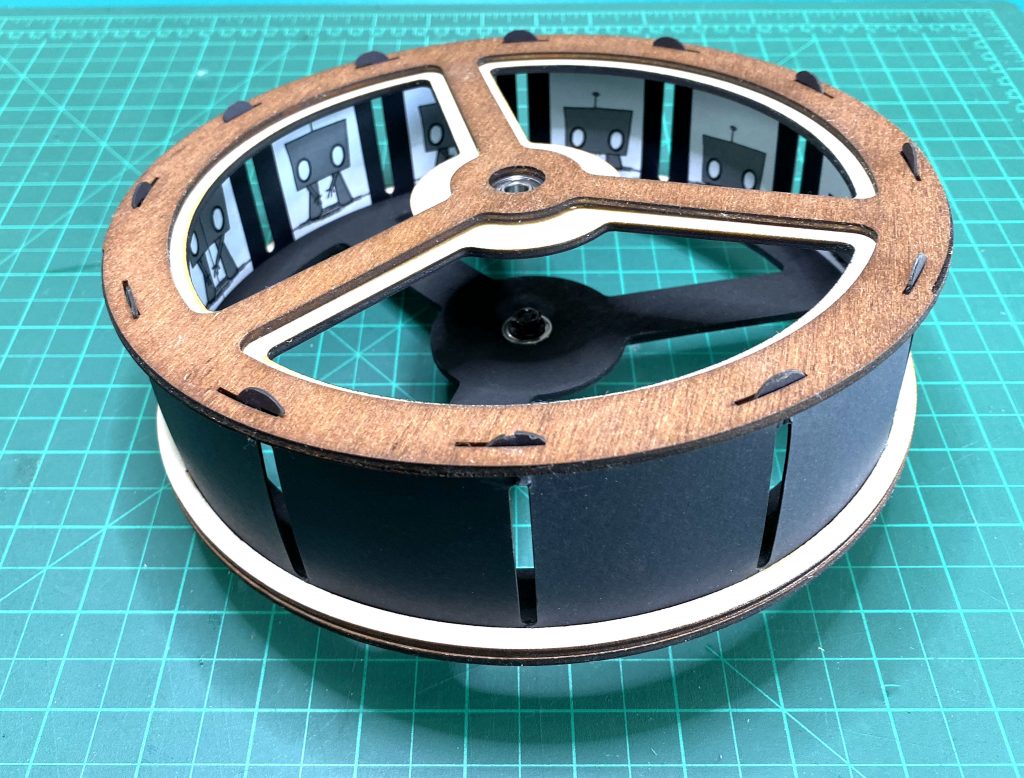
I have always been fascinated with animation. One of the simplest devices that demonstrated the principles of animation is the Zoetrope.
Lliam, from our technical support department, created this laser cut version from some similar projects he found online.
Project Files
Materials:
- 3mm plywood
- 600 gsm card
- White printer paper
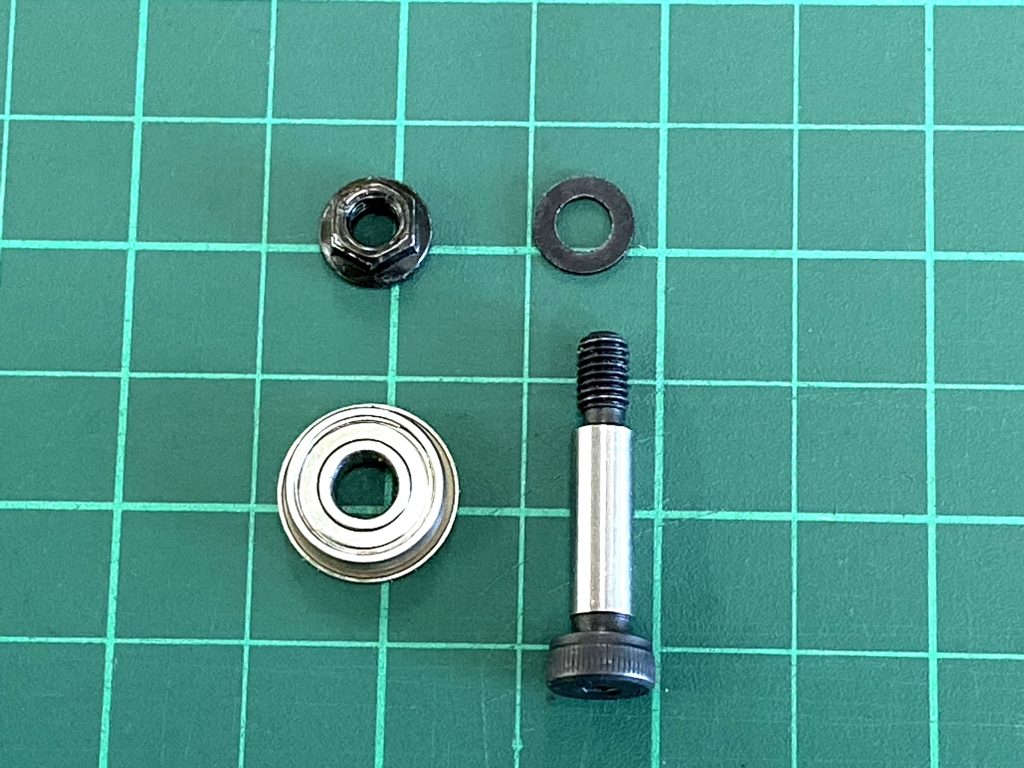
- 5mm flange bearing, bolt, nut and washer (for handle)
Other Items Needed:
- Wood glue
The Build
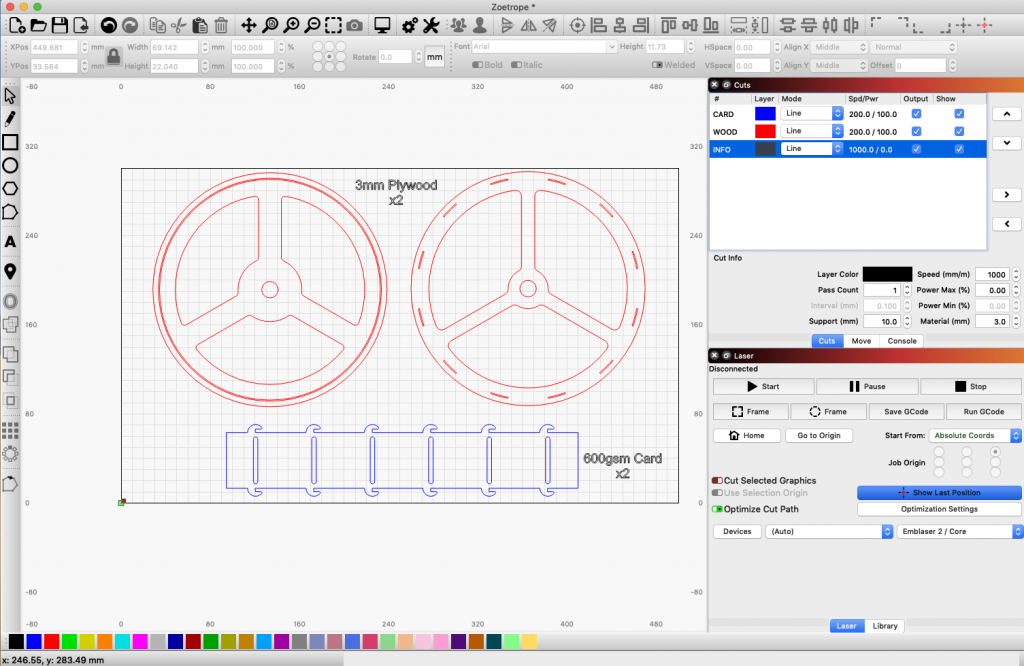
I started this build by first laser cutting all the parts I needed. This included 3mm plywood and black 600 gsm card stock. The LightBurn project shows that I need two of all the parts.
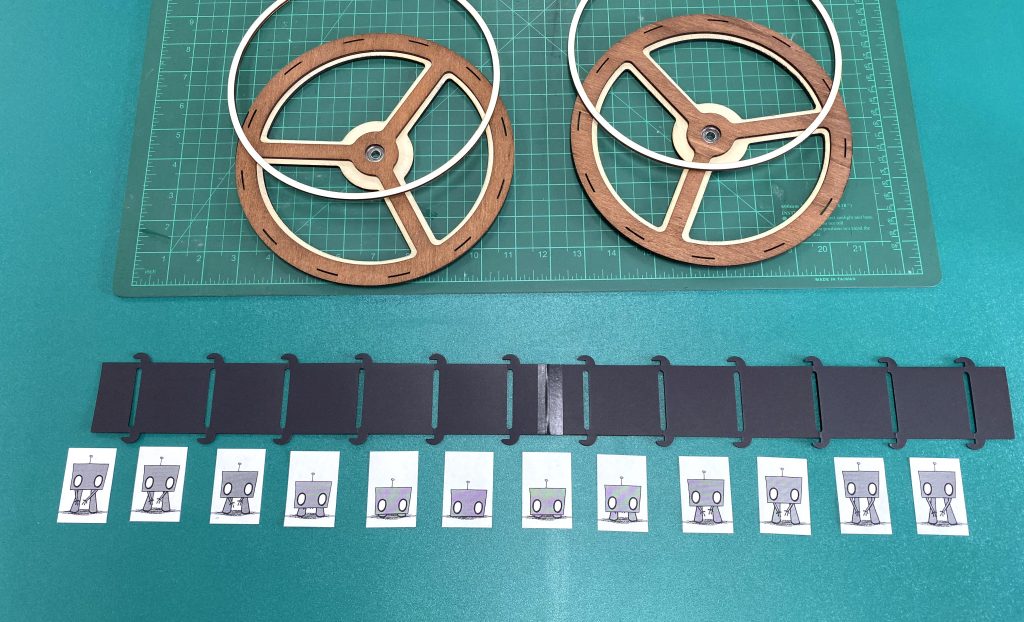
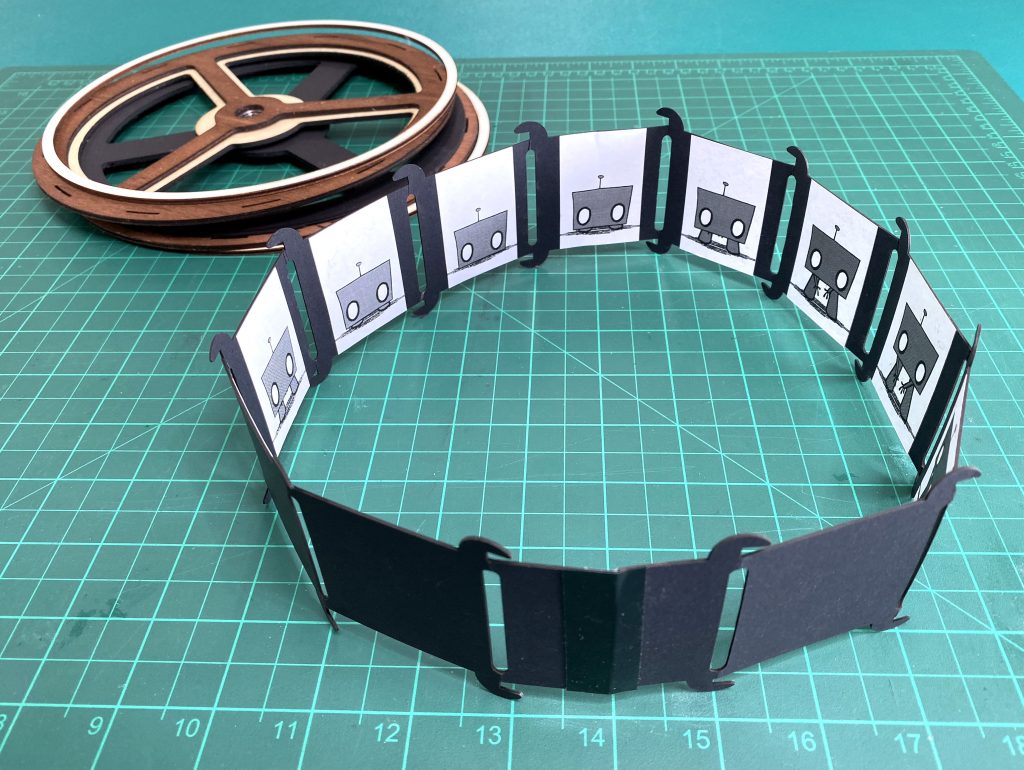
For this zoetrope, I am going to use a simple 12 stage animation. Each of the animation images are called ‘cells’.
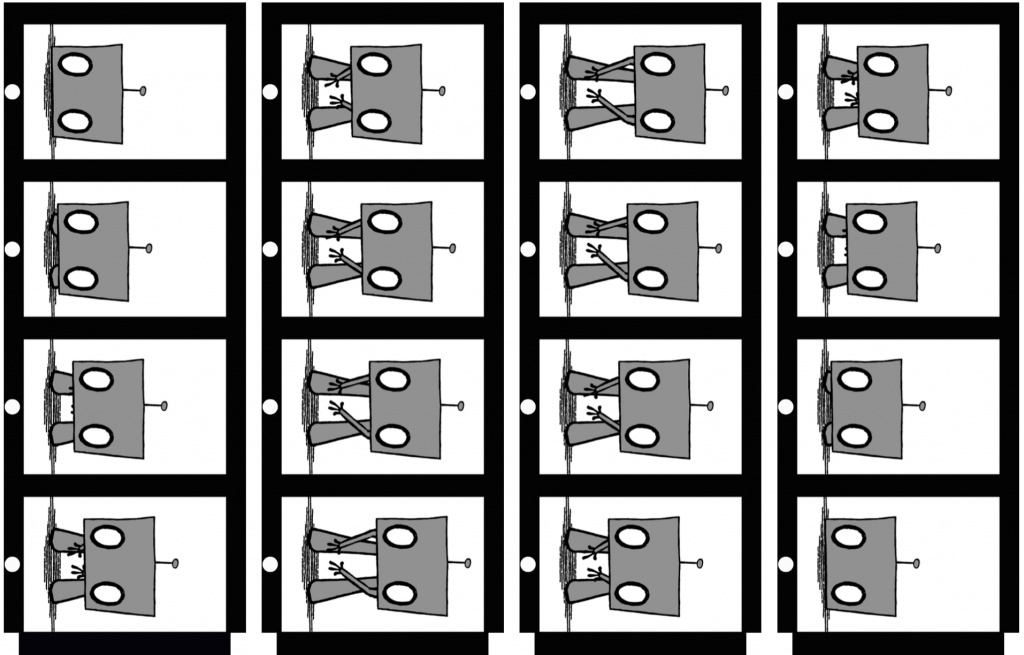
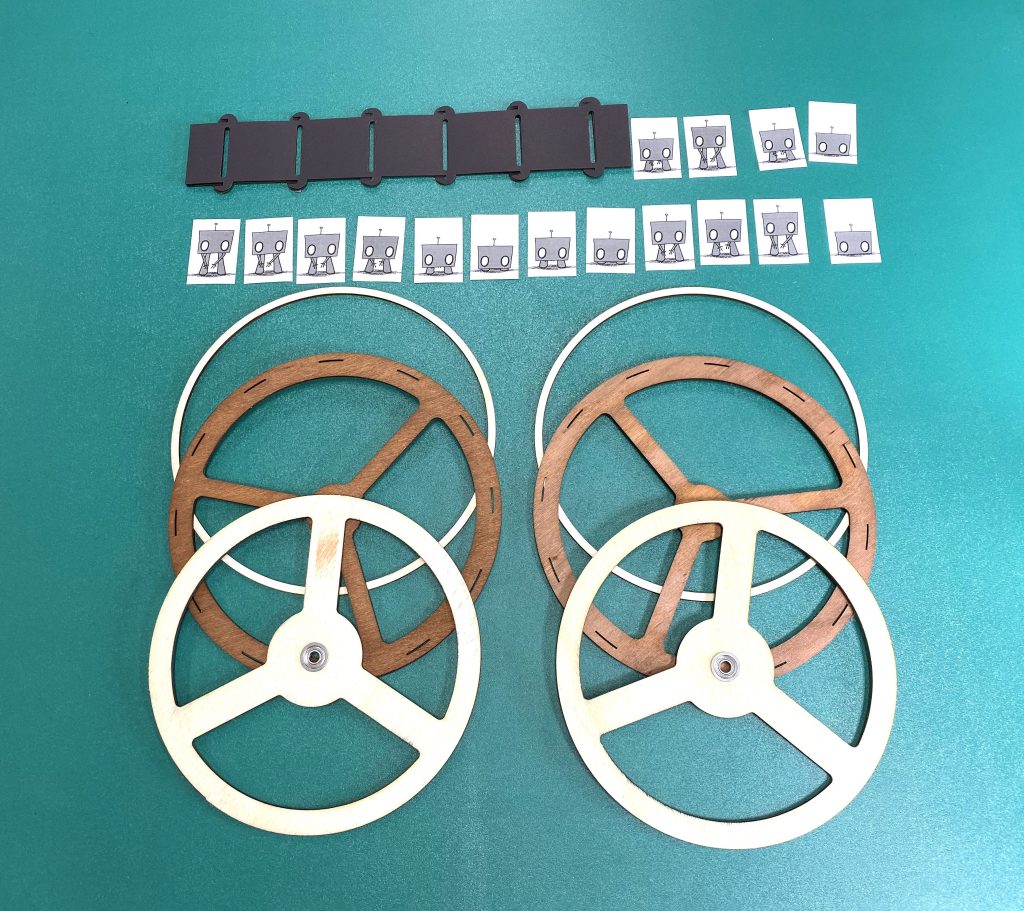
I printed the animation design onto plain printer paper and cut each of the animation ‘cells’ out. I also decided to stain some of the wood before assembly.
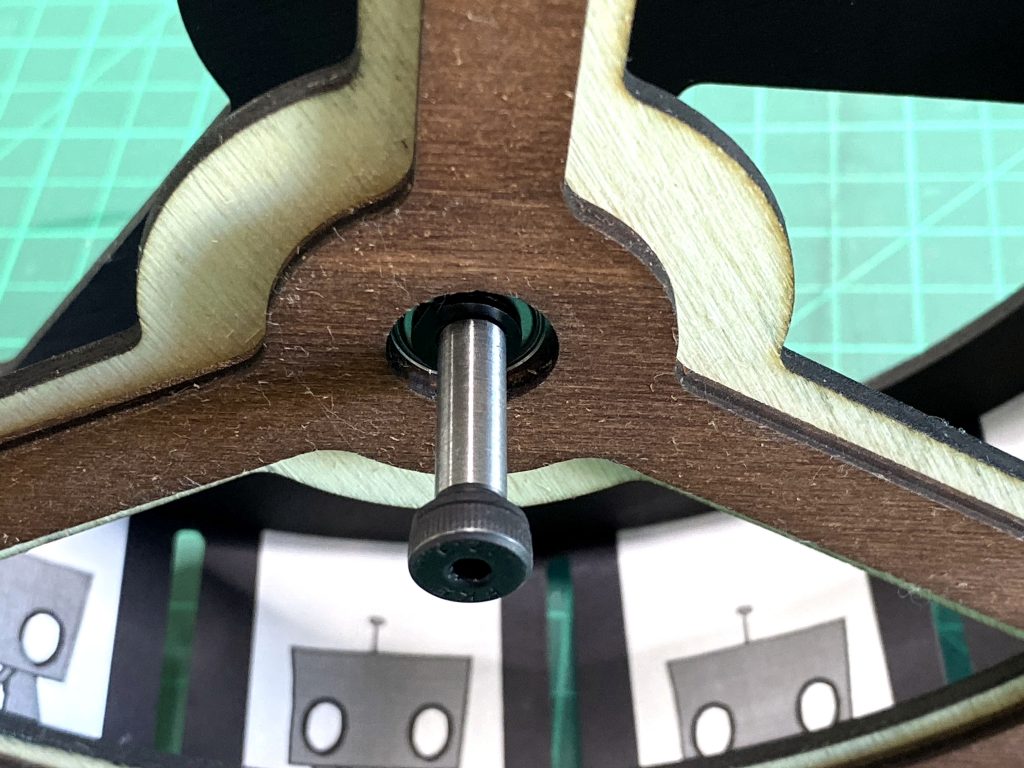
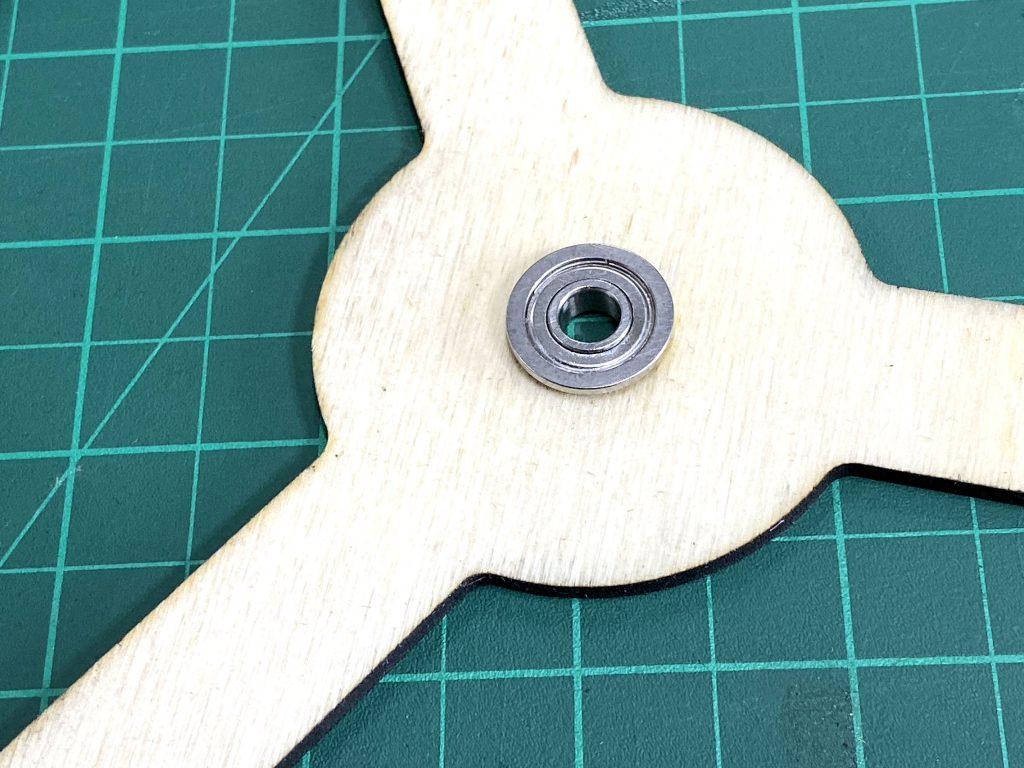
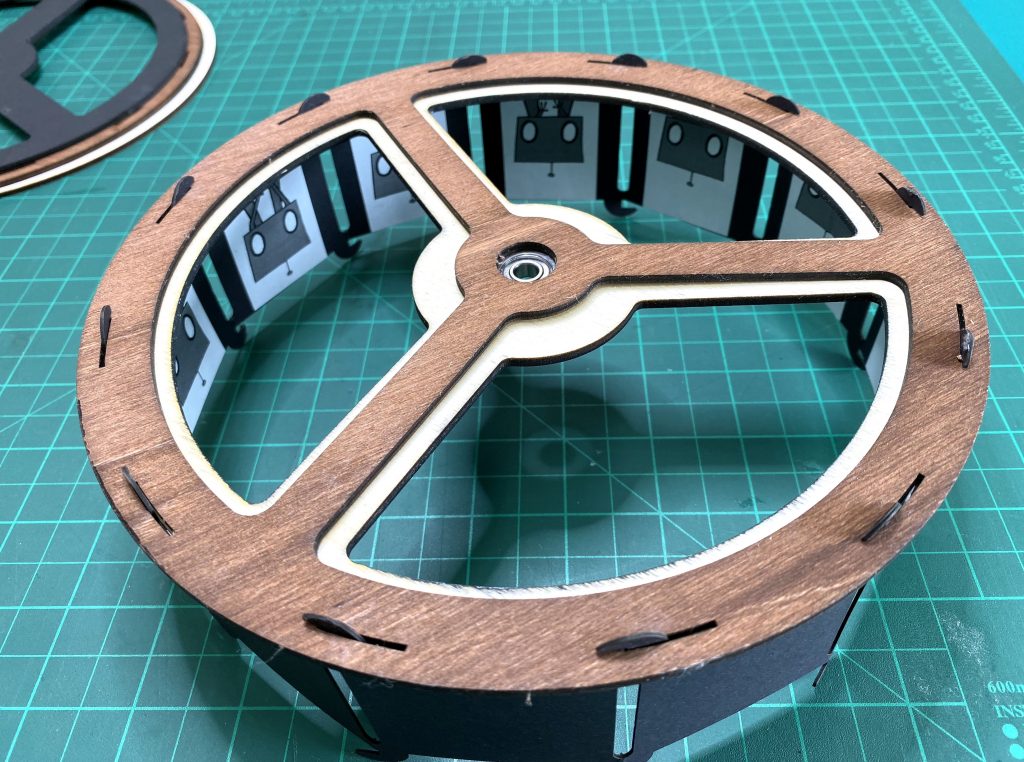
One of the keys to making this zoetrope work well is allowing it to spin freely. This project uses a small flange bearing we had on hand. Since this bearing gets encapsulated in between the laters of wood, I first pushed this in place.
The two wooden spokes of the zoetrope were then glued together.

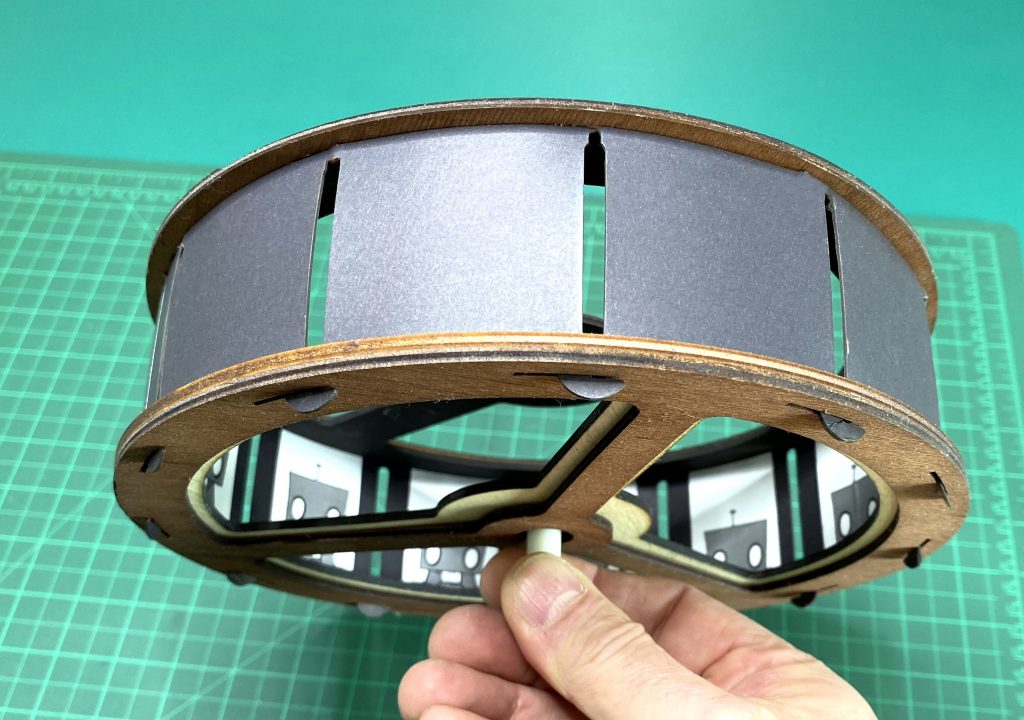
I then joined the two pieces of the animation strip together with some tape and organised my animation ‘cells’ in the correct order.
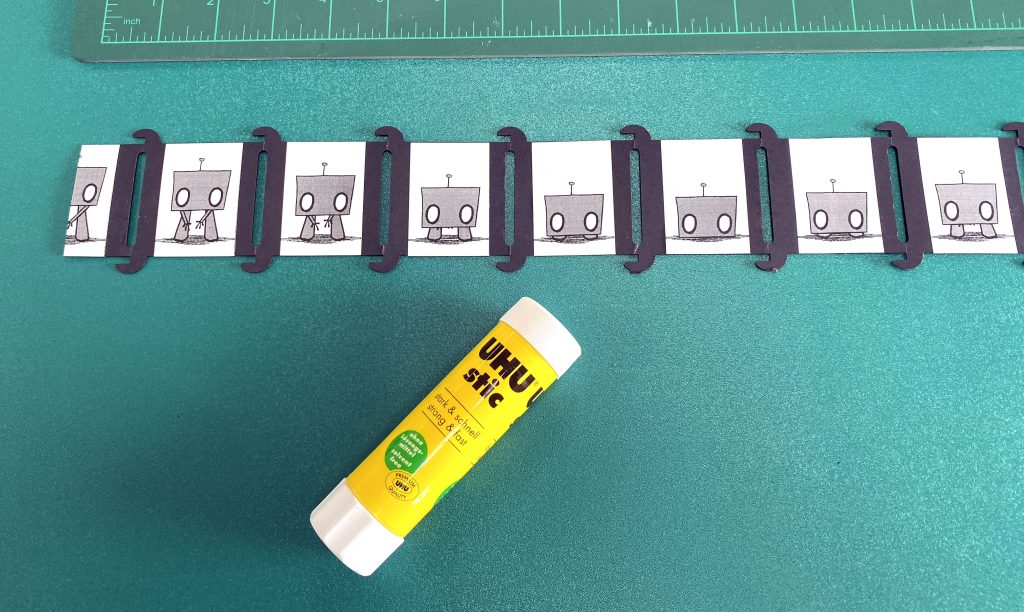
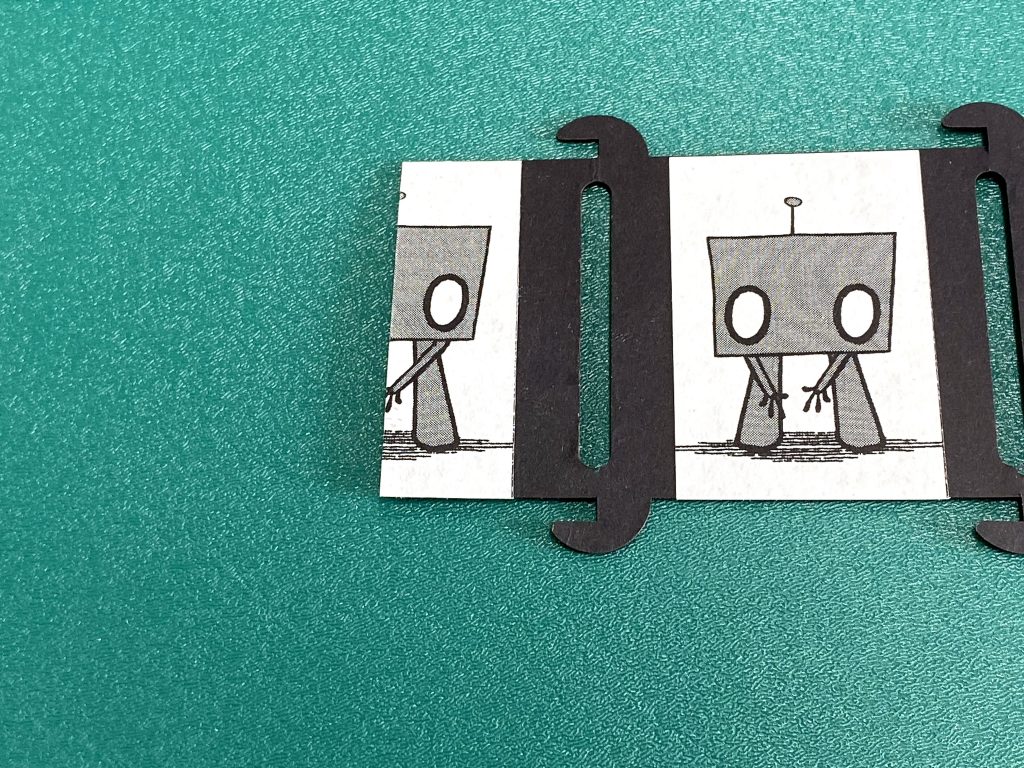
I glued each of the animation images onto the strip, taking care to align them neatly. Note that the cell on the left is cut in half and each half is glued to the ends of the strip.
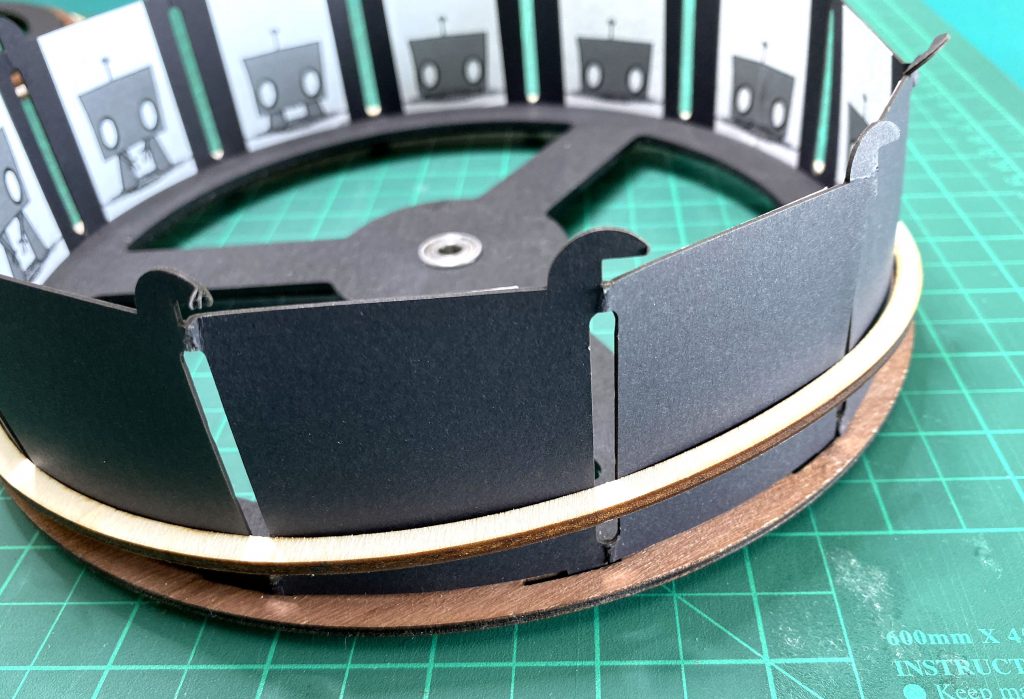
The strip was then joined together to form a loop and carefully inserted into the slots on the wooden spokes.
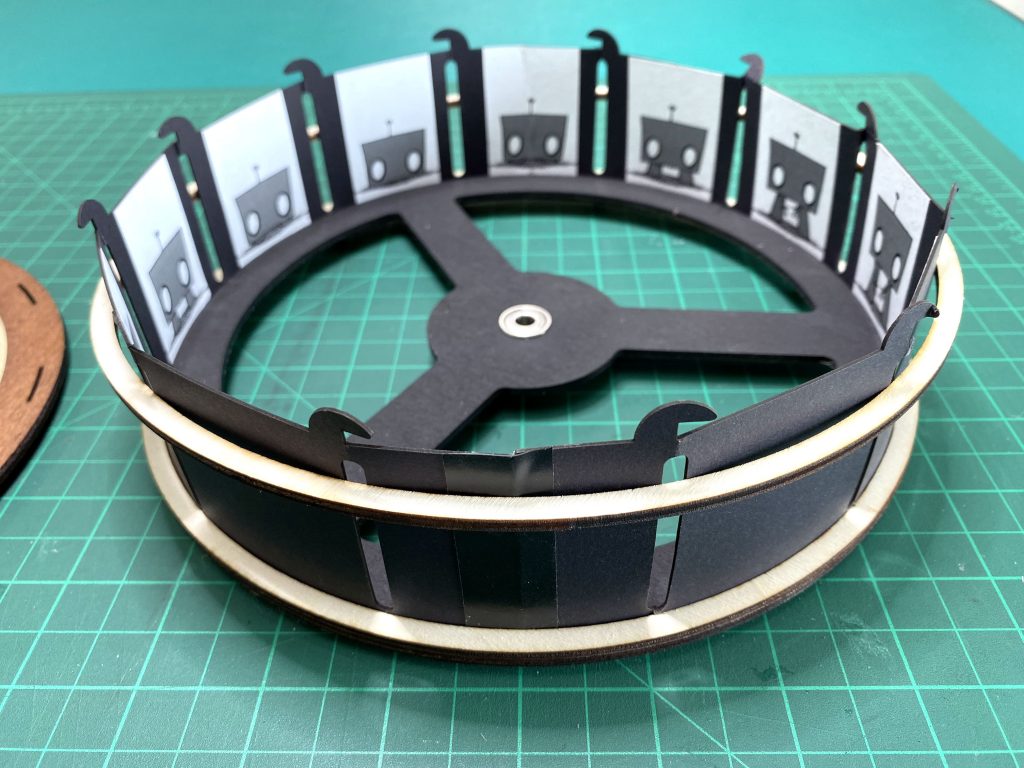
I then slipped the wooden ring over the strip to hold everything together and form a nice clean loop. This support ring is thin, so I had to be careful not to break it while sliding it in place.
I then slid on the second support ring and then attached the other side.
The handle was made from some parts we had on hand. I will ultimately 3D print a better piece for this, but the simple bolt I used did the job well.