

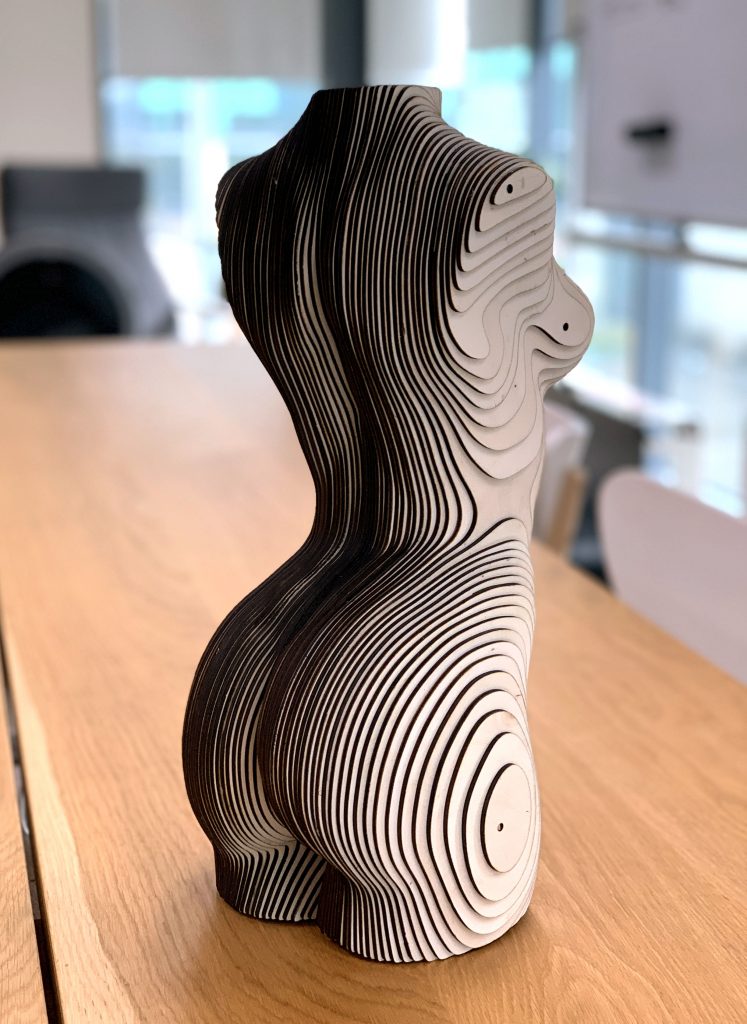
I discovered this project a few years ago while searching thingiverse.com. It ended up getting pushed to the bottom of my to-make list, because of the number of sheets of wood it required.
Recently, we were looking for a new display model to take to shows and this fit our needs perfectly. Large enough to be impressive and small enough to fit in my suitcase.
Project Files
Materials:
- 3mm Plywood
- Wooden skewers
Other Items Needed:
- Wood glue
- Varnish or paint
The Build
Overall, this was a nice an easy project to build. The original files were excellent and only needed to be nested to fit in the Emblaser workspace (500mm x 300mm).
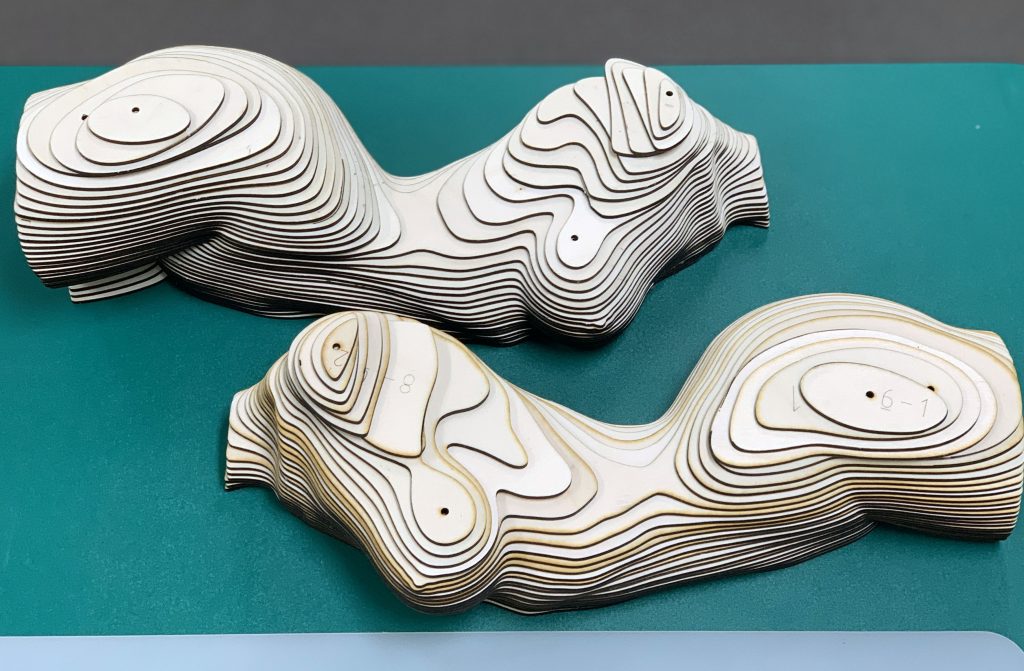
Since there are around 93 seperate pieces for the project, I decided to use DeepNest again to do the hard nesting work for me.
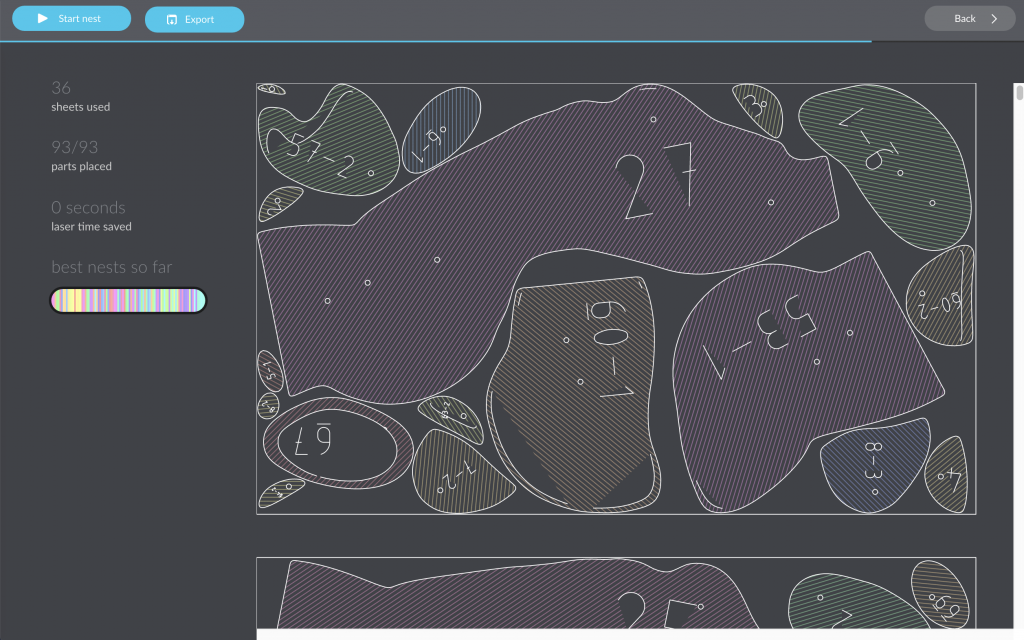
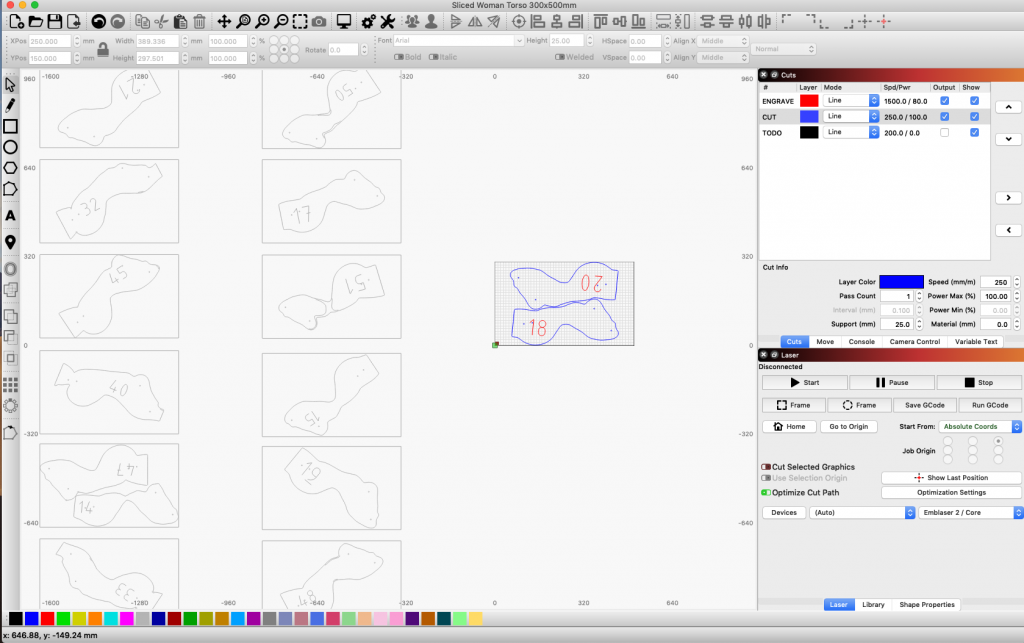
After nesting, there were 36 sheets of wood needed. To simplify dealing with all these sheets, I loaded all the parts into one LightBurn project and set their layer color to black. The black layer was set to not output.
As I worked through the sheets, I assigned a cutting color (blue) and engraving color (red) to each of the appropriate curves on that sheet, then sent it to the Emblaser.

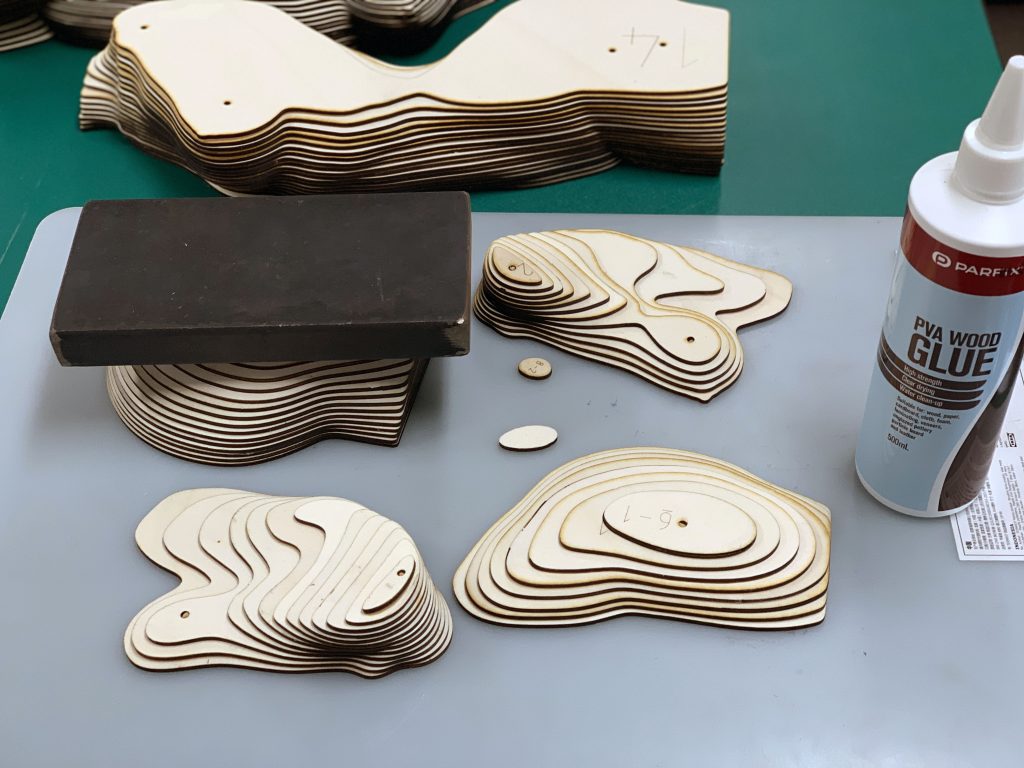
With all the pieces cut, it was time to start assembly.
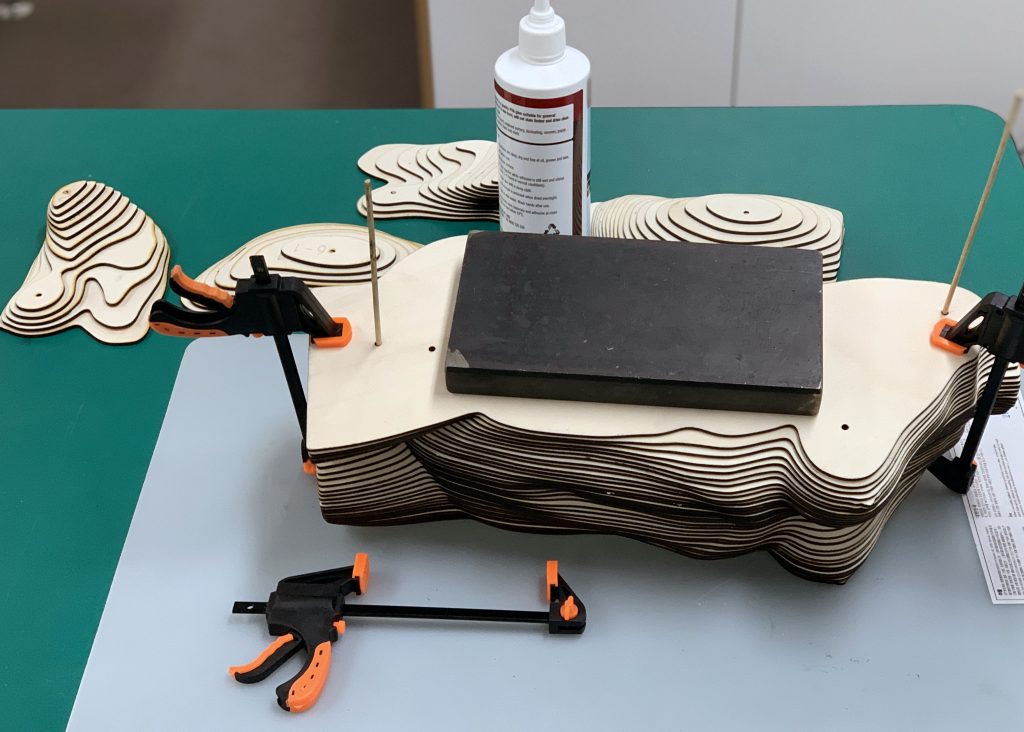
I made sure to wipe the edges of each piece with a lint-free cloth to remove any residue from the laser cutting. If left on, it would be easy to smear this residue over the clean pieces of wood as I handle them.
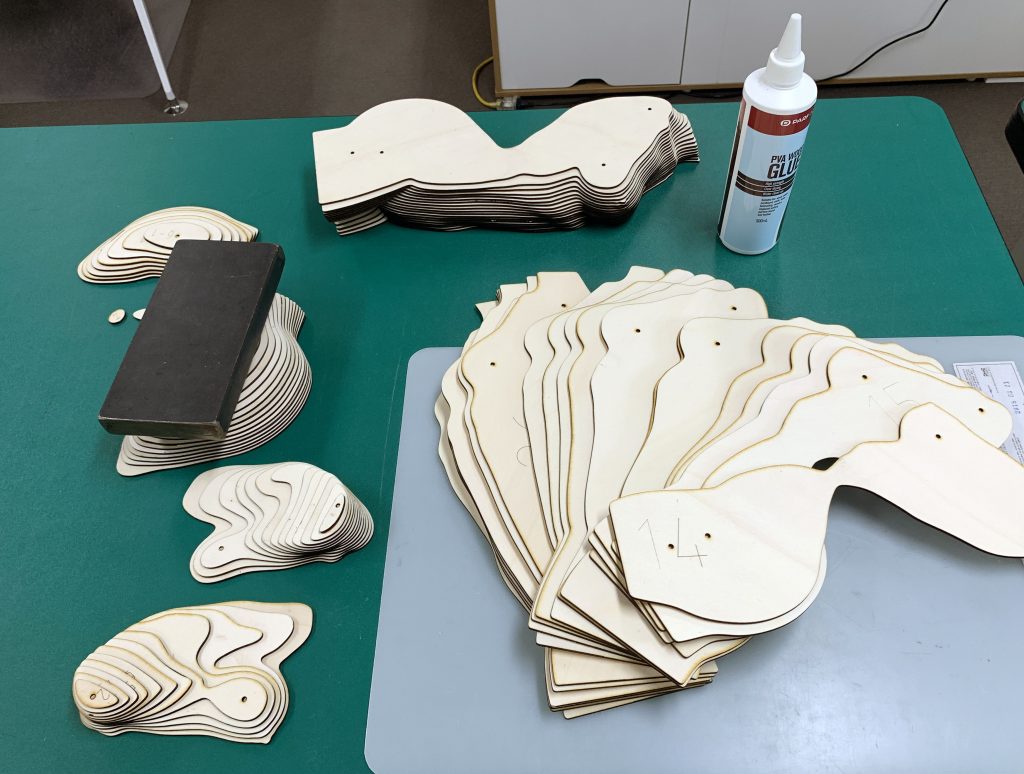
I used PVA wood glue to hold all the pieces together. Combined with some weights, clamps, and wooden skewers, the assembly process went smoothly.
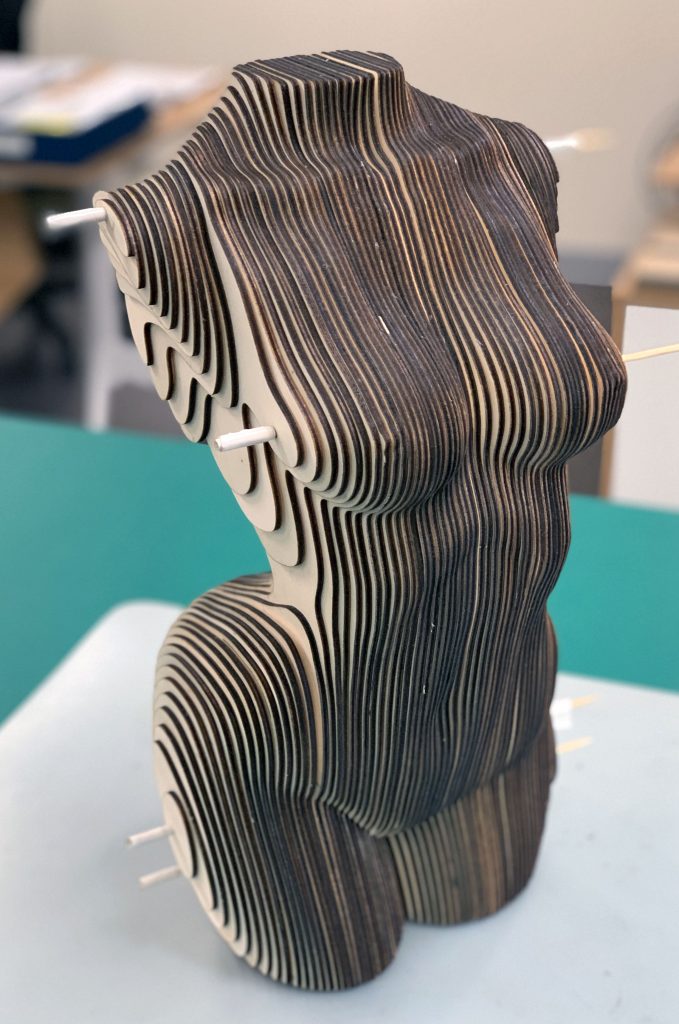
The final sculpture stands around 400mm tall and has a good weight to it. I was planning to make a stand for it, but it just so happens to stand very well on its own.
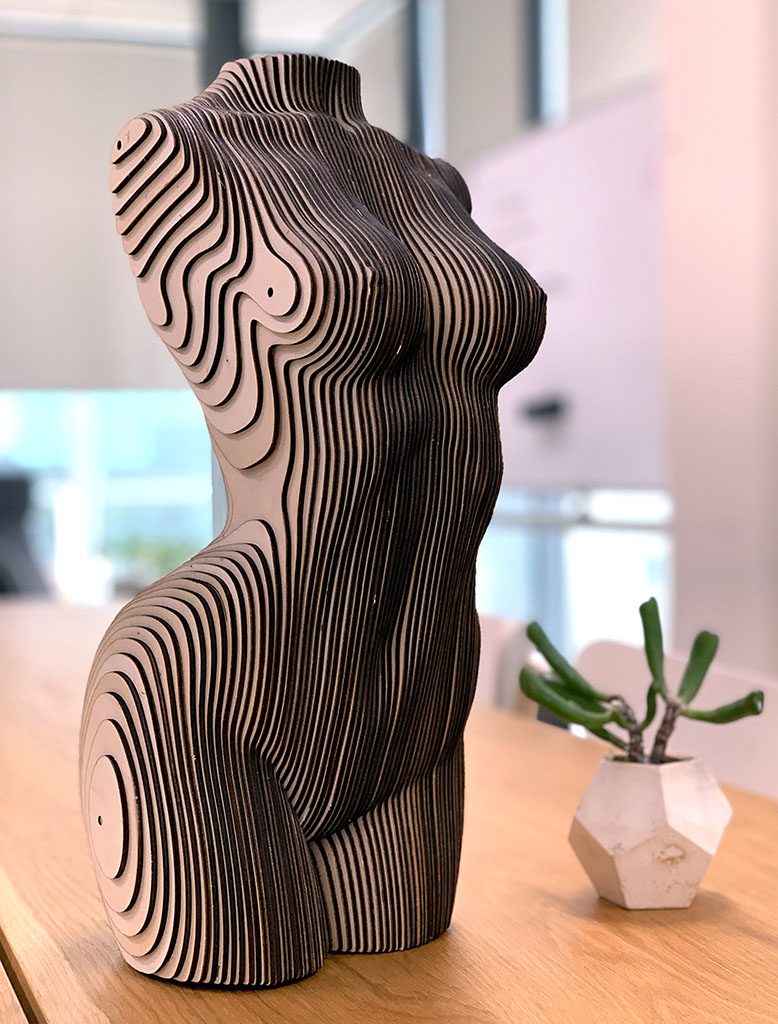
This was a great project to build on a rainy winter’s day. I plan to apply a few coats of varnish, once the temperature gets a little warmer.
