Help reduce your carbon footprint by up-cycling some of your unused corrugated cardboard into a great photo frame with stand.
This project is very versatile. Use one of your own photos to create a personalised photo frame or perhaps just use the clever stand design to prop things up.
Project Files
Materials:
- Corrugated Cardboard
Other Items Needed:
- Double Sided Tape
- Scissors
The Build
Engraving photos with good results is what some people consider the pinnacle of laser skills. In the past, this certainly was the case. Software, and laser machines were not designed for faithfully reproducing greyscale images, making it a very technical process requiring lots of tweaking and practice.
These days, with an Emblaser and LightBurn, you can create amazing photo engravings far more easily.
The Emblaser has been designed to provide a very linear power curve for it’s laser. This means that it’s far easier to get subtle tonal shading and graduations with engravings. This is critical for grayscale image engraving. Combine this with LightBurn’s image toolset, and as you will see, it’s not difficult to get great results.
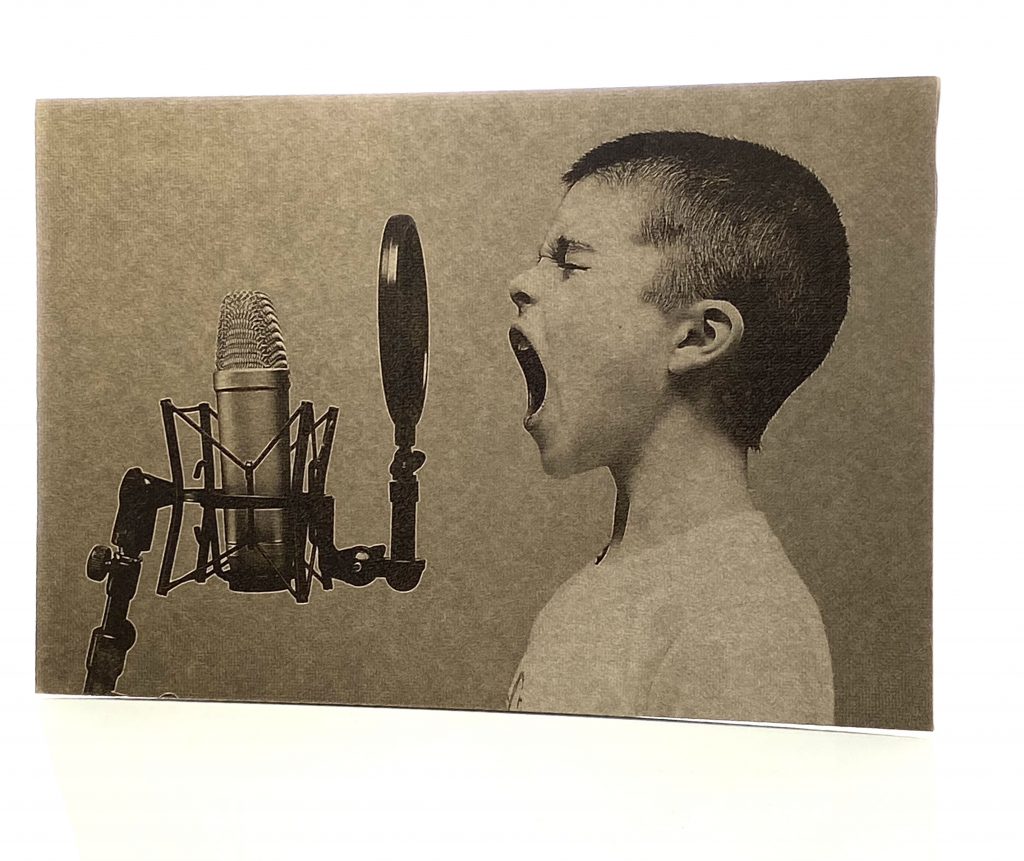
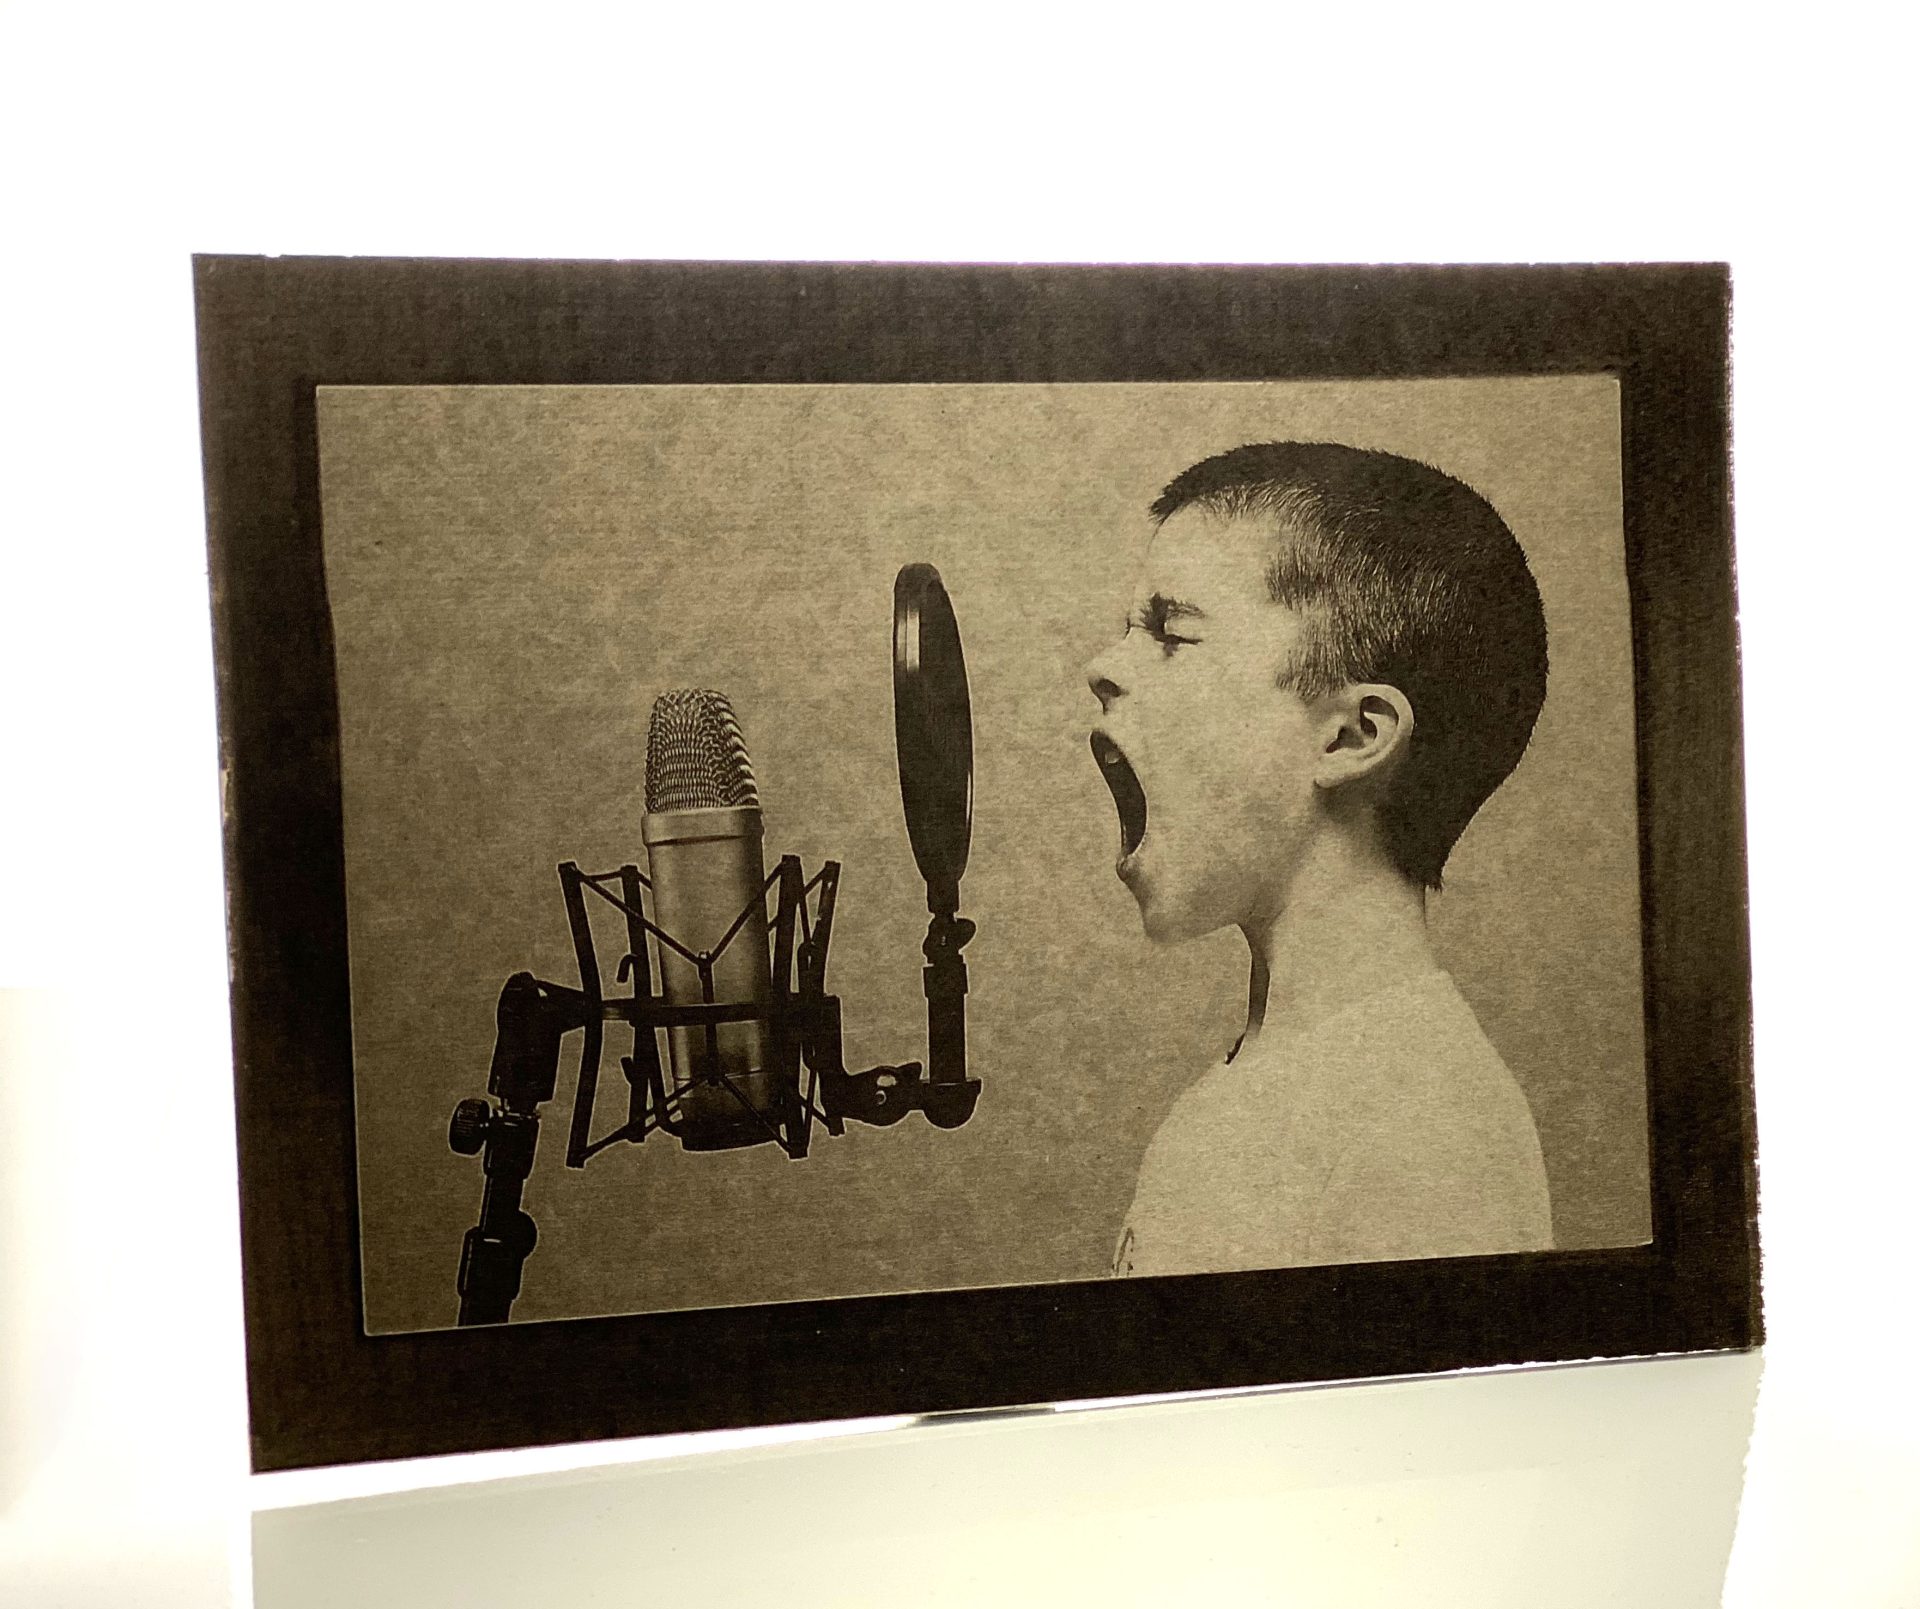
I first selected a photo to engrave. Although color photos will work just as well, I find starting with a black and white photo lets me get good results quicker.

Since all materials vary as to how they behave to laser engraving, the first step is to engrave our default test image. This image will allow us to choose the perfect engraving settings for a great quality engraving.
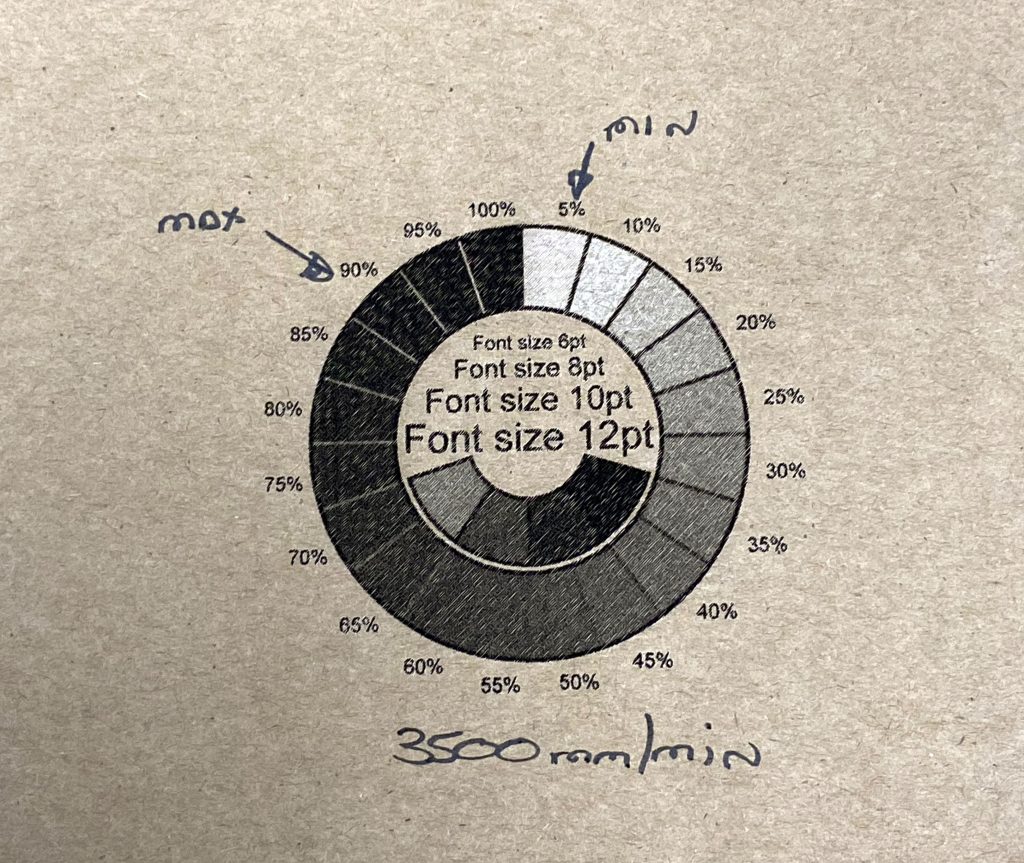
From the test image, I can see that the lightest result is around 5-10% laser power and the darkest is around 80-90%. By using these values as our Min and Max settings in LightBurn, we are sure to get the best tonal range engraving.
***Cool Effect***
Take a closer look at the tone of the engraving at 5-10%. What do you see?
The Emblaser has actually ‘lightened’ the material color. This photo has not been color corrected, so the ‘lighter’ result is actually what the Emblaser produced at that power level. You will find that on some materials, the Emblaser will actually lighten the color of the material. This is true for cards and some fabrics.
The next step was to tweak the photo within LightBurn. In particular, I adjusted the ‘enhance’ parameters. These help bring out detail in the image being engraved.
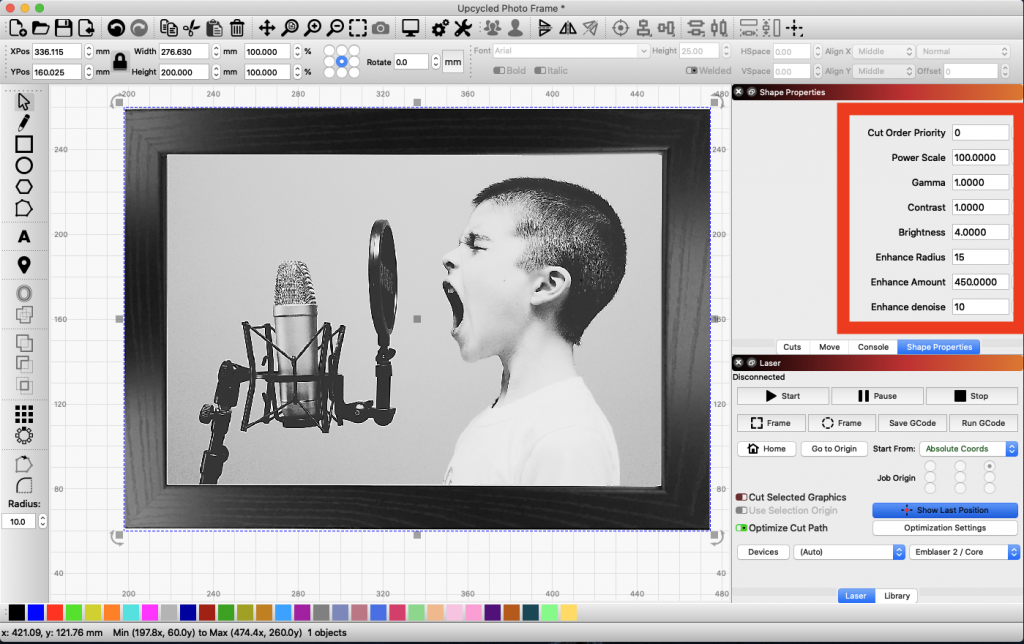
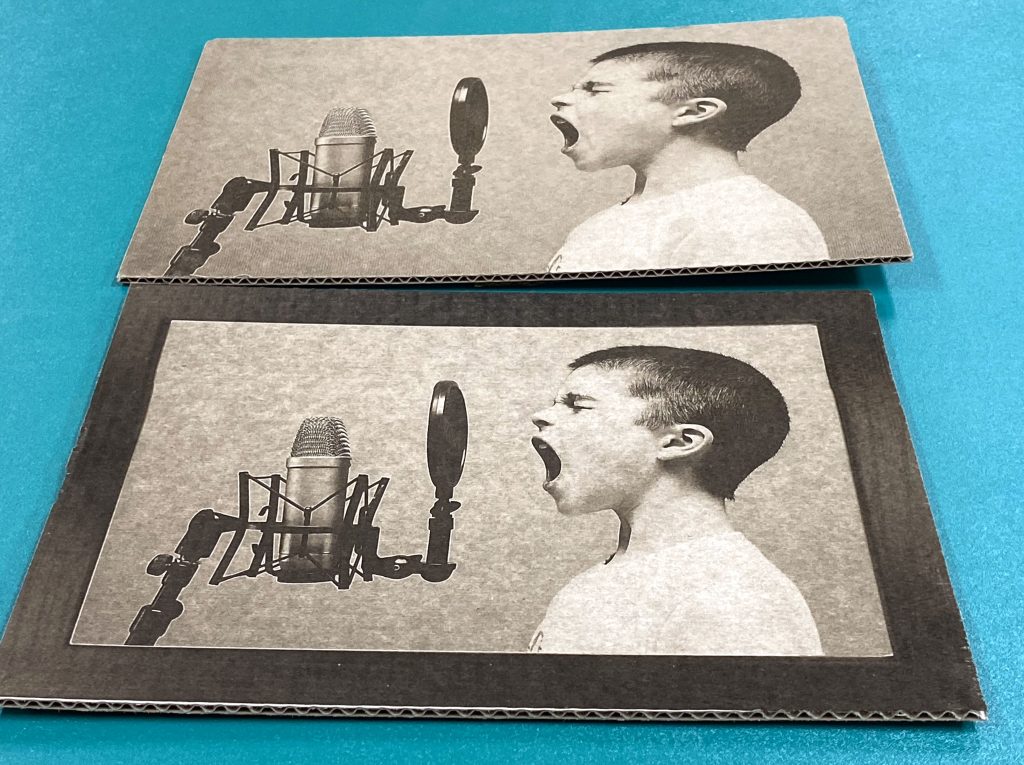
The lower image is the original photo with no tweaks and the upper image was with some image enhancement. Although the top image is a little too bright, you can see how the enhancement has brought some of the details out from the background, especially in the microphone.
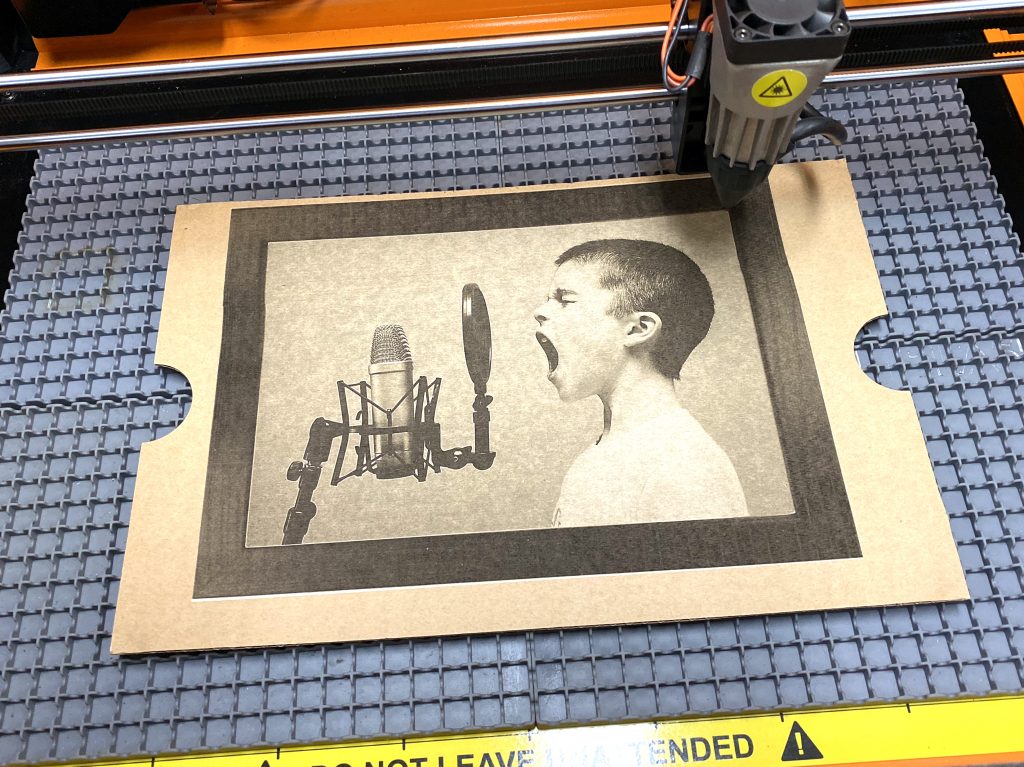
When tweaking these values, I always make sure to run small engraving tests. The tests below were a very small engravings, which is why they appear very grainy.
Once happy with the settings, I engraved the photo. I decided to engrave one with a frame around it, to see whether it added anything to the final result.
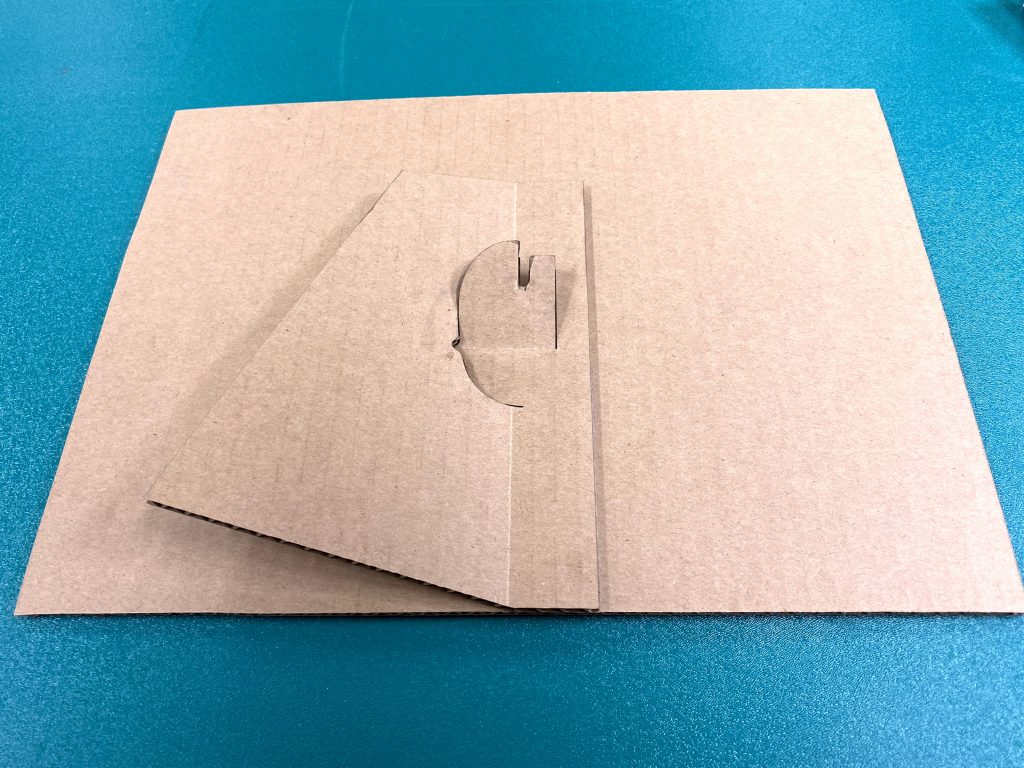
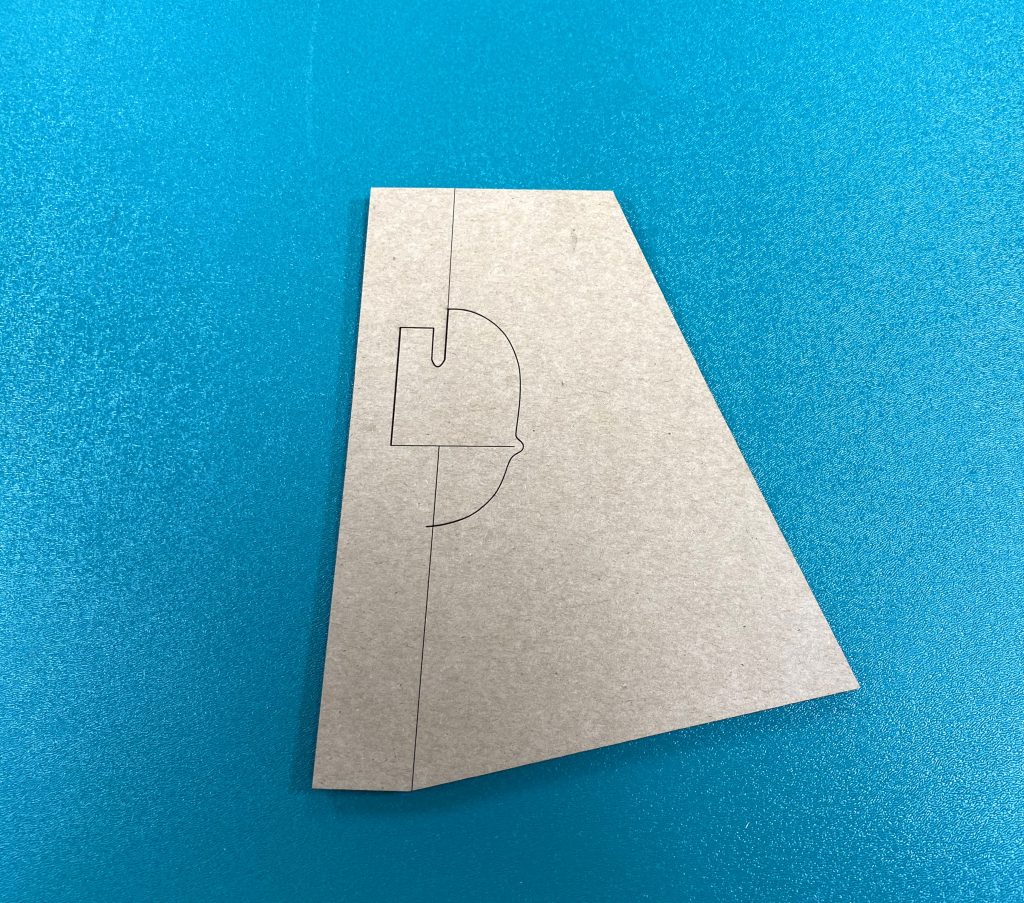
The second part of the photo frame was the stand. I designed this to work with the same corrugated cardboard I used for the photo engraving.
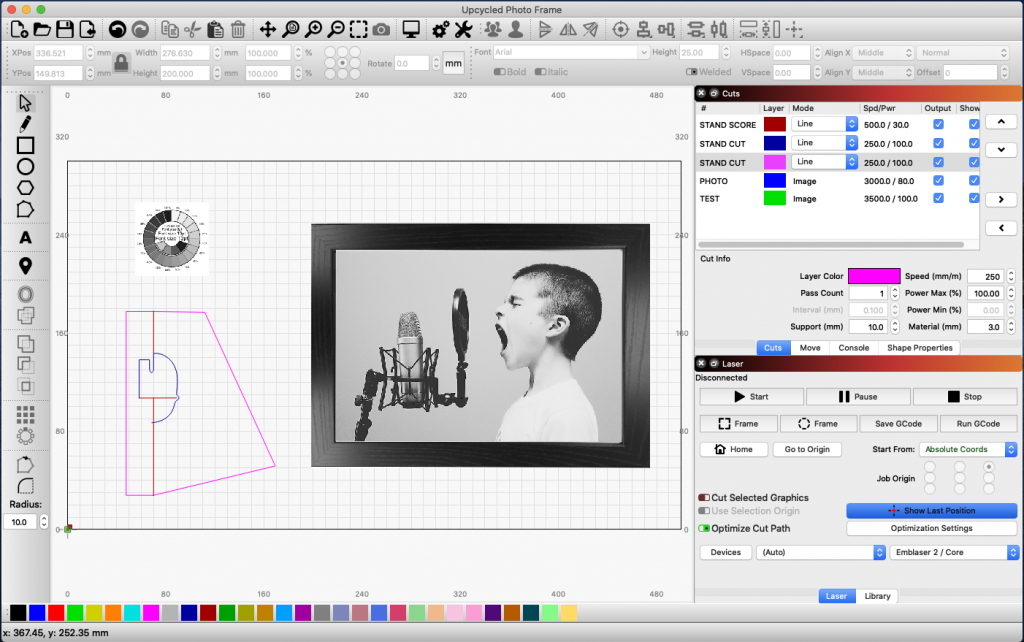
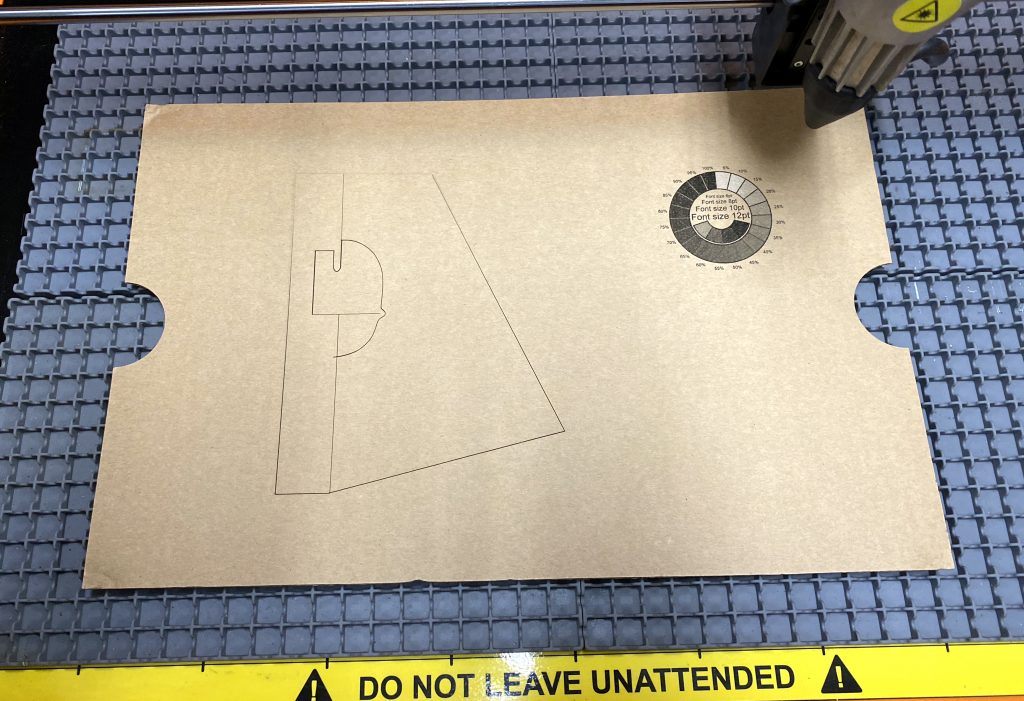
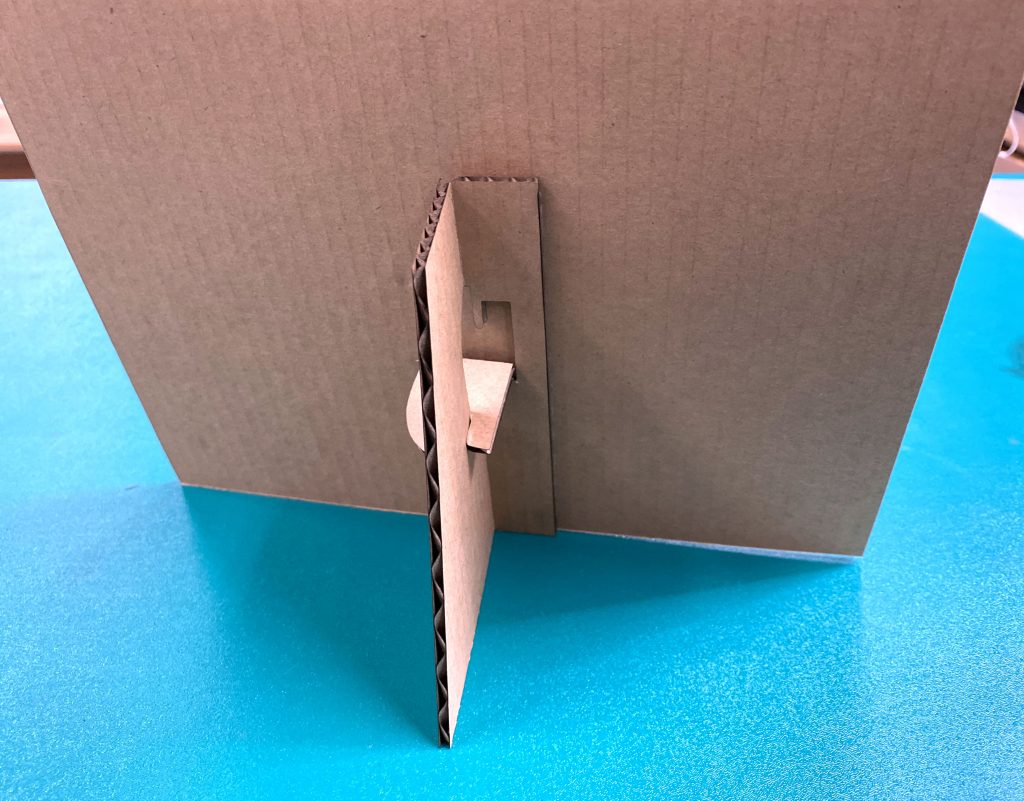
The beauty of this stand is that you can score the places where it needs to fold and then cut the whole thing out.
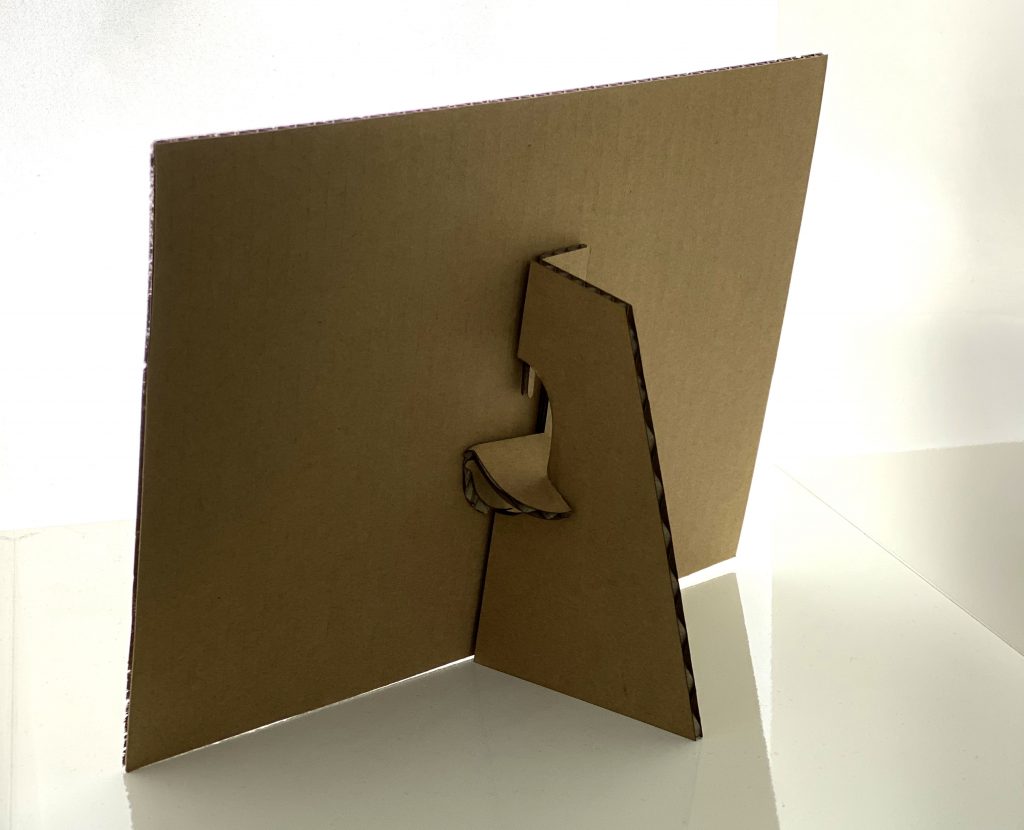
I used some double sided tape to attach the stand the the back of the photo frame.