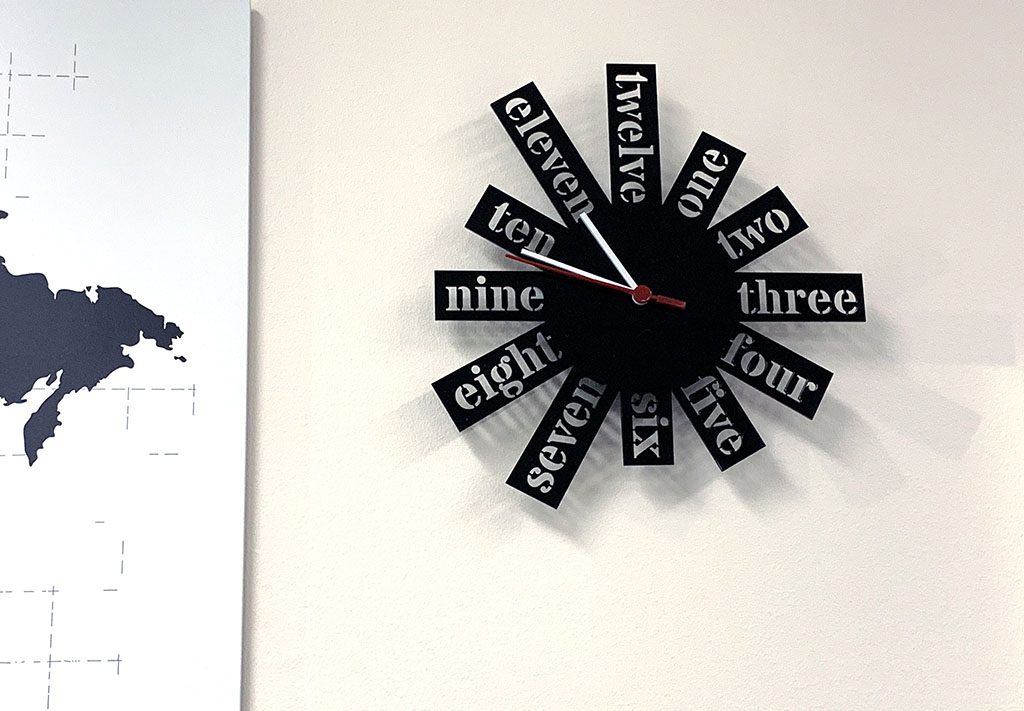
I originally noticed something similar online and thought it would make a good addition to our office.
I decided to make it out of black acrylic, but it can just as easily be made out of wood or any other rigid material.
Project Files
Materials:
- 2mm Acrylic
Other Items Needed:
- Clock mechanism
- Double sided tape
The Build
This clock face captured my attention because it looked easy to design in LightBurn. Dealing with one software package for an entire project makes life a lot easier.
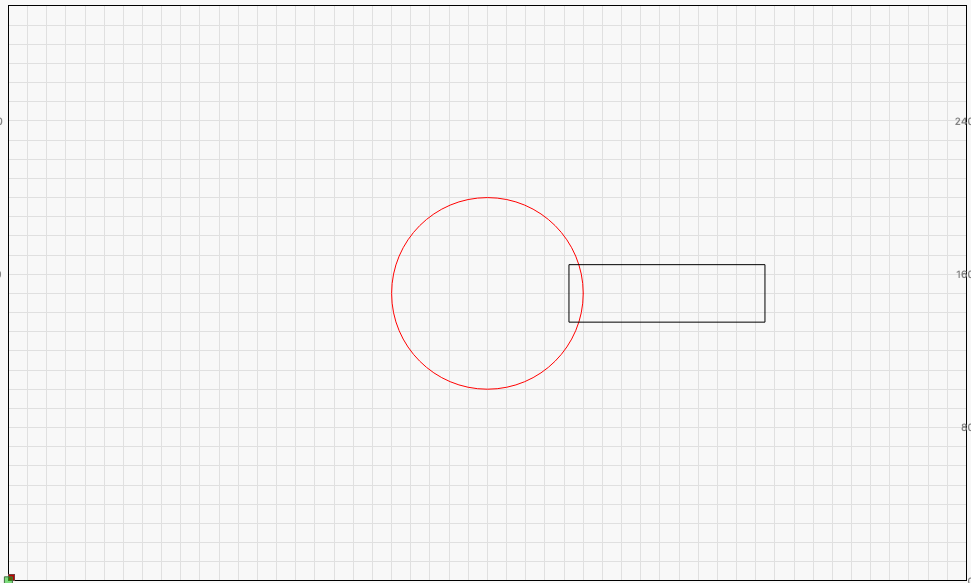
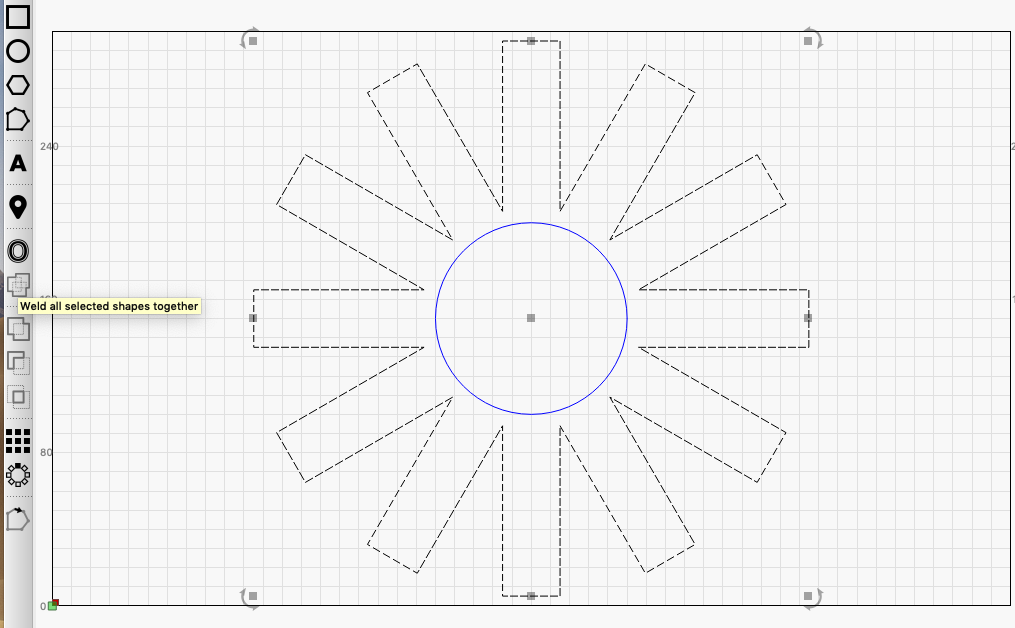
My first step was to create a 100mm diameter circle. This would be the centre of the clock face and be free of any cut outs. I wanted to keep this clear so the hands would stand out well.
A rectangle approximately 30mm x 120mm was created at the 3 o’clock position and was positioned so it slightly overlapped the circle.
I then selected the rectangle, followed by the circle and used the ‘Copy Along Path’ tool. I set the number of copies to 12 and made sure I had ‘Rotate Copies’ selected.
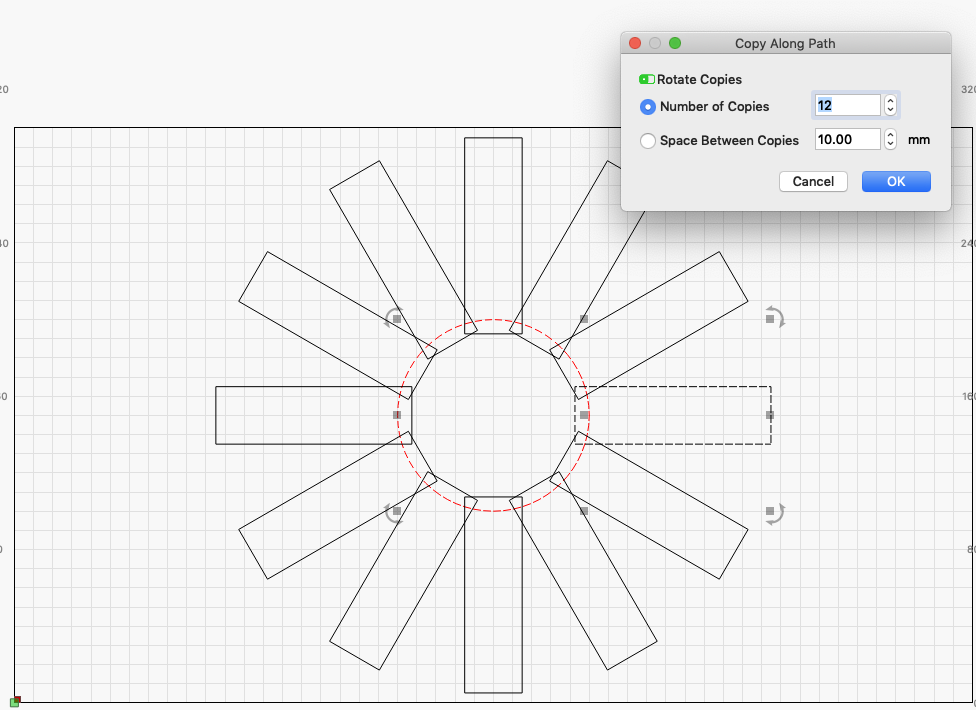
With the 12 rectangles and inner circle selected, I clicked the ‘Weld all selected shapes together’. This joined all the shapes to form the overall shape of our clock face.
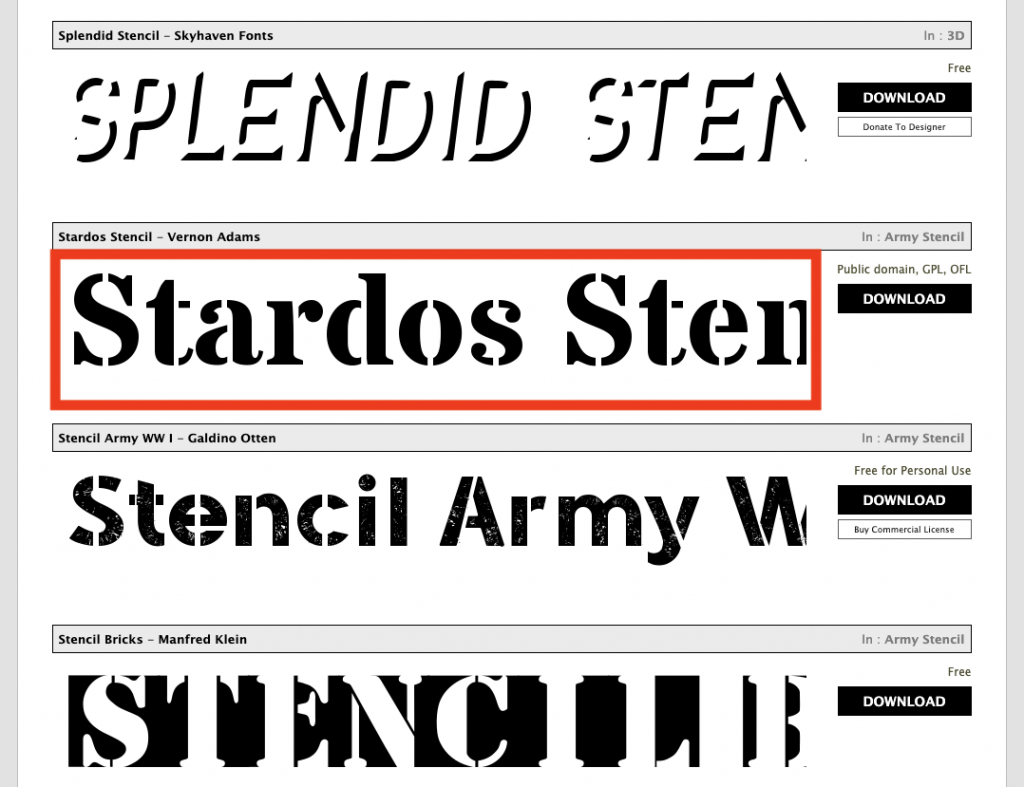
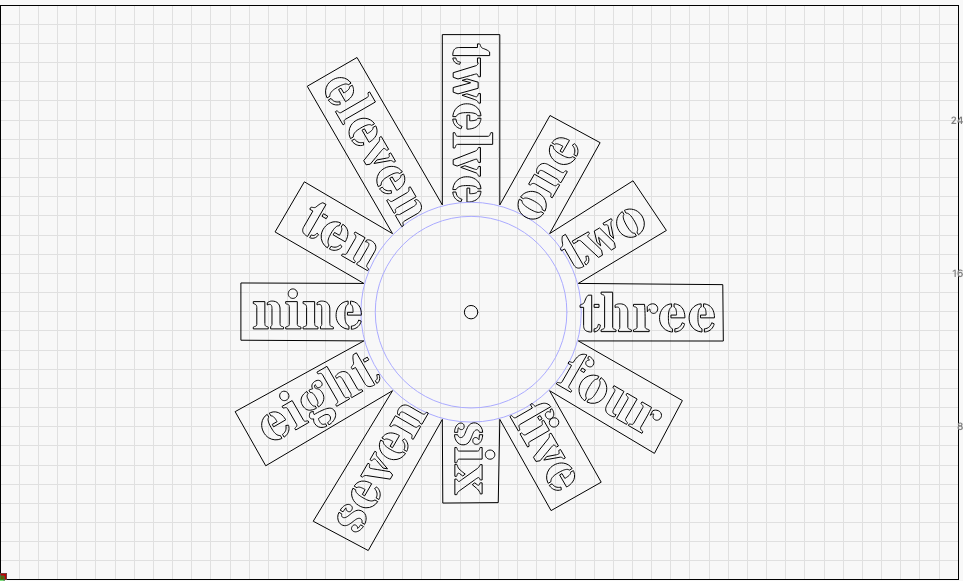
I used a ‘stencil’ type font for the wording. The beauty of ‘stencil’ fonts are that they can be laser cut and hold all the inner and outer letter shapes together. LightBurn will recognise and work with any font installed on your computer.
With the all the words created, I individually rotated them either 0,30,60 or 90 degrees, depending on their position on the clock face. For the mathematicians out there, 360degrees / 12 = 30 degrees!
I also adjusted each of the edges to fit more closely around the words.
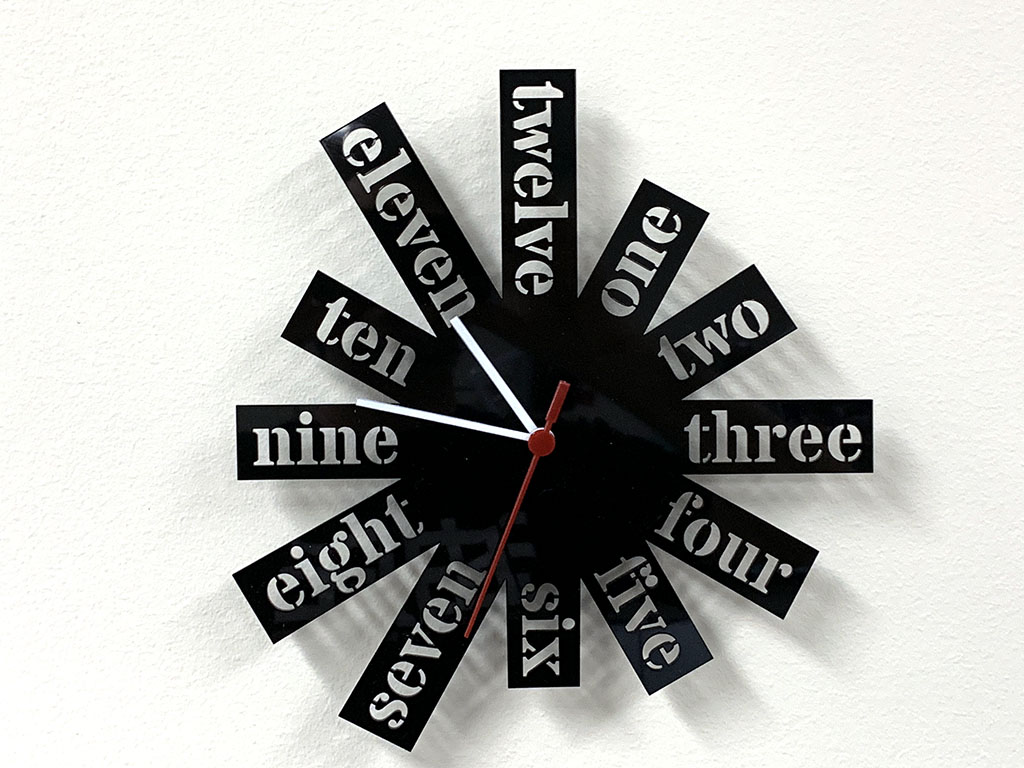
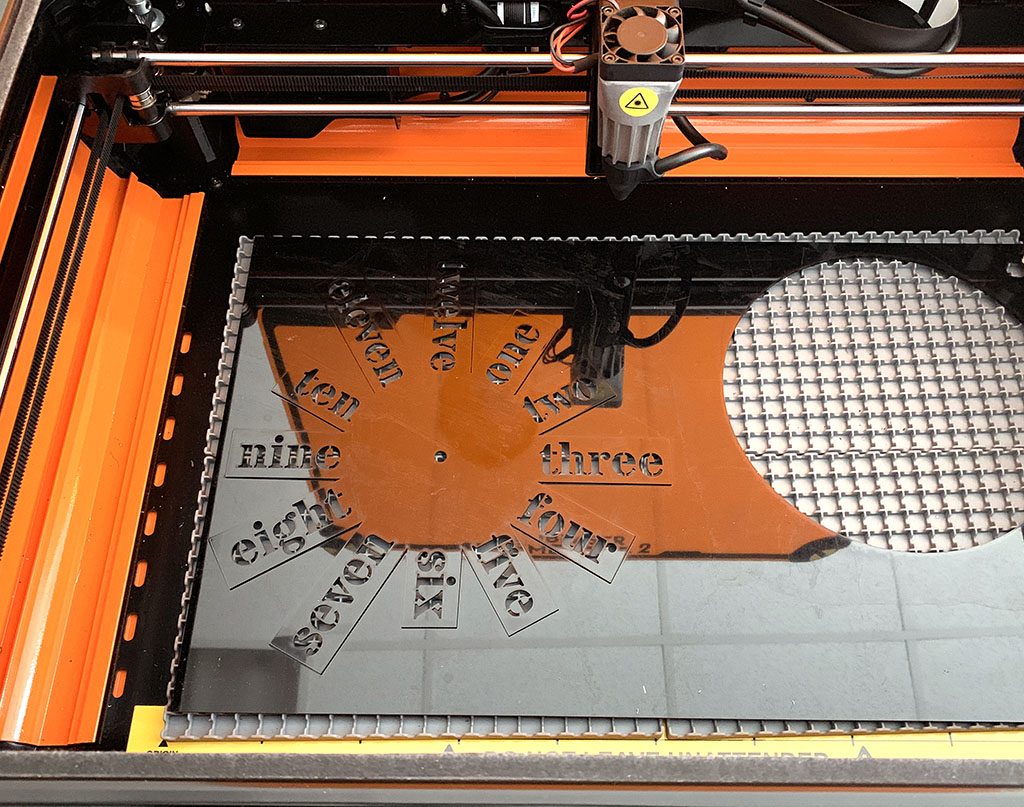
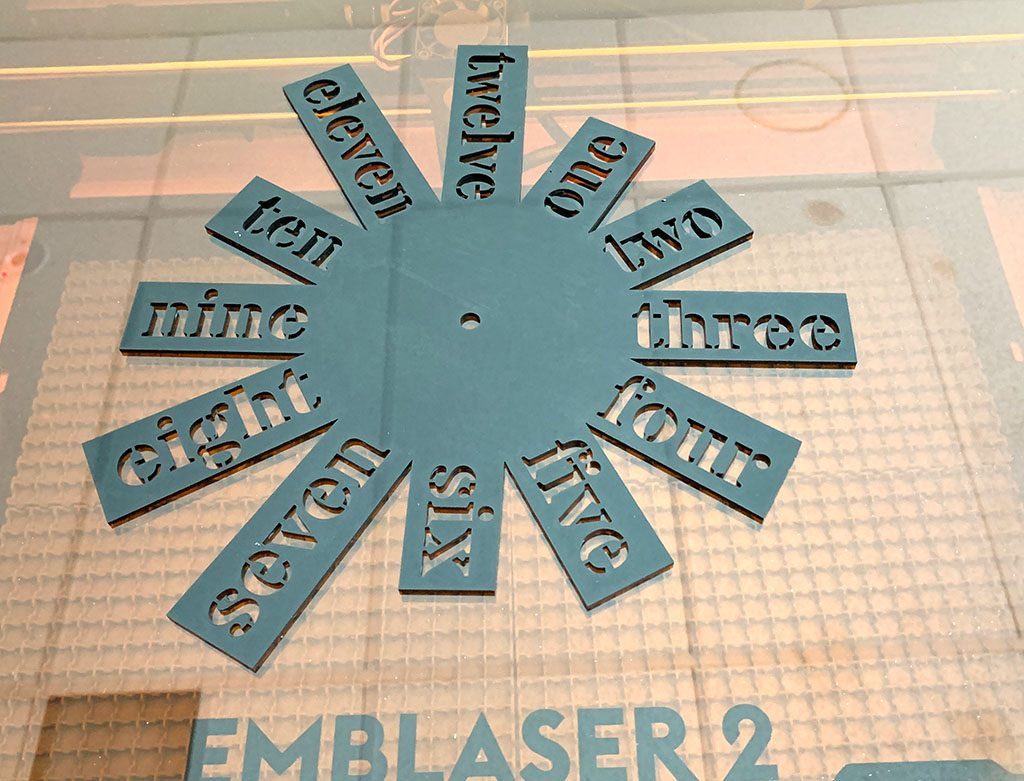
I used 2mm black acrylic for the clock face which cut very quickly and cleanly on the Emblaser.
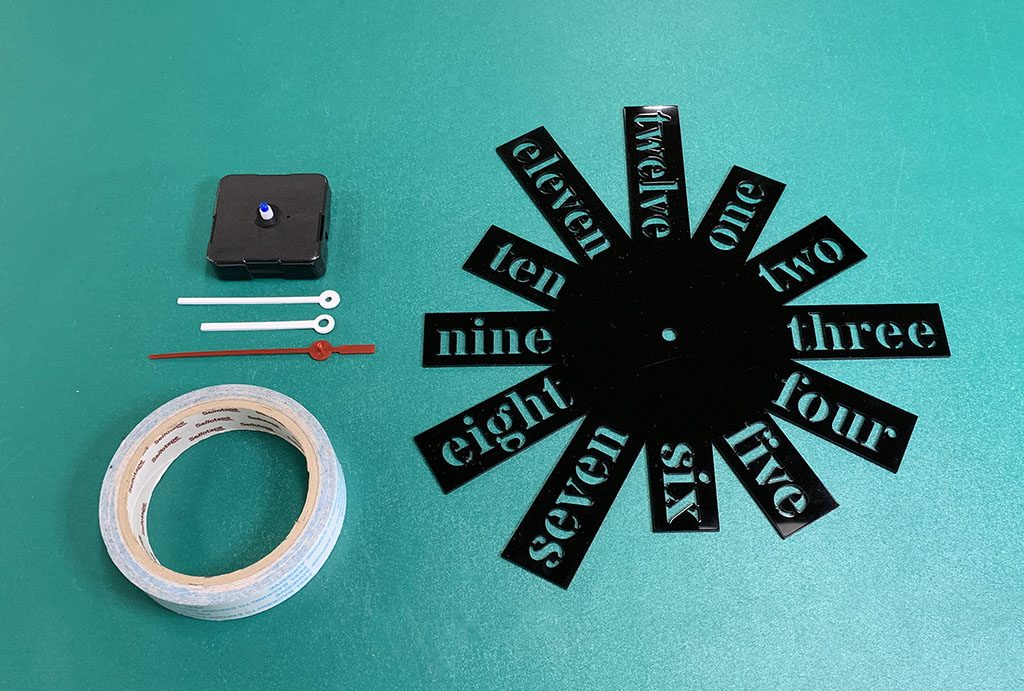
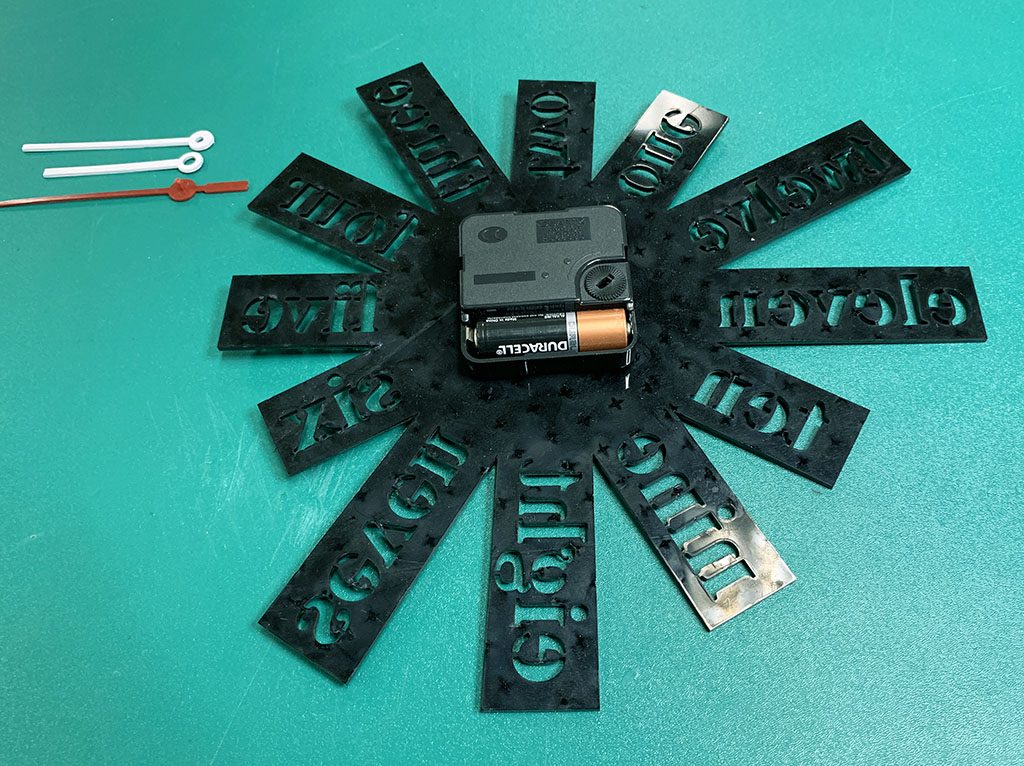
The final assembly was straight forward. As always, I like to lay all my parts out before starting to assemble. I then used double sided tape to attach the clock mechanism to the back of the acrylic. Finally the clock hands were attached.
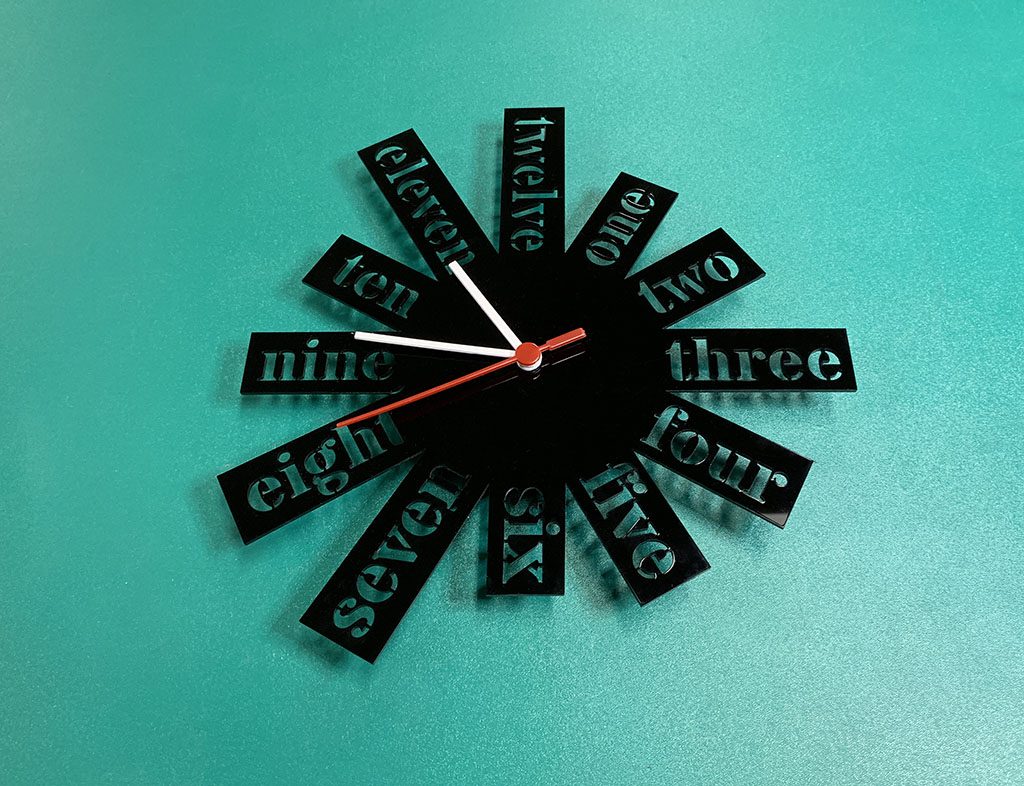
I enjoy these short projects every now and then. Ending up with a finished project in a few hours is a great feeling.