
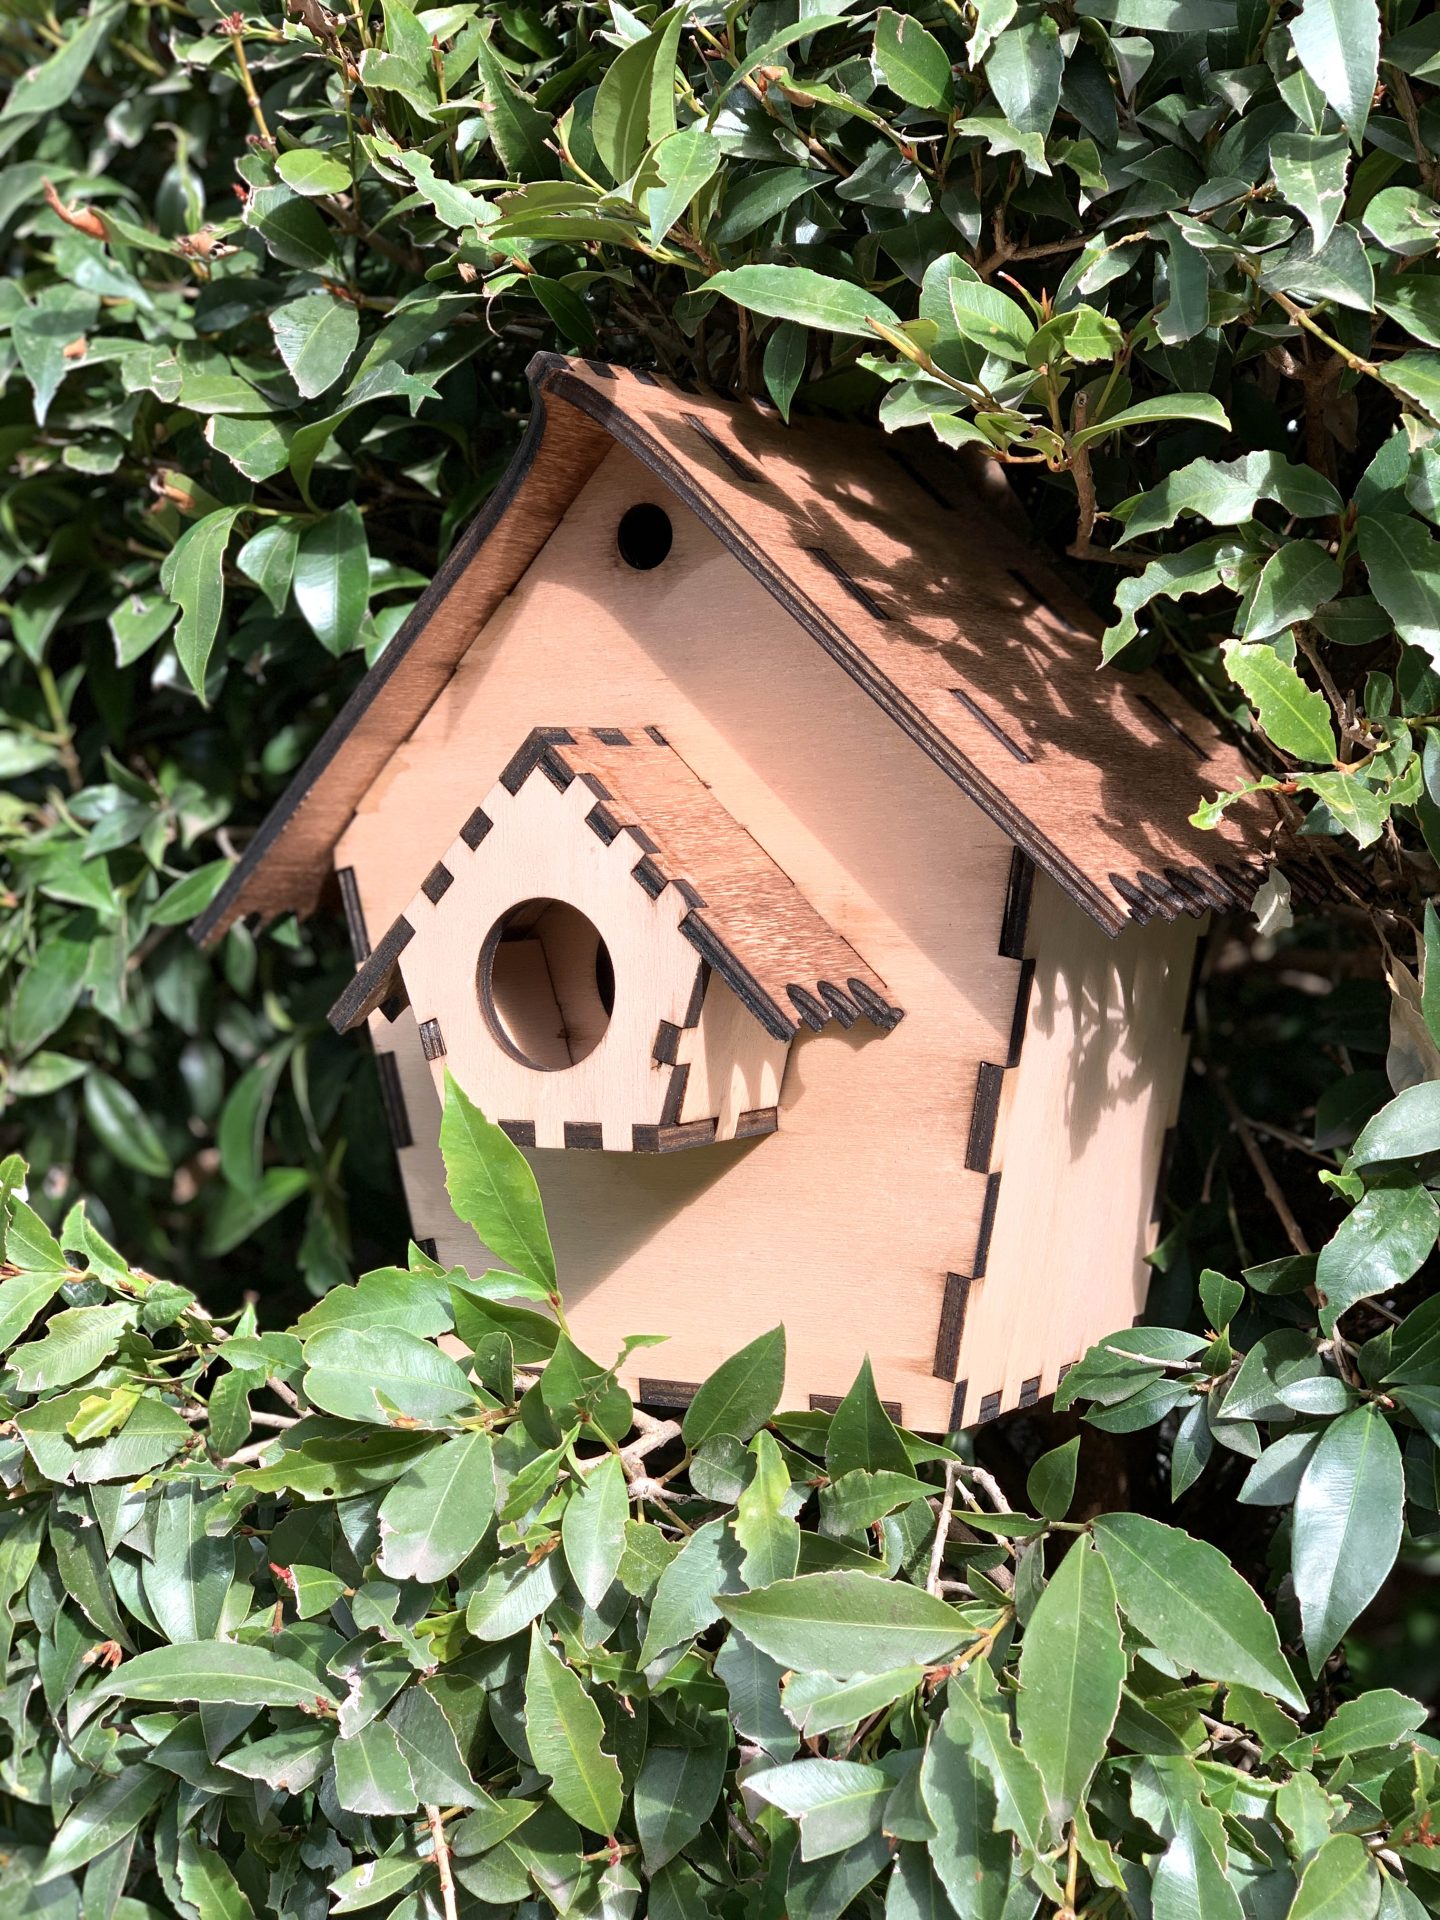
I stumbled across this project on Thingiverse.com and it captured my interest.
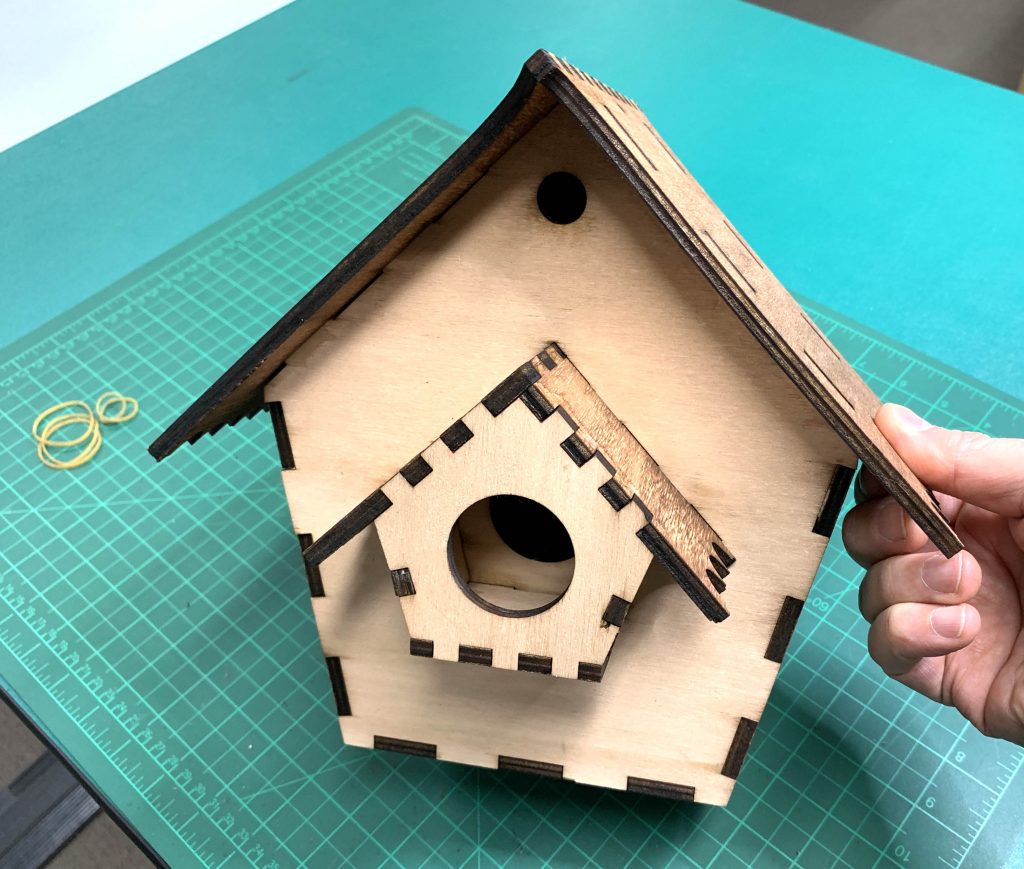
The project creator (see Thingiverse link for details) replaced the perch seen on the front of most bird houses, with a ‘predator guard’. Apparently the perch is mostly used by predators to eat the inhabitants of the bird house. Yikes!
Project Files
Materials:
Other Items Needed:
- Glue (PVA or any wood glue)
- Wood stain / Varnish
The Build
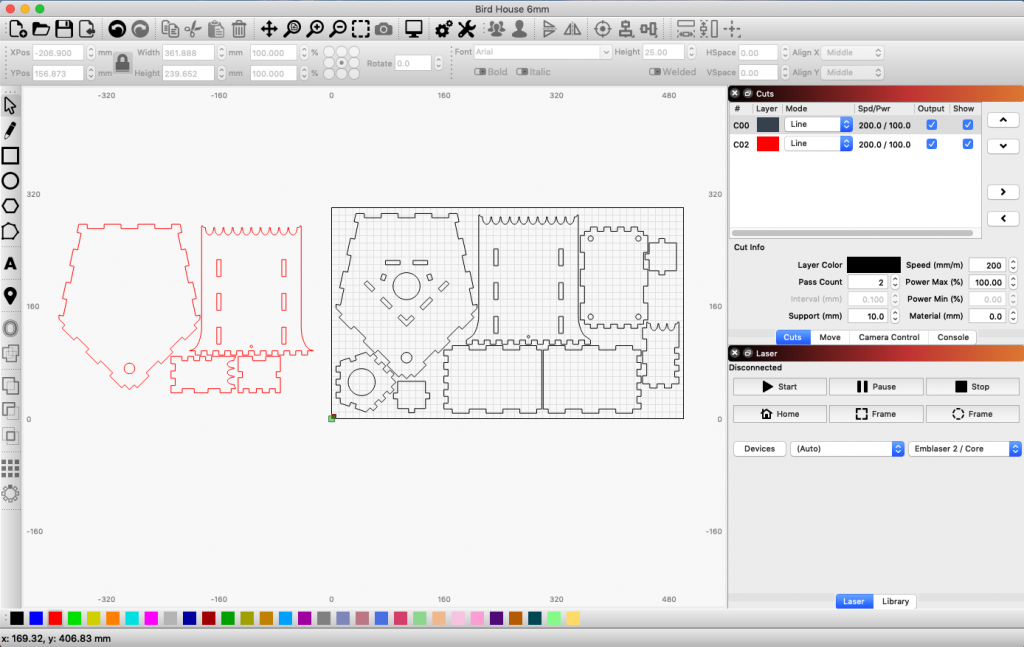
After importing the original design file into LightBurn, I was happy to see it was very well created and clean of artefacts or poorly formed shapes.
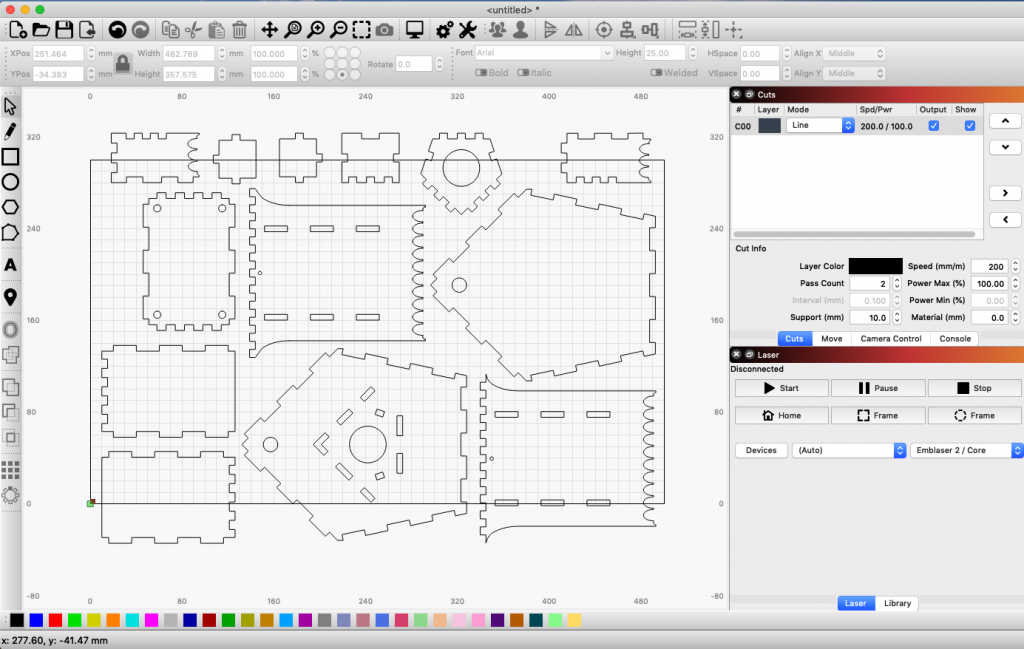
This project was originally designed for 5mm thick plywood. Since I only had 6mm plywood on hand, the first step was to resize the design to suit my material. With a little basic math, I was able to determine how much I would need to scale up the design to suit my 6mm plywood.
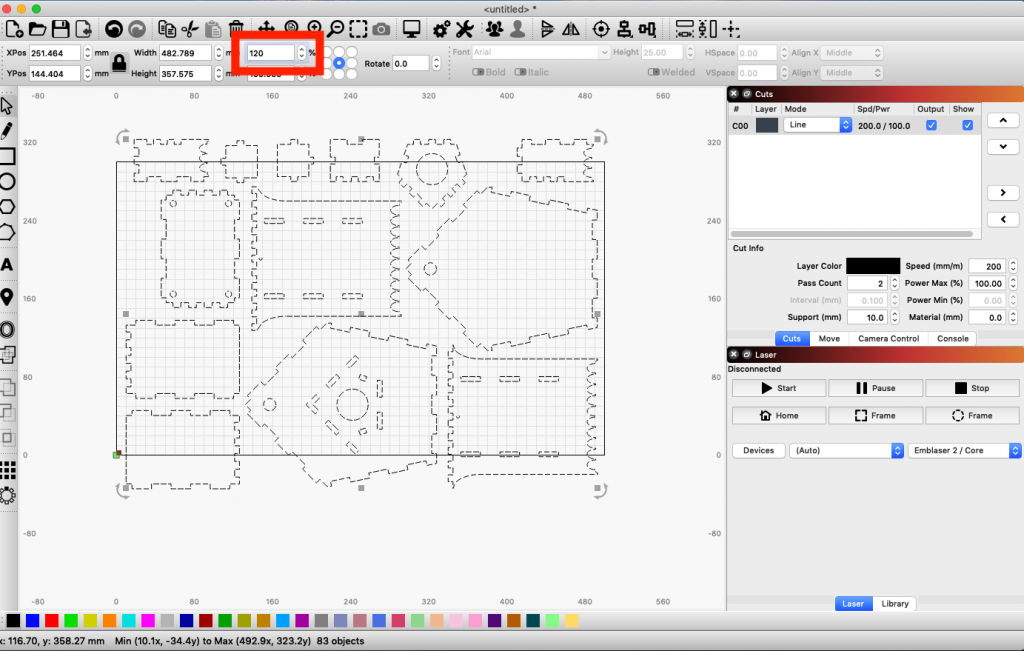
scale factor = 6mm/5mm = 1.2 = 120%
One thing that became apparent after resizing was the design no longer completely fit within the workspace. Rather than trying to manually reposition, or ‘nest’ the parts onto multiple sheets, I decided to try out a tool called ‘DeepNest‘. This is an open-source nesting program that should do the task for me faster and more efficiently than by hand.
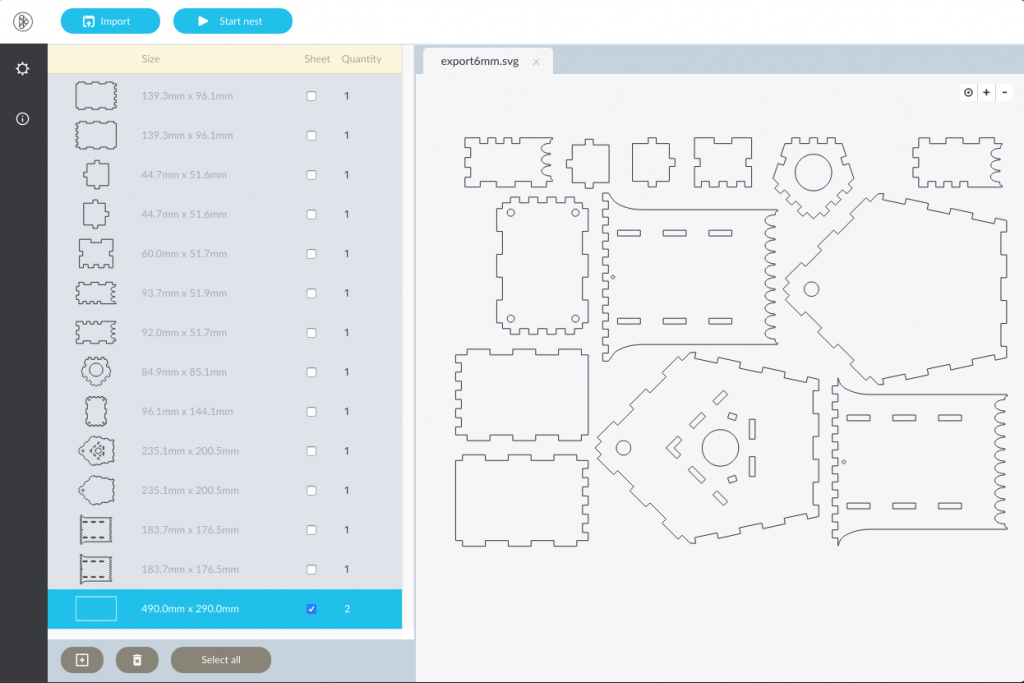

With the design now neatly nested, it was time to cut it out. Since I was using our laser-friendly 6mm poplar, I set the Emblaser to cut at 100% power, 200mm/min, 2 passes.
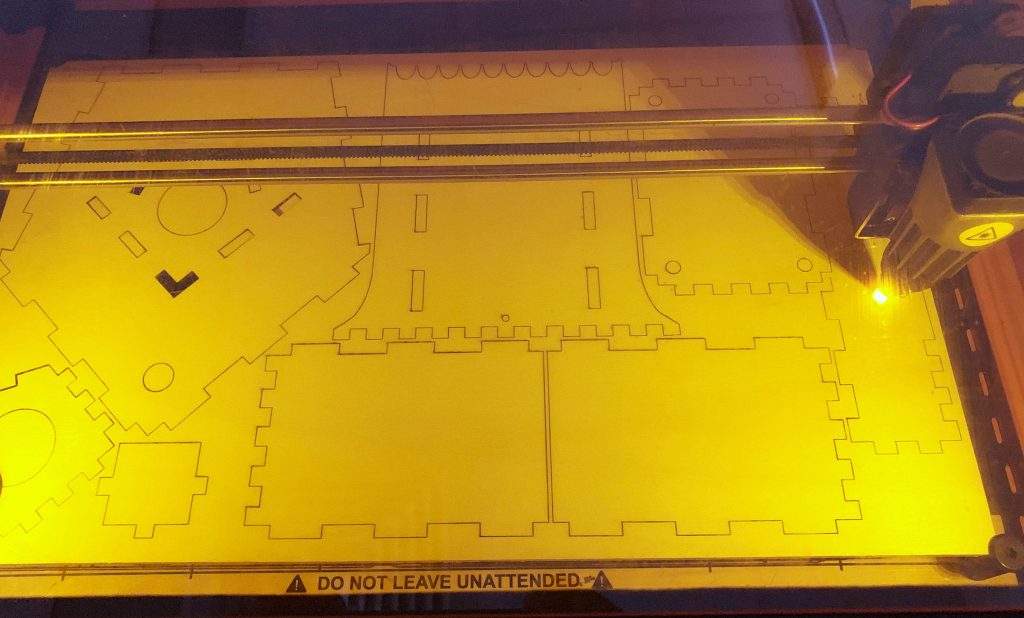
Using the Emblaser2 to cut the parts out.
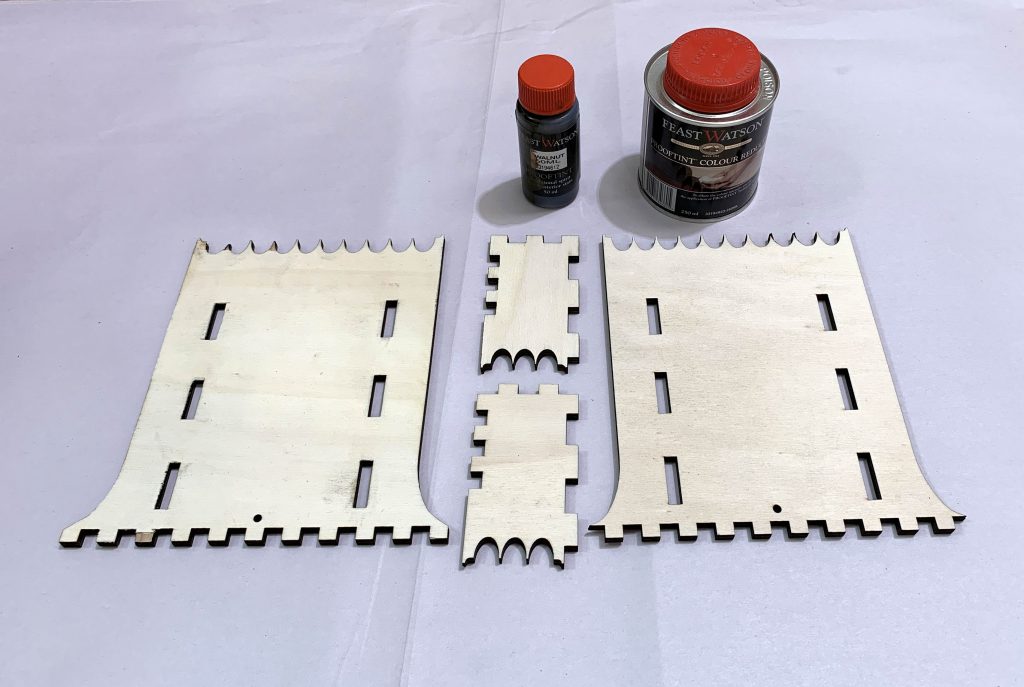
To protect the bird house from the outdoor elements, I decided to give it a few coats of varnish. I used a Scandinavian oil over the all the pieces and added some walnut dye to the roof sections. This gave the roof a darker tone which I liked.
I decided to glue the pieces together using superglue since it dries quickly. You could use any wood glue, such as PVA.
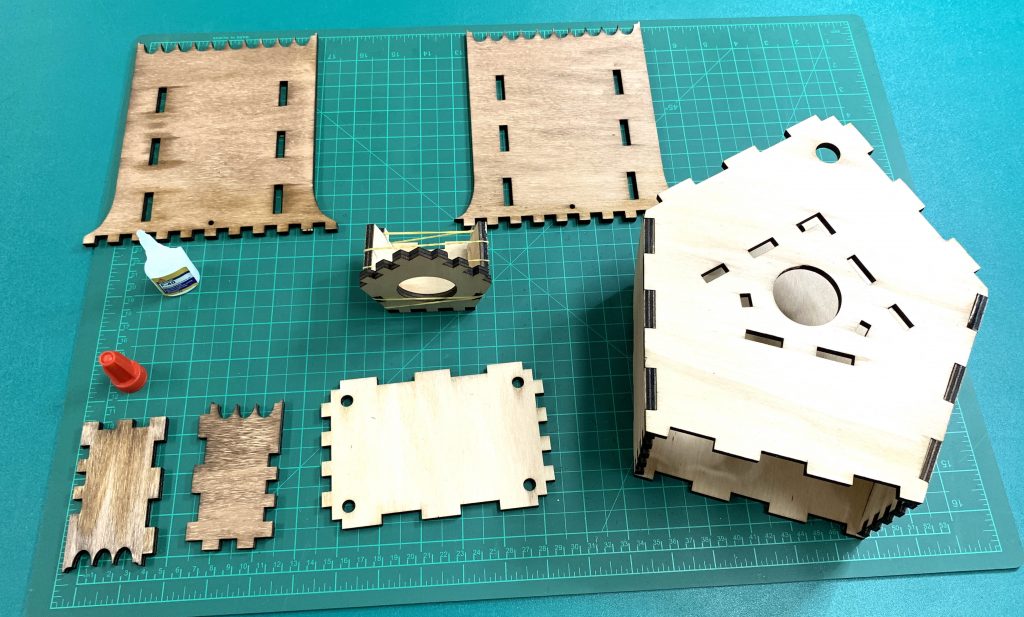
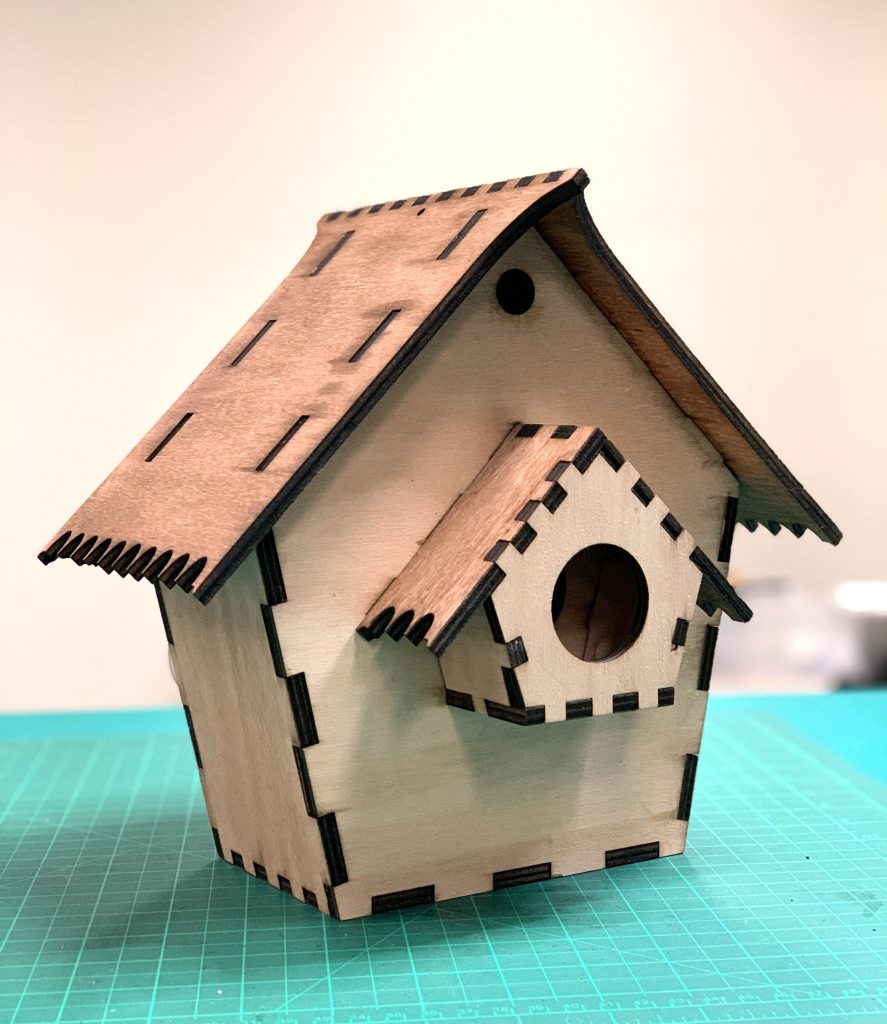
I really enjoyed this project. It came together very easily and I highly recommend it to anyone with a few hours on their hands.
All that is needed now is a branch to hang it from and wait for a family to move in.
