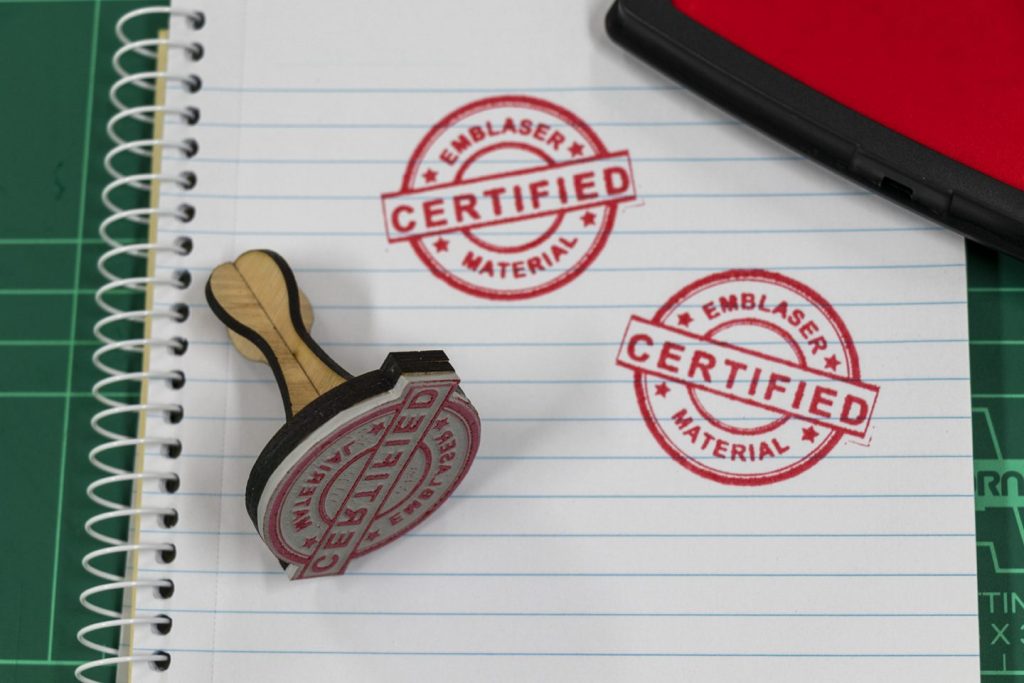
Make your own personalised rubber stamps to use or give away as gifts!
Project Files
Materials:
- Laserable Rubber 2.3mm
- 2.5mm Eucalypt plywood (For stamp handle)
- Ink Pad
Other Items Needed:
- Fume Extraction (Strongly recommended)
- Glue
- Sharp Blade
The Build
Step 1:
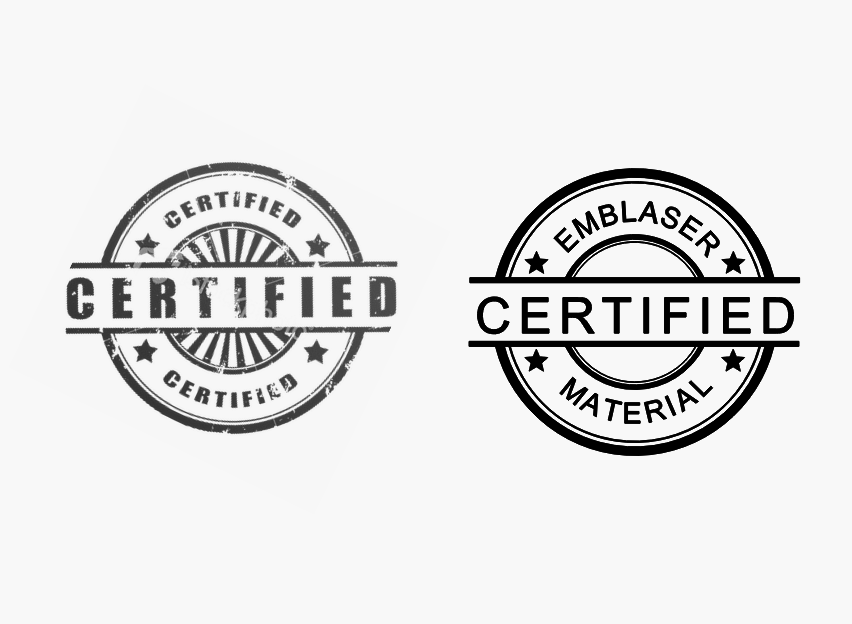
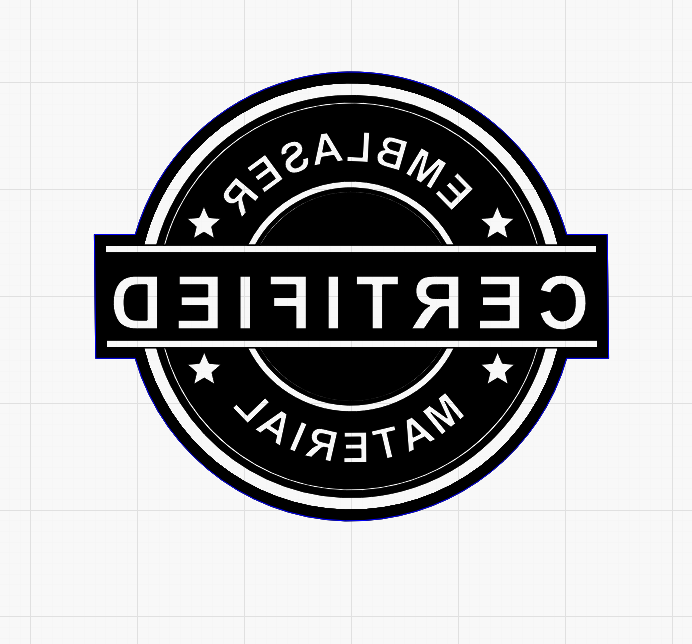
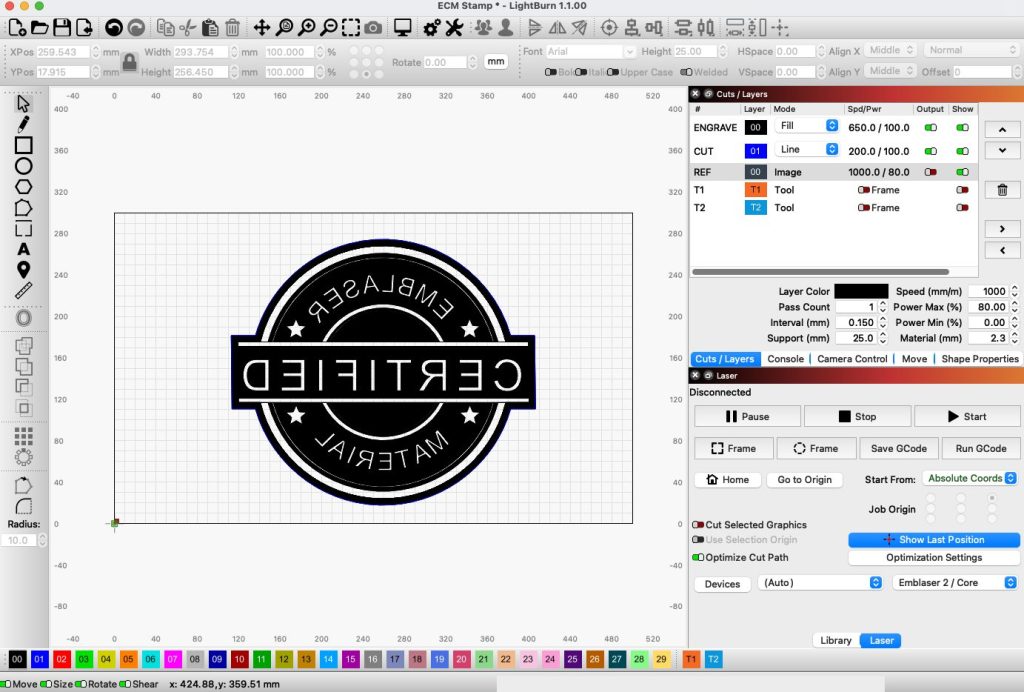
Create your stamp design in LightBurn.
We used a sample image showing the style we wanted and then re-created it in LightBurn using the standard tools. Another option is to use the ‘trace’ feature in LightBurn to convert your image into vectors.
Step 2:
Decide on ‘high’ & ‘low’ parts of the stamp
To ensure we engrave the correct sections of the stamp so that the text and image are raised and the rest removed, simply add another circle around the artwork if needed on the same layer as the rest. This will invert all of the areas being engraved.
To help out with this step, in the settings you can enable ‘Filled rendering’ or click on the preview button at the top to check which parts will end up being engraved away. (Black is removed while the white will be raised)
Make sure to add another circle around the outside in a different colour. This will be used to mark a line for you to cut the stamp out once all the engraving is done.
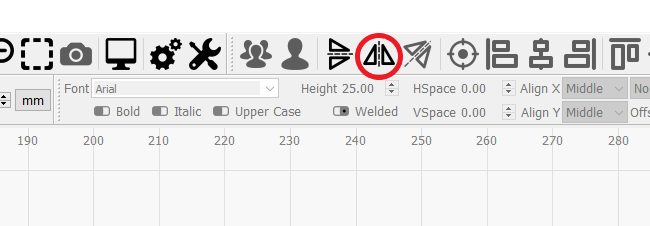
Important: Make sure once you are done with your design, you mirror it!
Step 3:
Settings
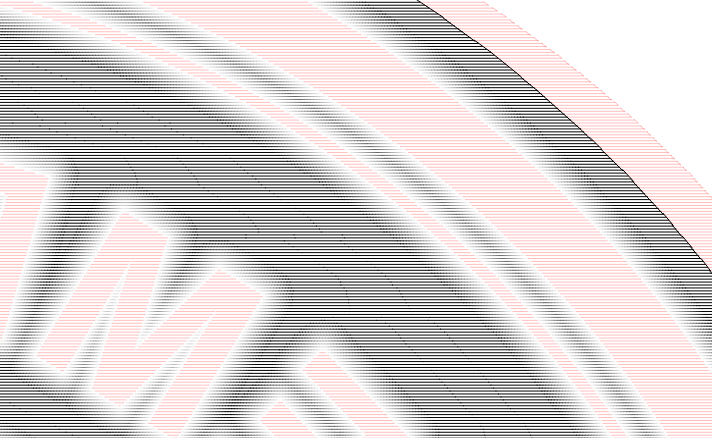
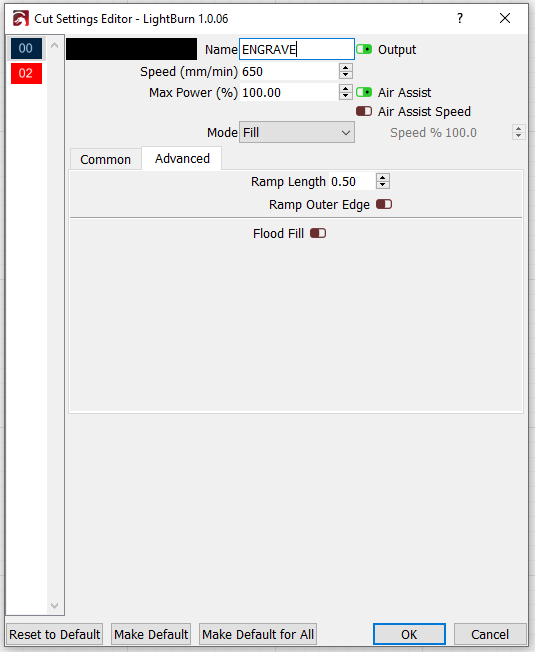
To help retain fine detail in the stamp, we will be using an advanced feature in LightBurn called ‘Ramp’. This allows you to angle the sides of the raised parts on the stamp, providing additional support for thin regions..
You can see the ramped areas on the preview, transitioning from white to black
For the Engrave settings ensure it is on a ‘Fill’ layer and set the settings to:
Speed: 650mm/m
Power: 100%
Line interval: 0.05mm
Overscanning: 10%
Ramp length: 0.5
Air Assist: ON
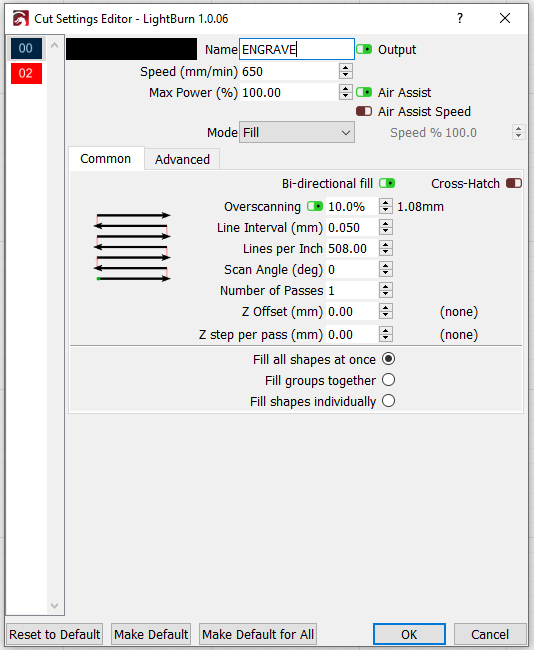
These engrave settings will remove just over half of the rubber (1.2mm) to create a more defined height difference.
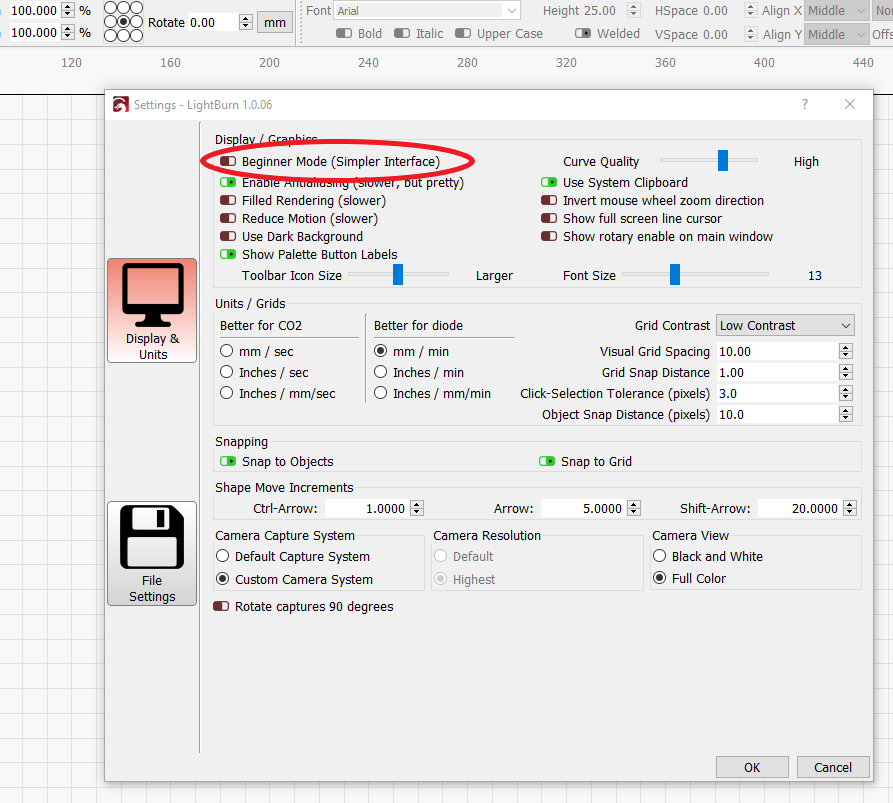
Note: To access the advanced tab for ramps, you will need to turn off “Beginner mode” in LightBurn. You can do this by clicking ‘Edit’ -> ‘Settings’ -> ‘Beginner mode’ to off
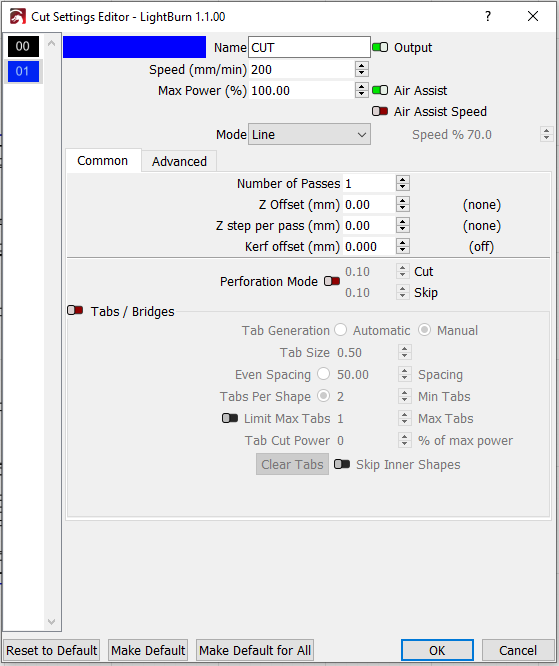
The stamp will ultimately be cut out with a sharp blade, but we can engrave an outline to help us.
Speed: 200mm/m
Power: 100%
Passes: 1
Air Assist: ON
Step 4:
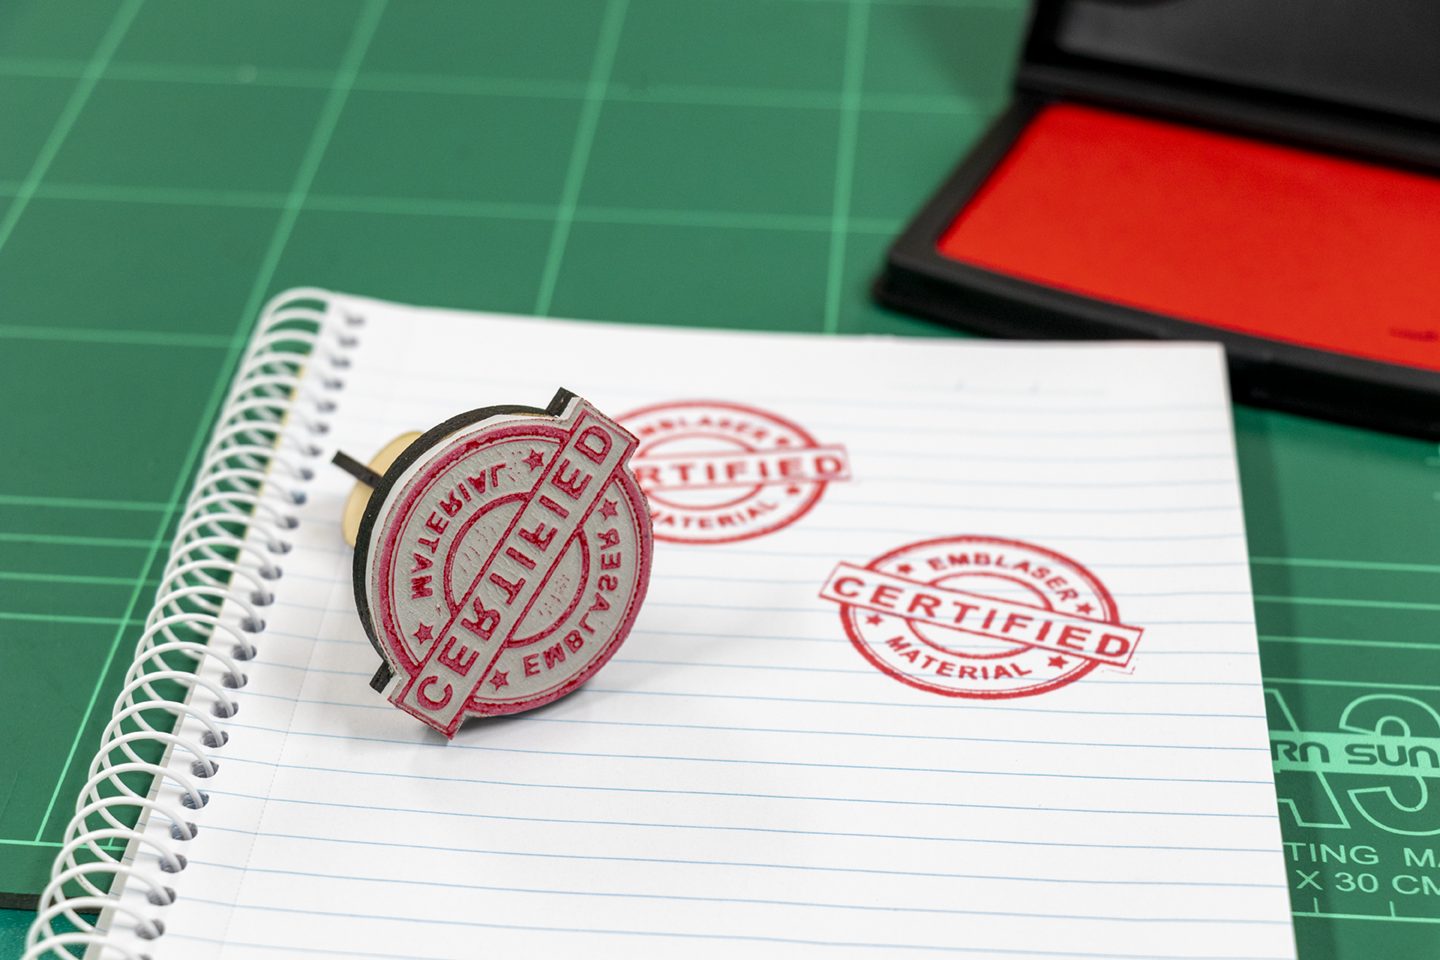
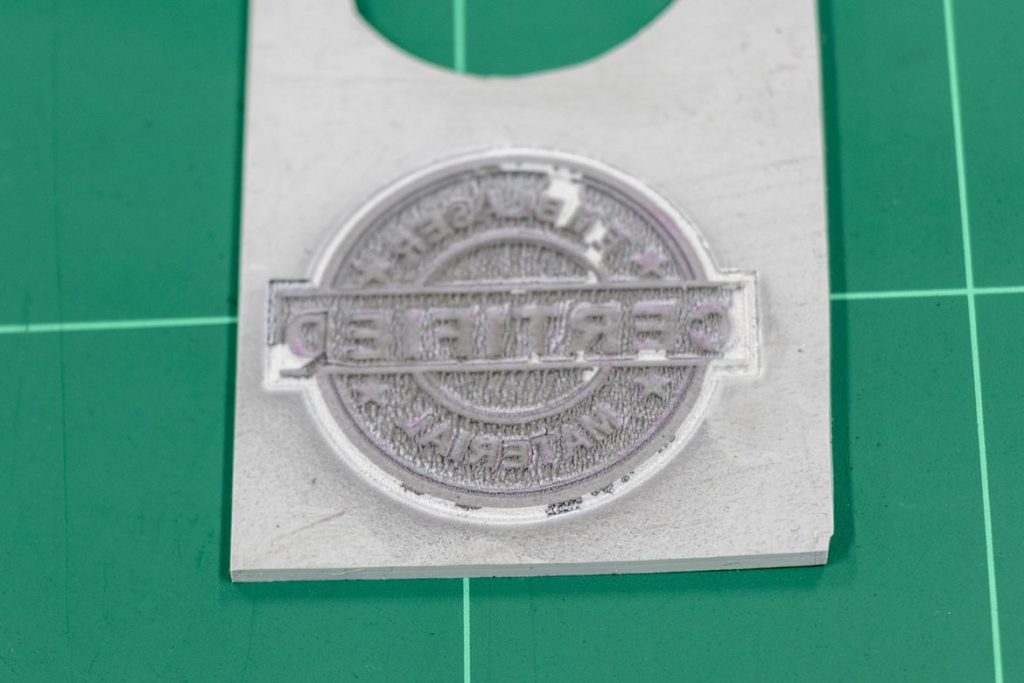
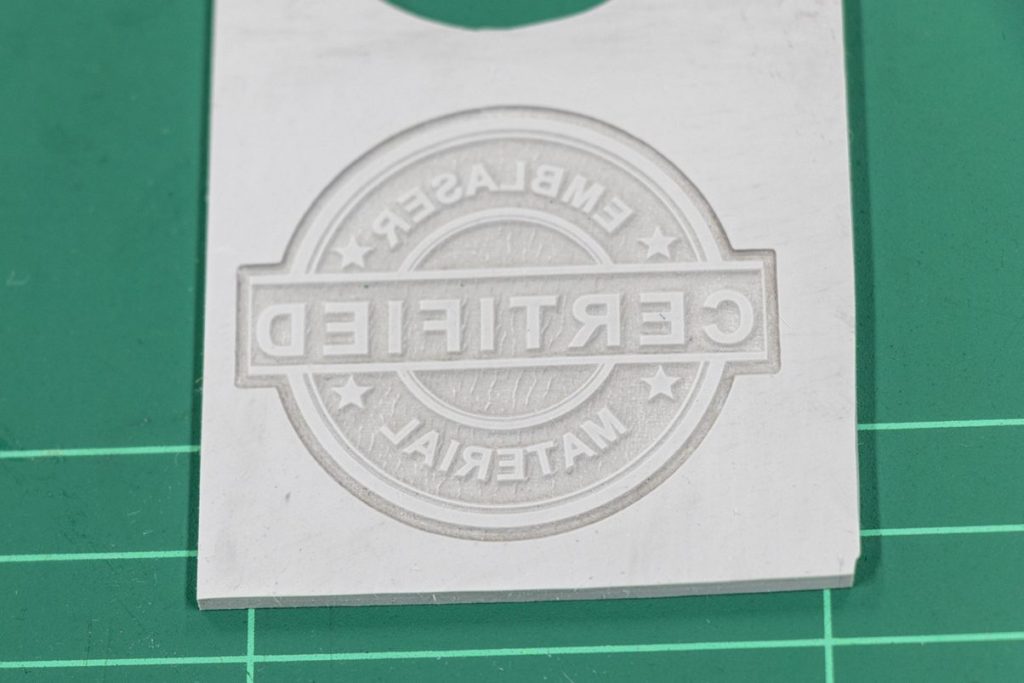
After engraving the stamp a good wash with soapy water will remove all the engraving debris. This will leave you with a clean and detailed stamp.
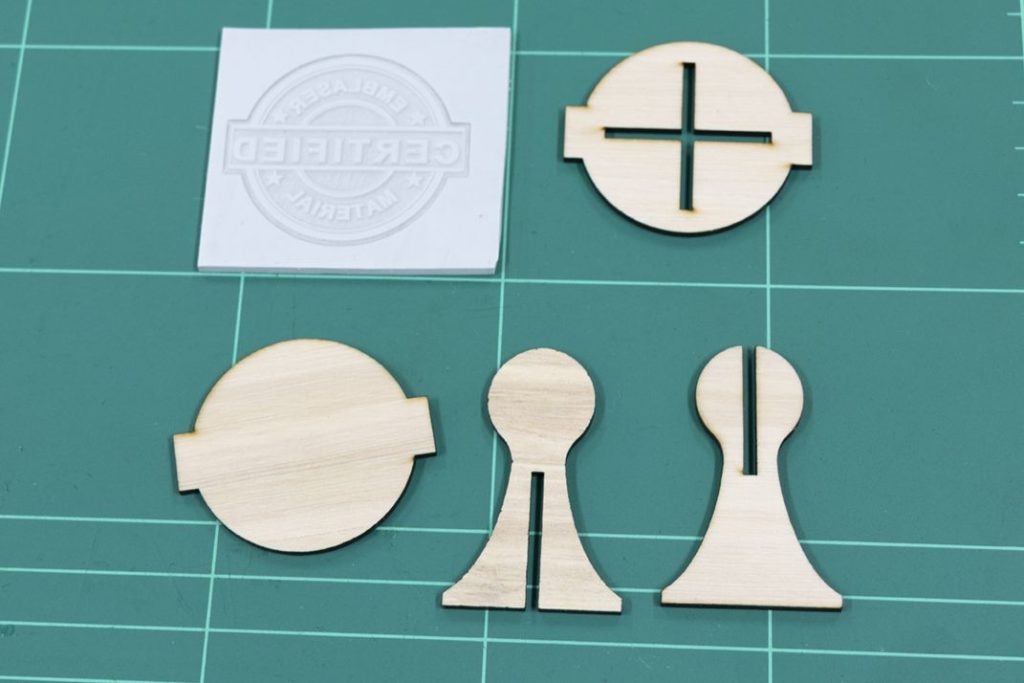
Step 5:
As a bonus, we have included a handle design for the stamp. You can use this as a starting point and modify it to suit your stamp. After you have all your pieces you can start assembly.
Step 6:
Using your stamp base as a guide, cut away the excess material with a sharp blade.

Step 7:
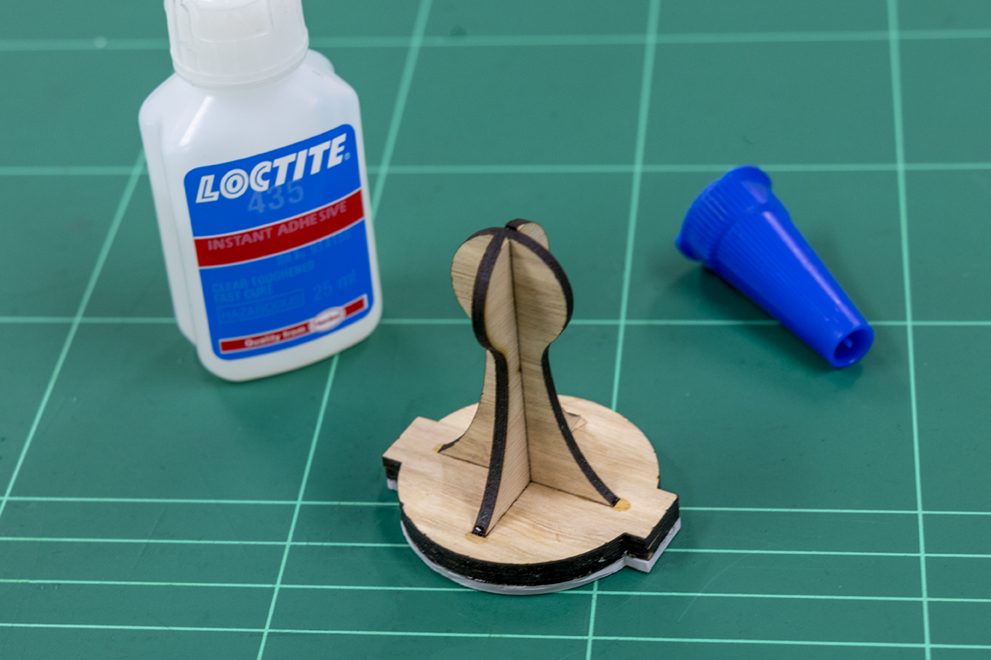
Carefully assemble all the pieces and use glue to hold it all together.
Finished Stamp