Replacement exhaust fans can be bought from the darkly labs store here.
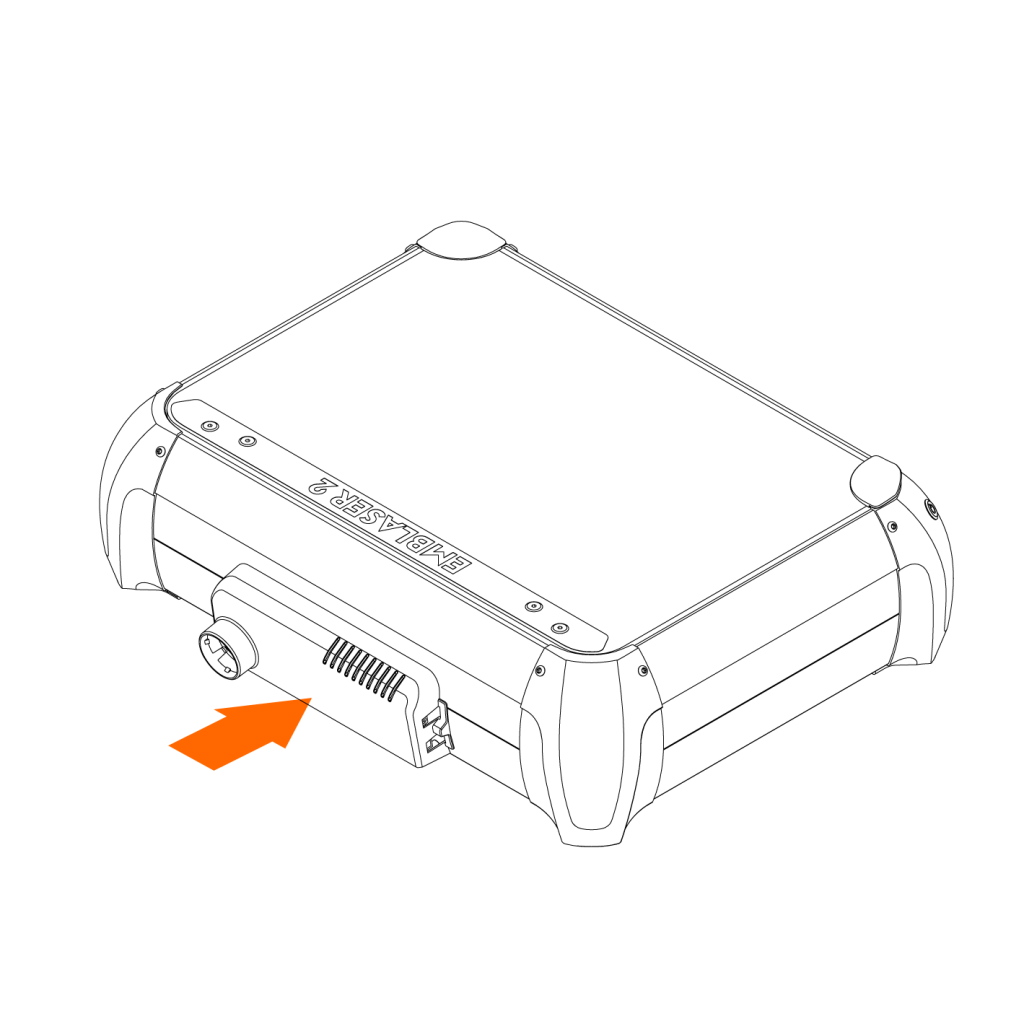
Step 1:
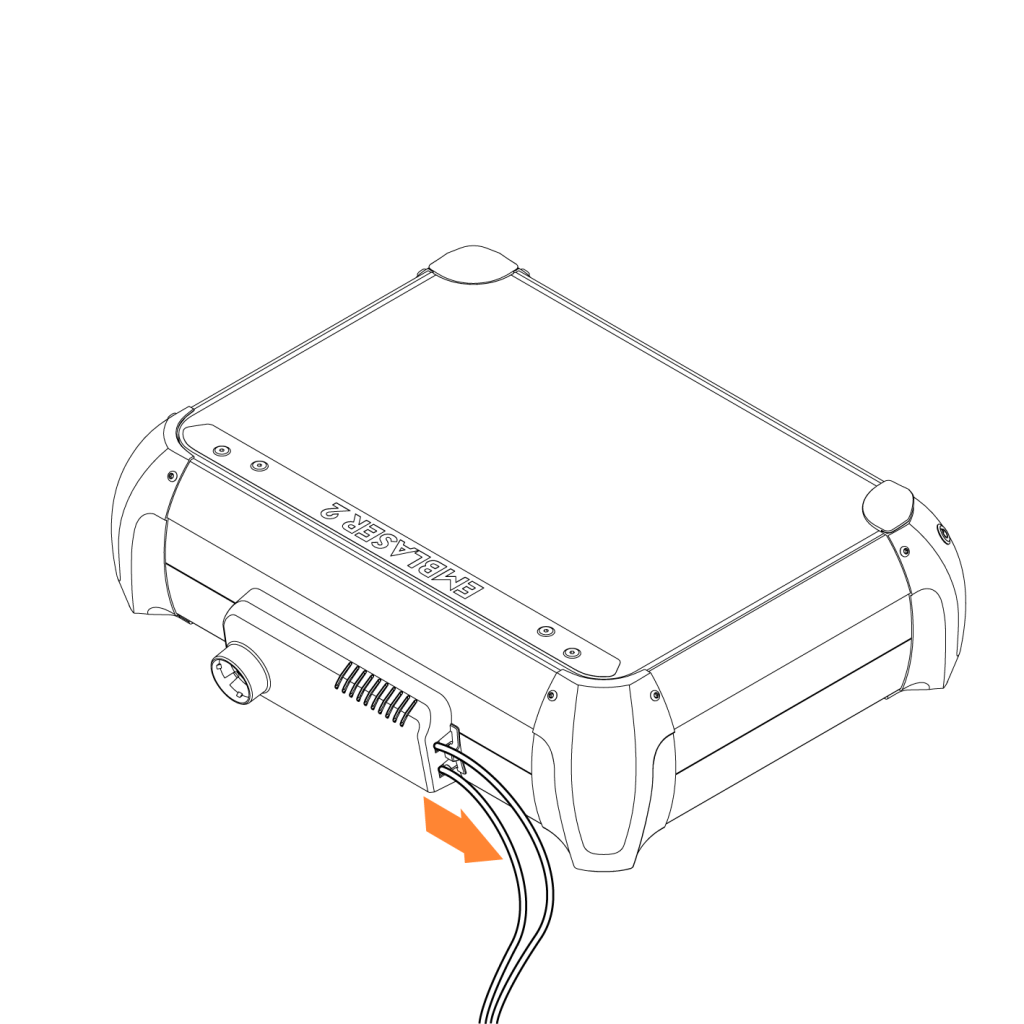
Unplug the USB and power leads from the Emblaser 2.
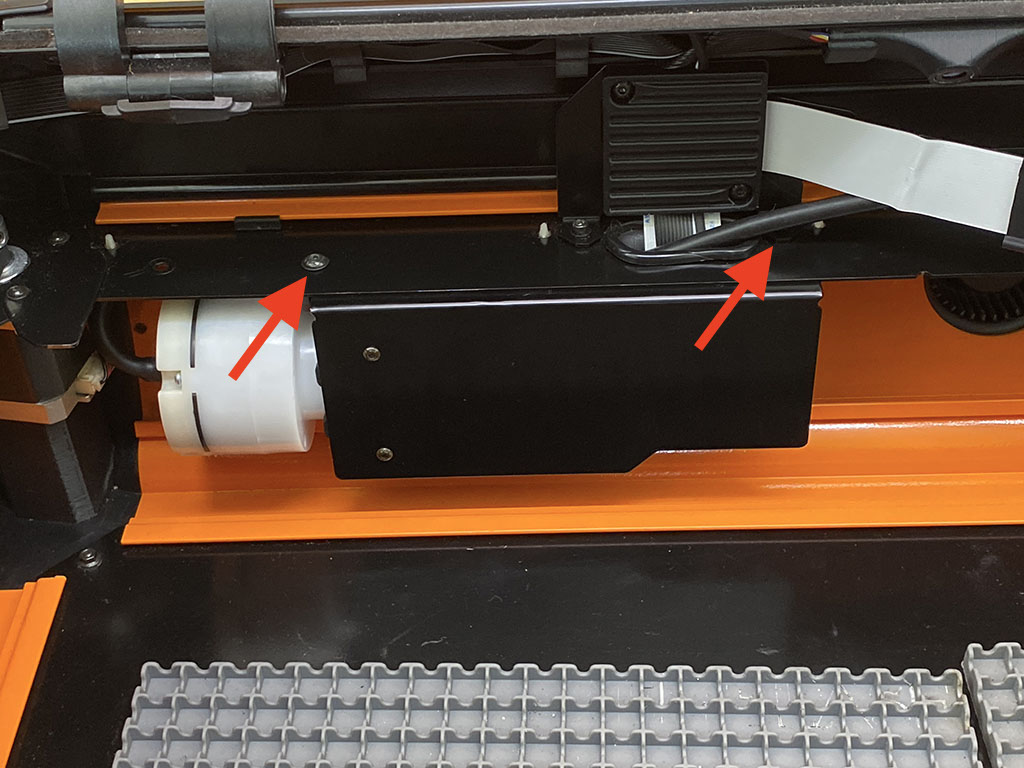
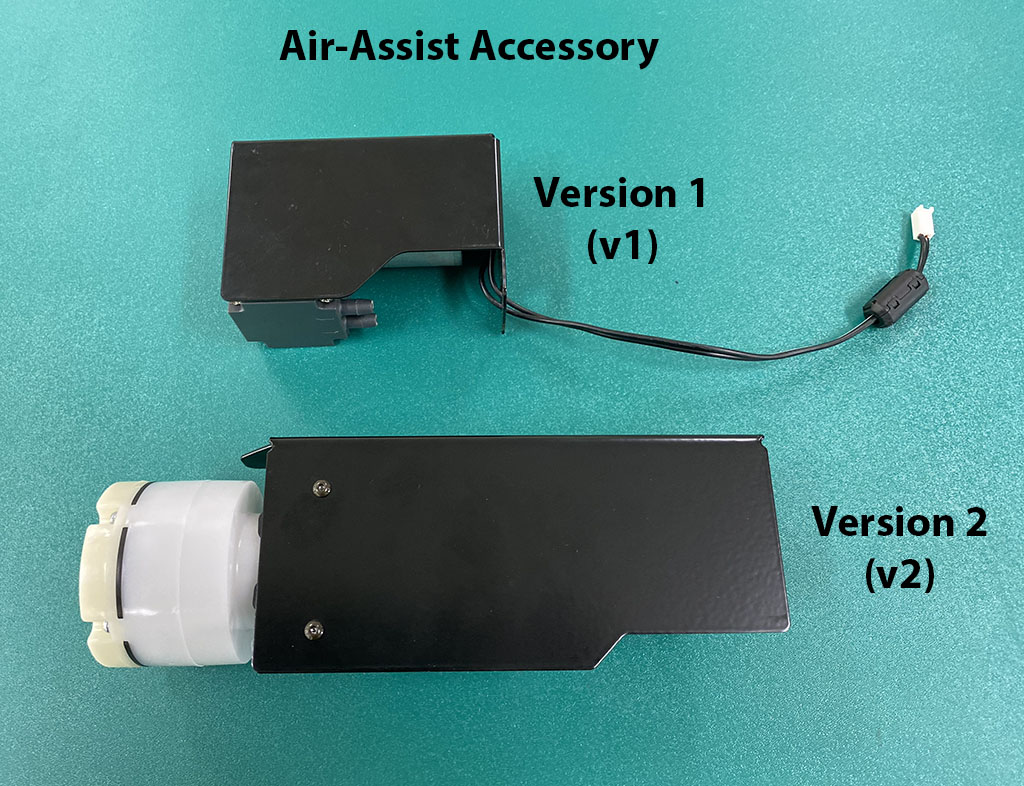
Step 2: (optional if you have v2 air-assist)
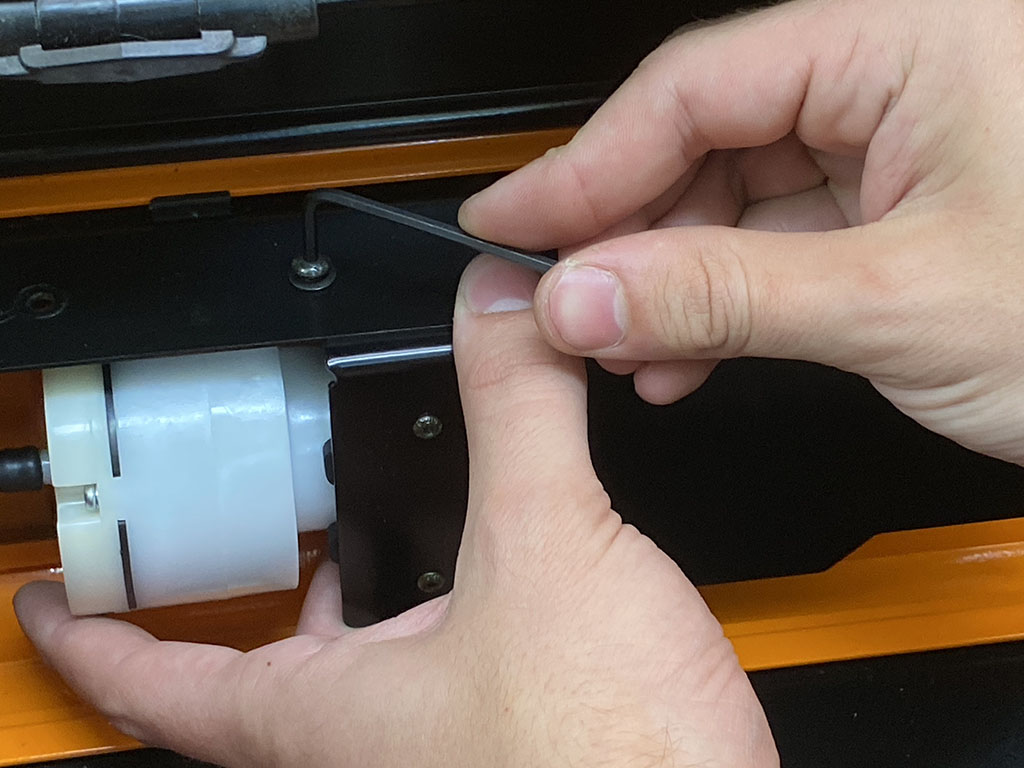
If your machine has the new v2 air-assist accessory, you will need to detach this before you can access all the screws for the electronics pod.

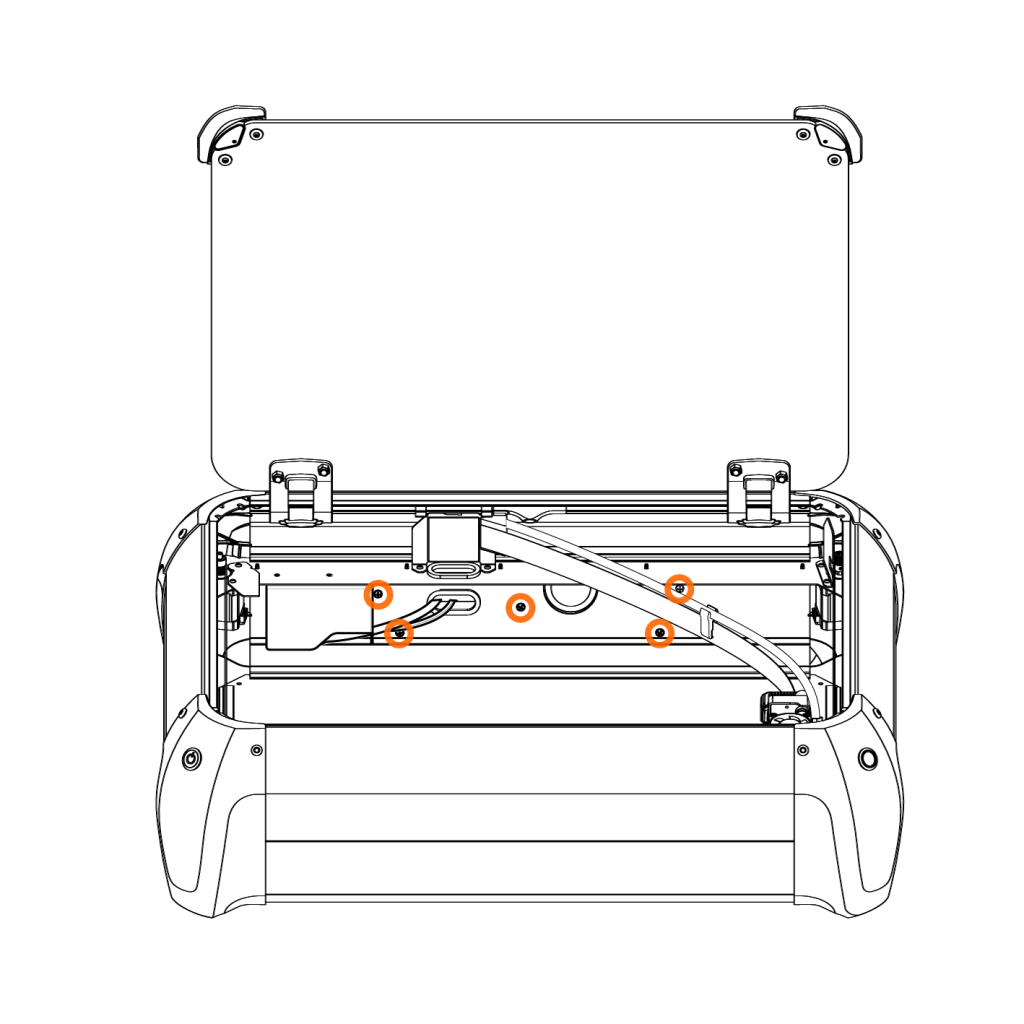
Step 3:
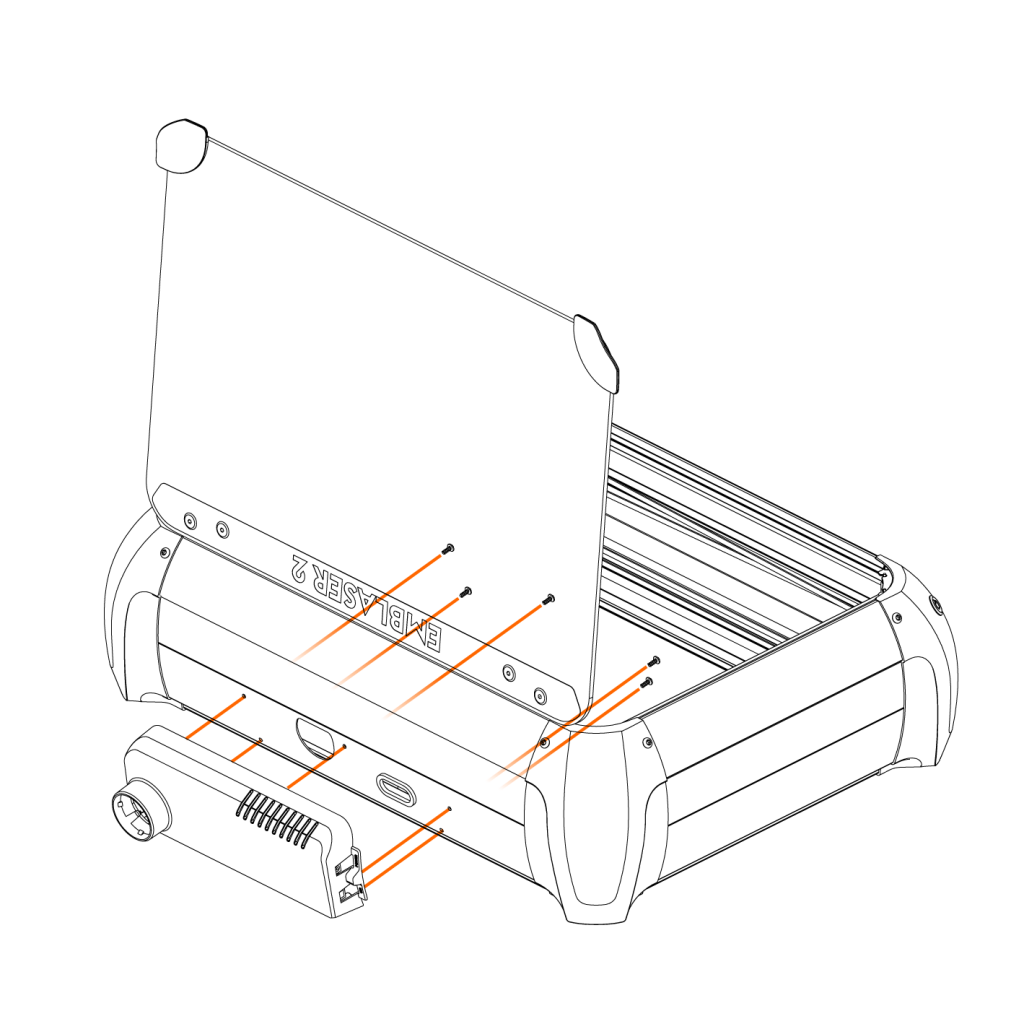
Remove the 5 screws holding the rear electronics pod in place.
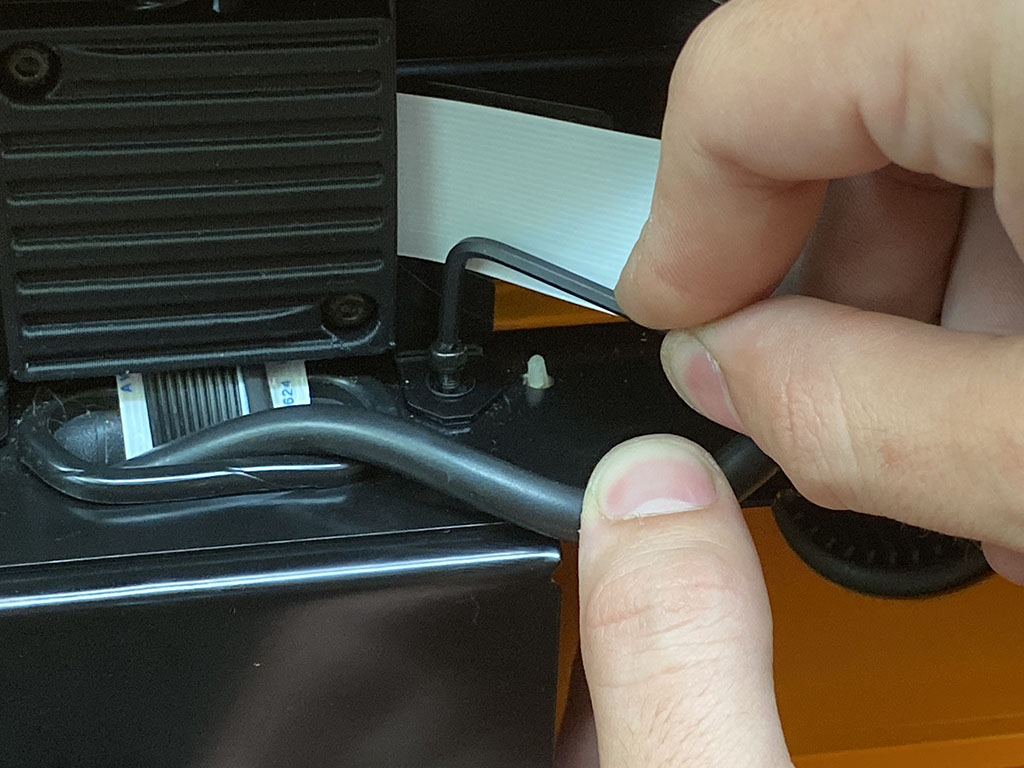
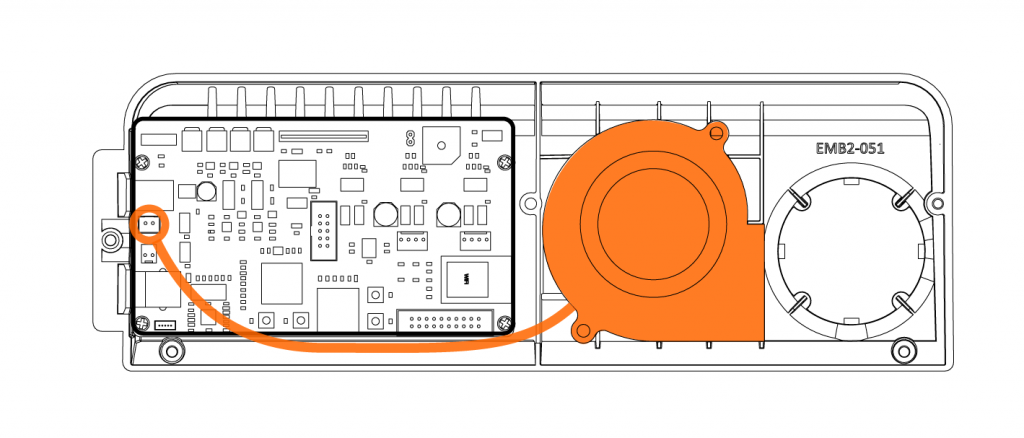
Step 4:
Unplug the exhaust fan connector from the controller board.
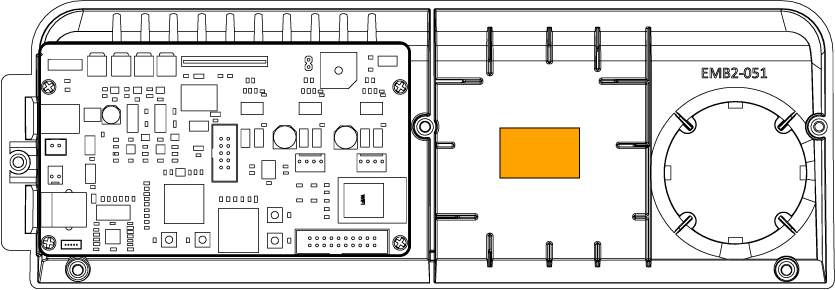
Carefully remove the old fan. Please note that the fan is attached to the electronics pod with a piece of double-sided tape and will need to be pulled away. Carefully remove any remaining double-sided tape from the electronics pod.

Step 5:
Apply the supplied piece of double-sided tape to the back of the electronics pod.
Step 6:
Install the new fan ensuring it is firmly attached to the double-sided tape. Plug in the connector as shown.
Step 7:
Re-attach the electronics pod to your machine.
Step 8: (optional if you have v2 air-assist)
Re-attach the air-assist accessory.