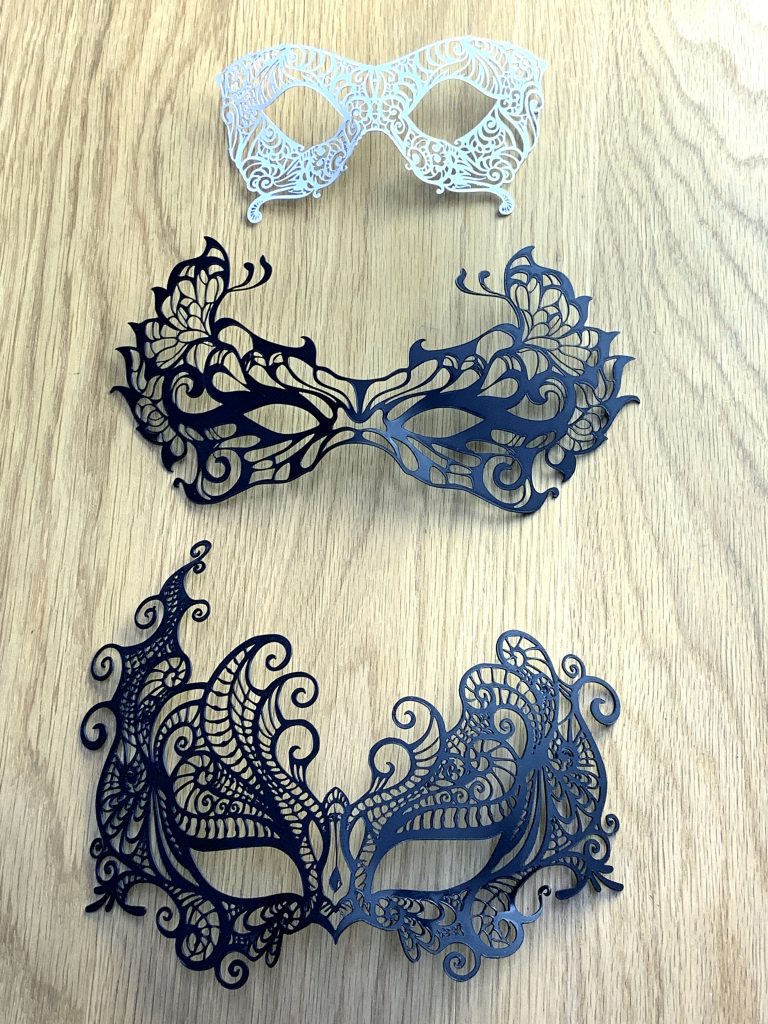
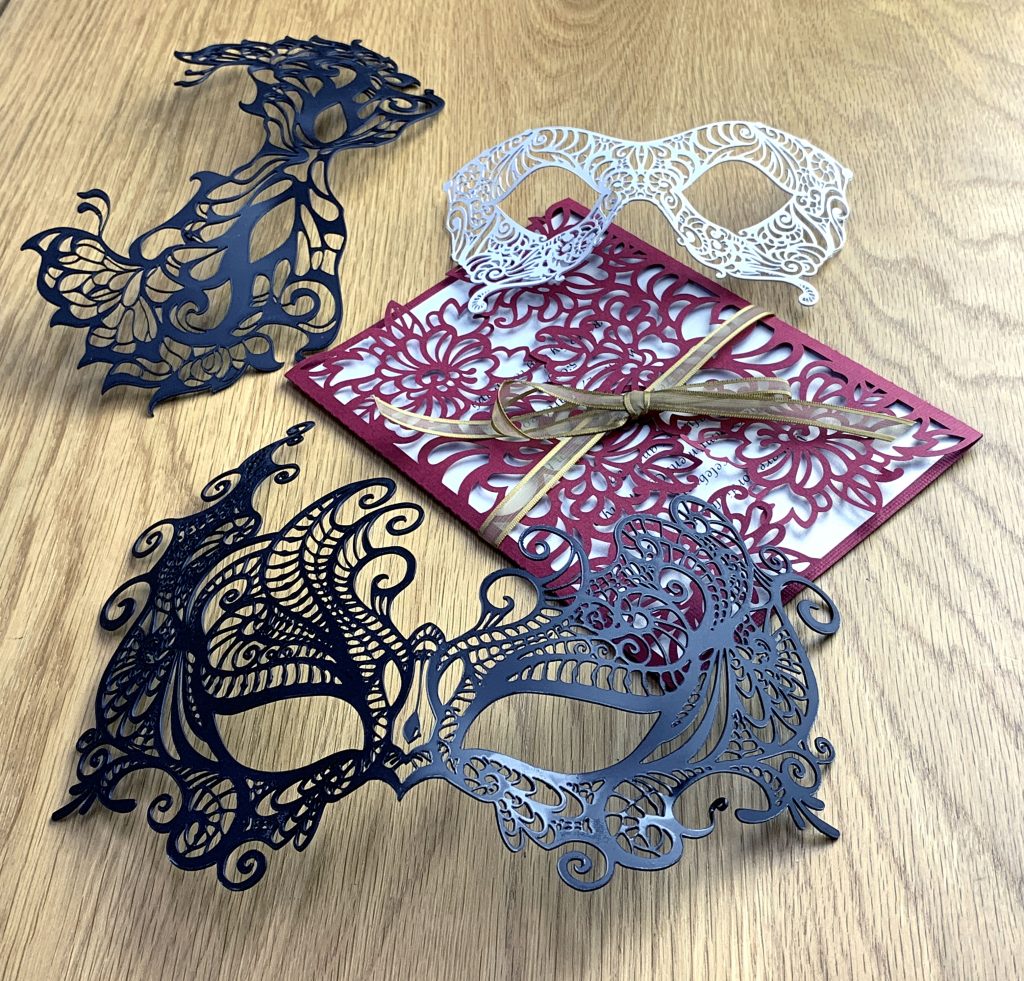
Our lead designer (Chris) loves working with polypropylene. It cuts easily, is flexible and super tough. Along with that, it can be formed into shapes with some heat.
When I asked him for a quick project using this material, he whipped up these intricate masks that I couldn’t resist making.
Project Files
Materials:
- 0.8mm Polypropylene
Other Items Needed:
- Heat-gun (to contour mask)
The Build
This project is almost as simple as you can get. There aren’t any complicated processes involved, so it can be made very quickly.
I ended up using 0.8mm black and 0.6mm white polypropylene because it’s what I had on hand. You can certainly use other colors or materials for this project. Thick card may work just as well.
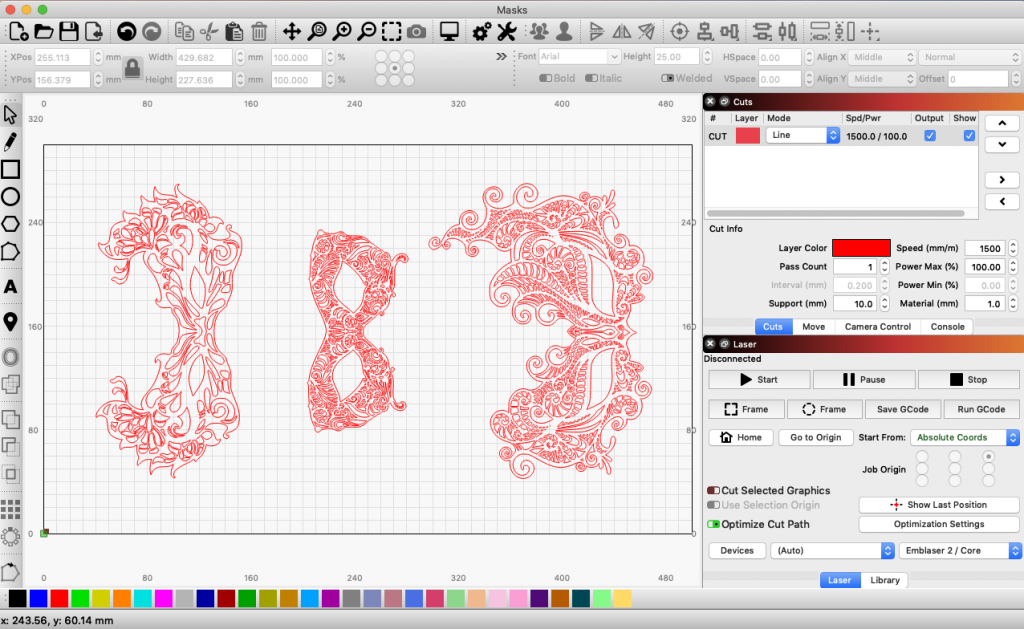
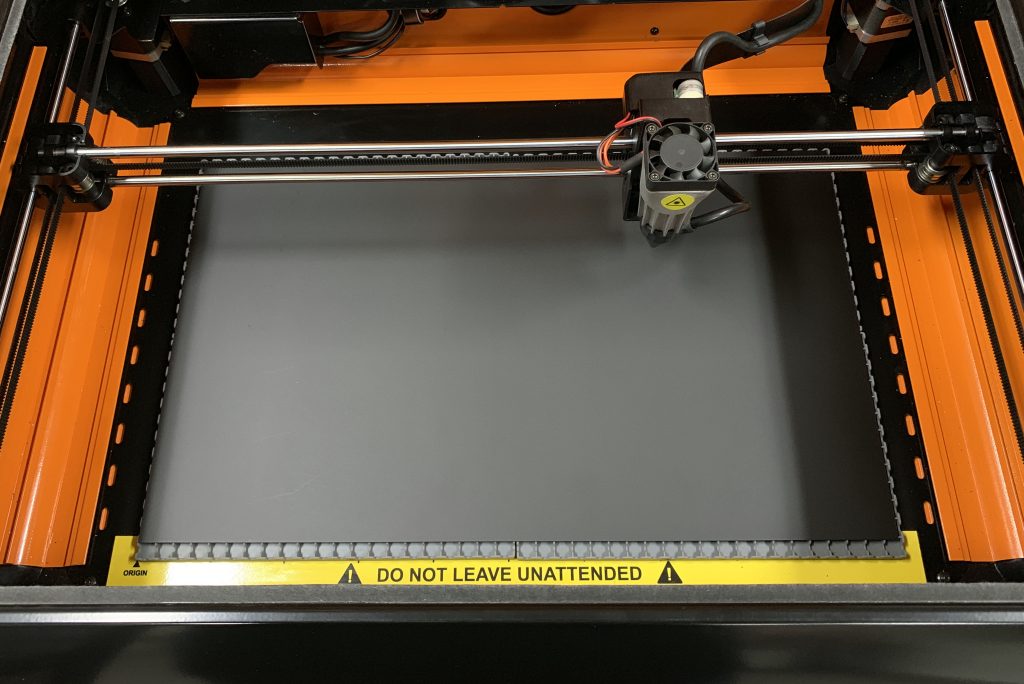
Cutting polypropylene on the Emblaser is quick and easy. Before cutting, be sure you have your machine vented adequately, or have your fume extractor turned on.
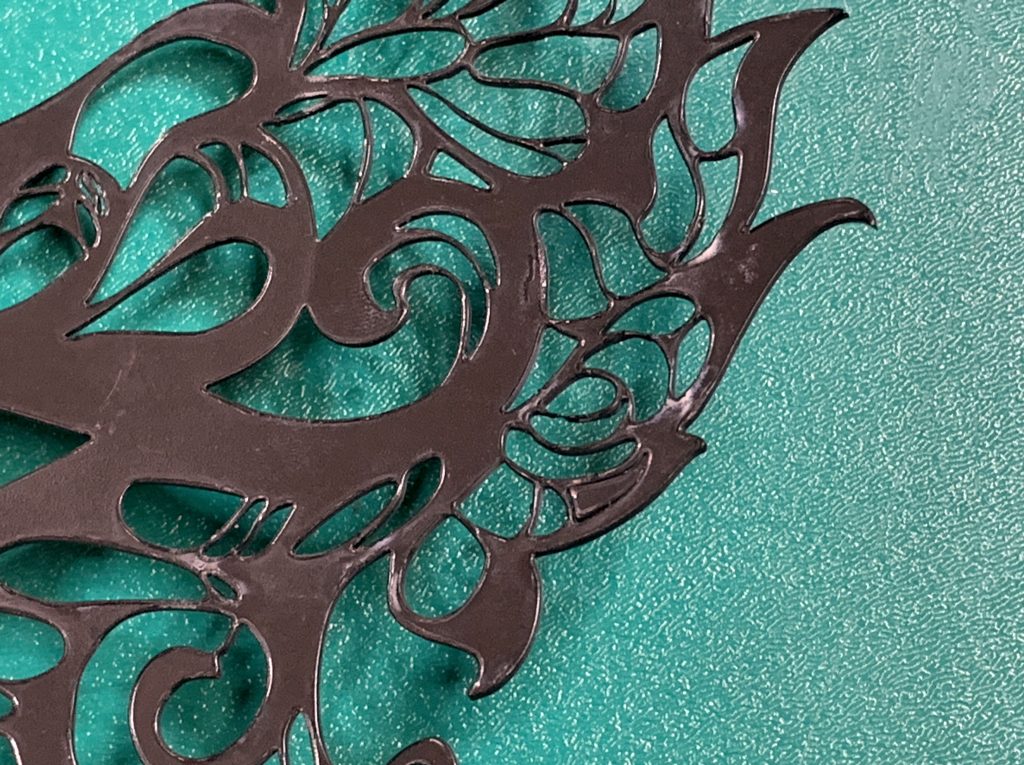
After cutting you may notice a white residue over your parts. This is common when laser cutting polypropylene and is more visible on darker colors.
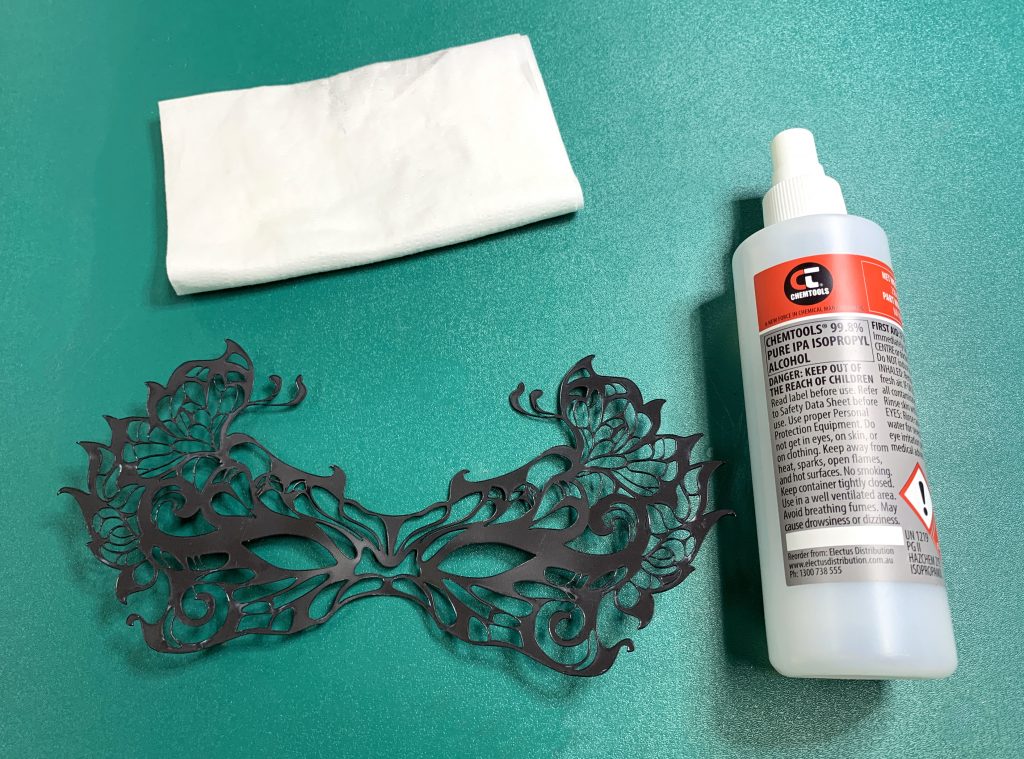
I used a lint-free cloth and a small amount of isopropyl alcohol to easily clean the residue away.
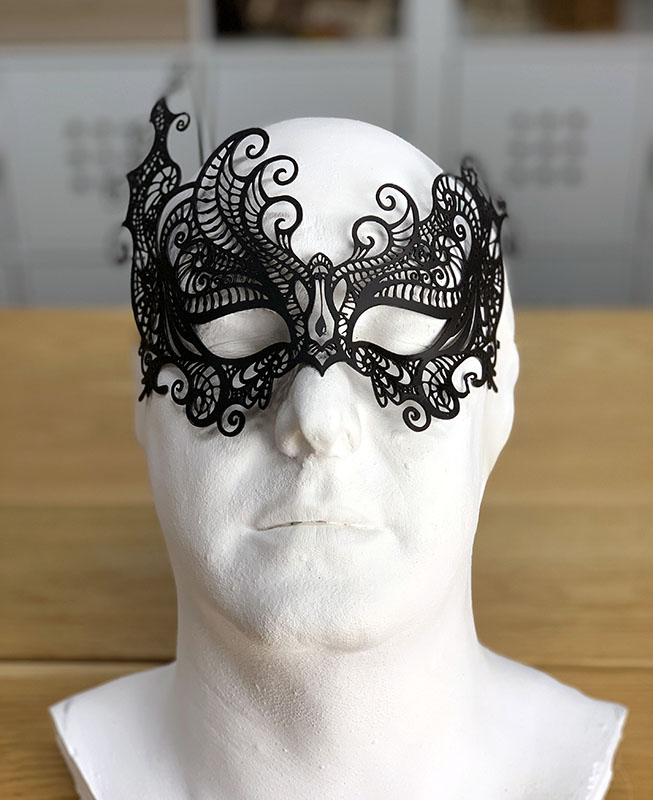
With the parts cleaned, I decided to add a little contour to them so they would fit on a face better. I used a plaster life-cast and a hot-air gun for this process.
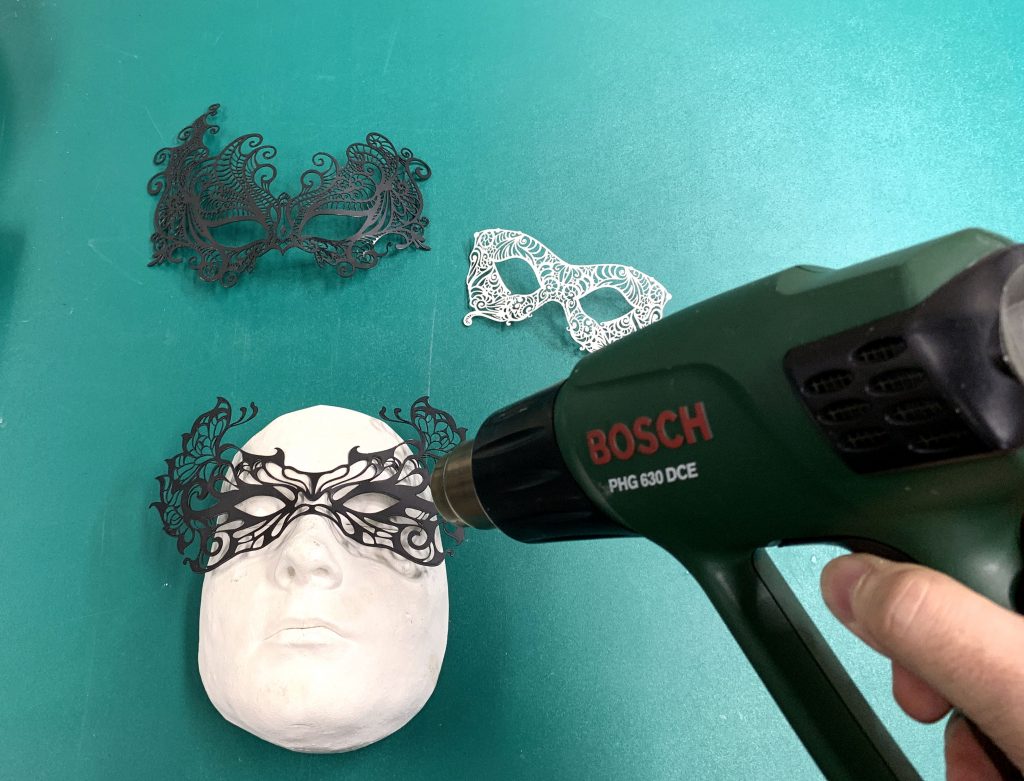
I set the air temperature to 120 degrees C and slowly heated the mask to slightly soften it. I was careful to keep the air moving over the mask and not let it sit in one place for too long. This would have caused the plastic to overheat and melt.
With the mask warm and soft, I pressed it onto the face mould and held it in place while it cooled.
Be careful when using a hot air gun. It can burn you!
The final result looked great and I can see a lot of possibilities for similar projects using these techniques. I hope you can too.
