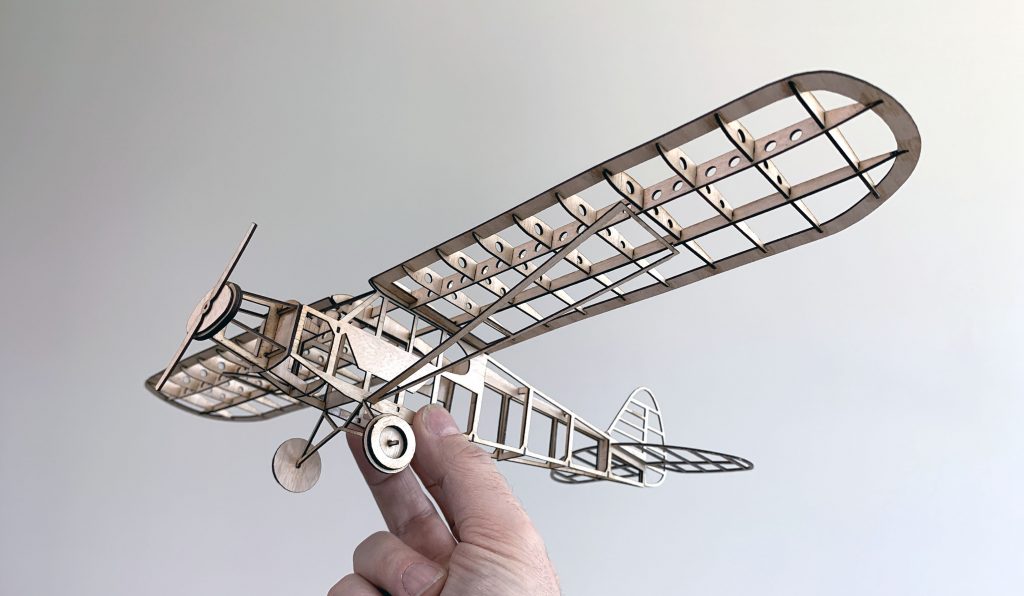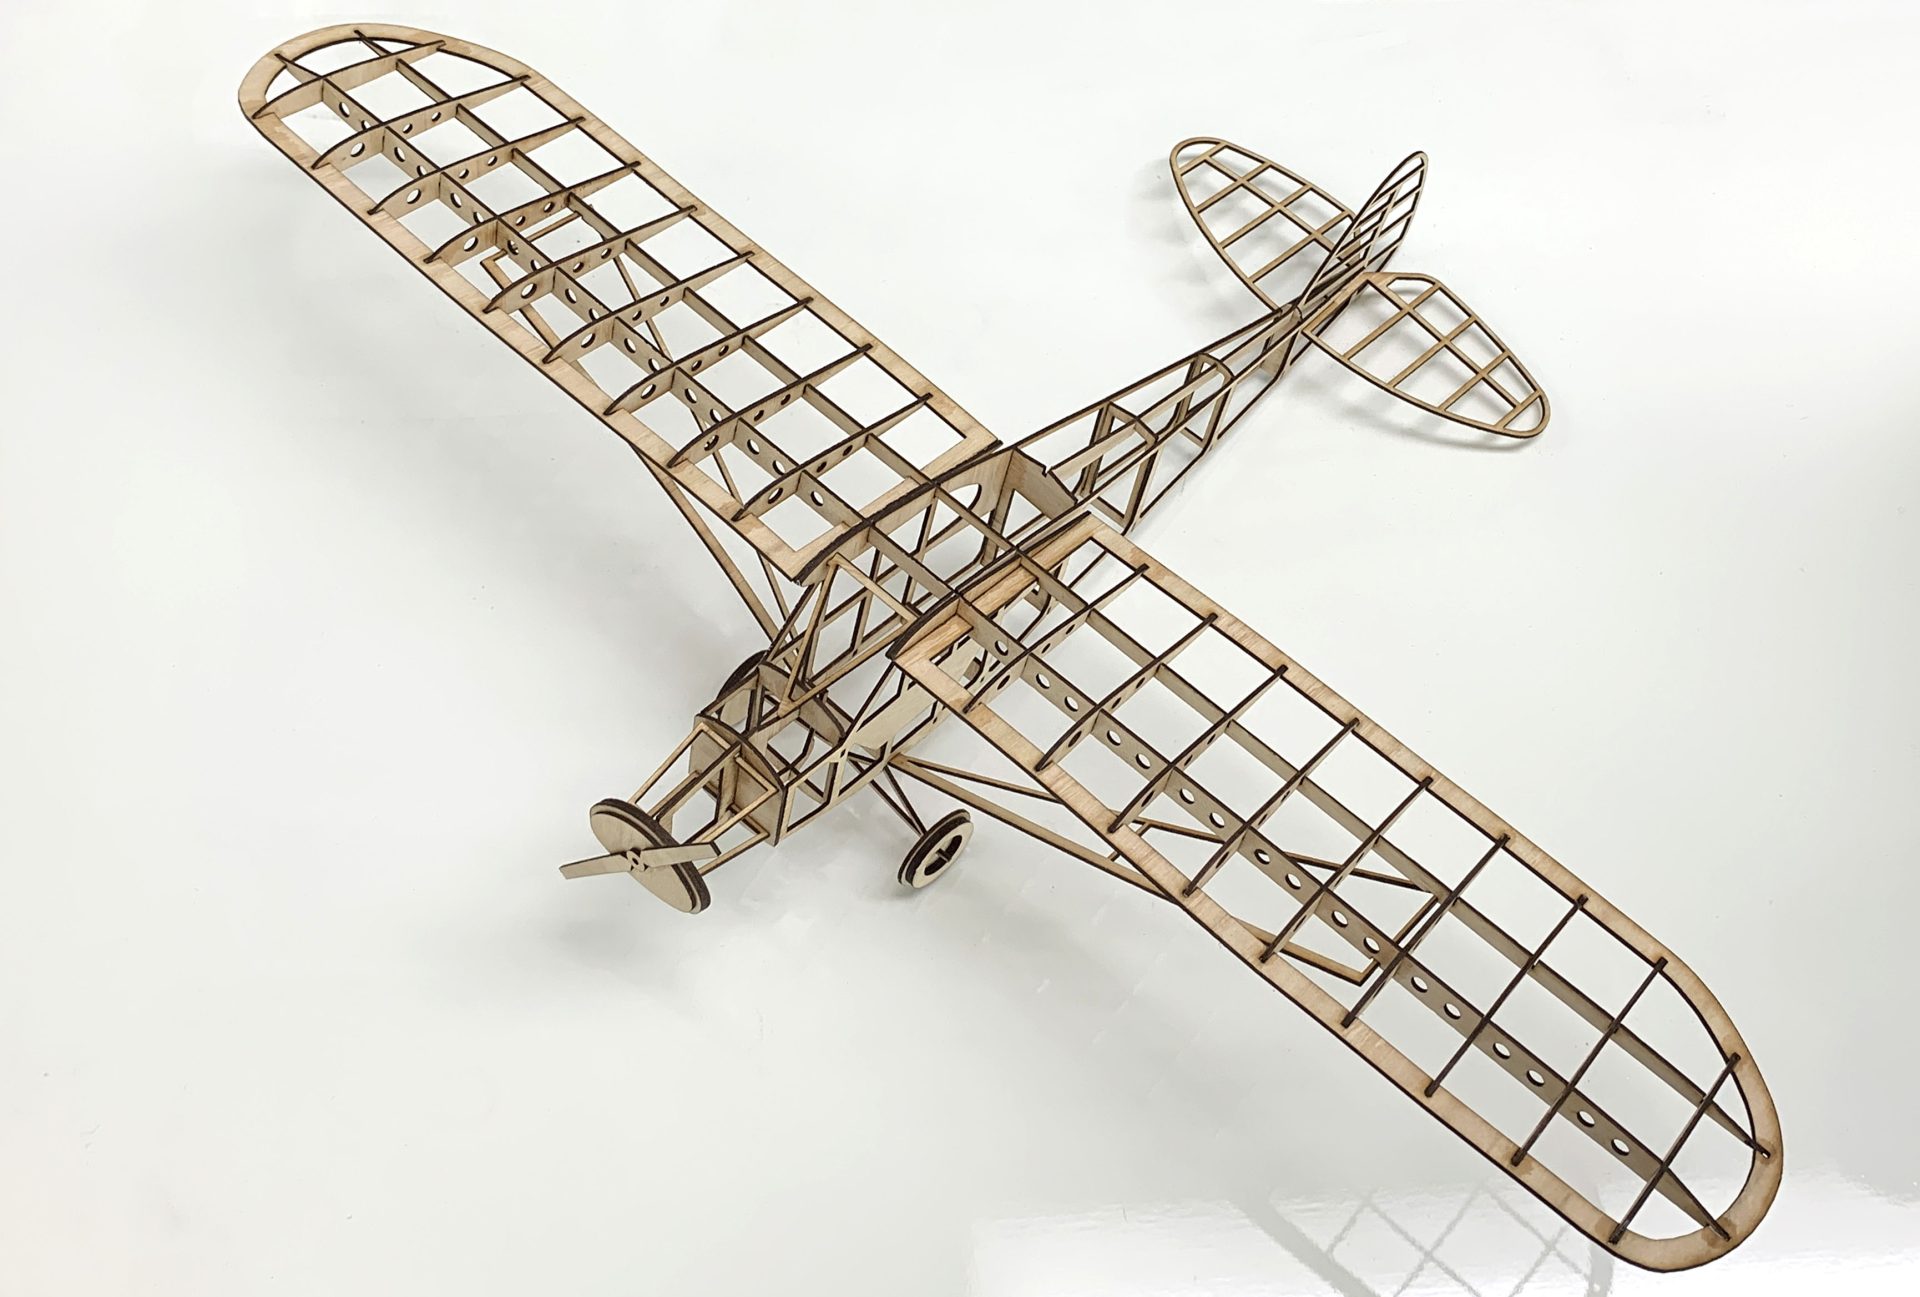
When I found this airframe design, I just knew I had to build it. This airframe assembles fairly easily and makes a great display piece.
Project Files
Materials:
Other Items Needed:
- Wood Glue or Super Glue
The Build
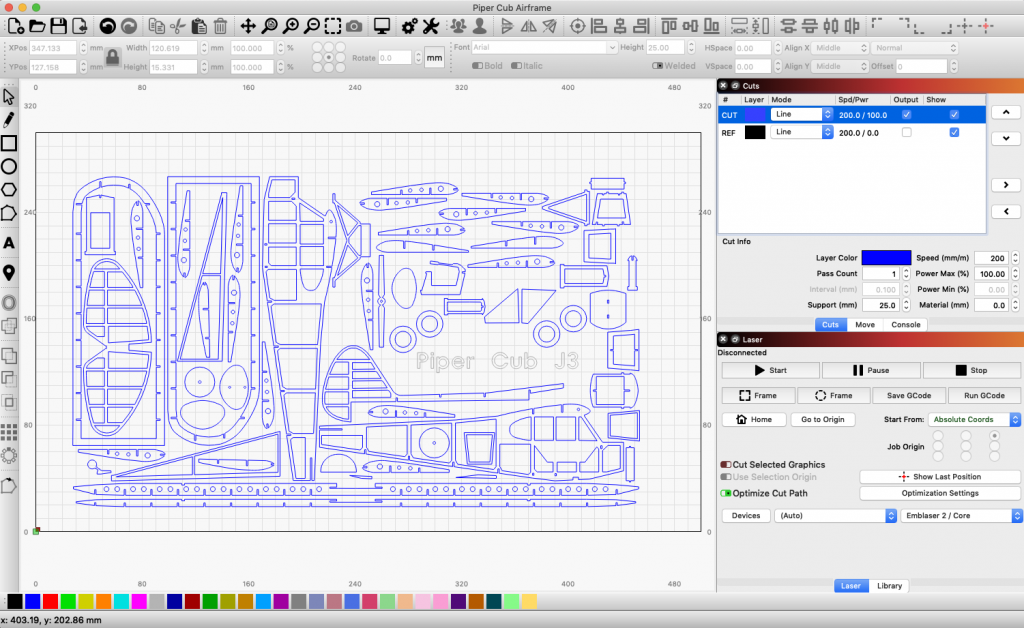
I decided to build this model out of the 1.2mm Eucalyptus plywood we stock. Since this was originally designed for 0.4mm thick material, I scaled the design up accordingly.
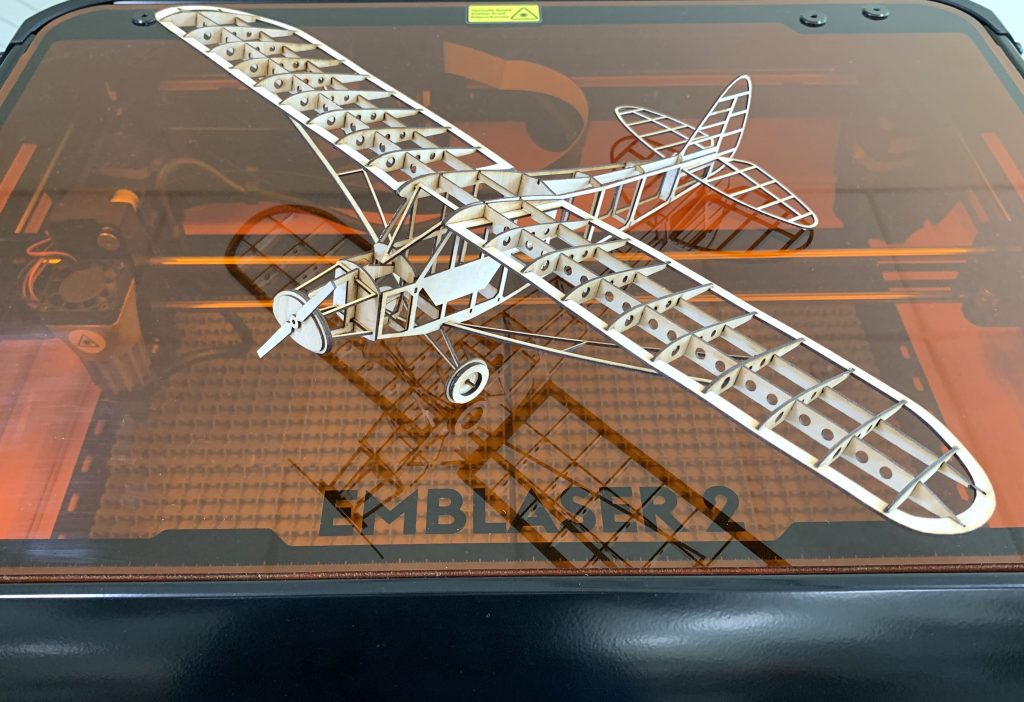
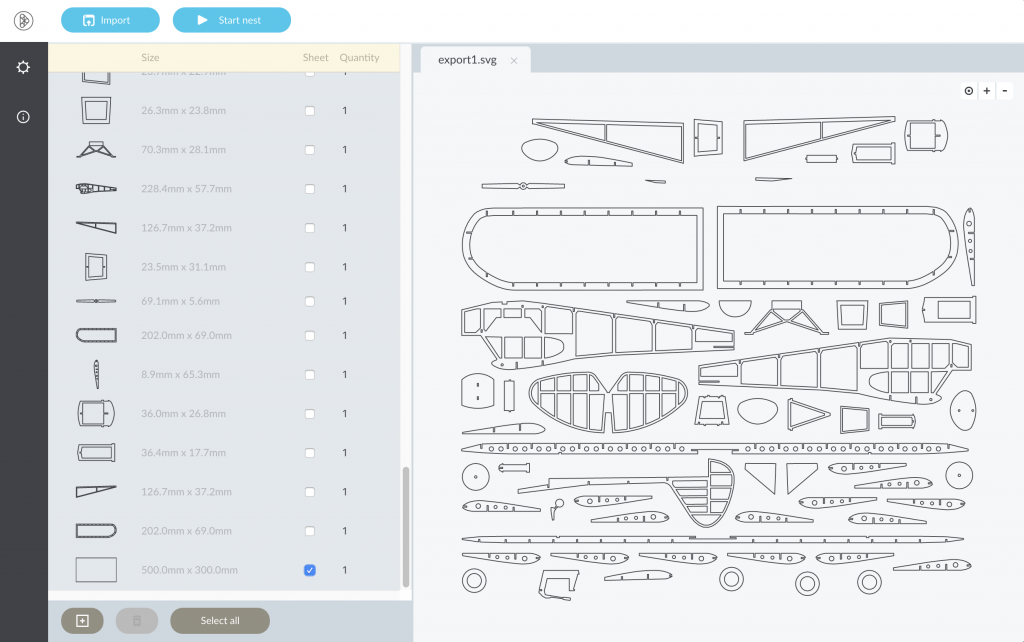
I once again used DeepNest (an automatic nesting program) to help fit all the parts together and get the most out of my material. I have used this program on various other projects with great success. As you can see from the result below, the design ended up easily fitting in the Emblaser 2 workspace.
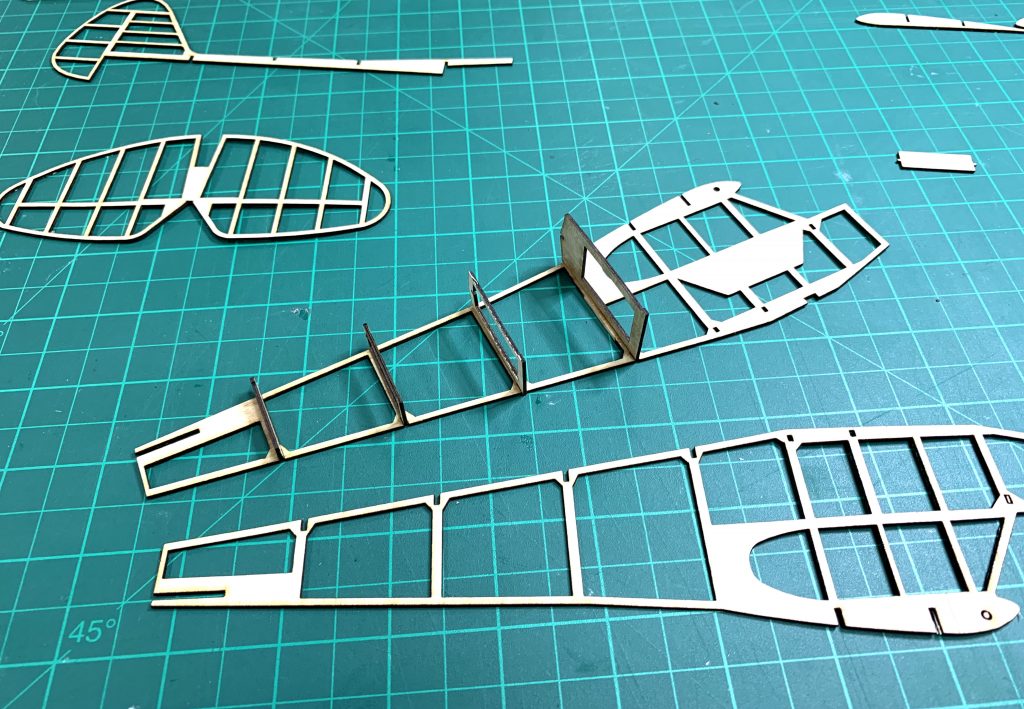
With the parts cut out, it was time to begin assembly. There were no real instructions on how the parts fit together, but it was mostly very obvious. I ended up printing out a few of the photos that are included with the original so I could figure our where some of the tricky pieces fit.

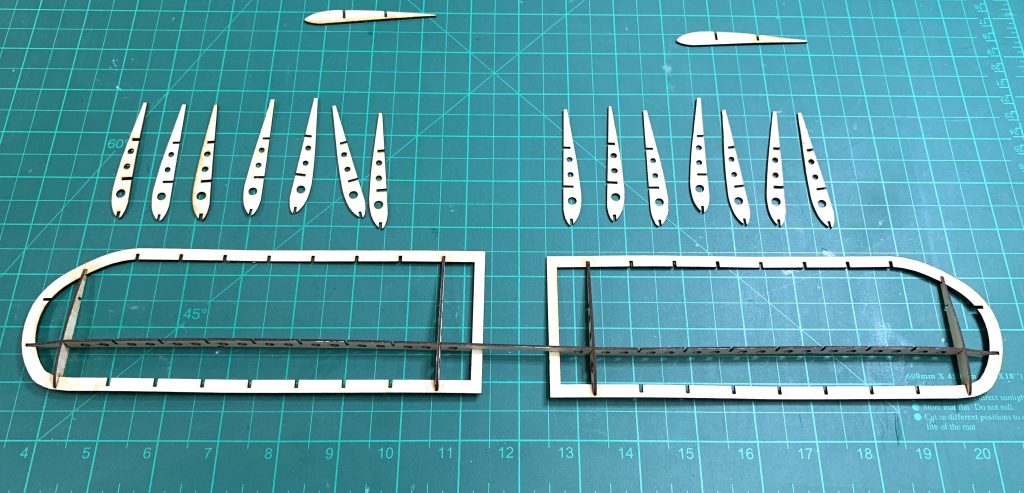
I started assembling the wing, because it looked the most straight forward to complete. I first installed the extreme ribs on either end of each wing and the strut. Once glued in place, the rest of the ribs slotted in easily.
The chassis was next. For this assembly, I first added the centre bulkheads to one side of the frame, then glued the other side of the frame in place. This helped hold the general chassis together while the front engine section was completed.
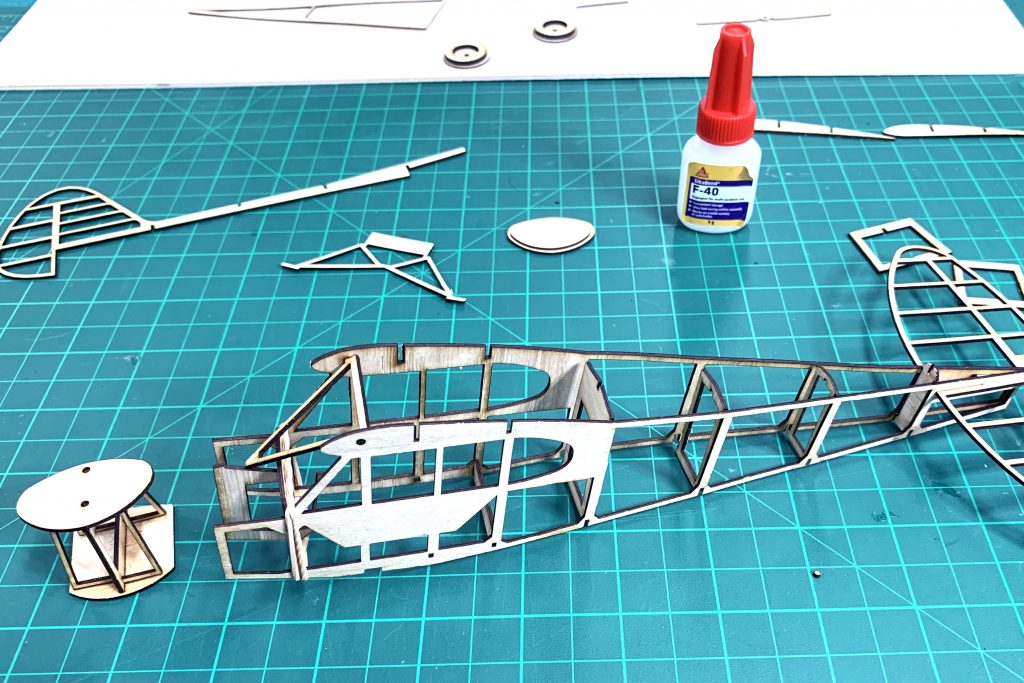
Finally, the wing, undercarriage and rudder were attached.
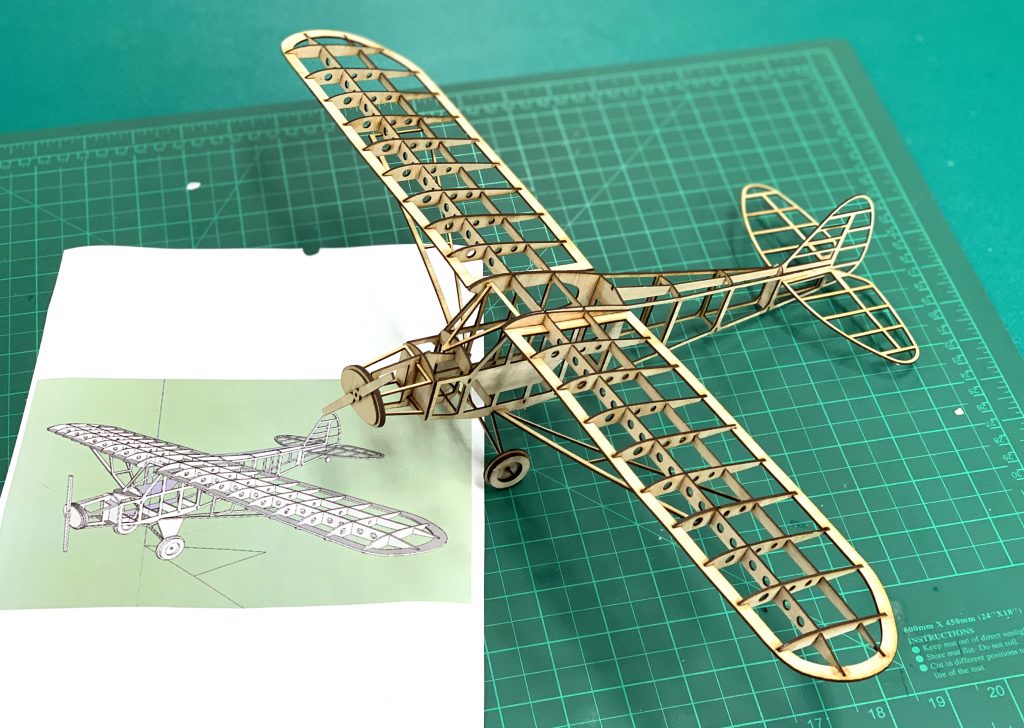
The total assembly time took around 3 hours allowing for the glue to dry and figuring out where some parts went.