I found this design by ThomasJ1 and thought it would make a great project, with a small design change.
This piggy bank has a very simple (and clever) locking mechanism that allows it to be opened once it’s full.
Project Files
Materials:
- 3mm Poplar Plywood
- 1.2mm Eucalypt Plywood
- Wooden Skewer
Other Items Needed:
- Sandpaper
- Wood Glue
The Build
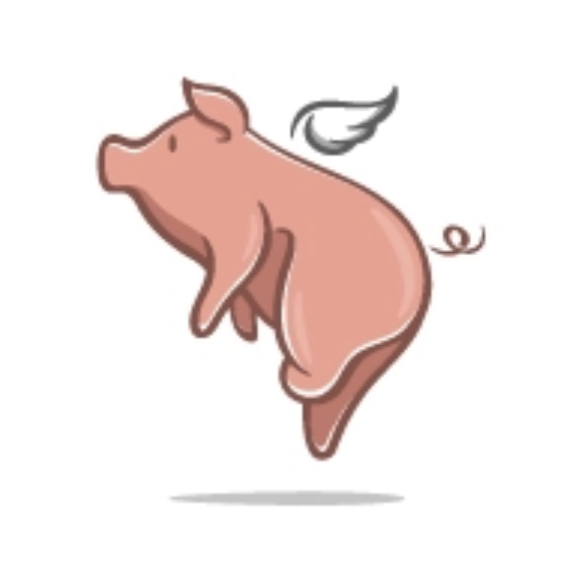
The main change from the original project I made was to use a pig rather than a dragon. After all, it’s a ‘piggy’ bank, right?
I downloaded a piggy design I thought would work well and used Illustrator to break the shapes down.
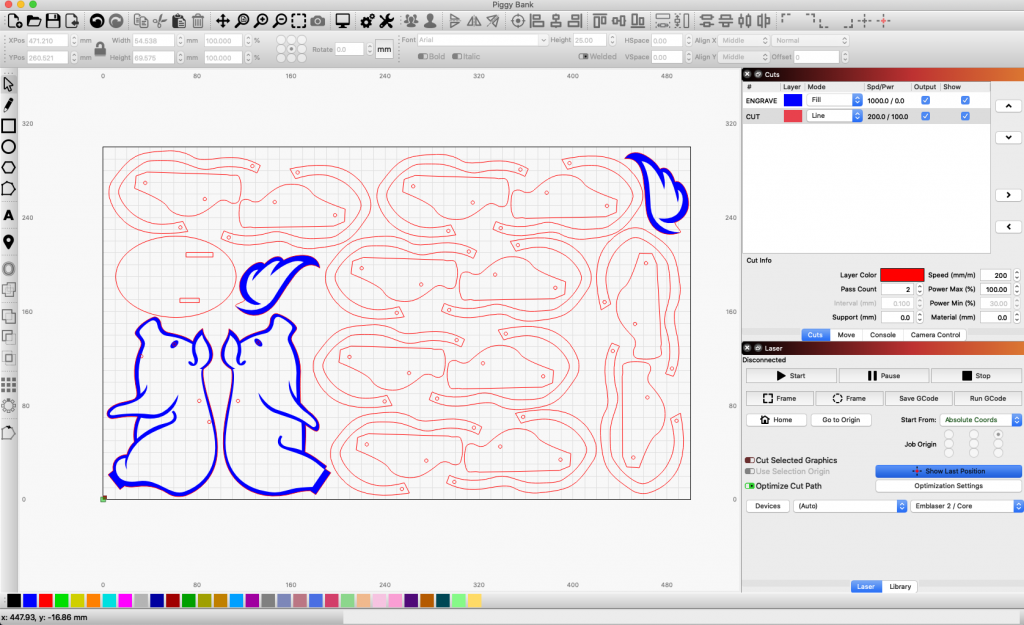
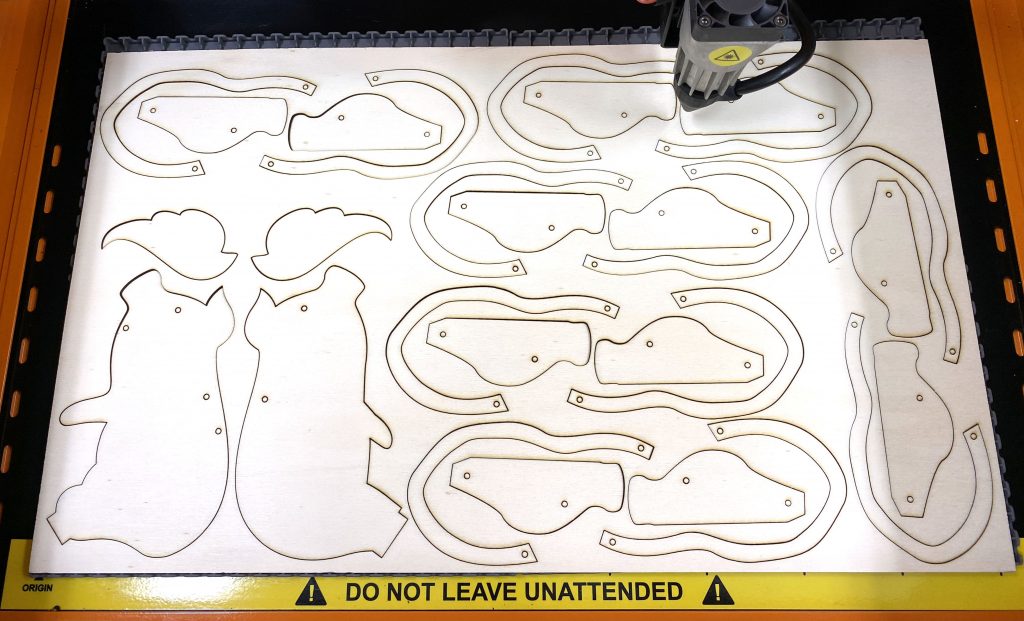
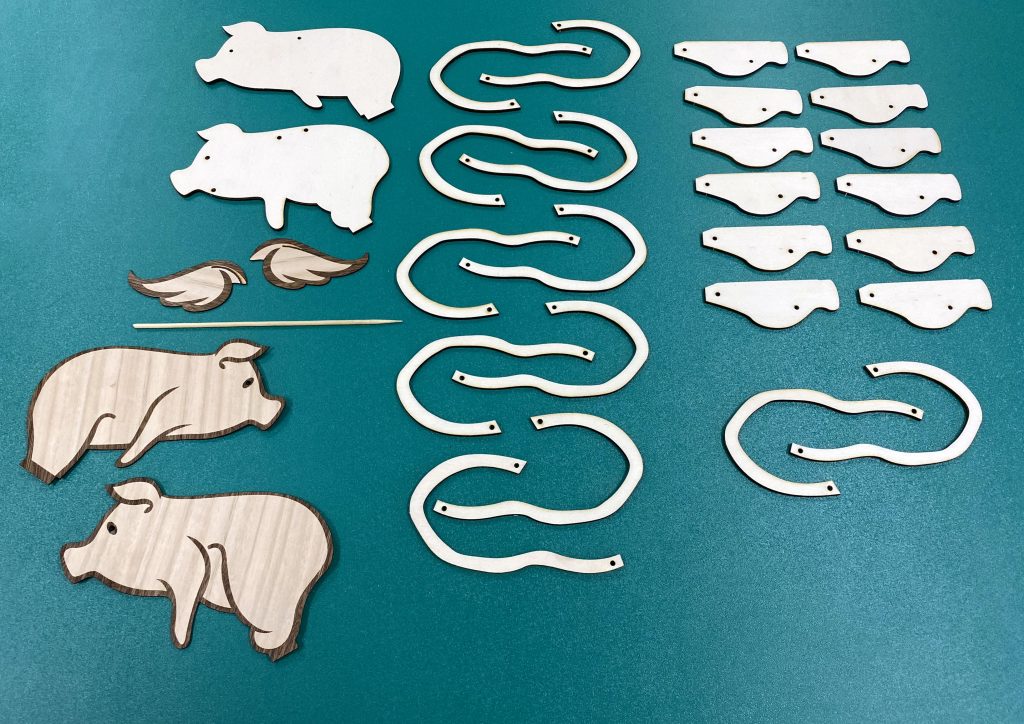
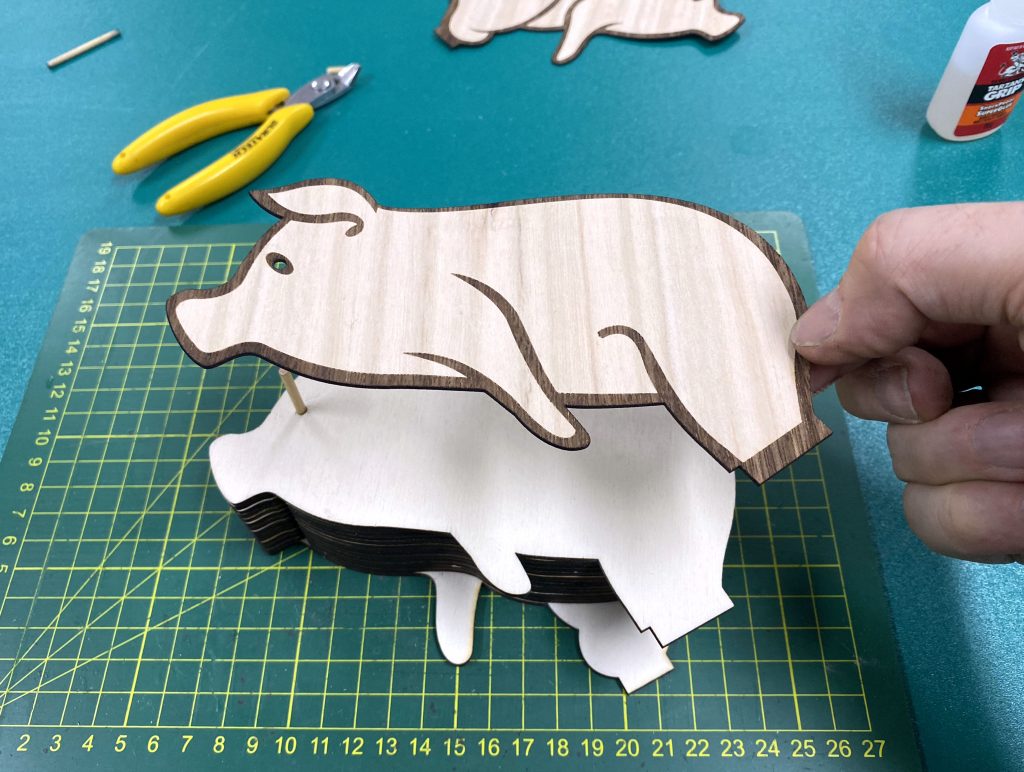
With all the parts cut, I was ready to start assembly. Notice that I decided to cut an extra set of body and wing parts out of 1.2mm Eucalypt ply. I will use these pieces as the exterior faces to cover up the various holes required for assembly.
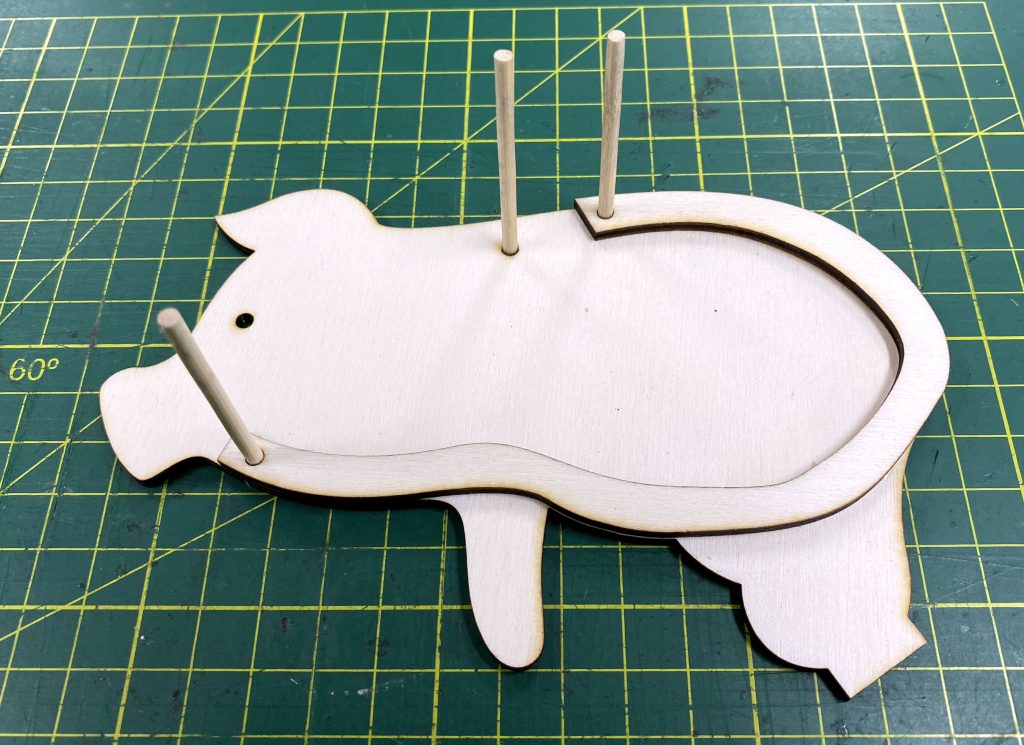
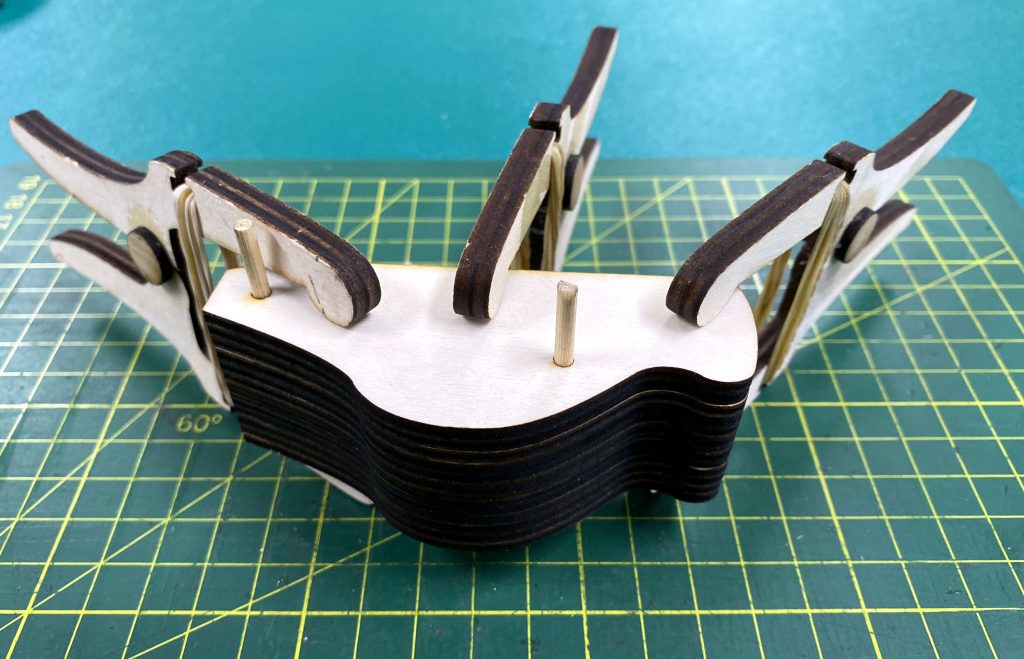
I first inserted the skewers into the body and glued them in place. They will make aligning all the layers very easy.
When the final layer was glued in place, I cut and sanded the two skewers flush.
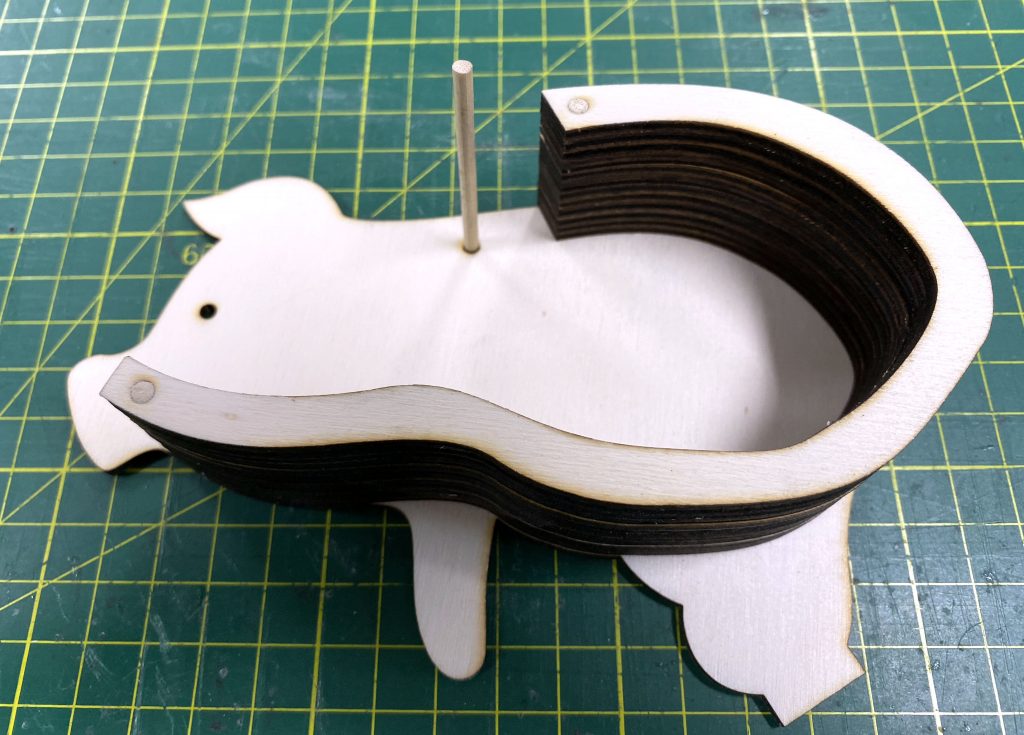
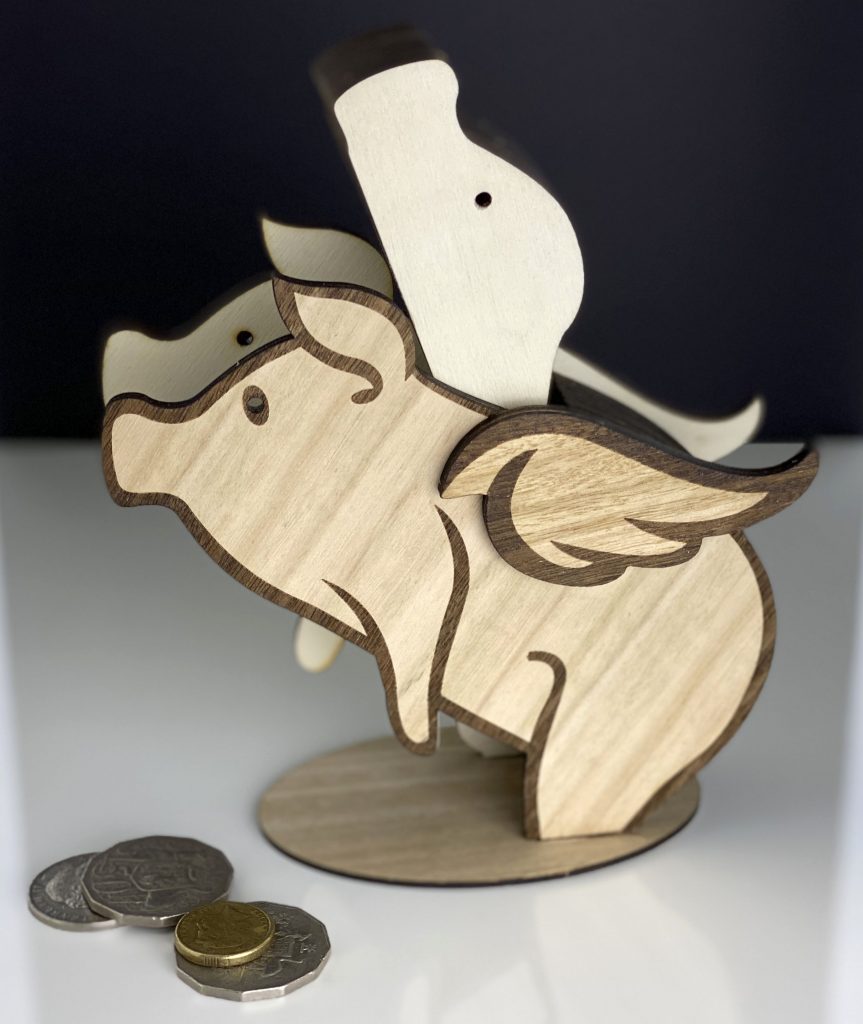
The pivoting head piece is also assembled in a similar way, using the skewers as guides. Make sure you do not get any glue on these skewers as you will need to remove them to assemble this piece.
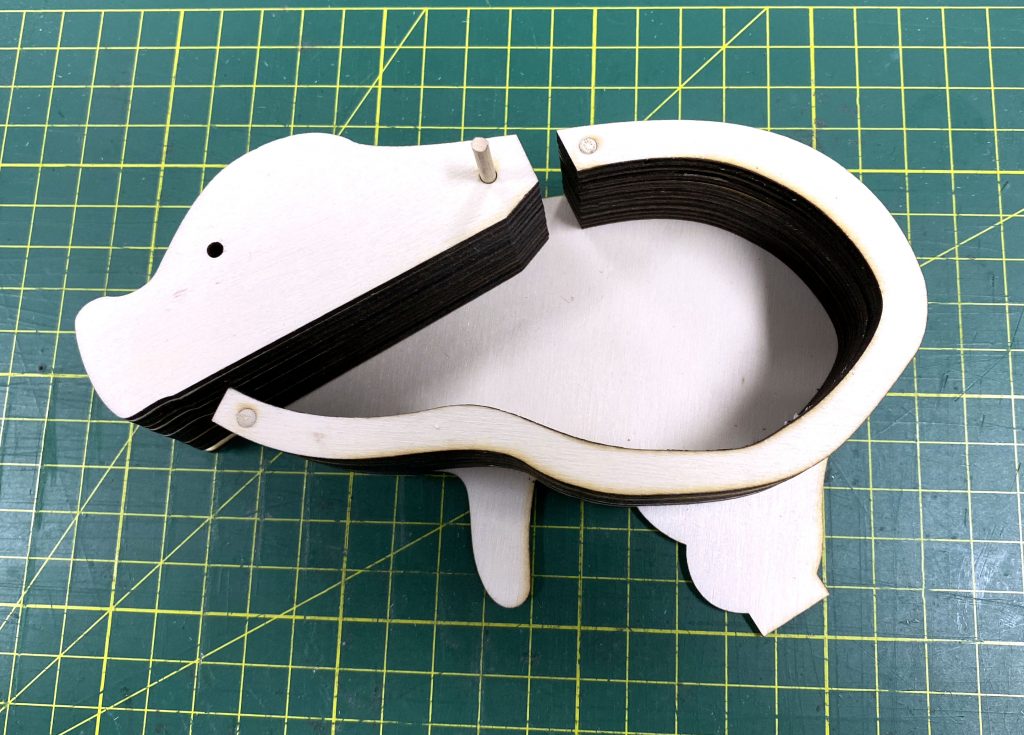
Once the head piece glue had dried, it was time to start putting it all together. When the head piece is inserted, this skewer can then be cut and sanded flush.
Next, I glued the other body piece in place and sanded lightly both sides.
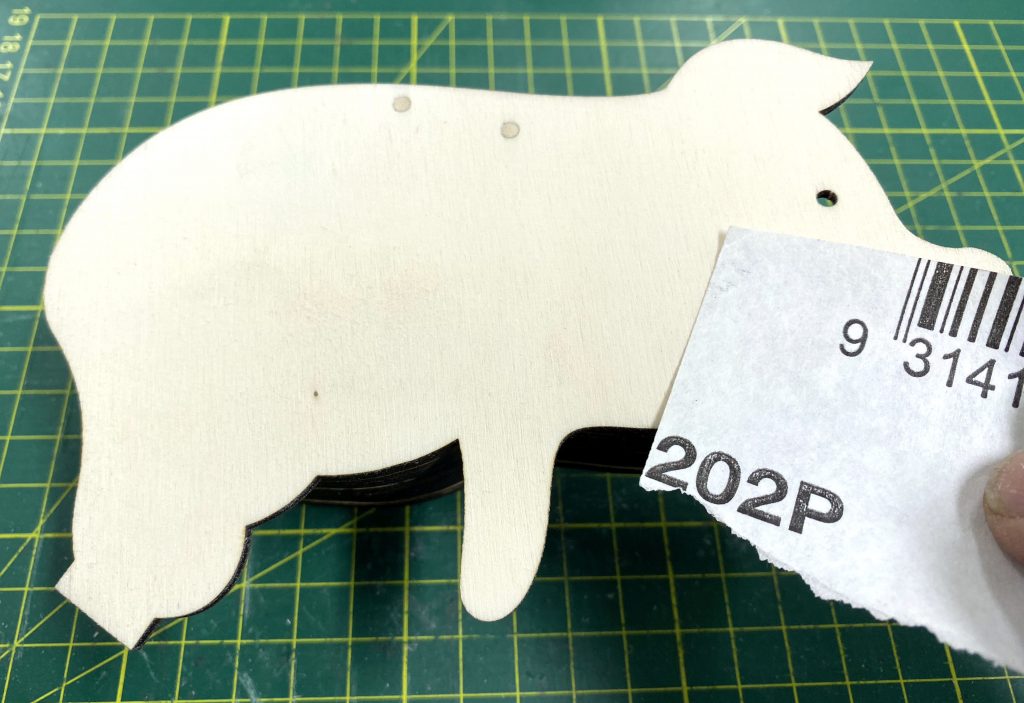
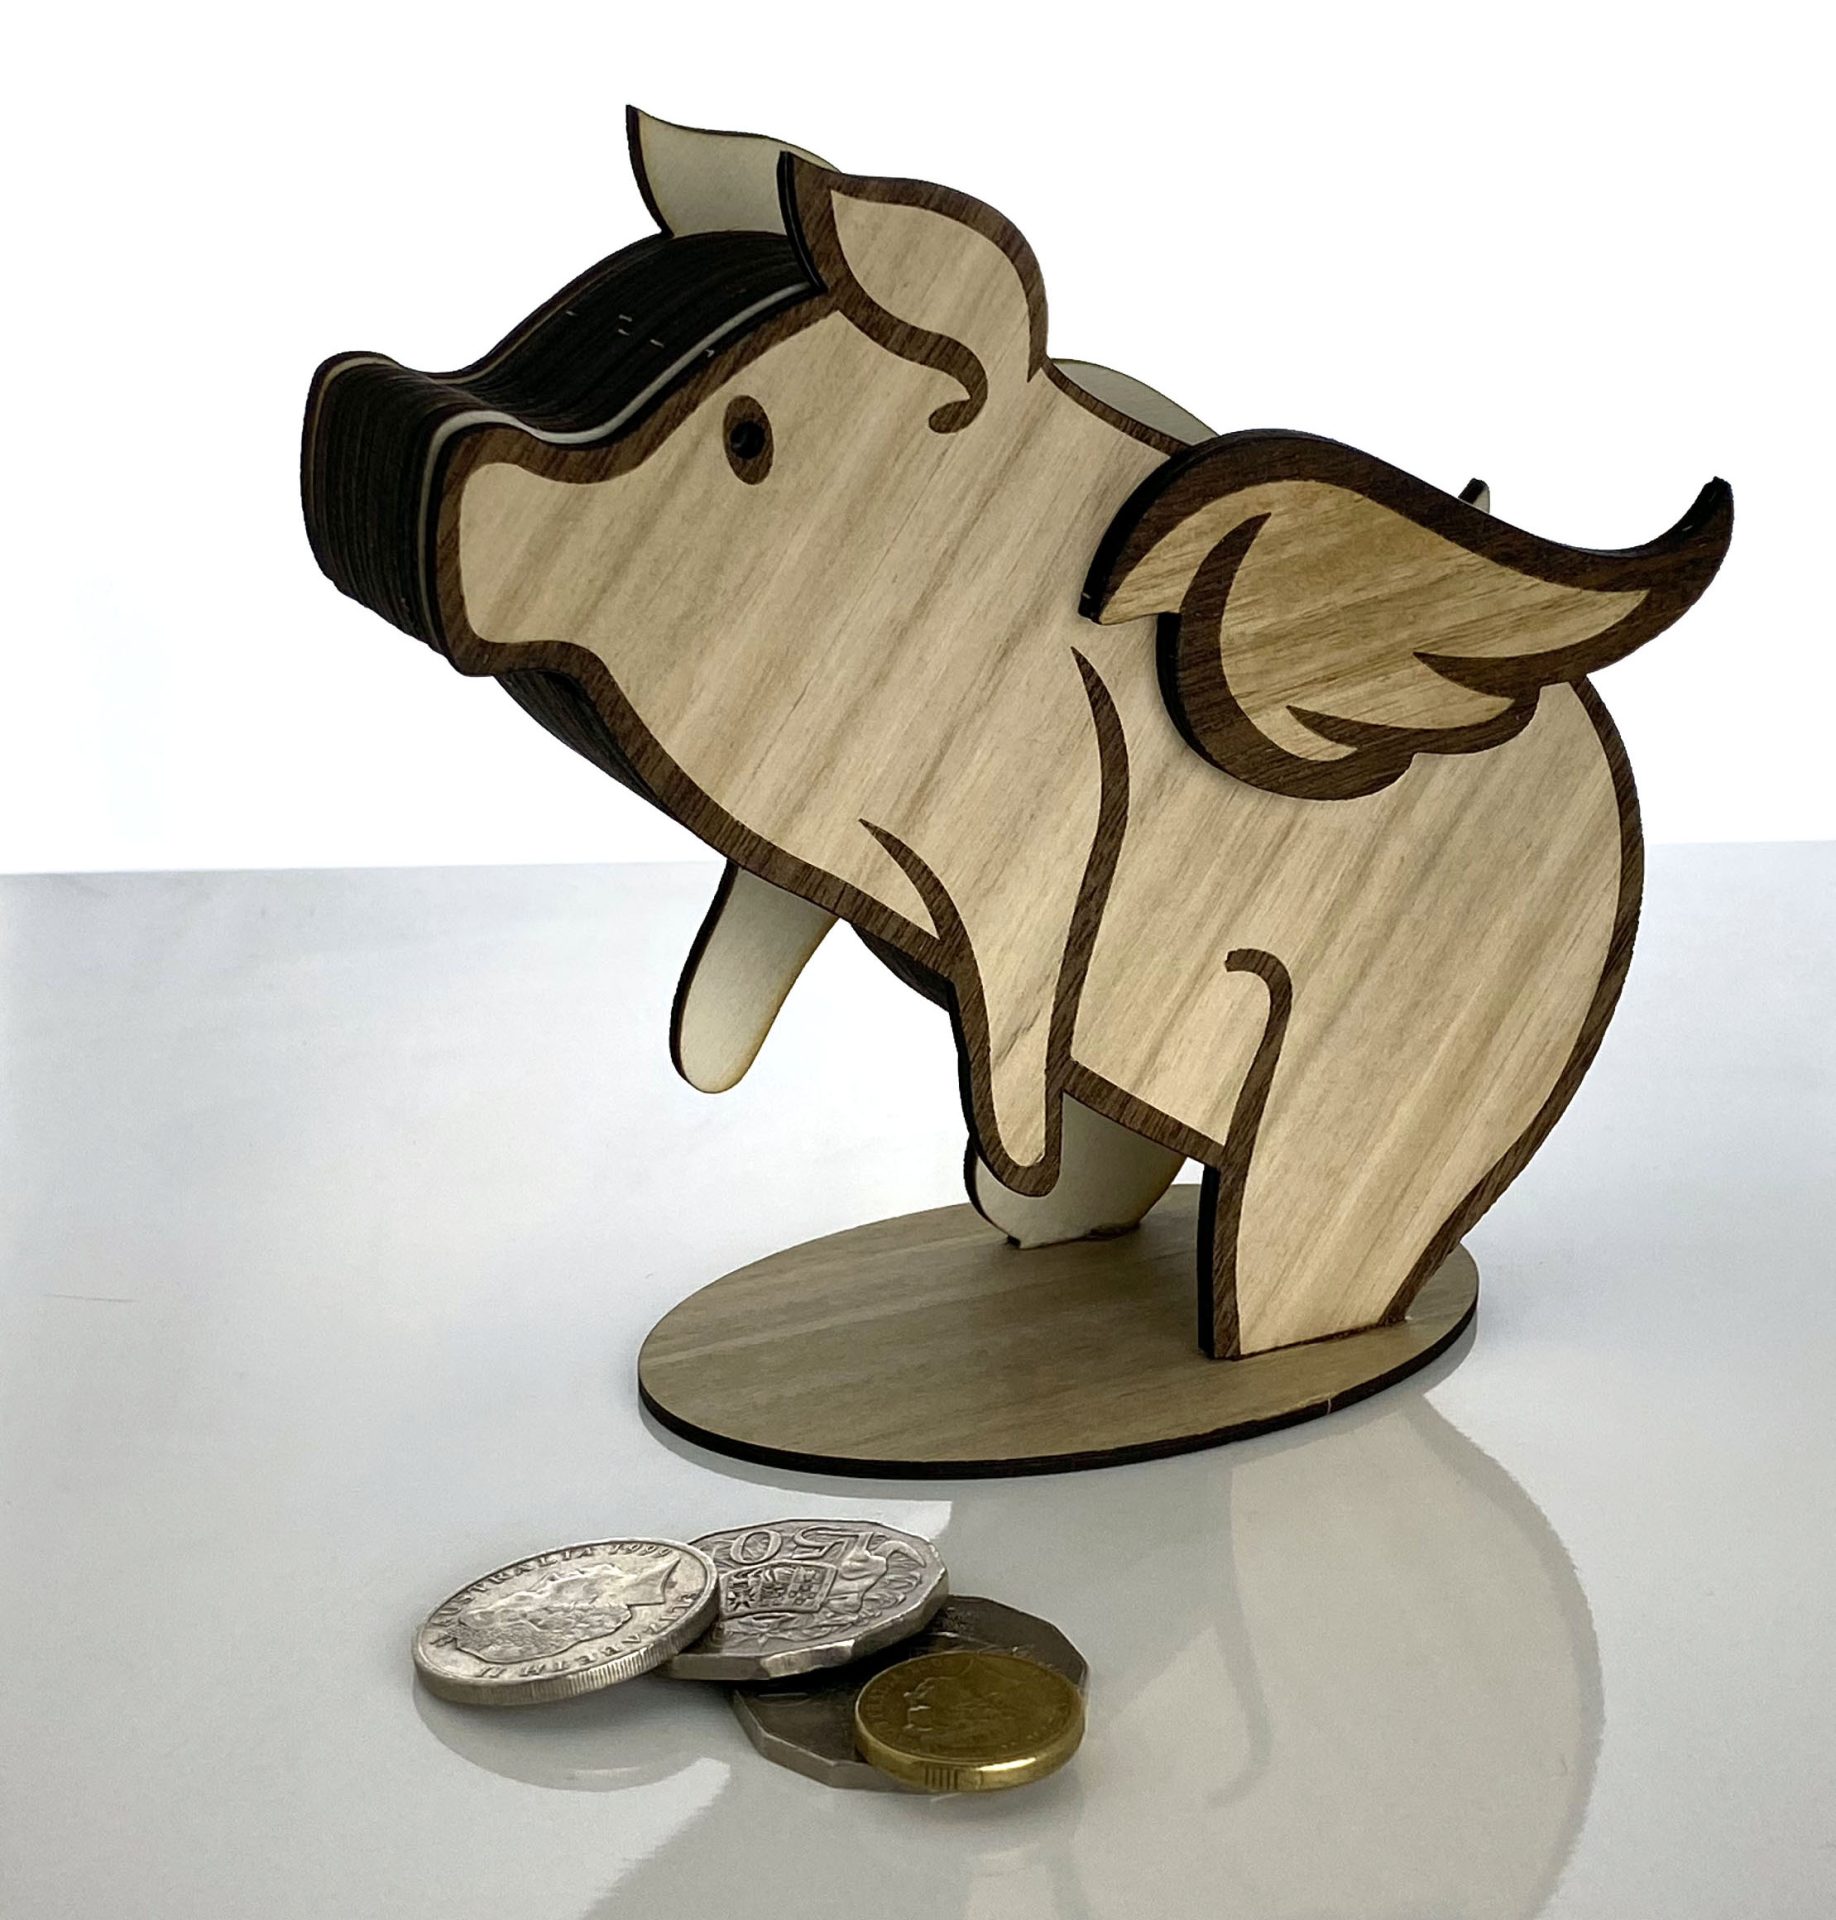
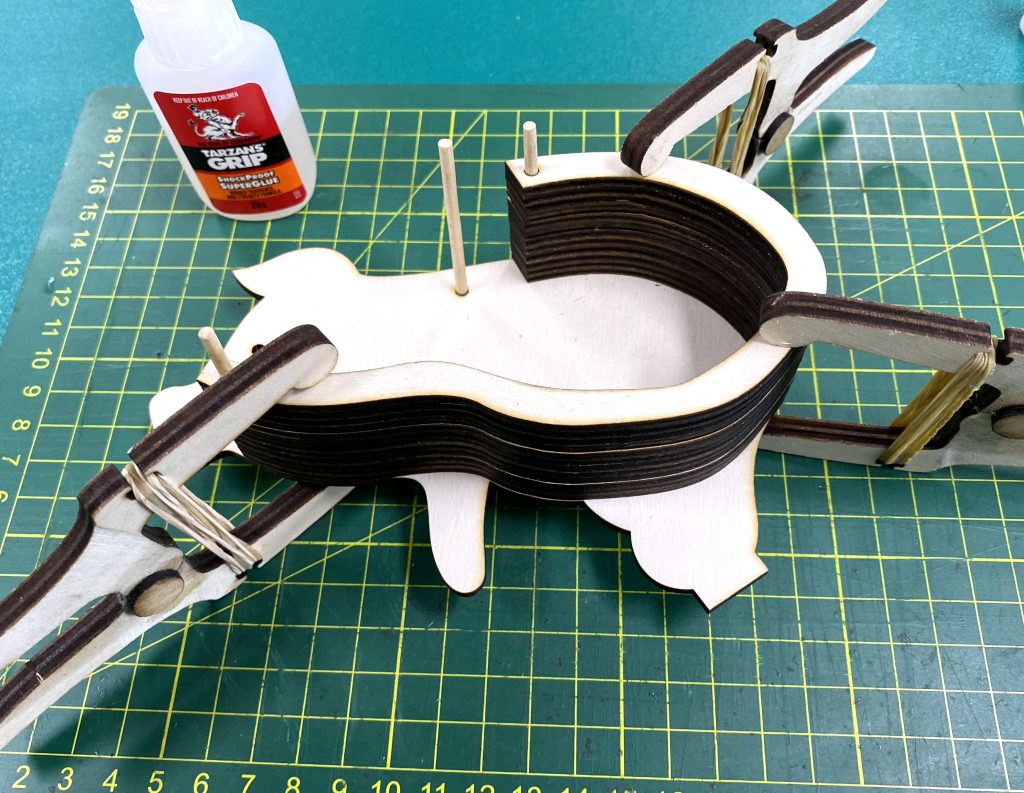
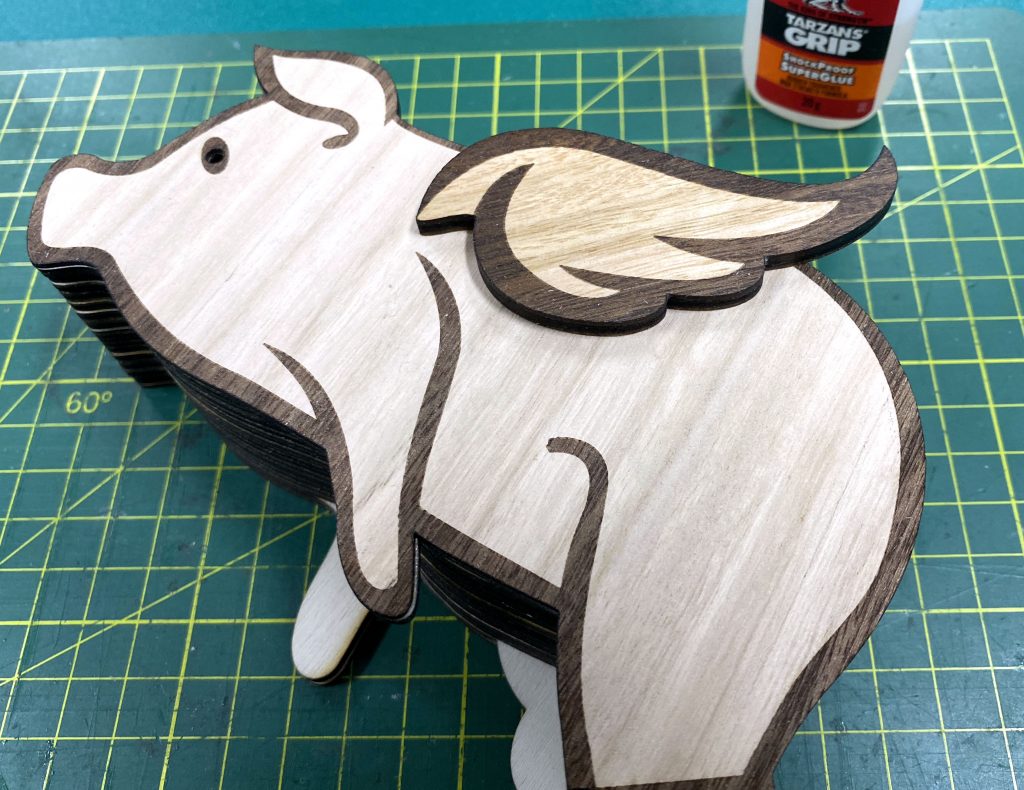
The thinner body layers were glued in place. With their engraved edges, these pieces dramatically improved the overall appearance.
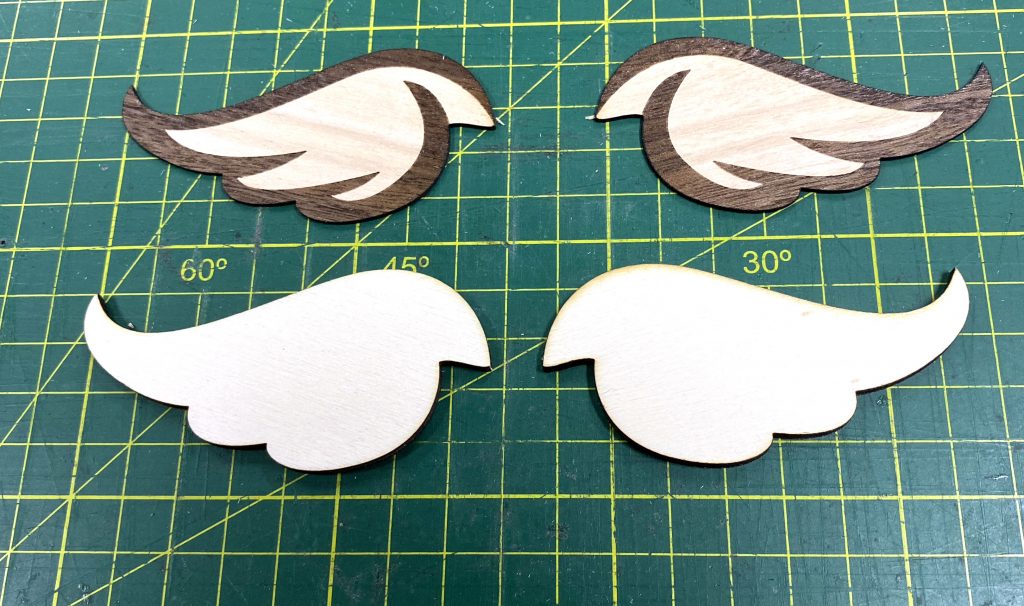
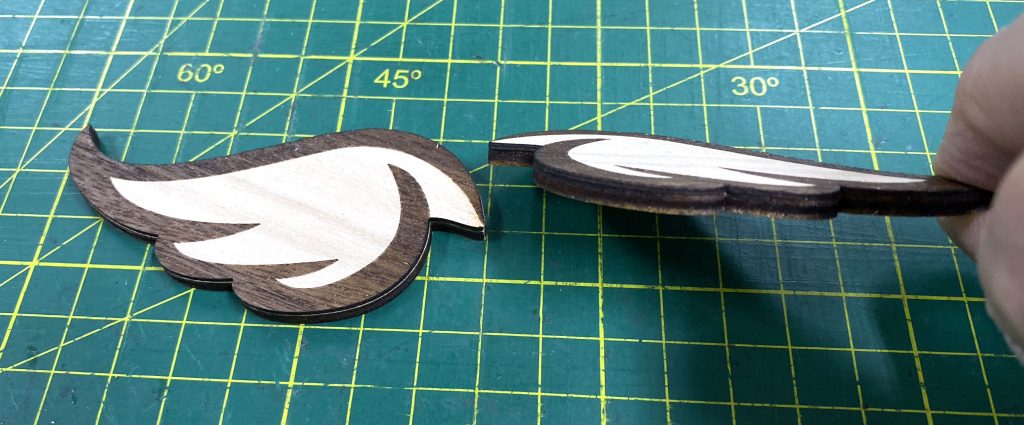
While the body layers were drying, I did the same to the wings.
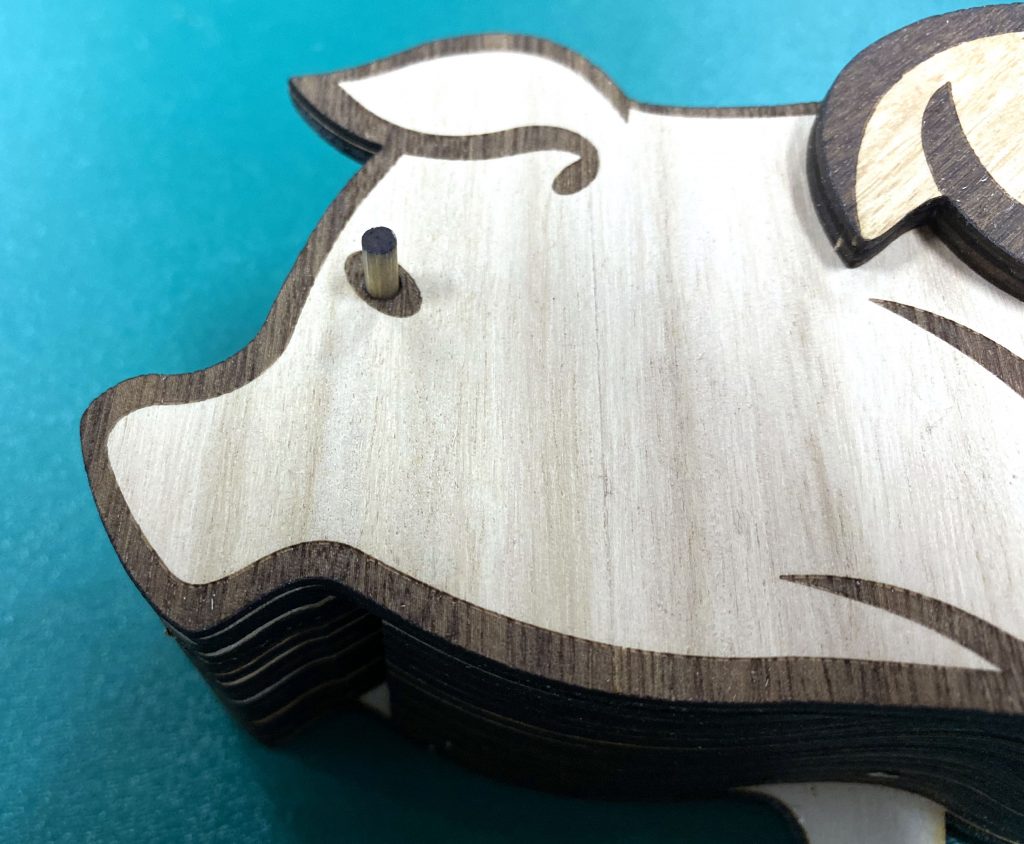
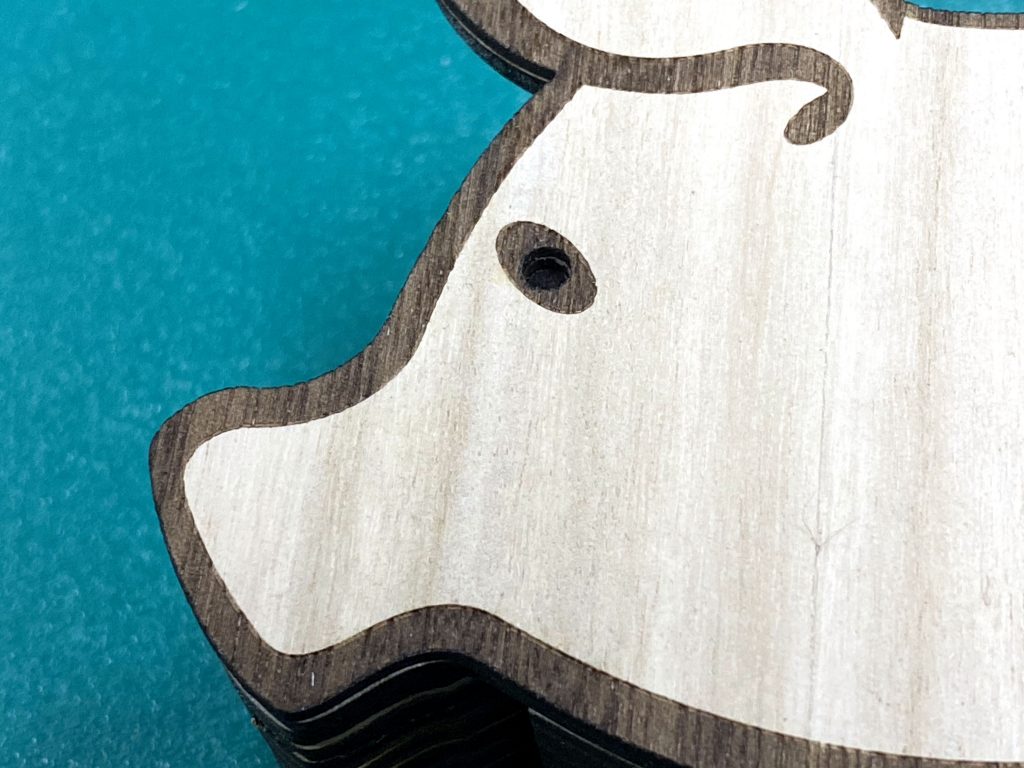
This piggy bank has a clever locking mechanism. A skewer inserted into the eye holds it closed. When it’s time to take out your savings, this piece can be pushed out, allowing the head to pivot open.
To help conceal this locking pin, I used a marker to make the outside edged black.

I cut a simple base and glued it onto the feet to hold it all in place.
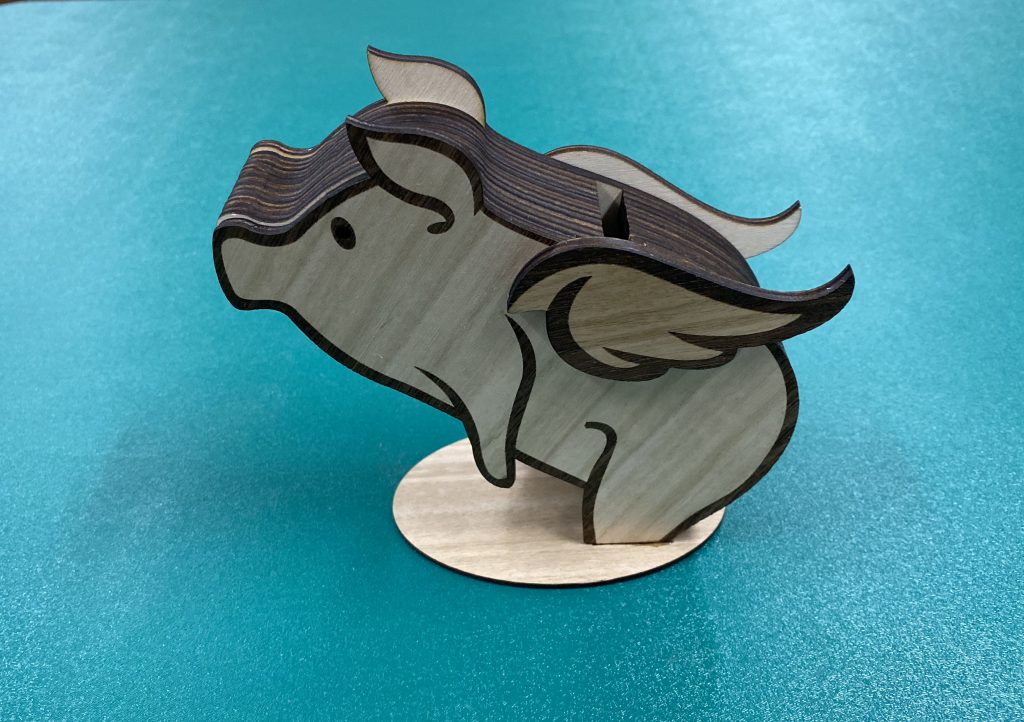
This was a fun and easy project to build. There are may opportunities for different materials as well as other designs to be used.