This article shows you the steps to re-package an Emblaser Pro.
Step 1:
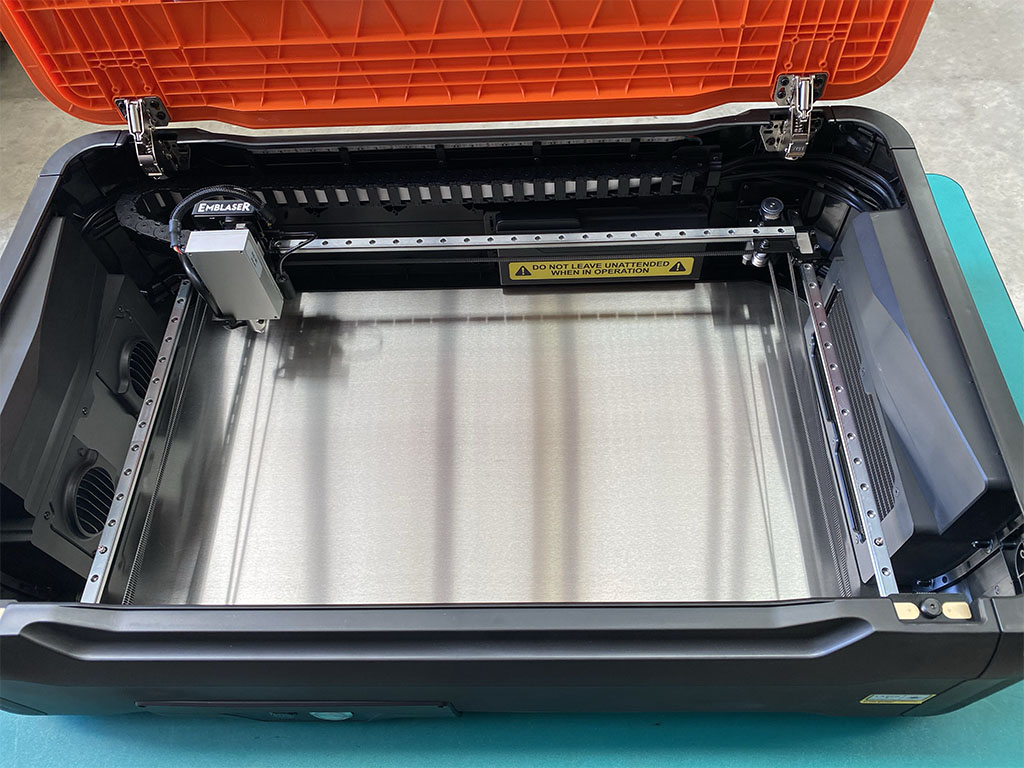
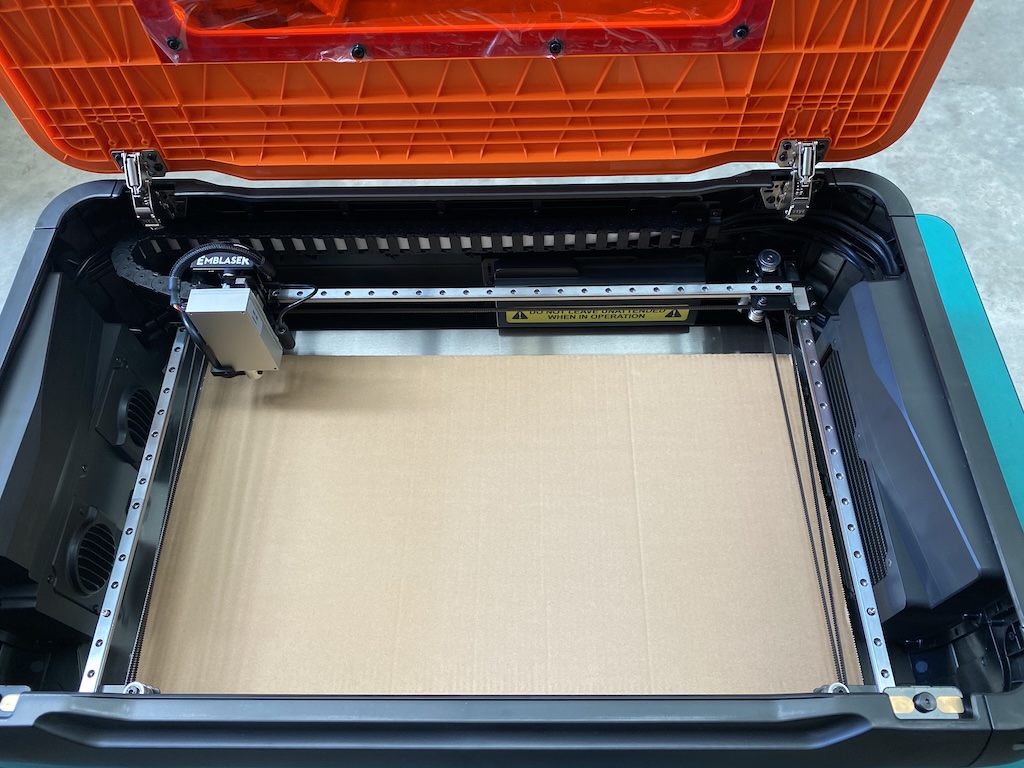
Make sure the laser is positioned all the way to the top – left of the workspace.
Step 2:
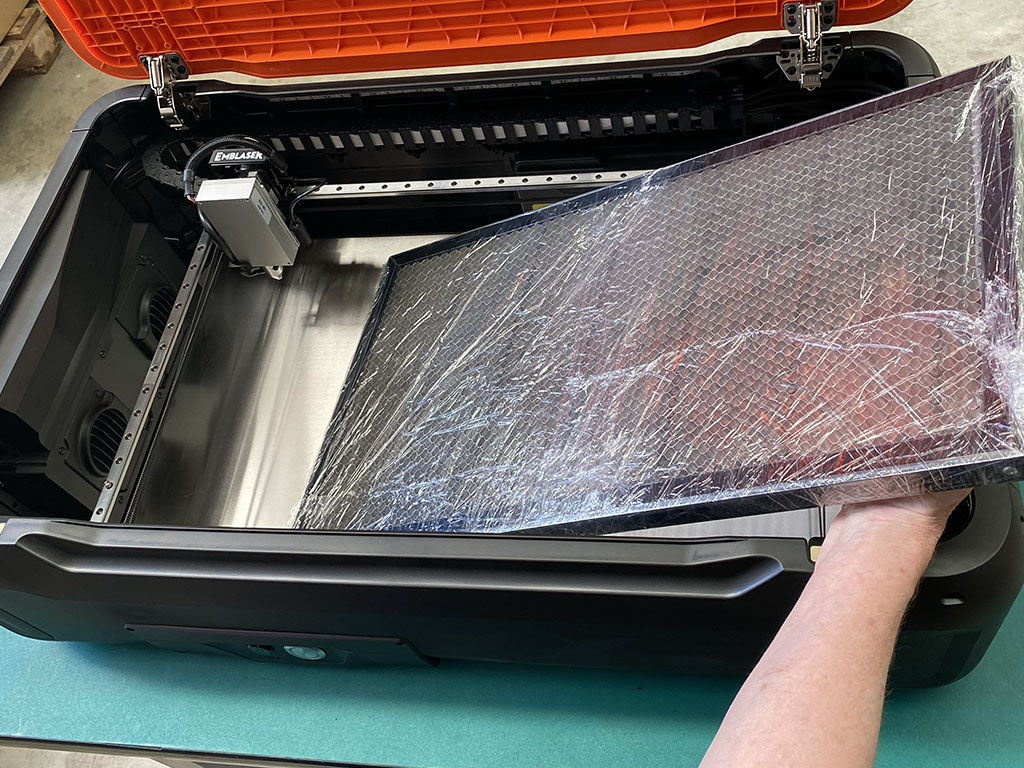
Insert the cutting tray.
Step 3:
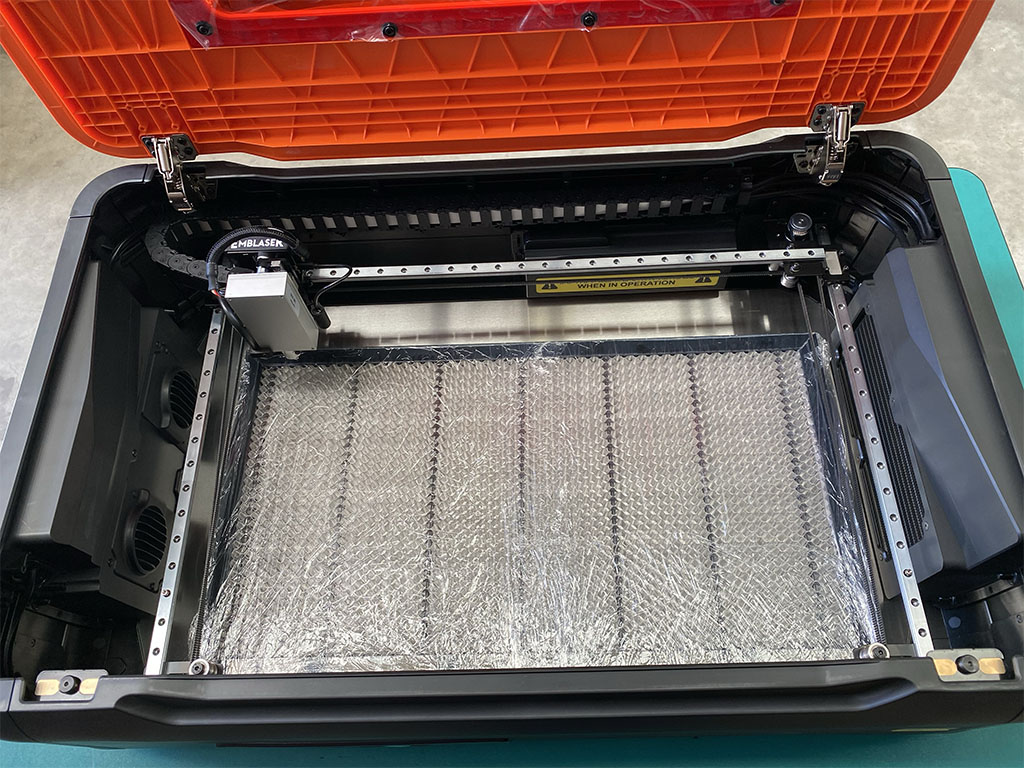
Place the cutting tray protective sheet on the cutting tray. If you no longer have this piece, a piece of corrugated cardboard cut to the size of the tray will also work.
Step 4:
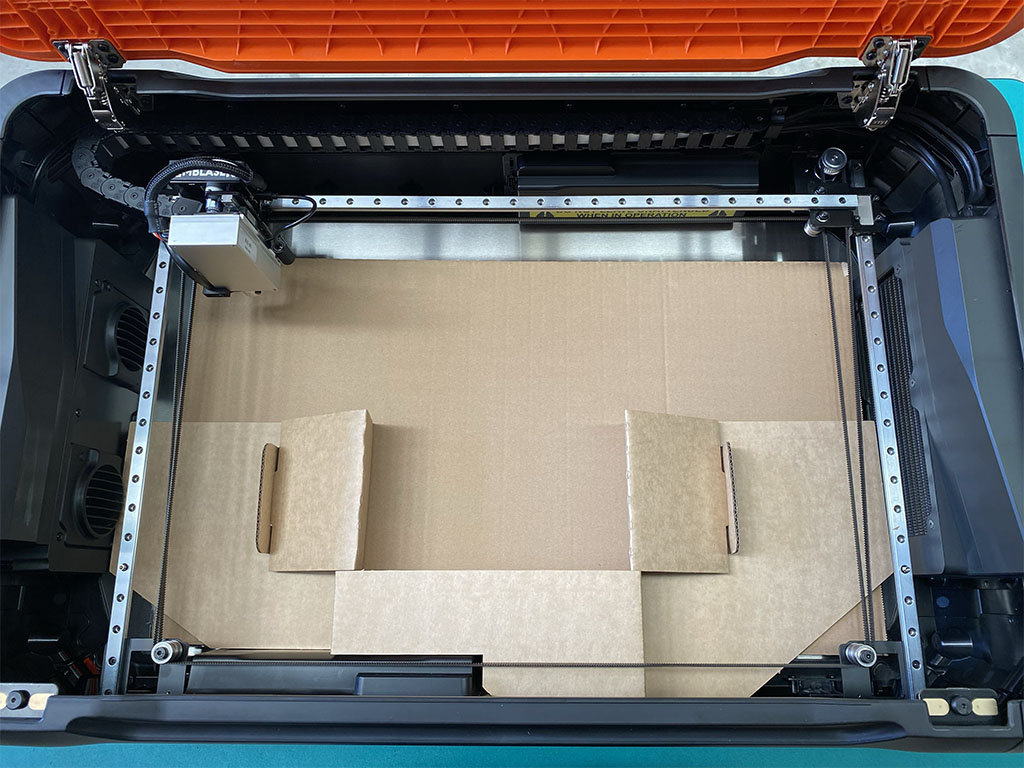
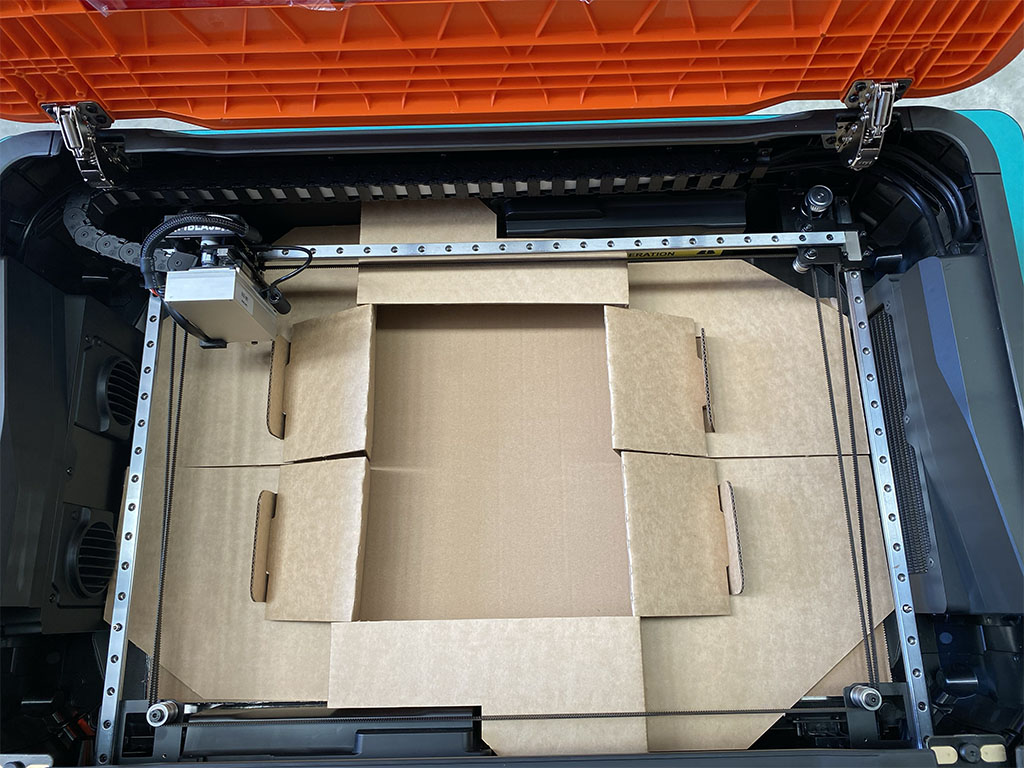
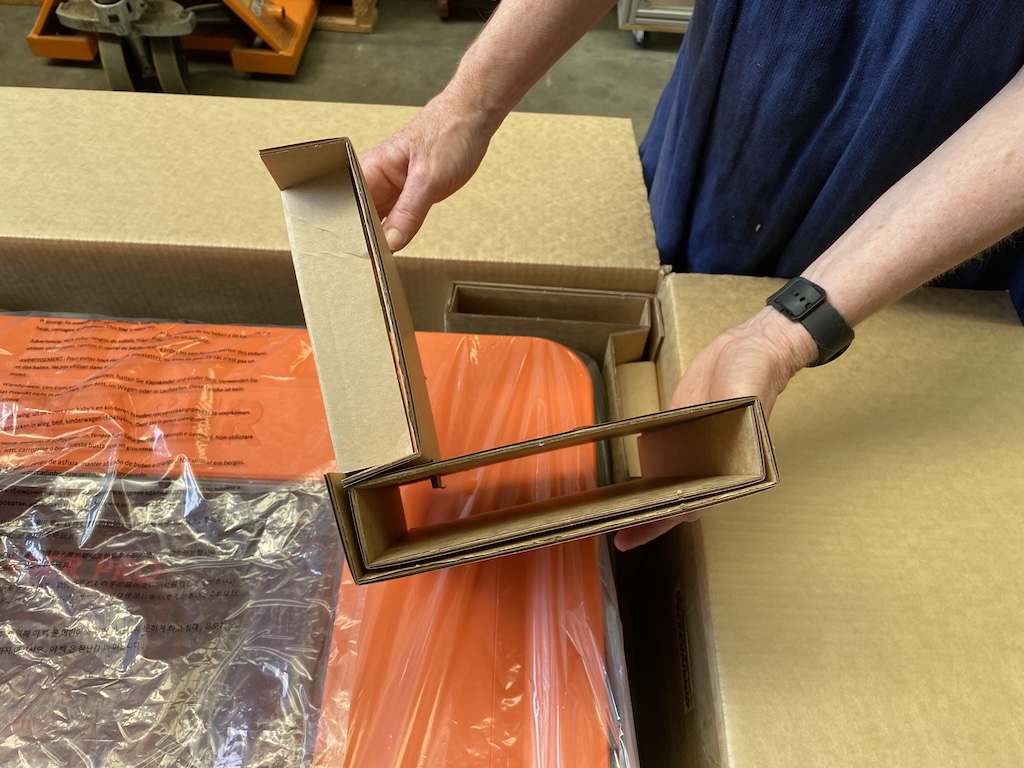
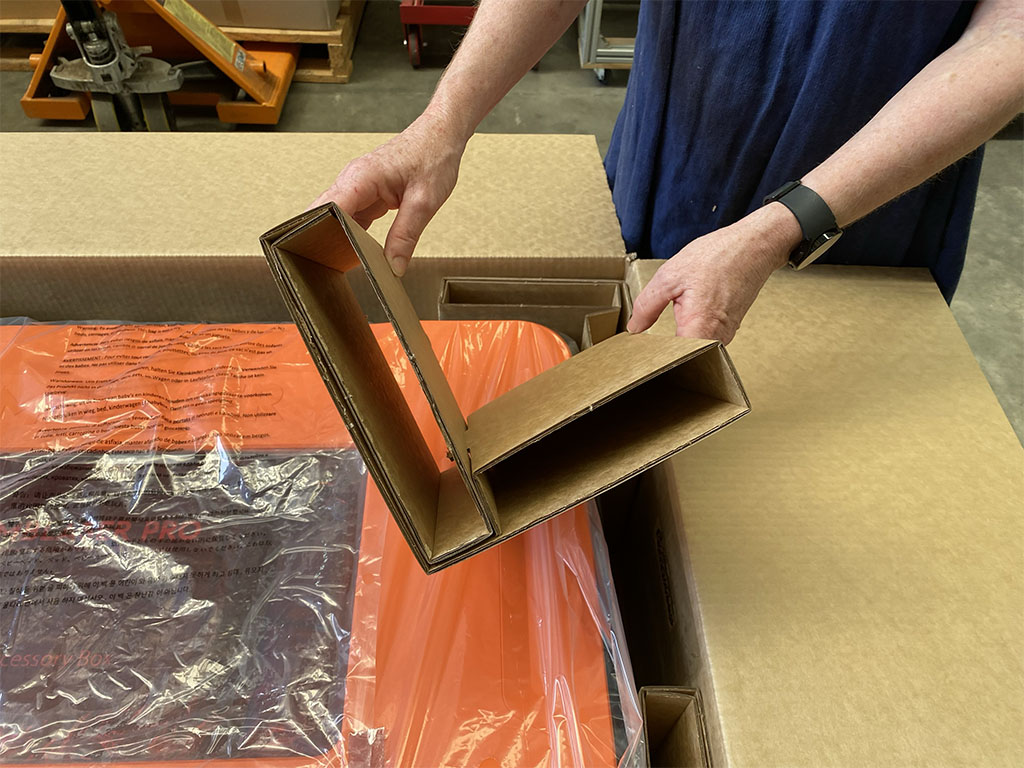
Locate the inner supports. There will be 2 identical pieces.
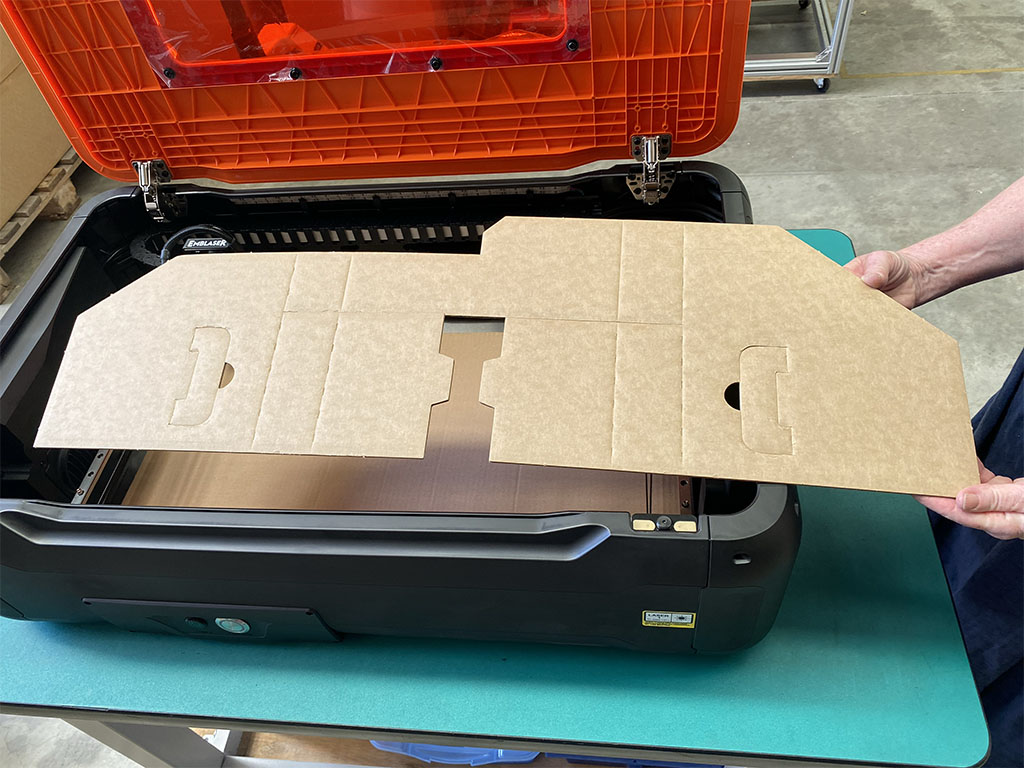
Fold the inserts as shown below.
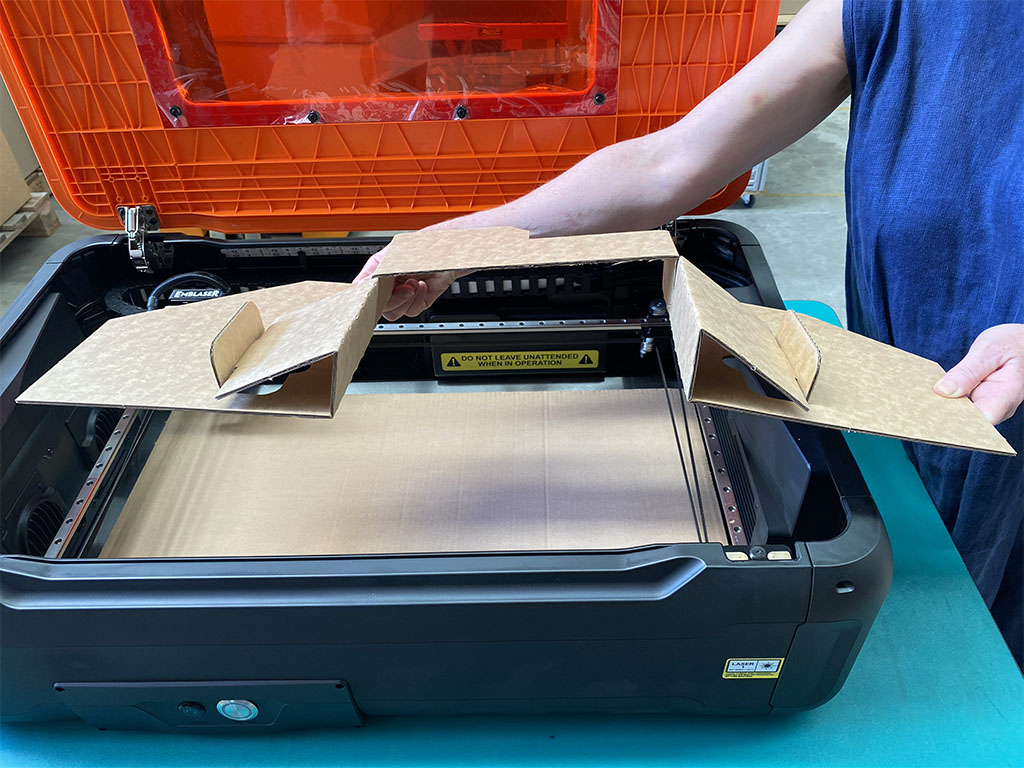
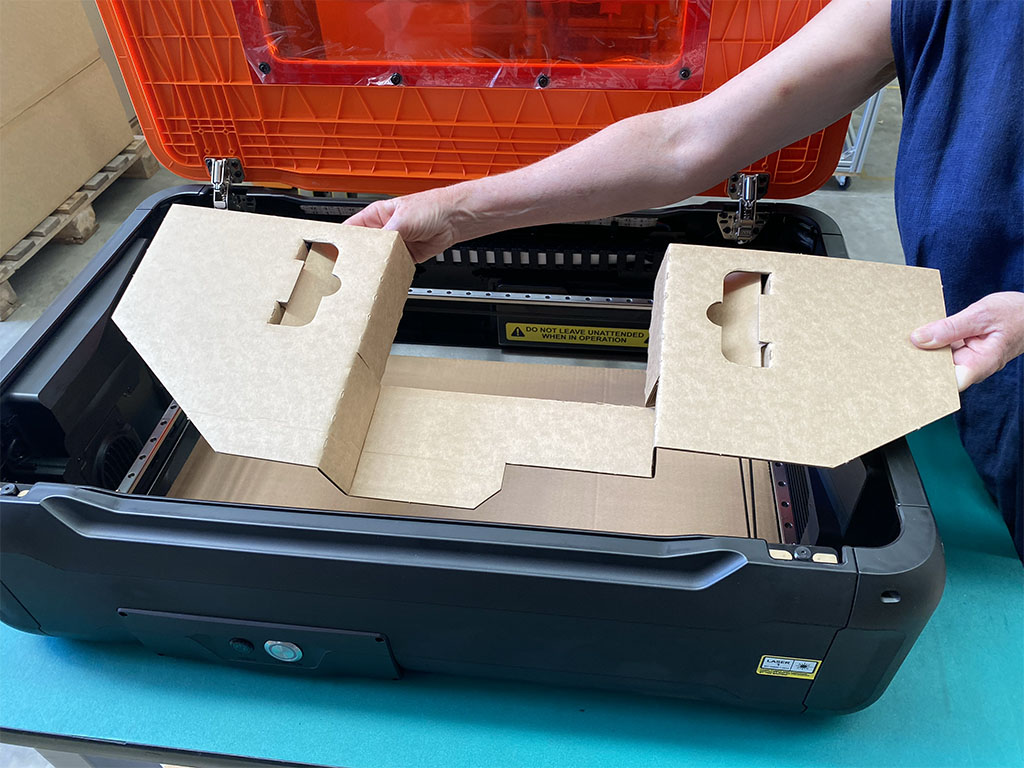
Carefully slot the inserts into the machine. Note that the inserts will sit under the belts both in the front and rear.
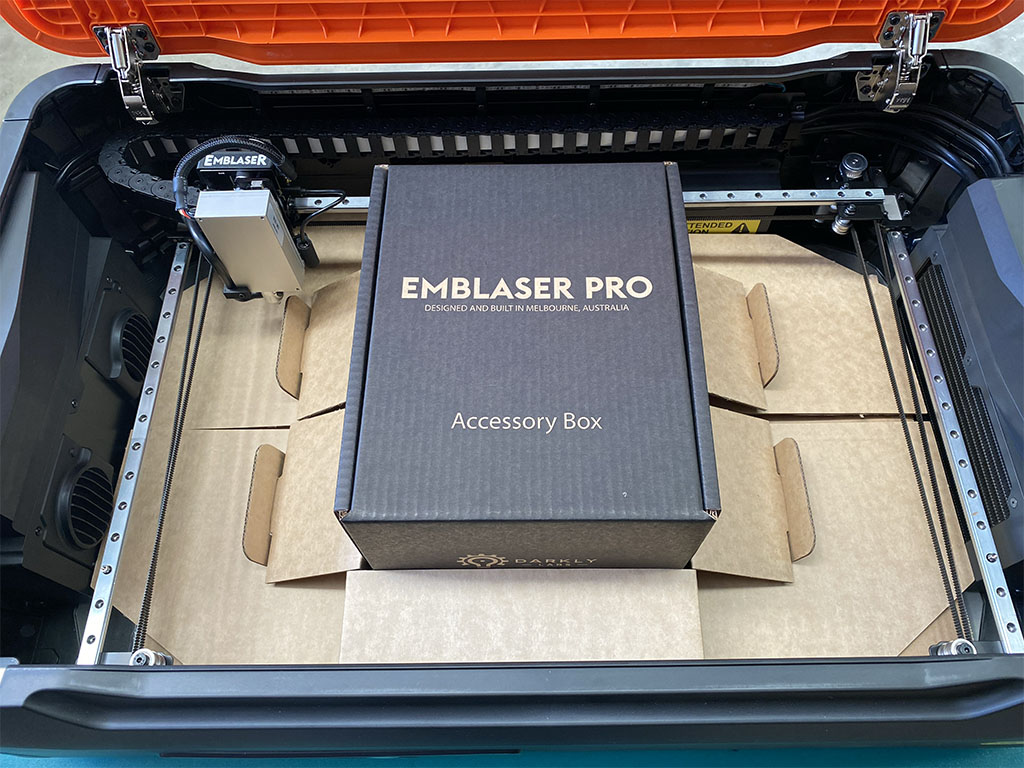
Step 5:
Insert the Accessory Box.
Step 6:
Insert the 3 foam pieces to support the rail and laser module. Note that the foam piece with the hole is placed under the laser module and the module is moved down to hold it in place.

Step 7:
Place the Emblaser into its protective back and then into the box.
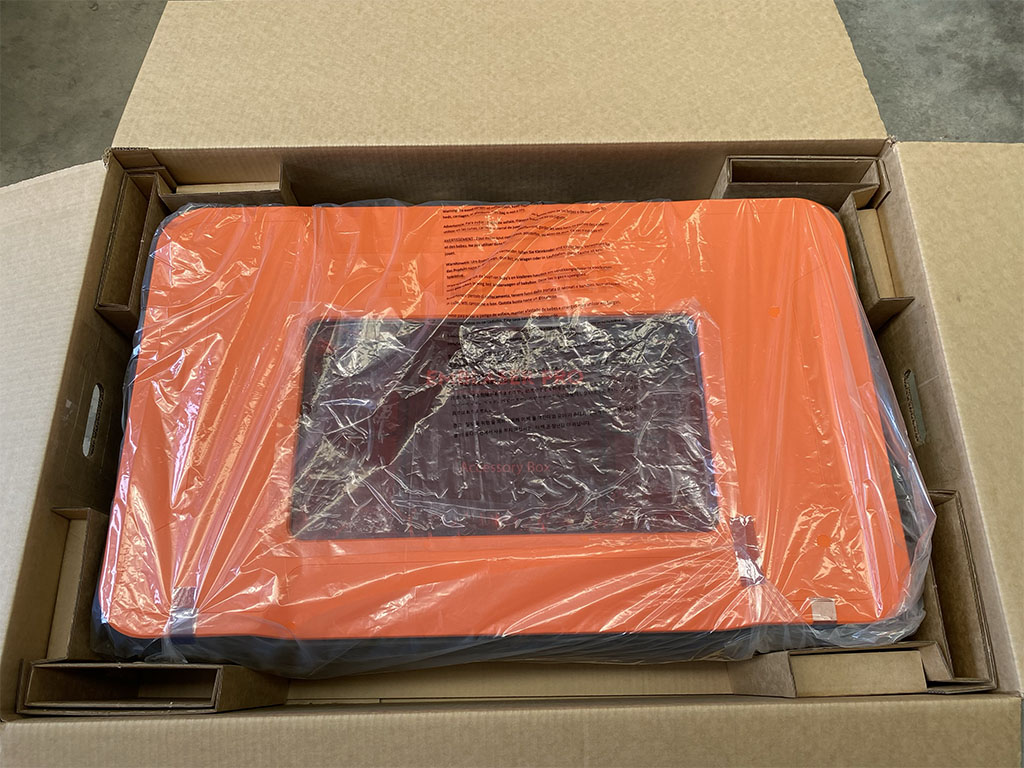
The 4 corner supports are folded as shown below.
Step 8:
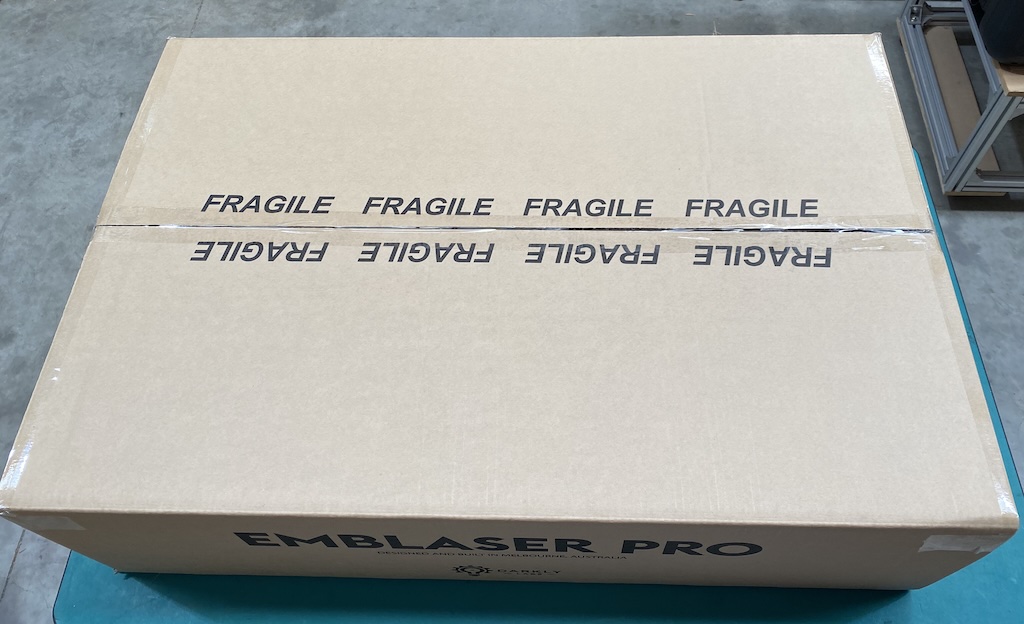
Seal the box with packing tape.