Mike caught our attention with the incredibly realistic model railway props and scenery he makes. He was kind enough to give us a detailed insight into his history, motivations and creations.
Hi Mike, can you tell us a little about yourself?
I grew up within Broken Hill, in far-western NSW. The Silverton Tramway Company ran trains past my schools and as kids, we played around in working shunting yards and disused mine workings. I had a clockwork model railway, but my early passion, fuelled by Biggles’ adventures, was making model planes, some of which flew! They all had to be left behind when I went “away”.
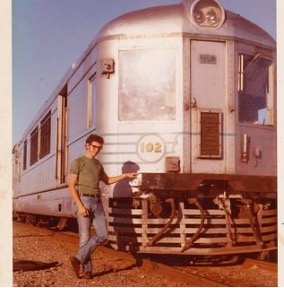
The photo on the right was taken the morning I left home in January 1972, travelling on the iconic Silver City Comet to go to teachers College in Sydney.
I stayed in the east, in primary education for most of my working life. My wife and I have three adult daughters and a busload of grandchildren. My school classes and family have added to my interests in crafts and making models and toys.
Mentors are priceless.
Mike Delica
As a youngster I had great mentoring in making, making-do and motorcycle maintenance from a cousin and uncle. Both were old-school, multi-skilled tradesmen, who taught and encouraged me to make real my dreamed-up projects. My projects were as wide-ranging as kites, tin canoe, bush cooking and a small pelton-wheel steam turbine made from snipped up Milo tins and soldered with a big copper soldering iron, heated on Mum’s wood-fired kitchen stove. I now have valued mentors in the use of CAD and a laser cutter to make into reality my ongoing dreams.
Why did you choose the Emblaser 2 for your projects?
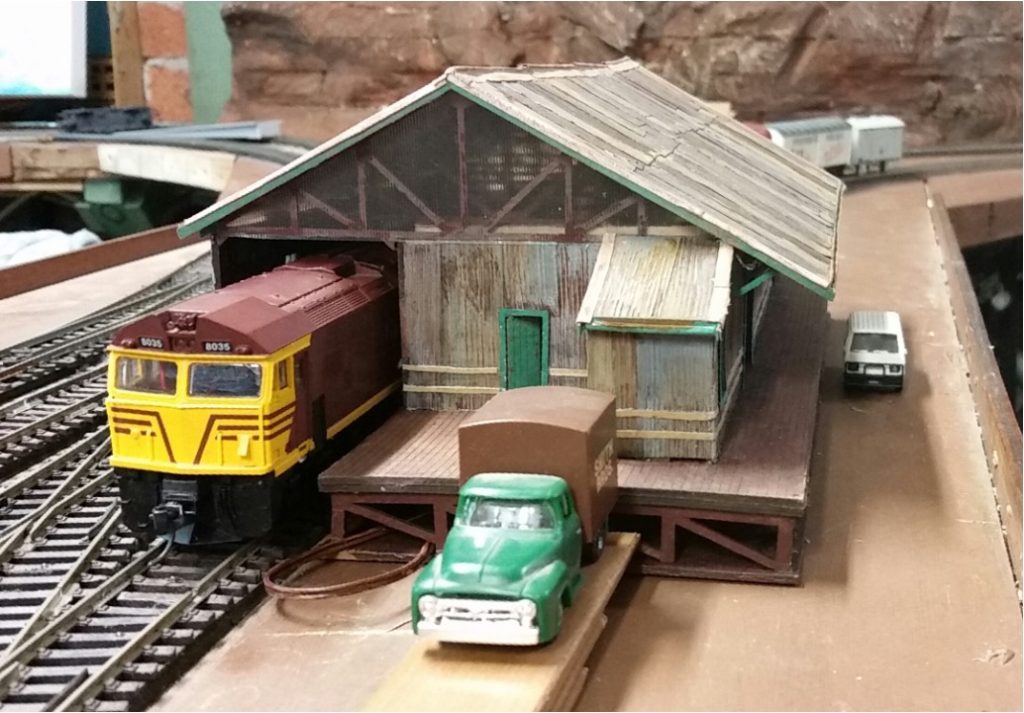
I slowly became involved in model rail as I approached retirement. The high cost of shop-bought line-side structures led me to start trying to build my own. I found this a challenge as my hands can get shaky.
I was invited to join a group that met around a CO2 laser cutter one day a week. A whole world of possibilities opened up! I wanted my own laser at home!! Many hours of research led me the Emblaser 2. The lower, slower, power of the E2, in contrast to a CO2 laser, was outweighed by my need of a small, simple, quiet machine with an Australian purchase point, maintenance facility and Help Desk. The existence of the Emblaser 1 made visible the mentors in the factory support team and the Darkly Labs community. It was clear that the materials the E2 could cut well suited what I wanted to do.
I never seriously intended to make a business out of the Emblaser 2, but occasionally I get asked to make a kit, model, or trinket and it helps to pay for materials, etc.
How does the Emblaser help with your projects?
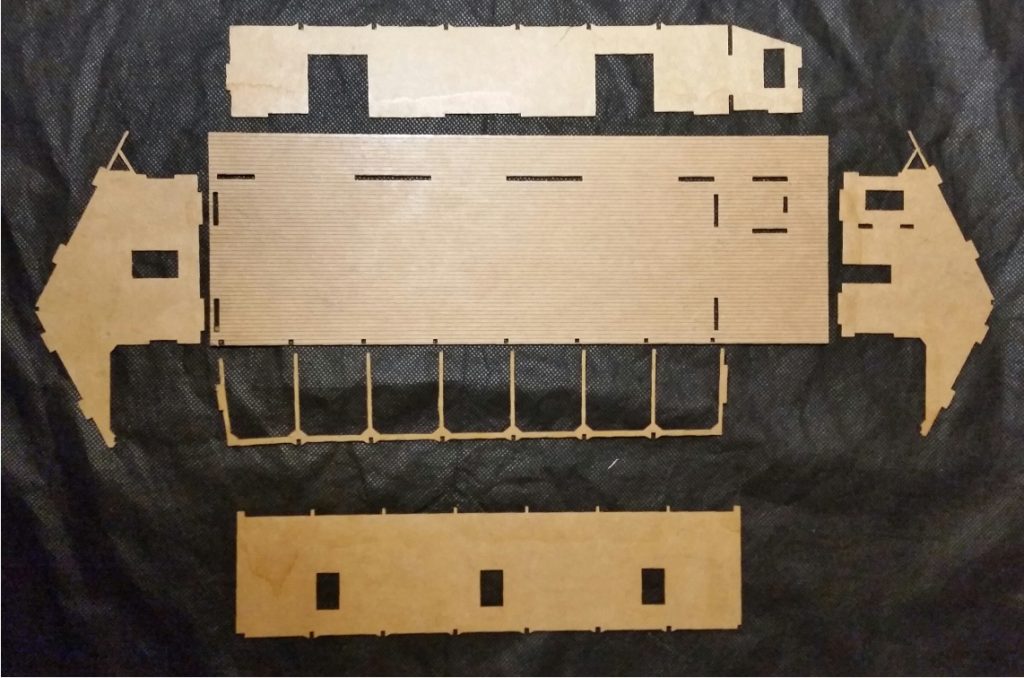
Laser cutting is a natural thought-progression from sprued plastic kits and pre-cut, punch-out balsa model kits that I grew up with. I basically take a set of flat shapes and arrange them into a 3D structure.
I often test my designs by laser cutting them out of 3mm box-cardboard. This is a great help in preparing trial cuts before committing to a 3mm MDF.
One area where the Emblaser 2 shines is in the fine control needed when cutting and etching in thin materials. e.g. verandah supports and window details. In HO scale, 0.6mm material works out at 45mm full size thickness. I double up for veranda posts for the correct thickness.
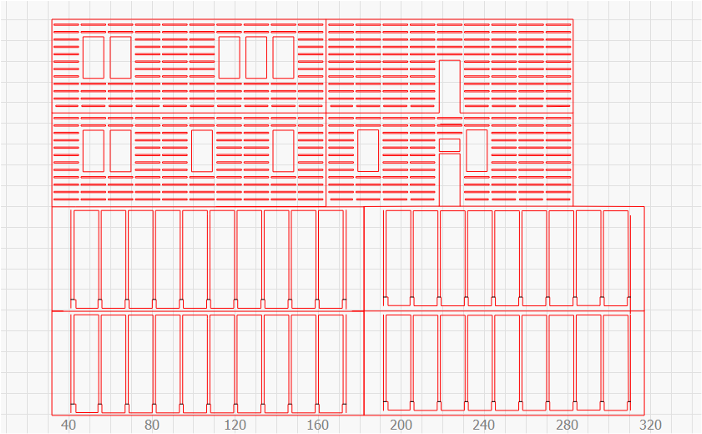
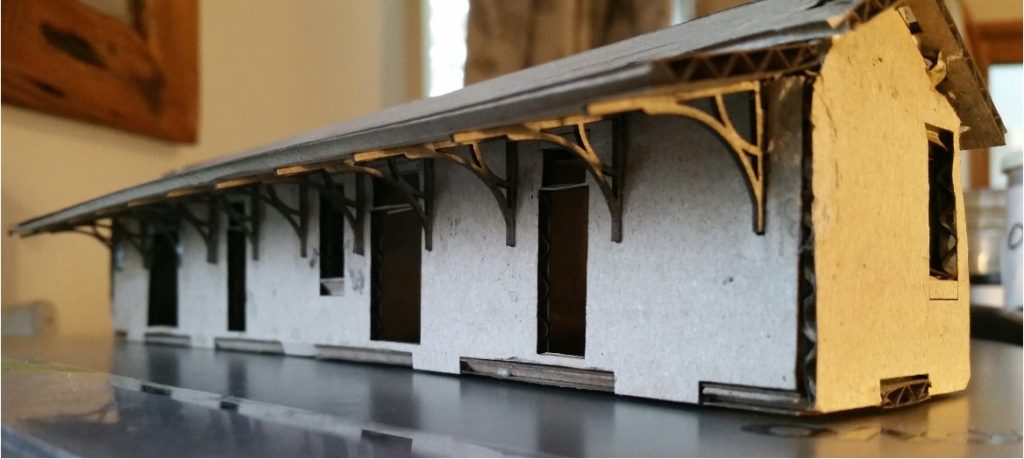
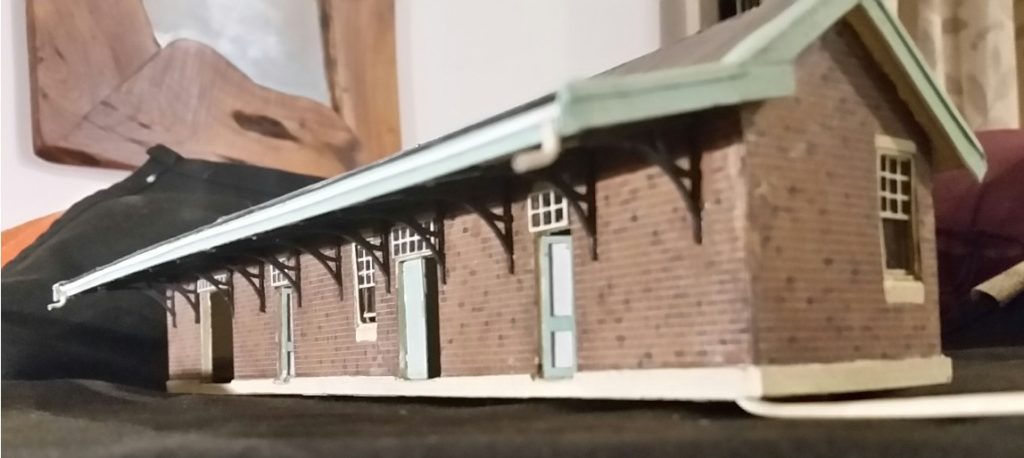
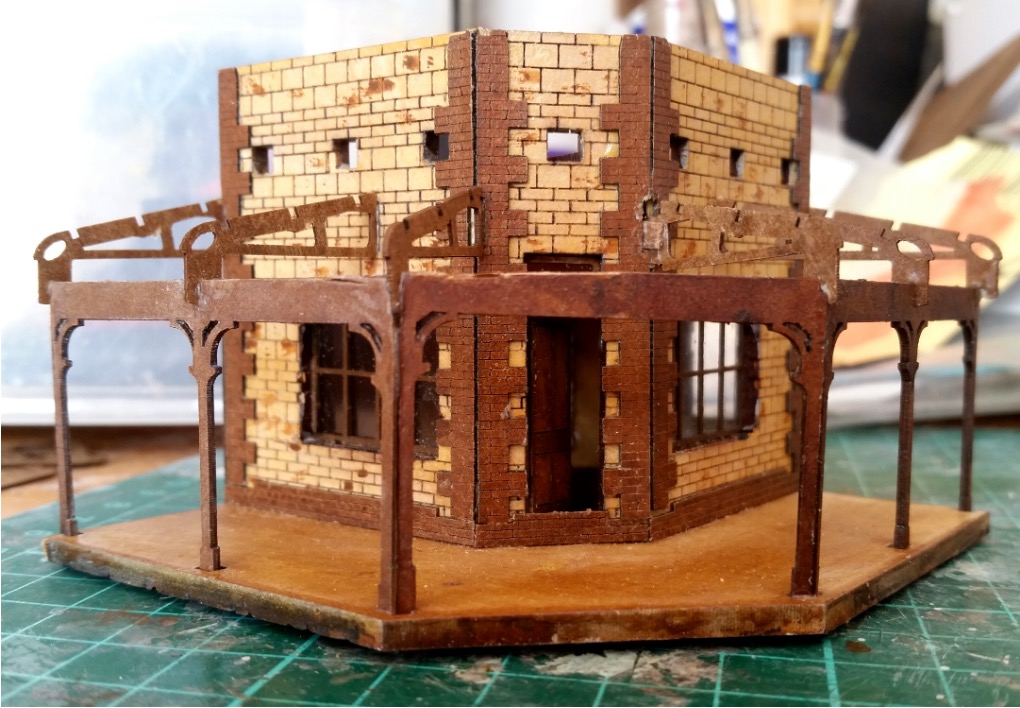
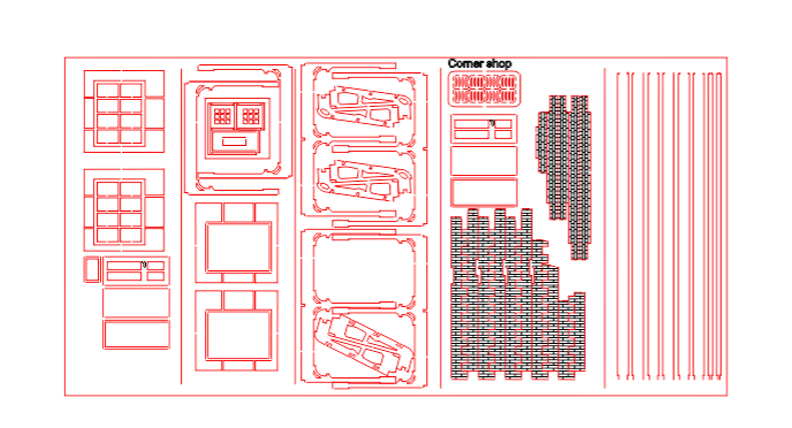
Left, is the Lightburn layout for the two 0.6mm overlays on the MDF body of models below.
This allowed me to give an impression of the precast concrete drop-in panels that formed the original structure.
This style of layout affects how I prepare a drawing for cutting. It helps prevent parts from getting lost and can be used to guide the building of a kit by placement or etched instructions.
The fret panel below is the 0.6mm resin board cuts and etching for the corner shop pictured above. An 0.5mm line breaks help to hold parts in place until needed. It can be a good idea to paint parts while in this fret, or glue glazing panels on while the parts are easily handled.
My mentors helped me learn Corel Draw vector drawing, which is what I use for my designs.
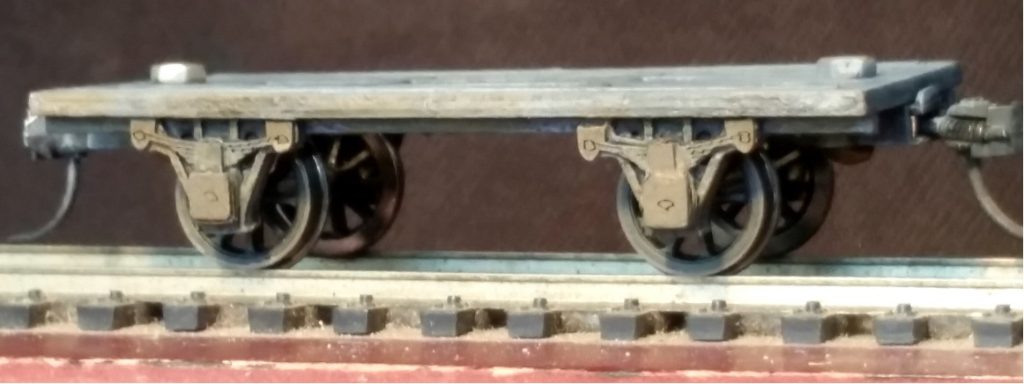
Lots of projects are unfinished because I get distracted by other projects. But now and then I re-open a file or box of parts and take it a little further.
The photo to the right shows a NSWGR S-Truck flat base that is ready-to-run but badly needs the upper frame.
What type of things distract you from your model railway projects?
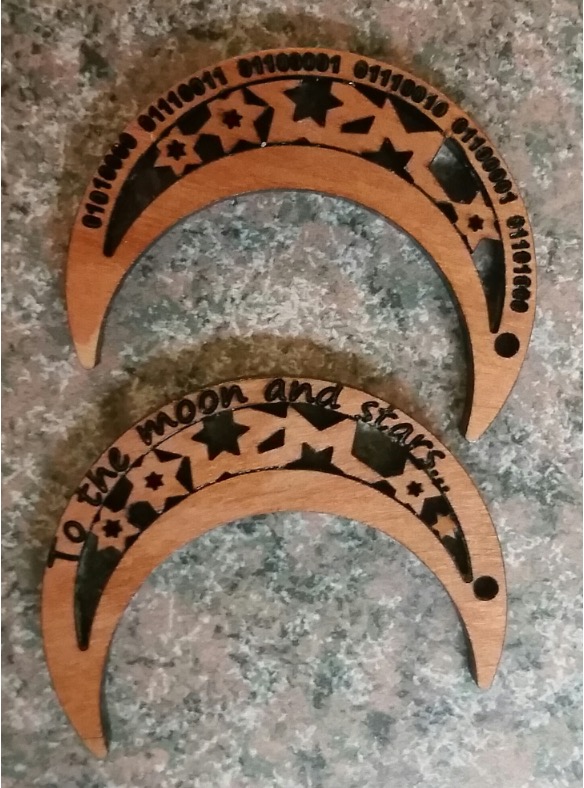
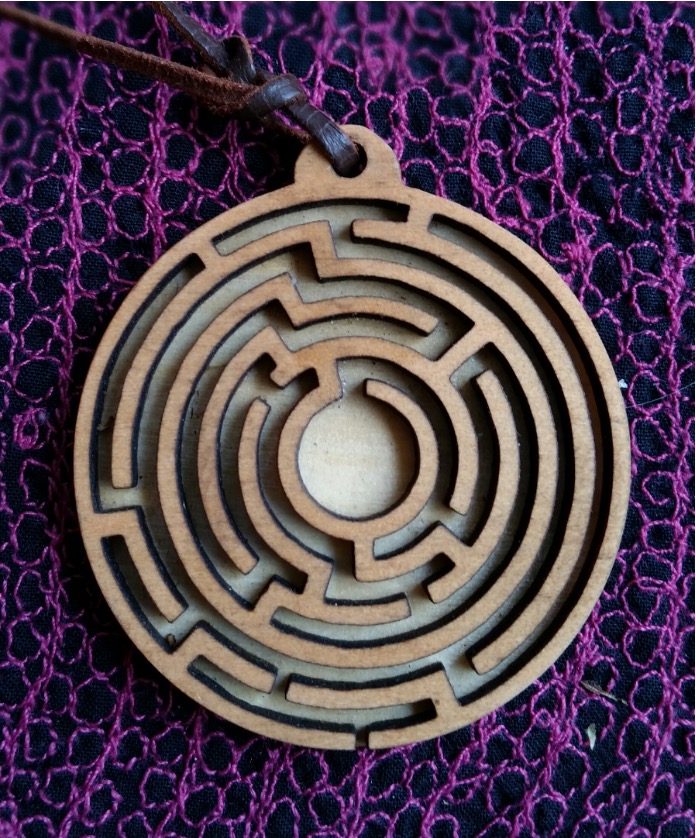
My favorite distraction and pleasure is making things for my grandkids.
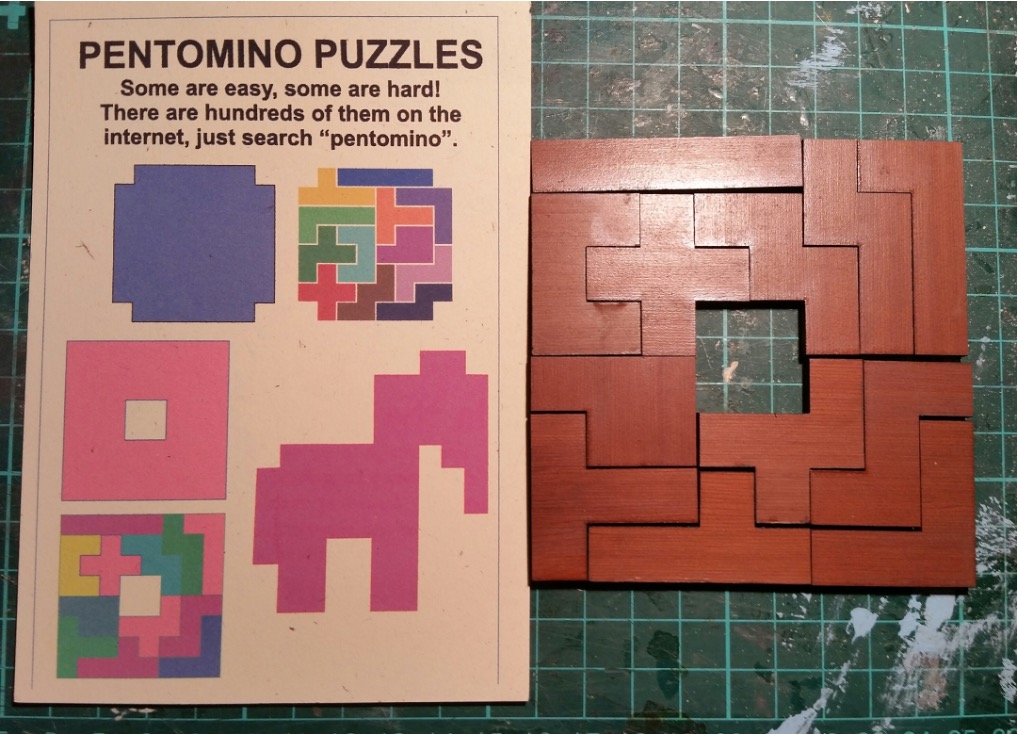
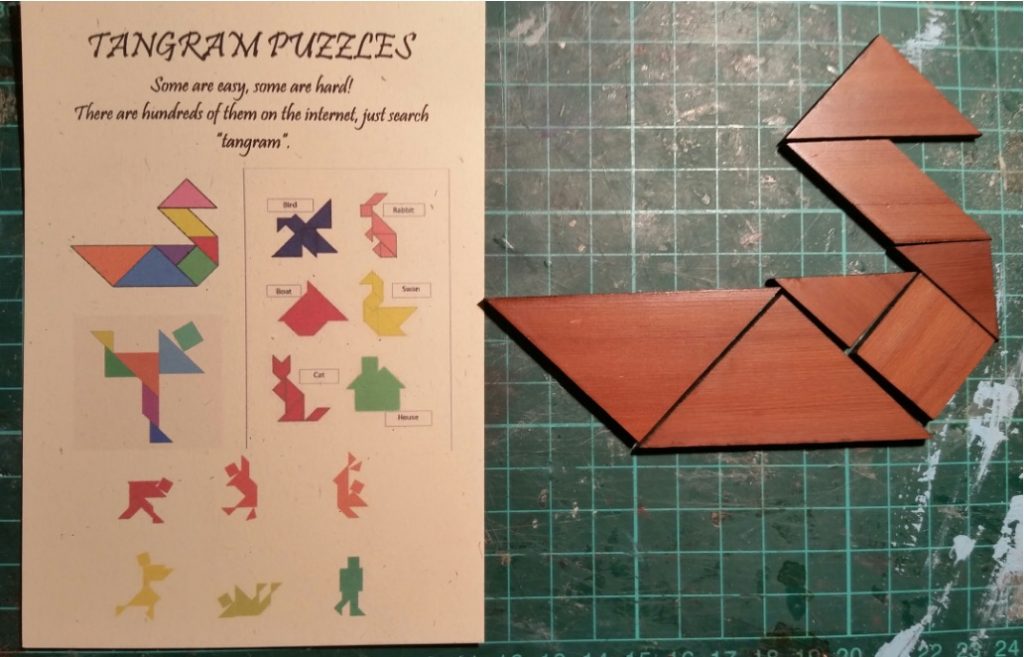
I recently up-cycled some wooden venetian blinds found on the side of the road into these puzzles.
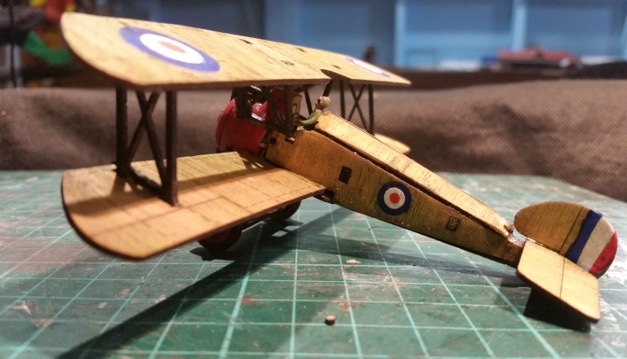
I am also fascinated with model aircraft. The Sopwith Camel is a project that has been a dream of mine for a while.
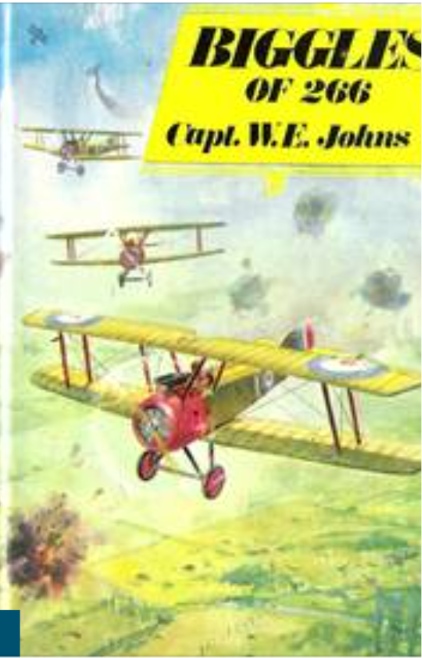
I based its structure around a steam-punk-style developed by others. Many many hours of tweaking and test-cuts and I managed to capture the distinctiveness of Biggles’ Camel of 266 Squadron.
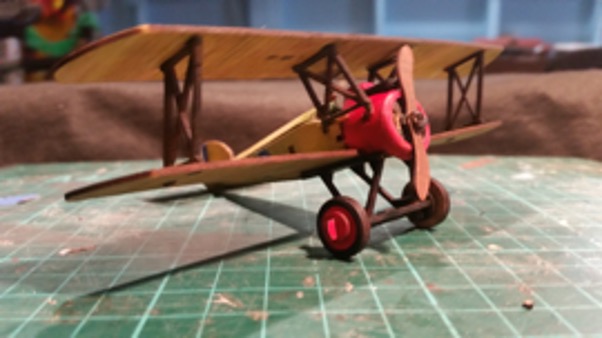
The camel’s hump and a HO-size hero for a pilot are cut from 1.5mm laser ply from Darkly Labs. The roundels are cut from coloured craft paper.
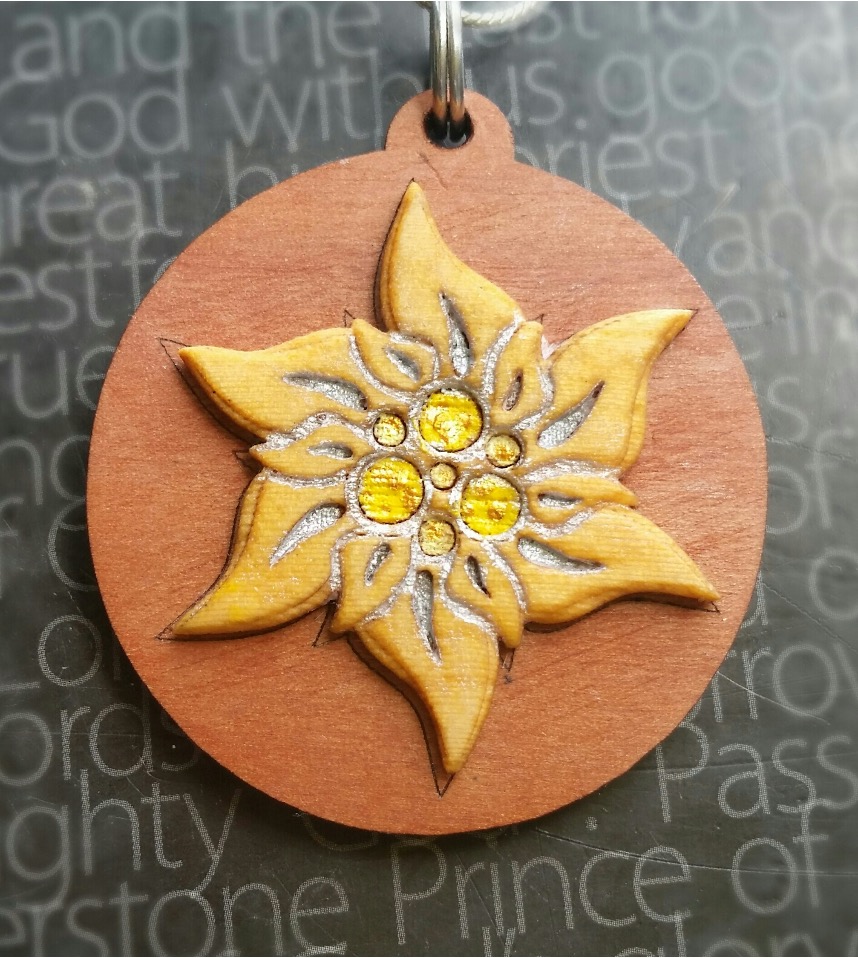
Jewellery for special people is something else the Emblaser enables me to make.
Every now and then I end up making some very practical things too. Our old coffee grinder was doing it rough! All it needed was some new spacer-washers, but they are of a peculiar size not found in Bunnings. We were facing a weak-coffee crisis!
You know the black polypropylene sheets in the bottom of the shopping bags we now have to buy? It is 0.4mm thick, tough as old boots , cuts beautifully and is very resilient. It makes great washer-spacers where a metal is not essential. Weak coffee no more!
What projects are on the horizon?
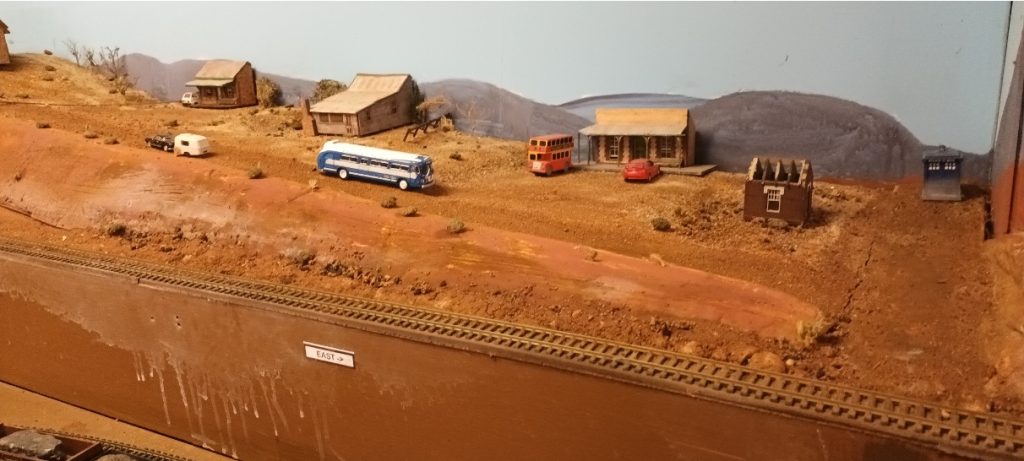
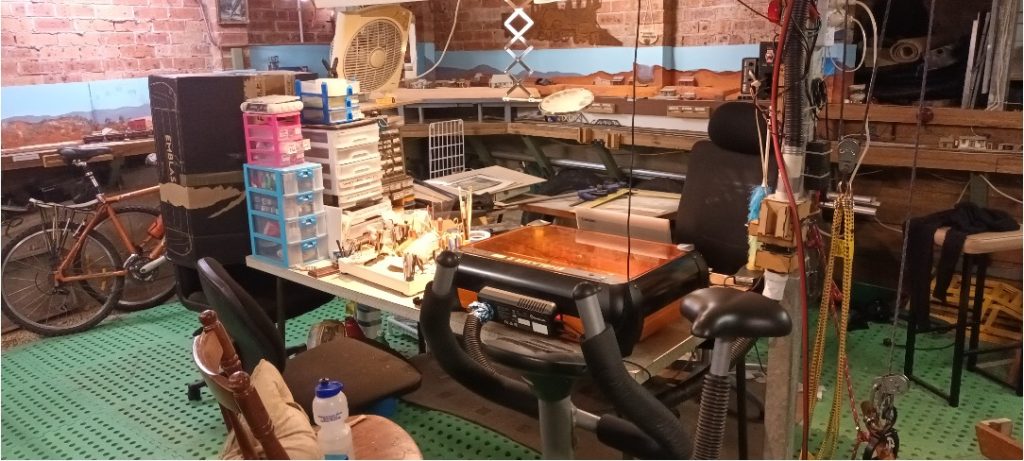
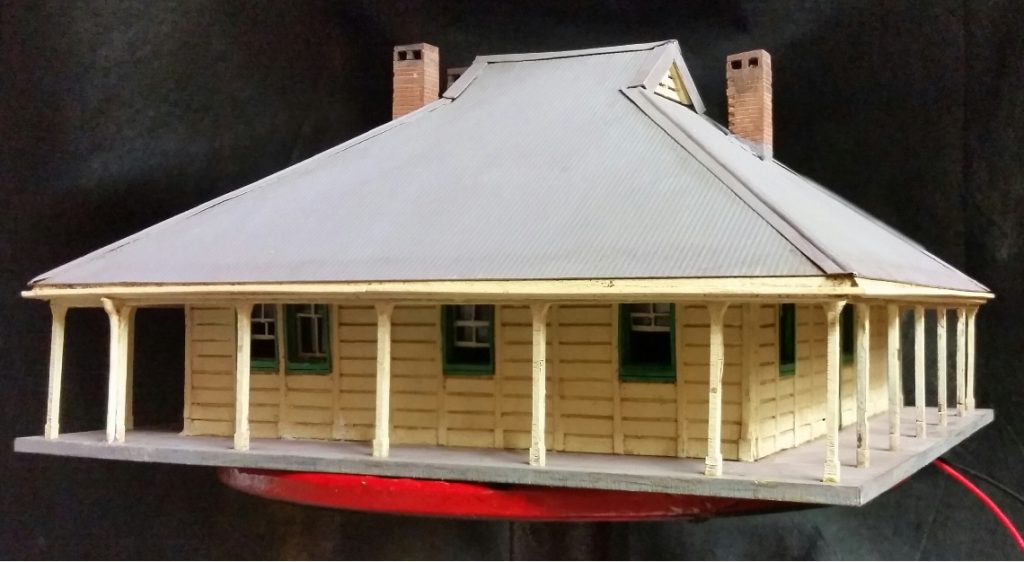
With the end of the COVID-19 lockdown looming, it’s probably time to clean up my workspace / train-room / gym and get some more buildings finished. Silverton Hotel needs a side verandah and beer garden furniture, the houses need some tank stands, beat-up fencing and a long-drop or two.. maybe I could convert a disused railway ticket office?
After I make some Christmas presents for the Grandkids…