

“Spirograph is a geometric drawing toy that produces mathematical roulette curves of the variety technically known as hypotrochoids and epitrochoids. It was developed by British engineer Denys Fisher and first sold in 1965.”
What you will learn:
- How to load a design file into LightBurn.
- How to position your design in the workspace.
- How to select a preset from the Library.
- How to cut out your design.
Project Files:
Materials:
- 3mm plywood measuring at least 110mm x 110mm
Step 1:
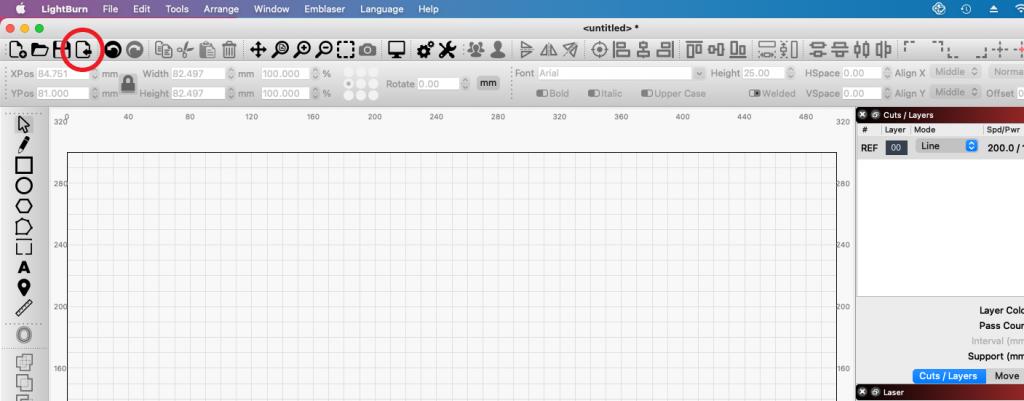
Start LightBurn and click on the ‘Import’ icon at the top to import the SVG design file of the Spirograph.
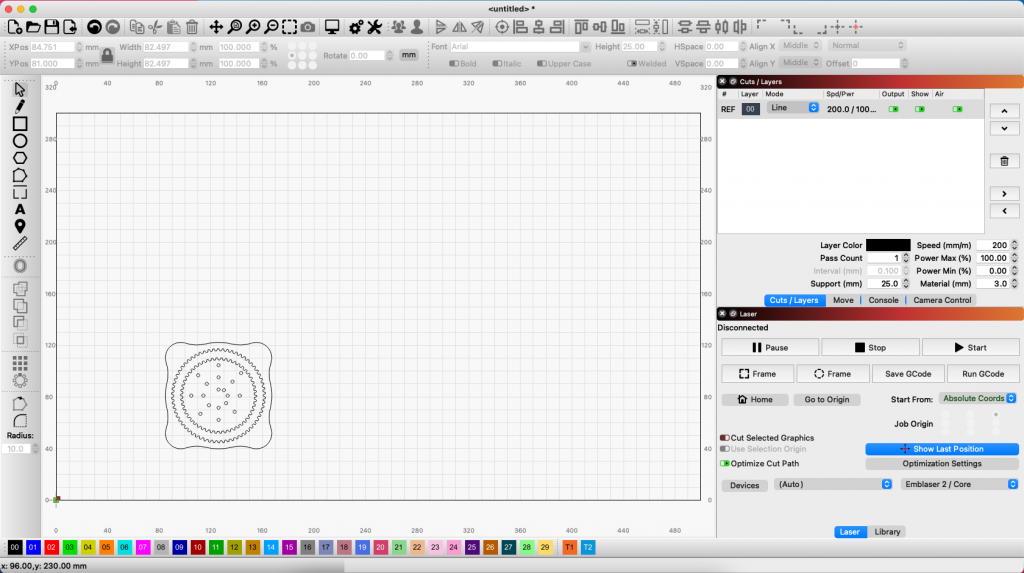
Once imported, your spirograph design file will appear on your workspace as shown below.
Step 2:
For this tutorial, we will place our material in the middle of our machine workspace, so we need to position the design accordingly.
There two ways to do this.
Method 1 – Automatic
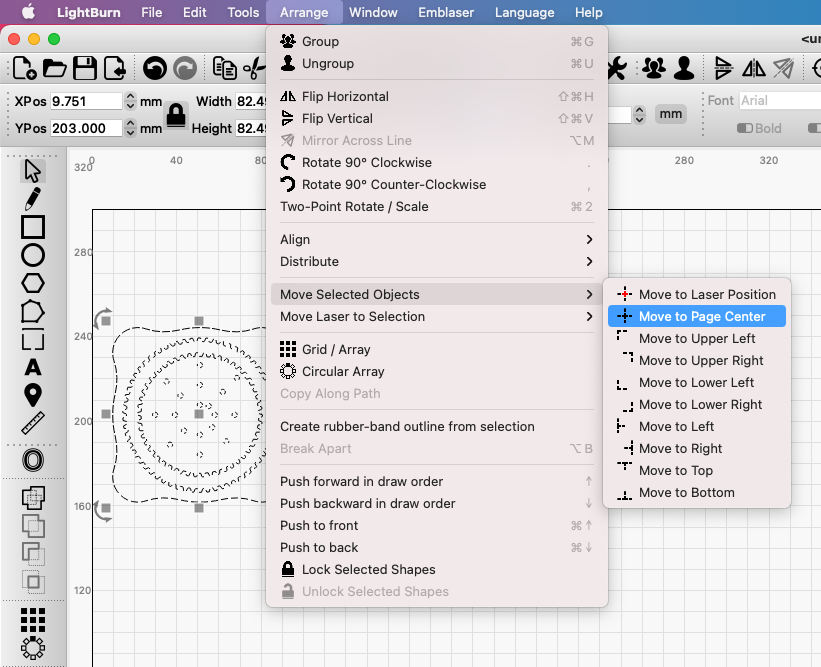
The easiest is to use the automatic ‘Arrange’ feature within LightBurn.
First select your design by highlighting it all within the workspace.
Then select ‘Arrange / Move Selected Objects / Move to Page Centre‘ from the top menu.
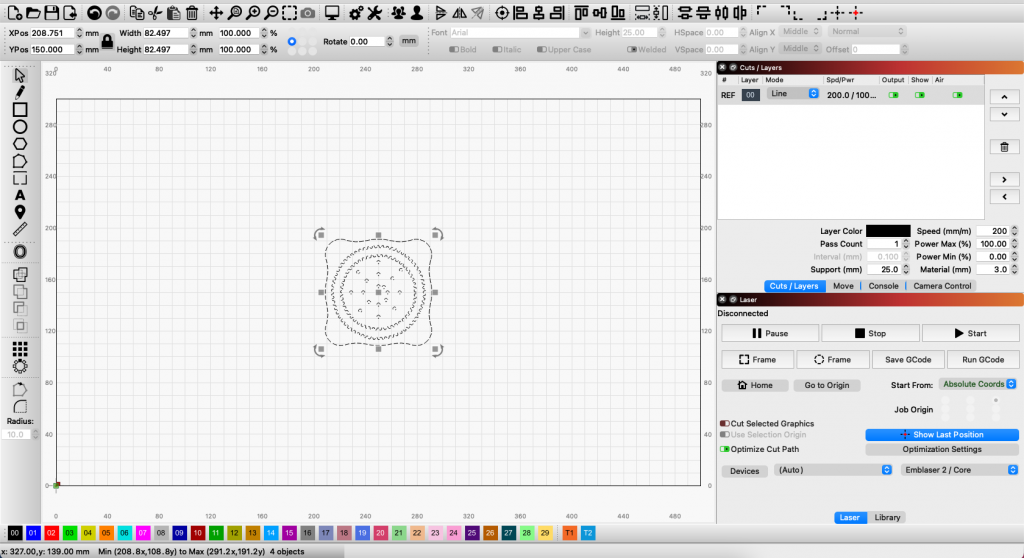
This will automatically move your design to the center of the workspace.
Method 2 – Manual
You can also manually drag the design into position.
Highlight your design and drag it with the mouse to the center.
Step 3:
Next, we can select a preset for cutting our plywood.
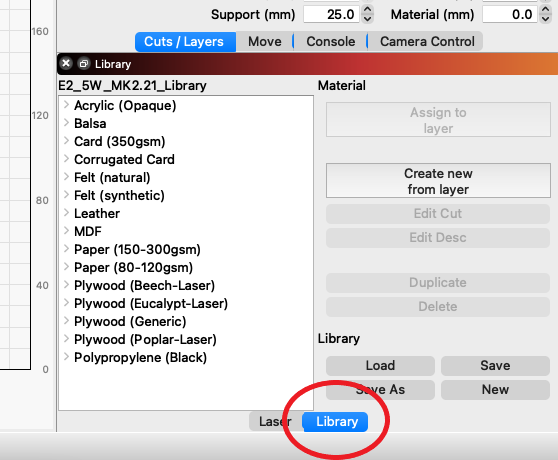
To do this, we first select the ‘Library’ tab to display the material presets.
Note: If you do not have the library installed yet click here and follow the steps
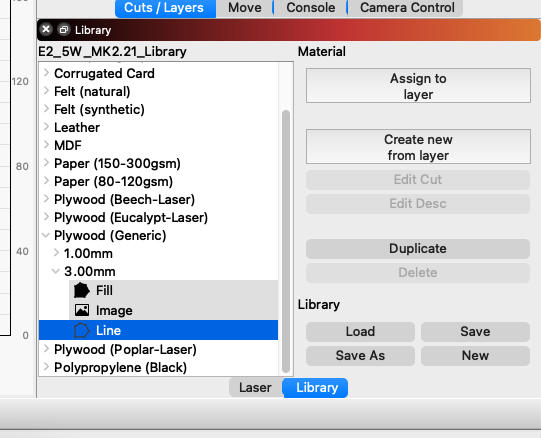
Then expand the ‘Plywood (Generic)’ option and select the 3.00mm ‘Line’ preset.
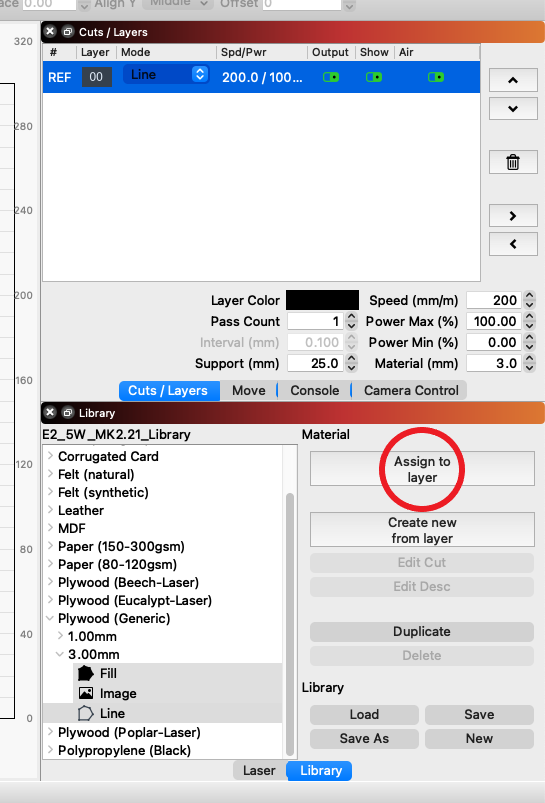
To apply this preset, select the layer ’00’ in the ‘Cuts/Layers’ menu and then click the ‘Assign to layer’ button in the library.
Step 4:
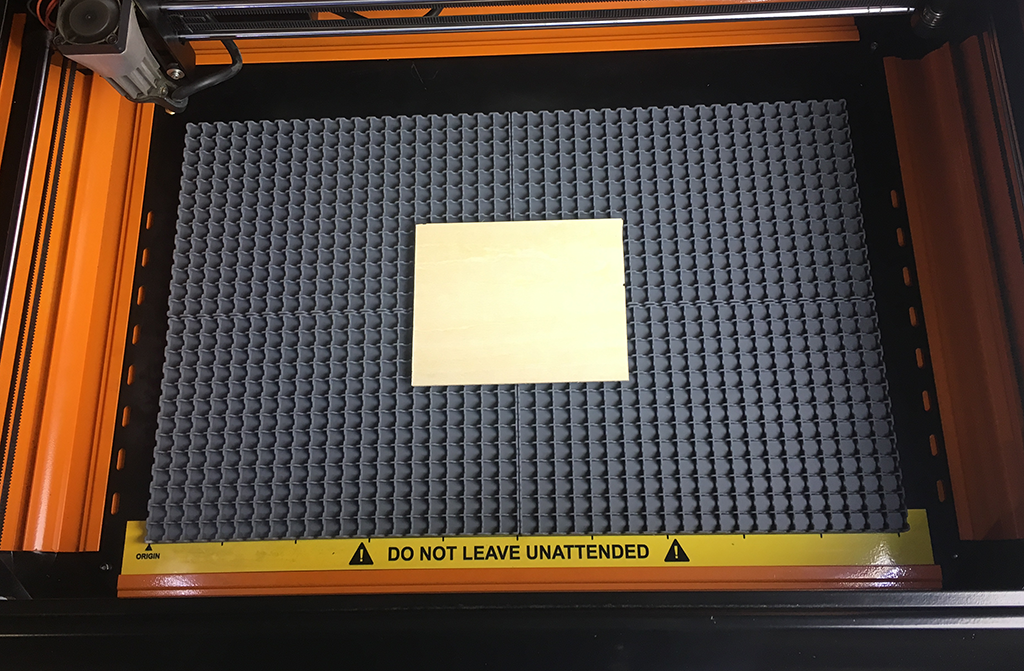
Place your material into the center of the workspace.
Step 5:
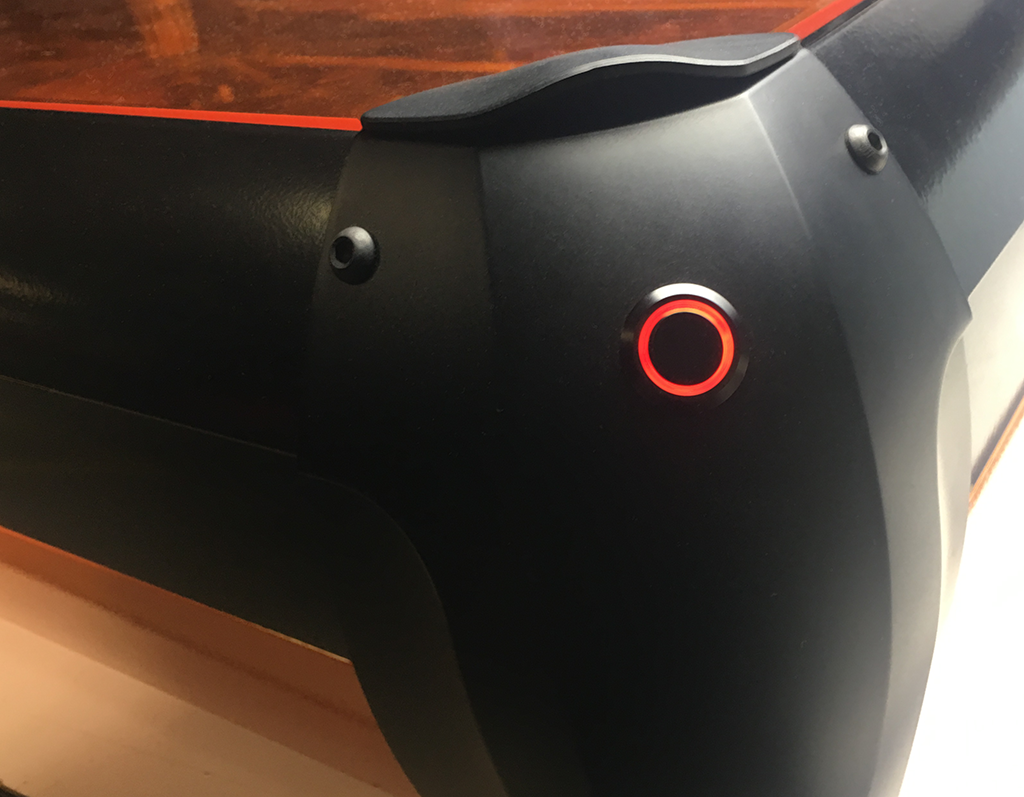
Make sure your lid is closed and press the ‘Enable’ button on the front right corner of your Emblaser 2. The button will illuminate red to indicate the laser has been enabled.
Step 6:
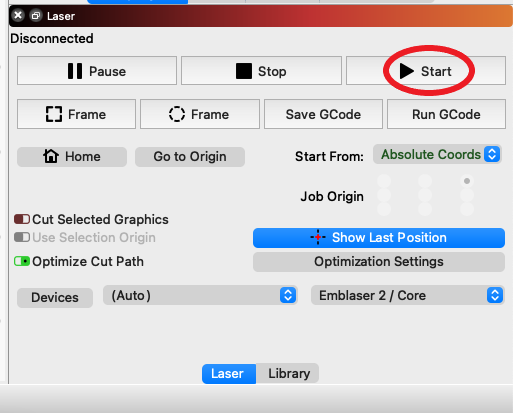
Select the ‘Laser’ tab next to the Library to display the control buttons.
Then press the ‘Start’ button to start your job running.
When completed you should have the two parts you need for you spirograph.
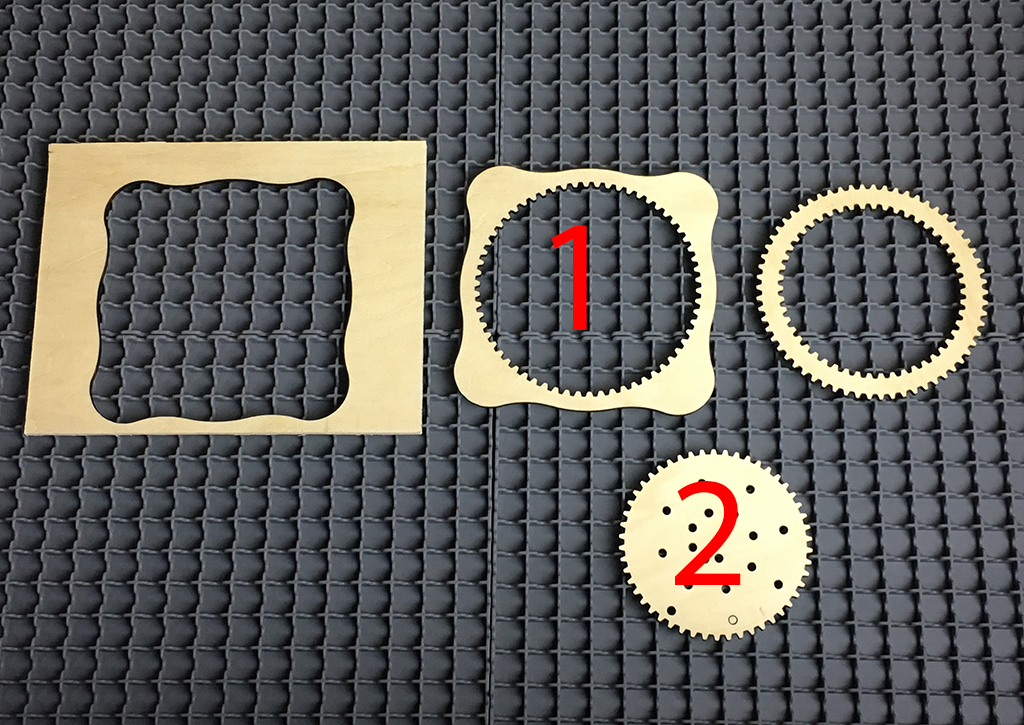
Done!
Enjoy your new toy!
