Work through this lesson and create yourself a custom made jigsaw puzzle.
What you will learn:
- How to import multiple designs files.
- How to resize and position multiple designs files.
- How to setup and perform multiple cut layer operations.
- How to engrave an image.
Note: We recommend competing the previous LightBurn lessons first.
Project Files:
Materials:
- 3mm plywood measuring at least 150x110mm
Step 1:
After downloading and uncompressing the design files, drag and drop both files onto the workspace.
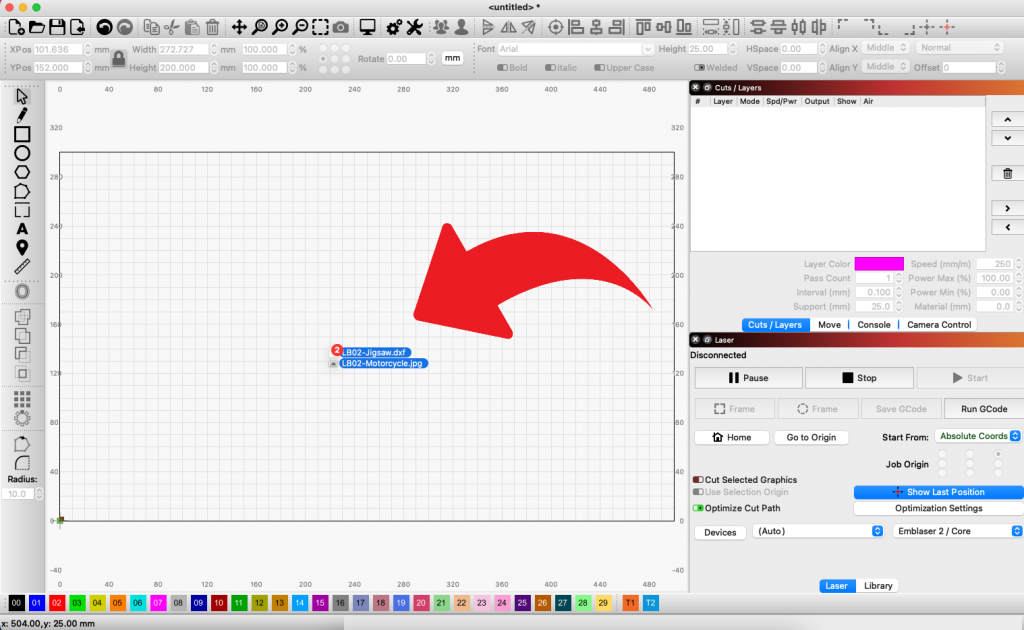
You will now have the image and jigsaw design loaded onto the workspace, with two cutting layers created. A file is assigned default cutting settings when imported. These settings will be changed later in the tutorial.
Step 2:
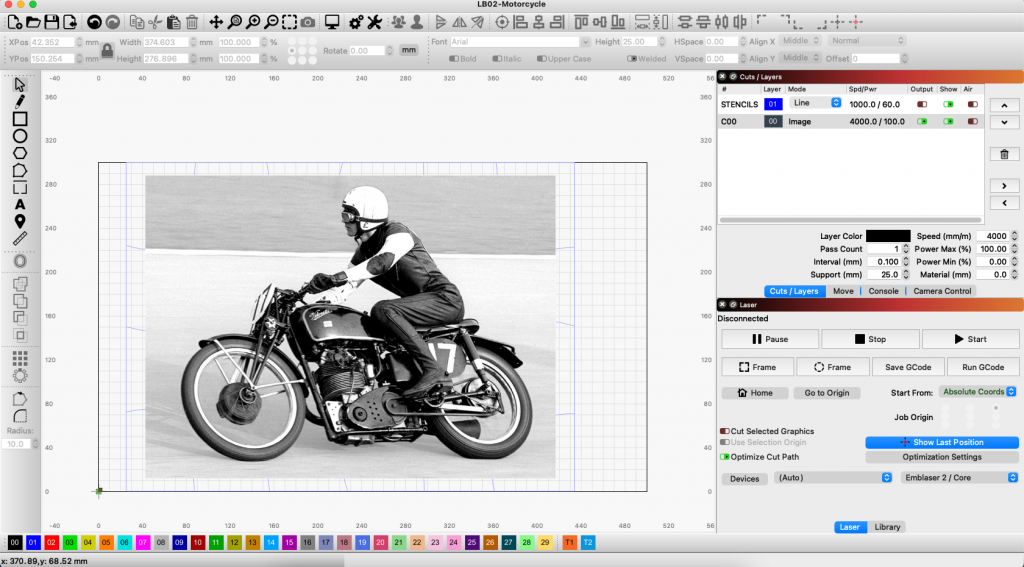
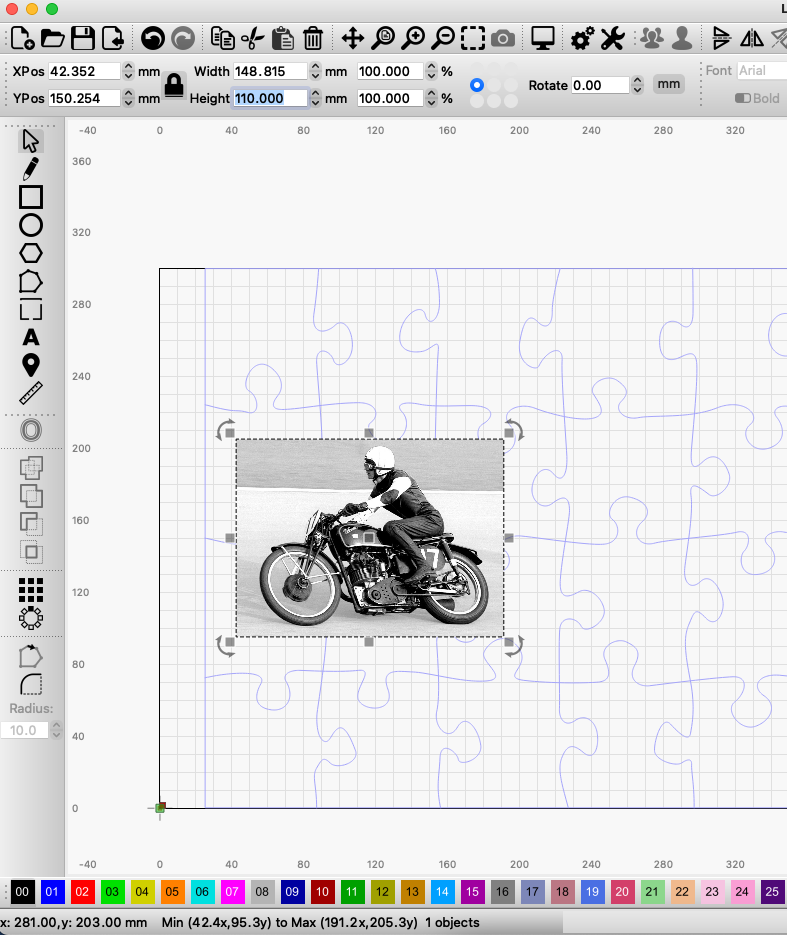
We want to resize our imported design file to be 110mm high, so it matches our material.
First select the image by clicking on it in the workspace. Then type 110 into the ‘Height’ field above the workspace as shown in the image.
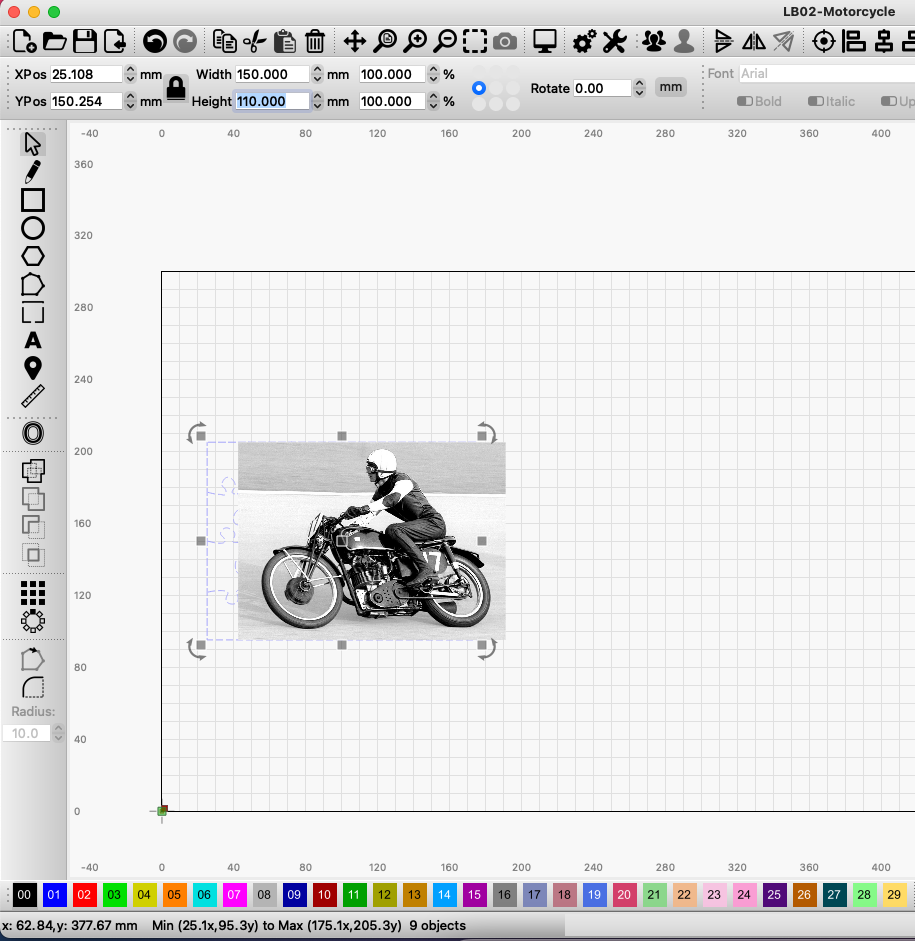
Repeat this process with the jigsaw pattern and you will now have both designs correctly sized as shown below.
Note: If you are having trouble selecting just the jigsaw pattern, highlight both objects and then click on the photo while holding down the CTRL key (Windows) or CMD key (Mac).
Step 3:
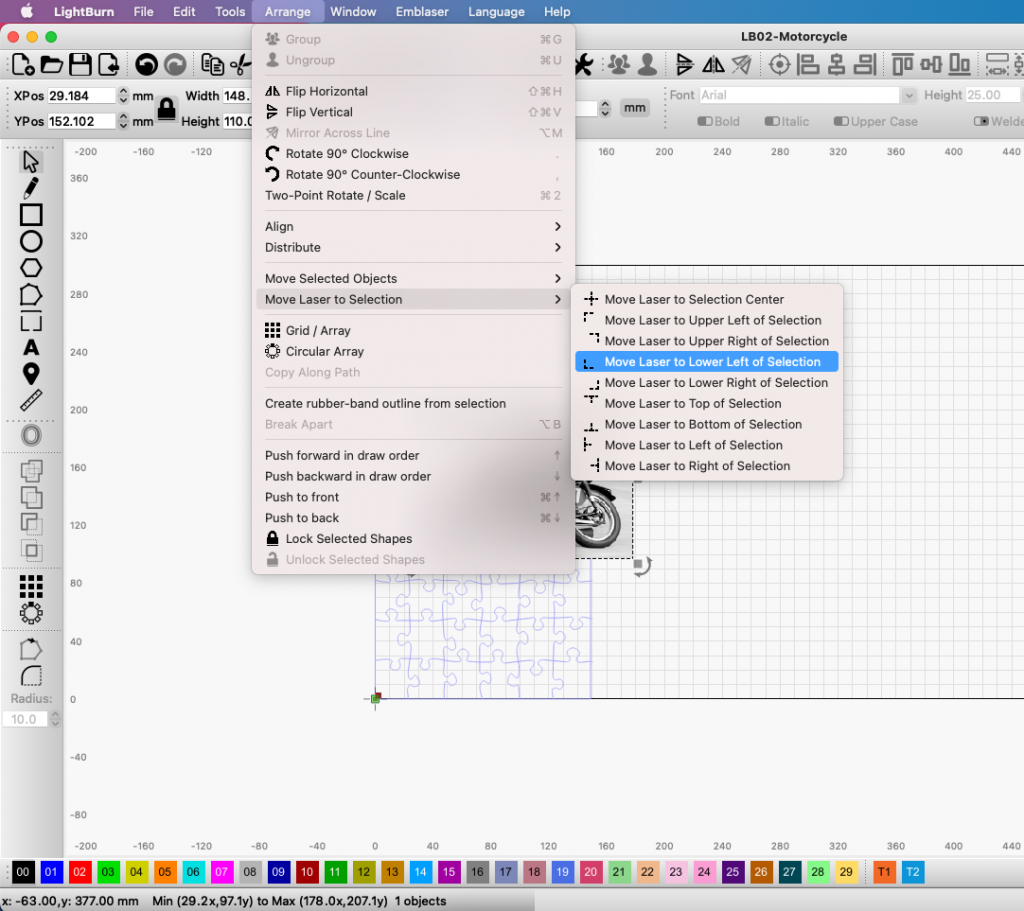
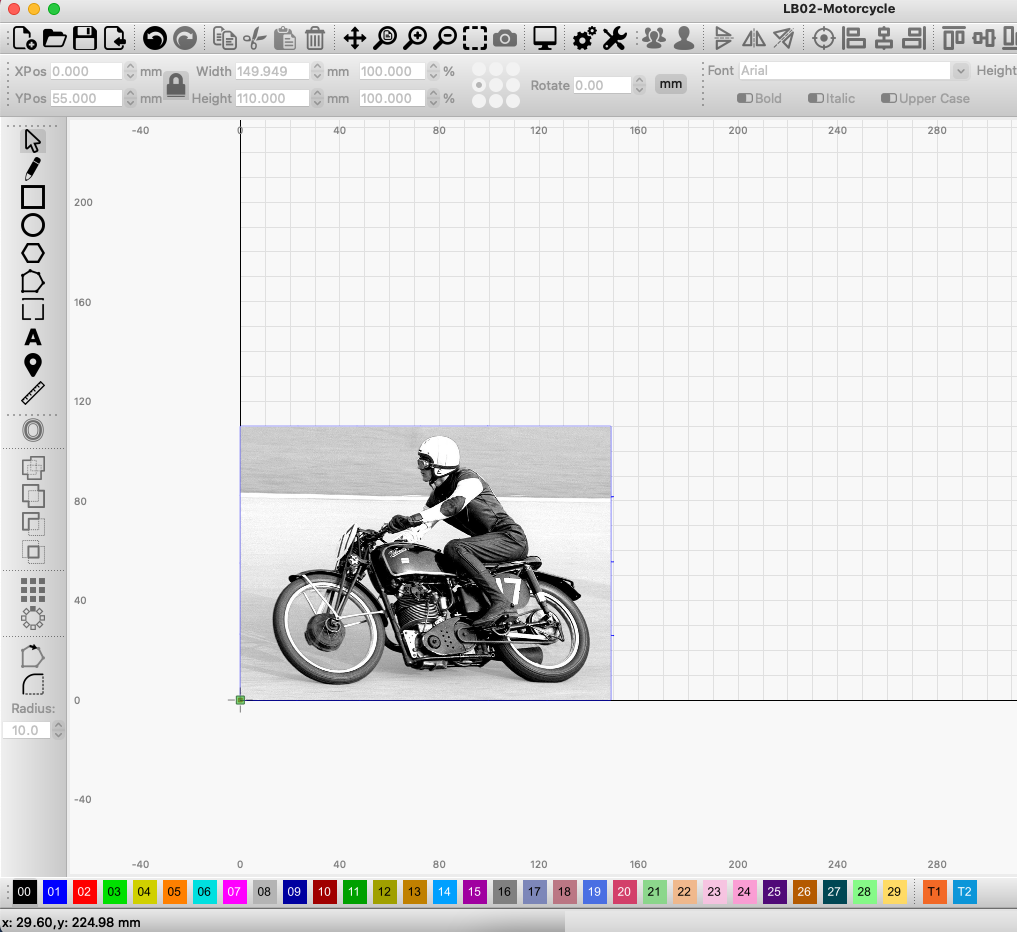
We will now position our designs into the lower left corner of the workspace.
If both designs are aligned in the workspace, Select both designs by pressing CMD-A (Mac) or CTRL-A (Win).
Then select ‘Arrange / Move Selected Objects / Move to Lower Left‘ from the top menu.
However if both designs are not aligned to start with like above, follow the steps above for the Jigsaw and Photo individually.
Step 4:
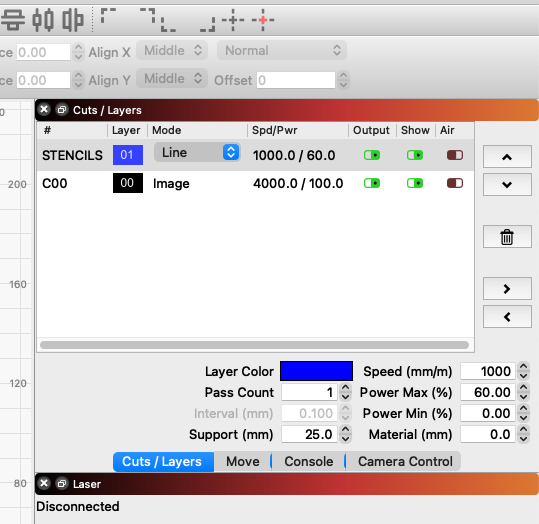
From the ‘Cuts / Layers’ menu in LightBurn, we can see the two layers that are associated with our imported design files. When running a laser job, LightBurn will work down through the list of layers in that order.
In this tutorial, we want to engrave the image before we cut the jigsaw pattern, so we need to switch their order in the Cuts list.
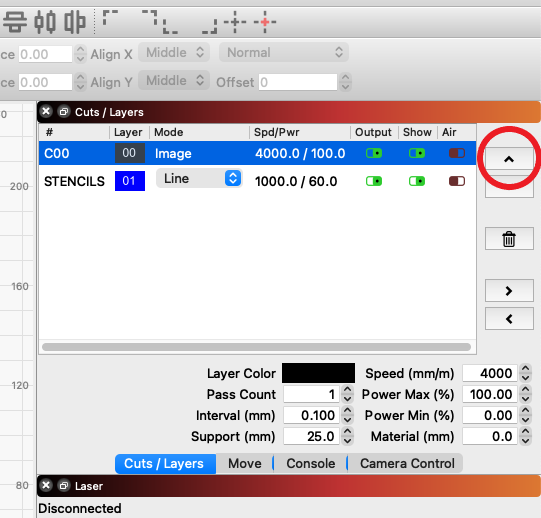
To move a Layer up or down in priority, highlight it in the list and use the up and down arrow buttons on the right-hand side of the panel.
For this tutorial, select the layer with the image and move it to the top of the layer list, as shown in the image below. Your image layer will now be cut before the jigsaw pattern is cut.
Step 5:
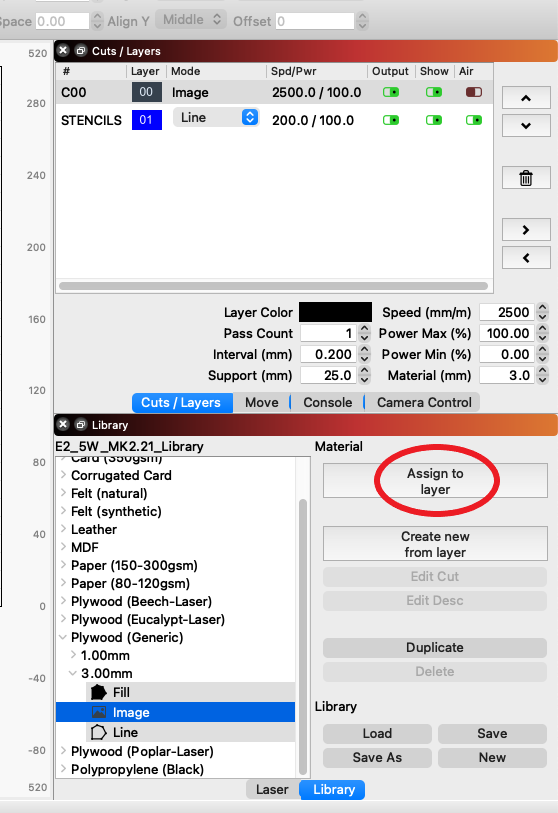
Using the Library we can apply the 3mm Plywood presets to the two layers:
Image layer = Plywood (Generic) > 3mm > Image.
Jigsaw pattern layer = Plywood (Generic) > 3mm > Line.
To do this, we first select the ‘Library’ tab to display the material presets.
Note: If you do not have the library installed yet click here and follow the steps.
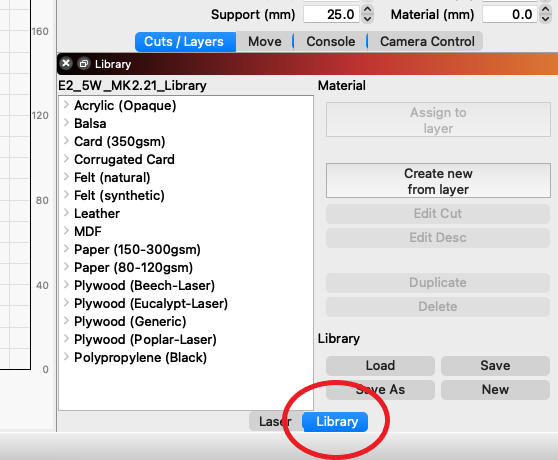
Then expand the ‘Plywood (Generic)’ option and select the 3.00mm ‘Line’ preset.
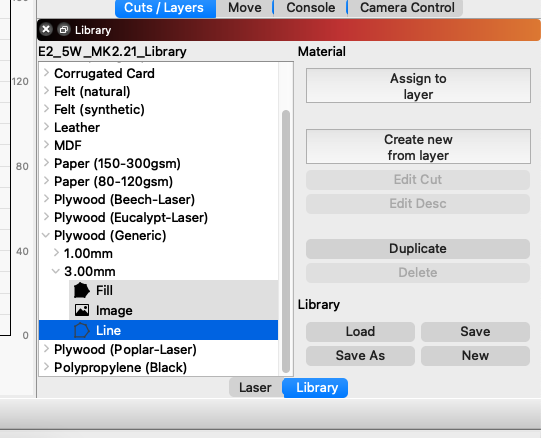
To apply this preset, select the Jigsaw layer (Line) in the ‘Cuts/Layers’ menu and then click the ‘Assign to layer’ button in the library.
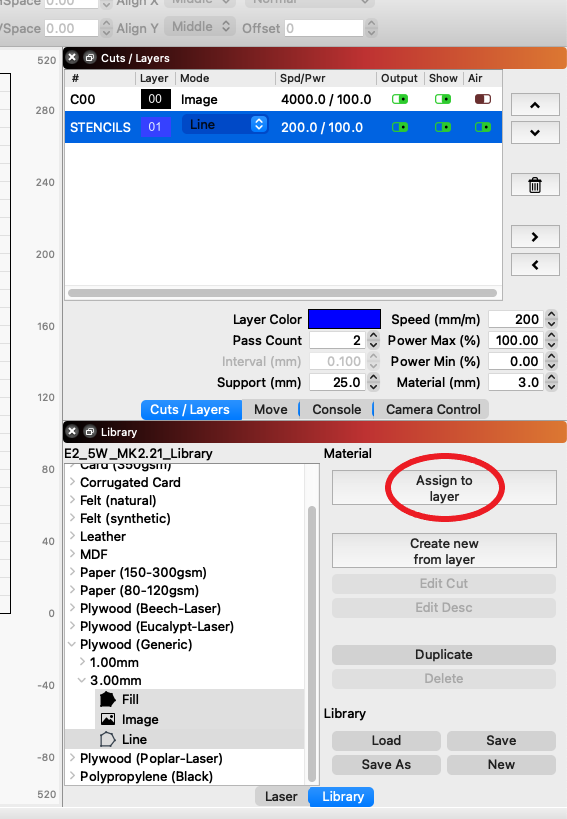
Repeat these steps for the image layer, this time selecting Plywood (Generic) > 3mm > Image instead of Line and assigning it to the image layer.
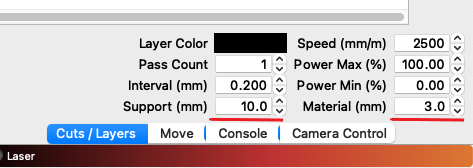
Before you cut: Ensure that the Support is set to 10mm and material is set to 3mm
Step 6:
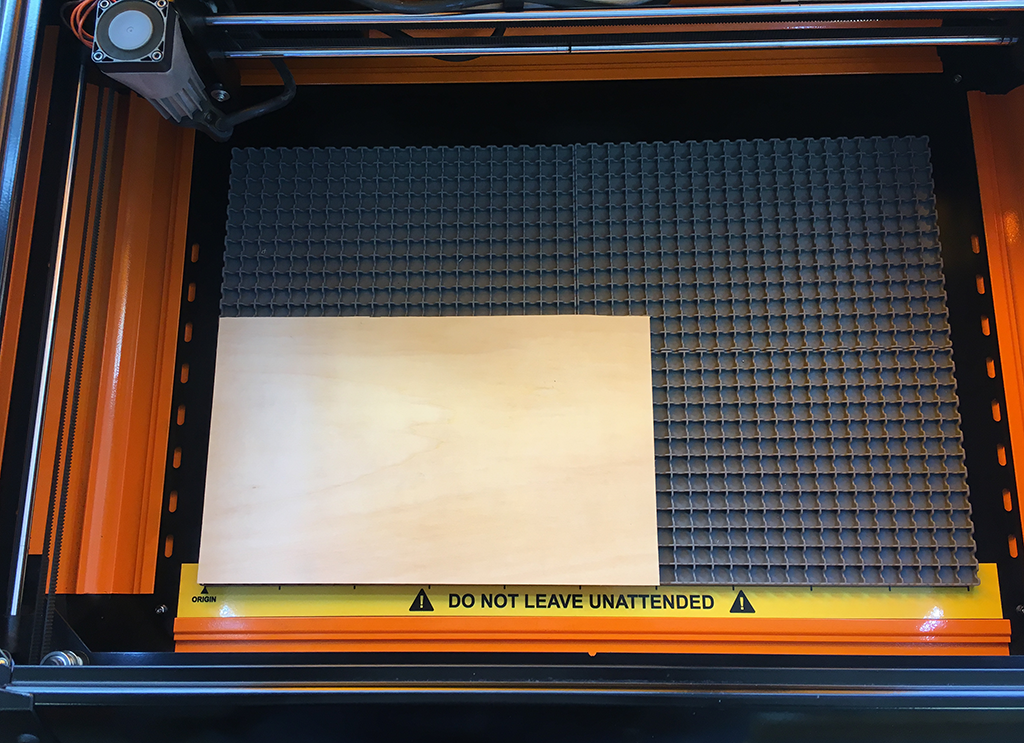
Place your material into the bottom left of the workspace.
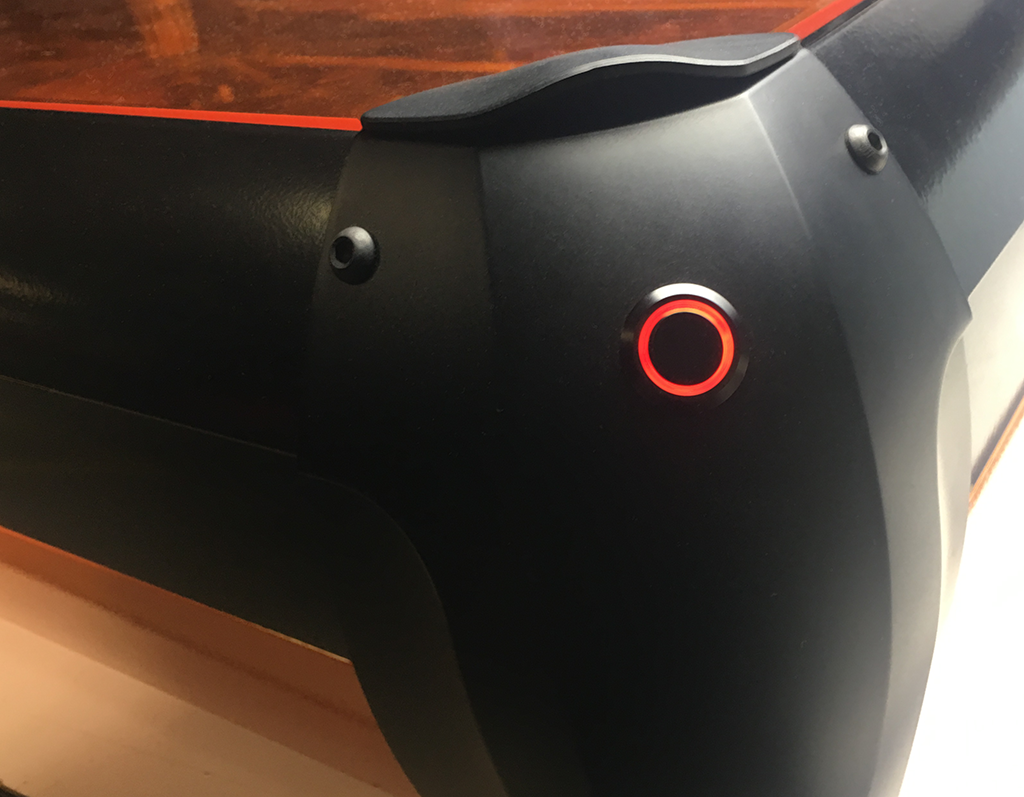
Step 7:
Close the lid of your Emblaser 2 and press the ‘Enable’ button on the front right corner. The button will illuminate red to indicate the laser has been enabled.
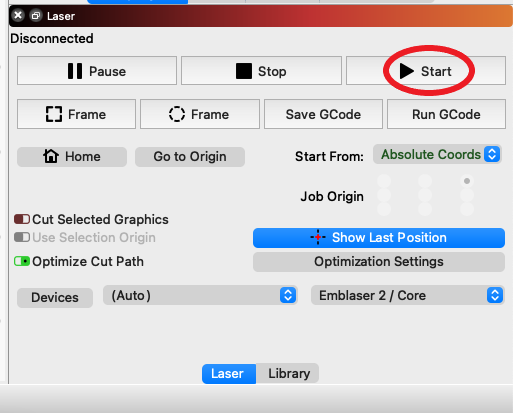
Step 8:
Select the ‘Laser’ tab next to the Library to display the control buttons.
Then press the ‘Start’ button to start your job running.
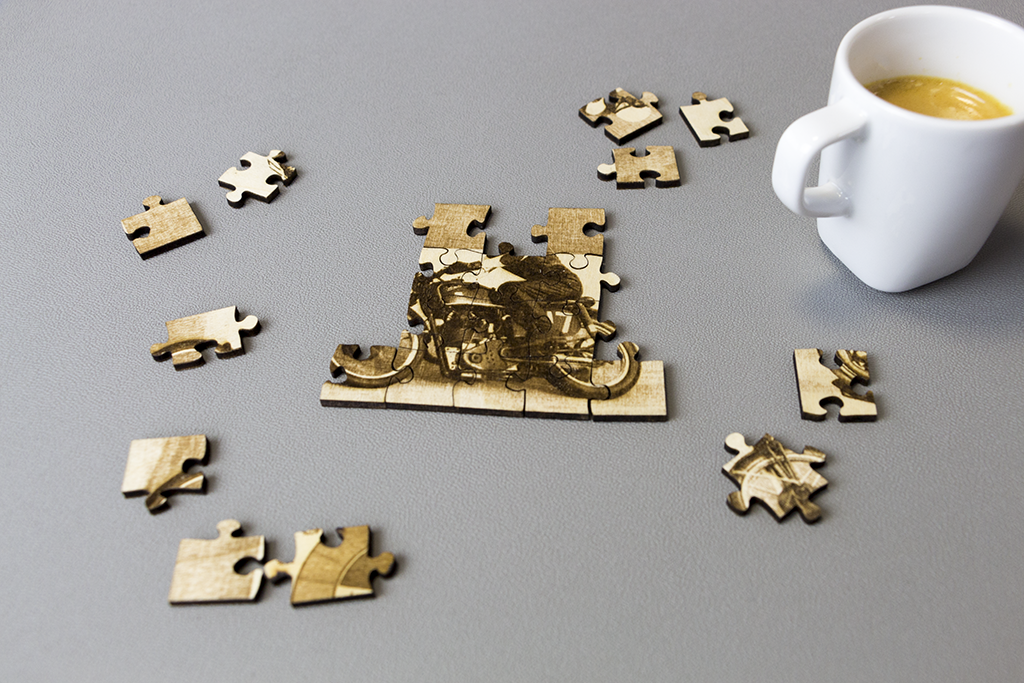
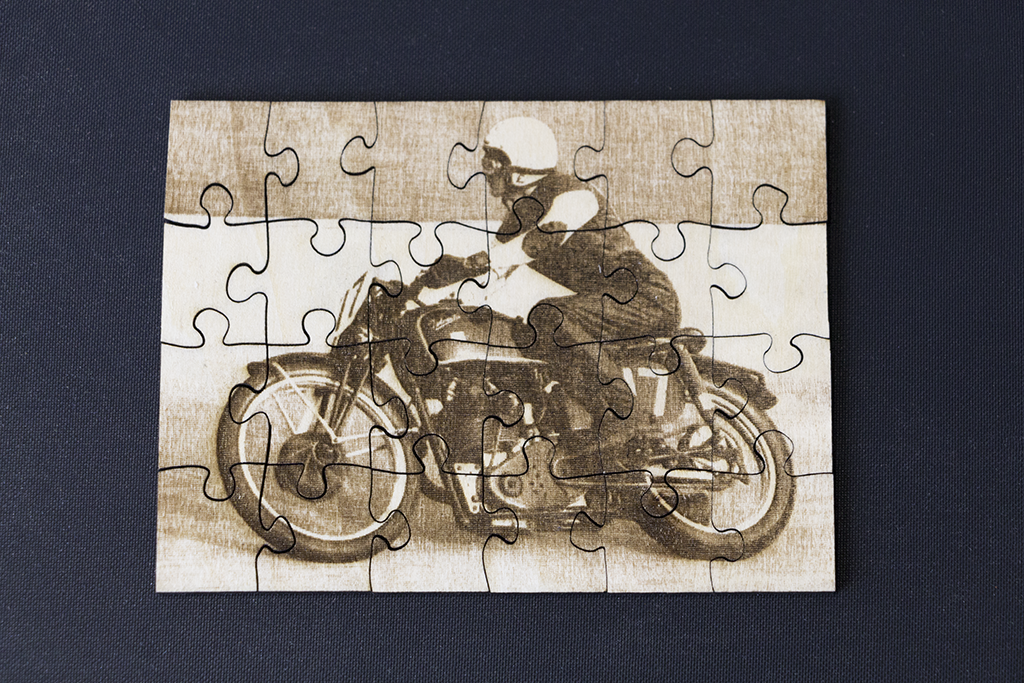
Done!
Enjoy your puzzle!