
This article will detail the advanced lens cleaning process.
Required:
Note: All required items below unless specified are supplied with the lens cleaning kit.
- 1.5mm Hex tool
- 2mm Hex tool (supplied with Emblaser 2)
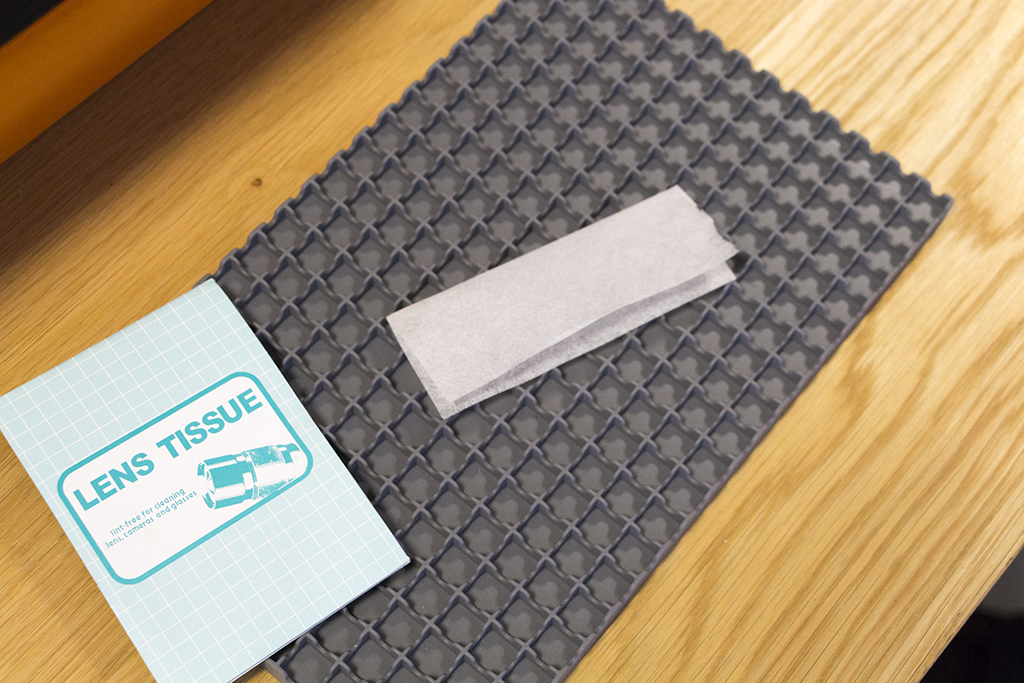
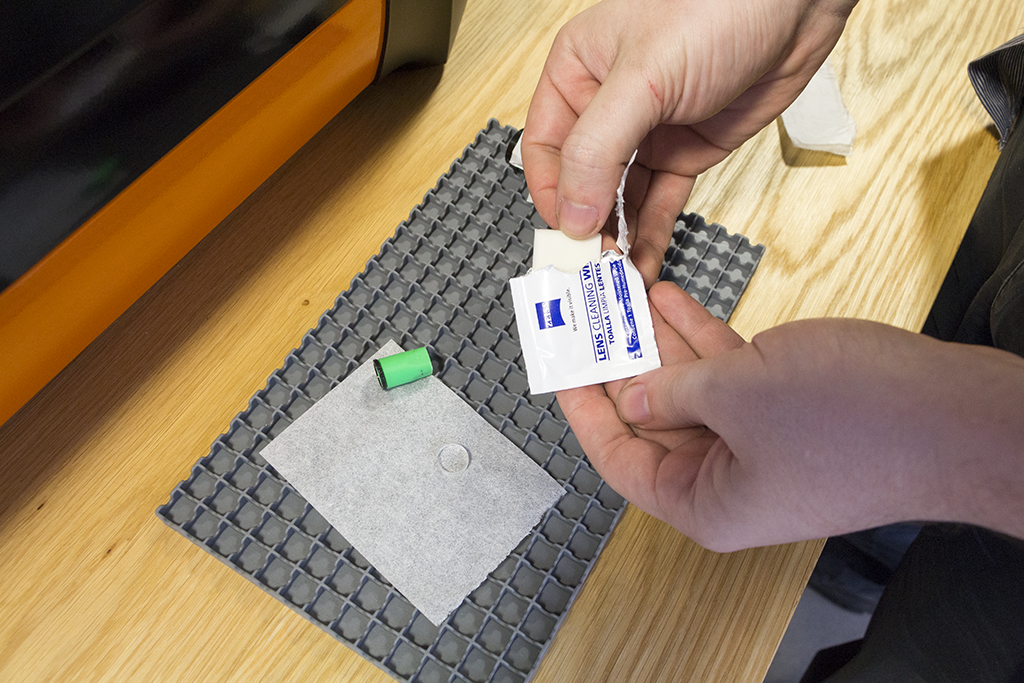
- Lens Tissues
- Lens Cleaning Wipes
- Lens Removal Tool
- LensPen
- A clean workspace free of dust and debris.
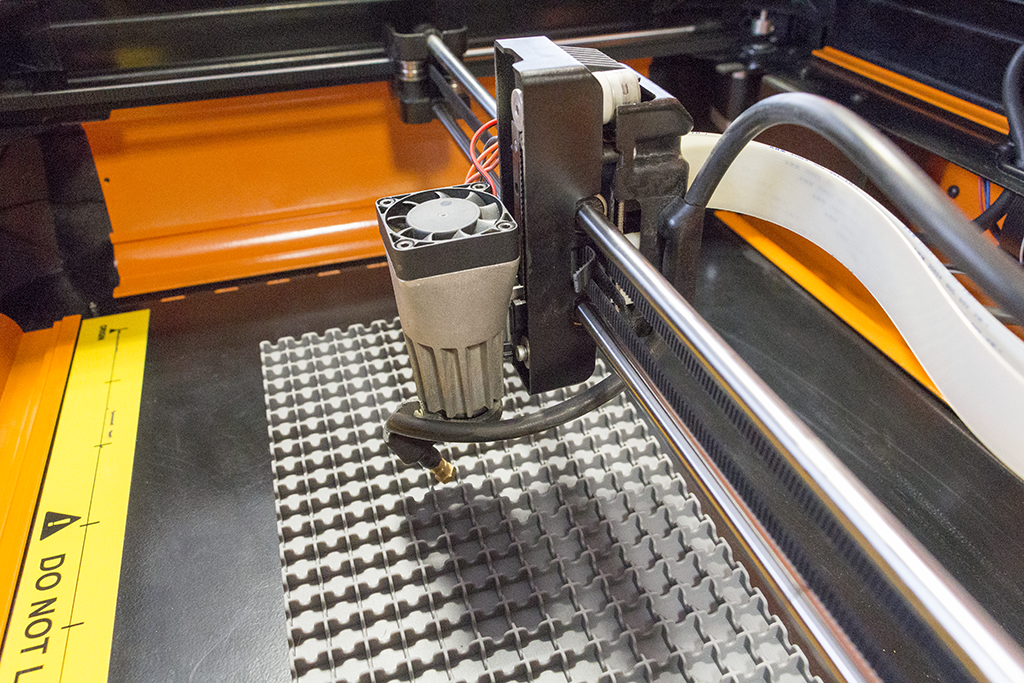
Step 1:
Move the laser unit to its lowest possible position via LightBurn.
Place a cutting mat under your laser unit to help protect your lens in case it drops.
NEVER force the laser unit manually as this can damage the motor and gearbox.
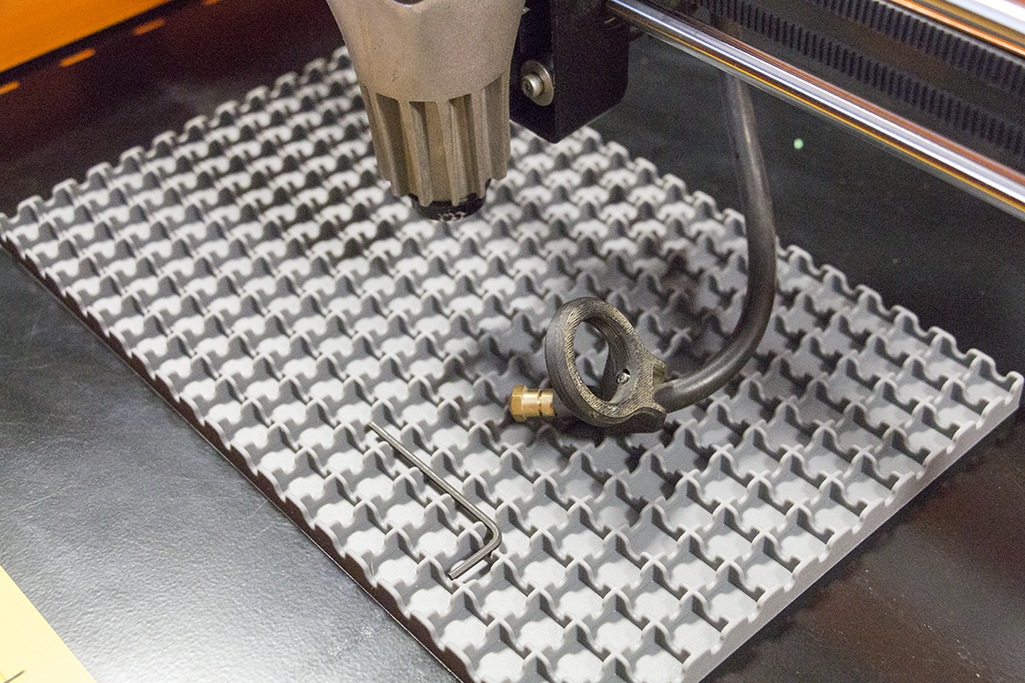
Step 2:
If you have an Air-Assist System installed, remove the nozzle bracket and place it to one side.
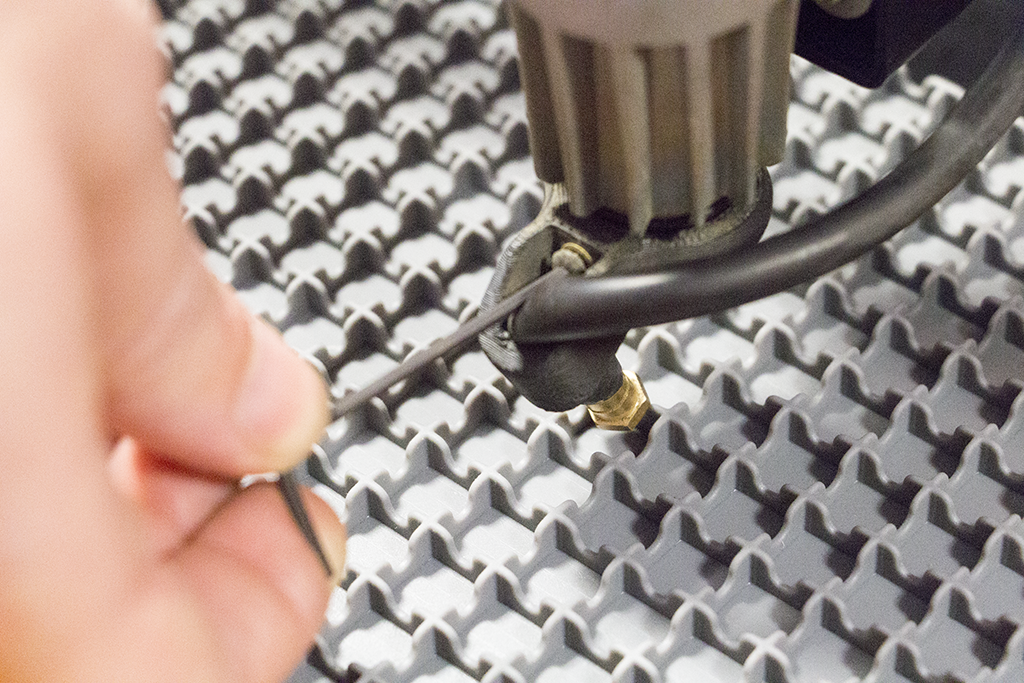
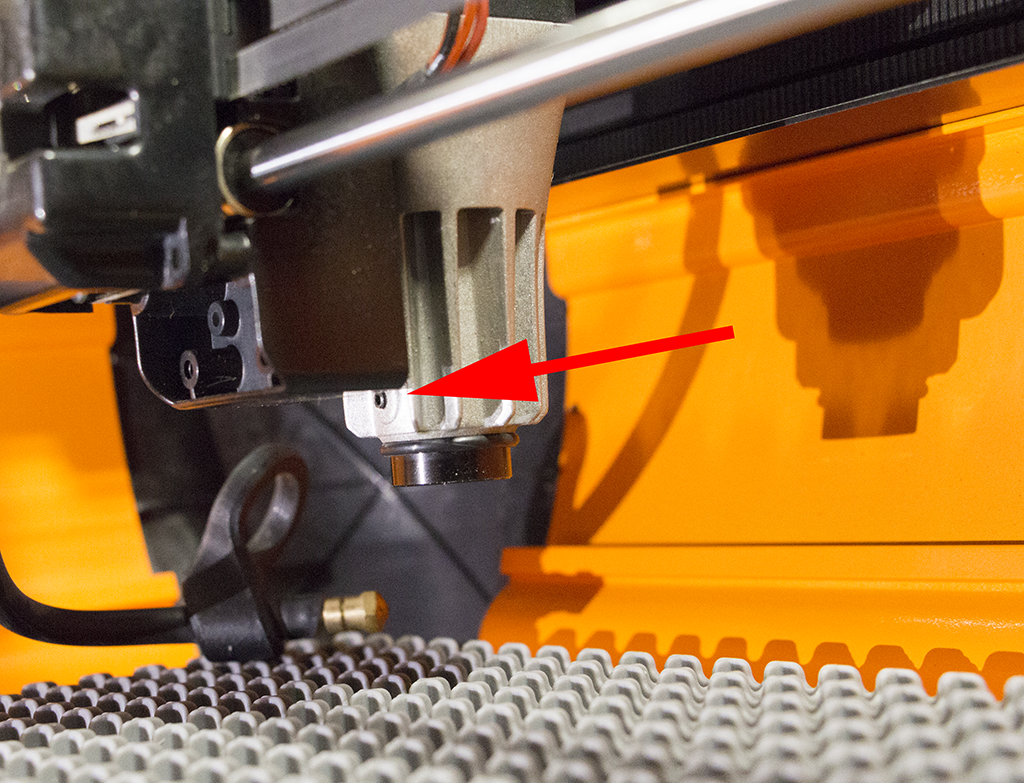
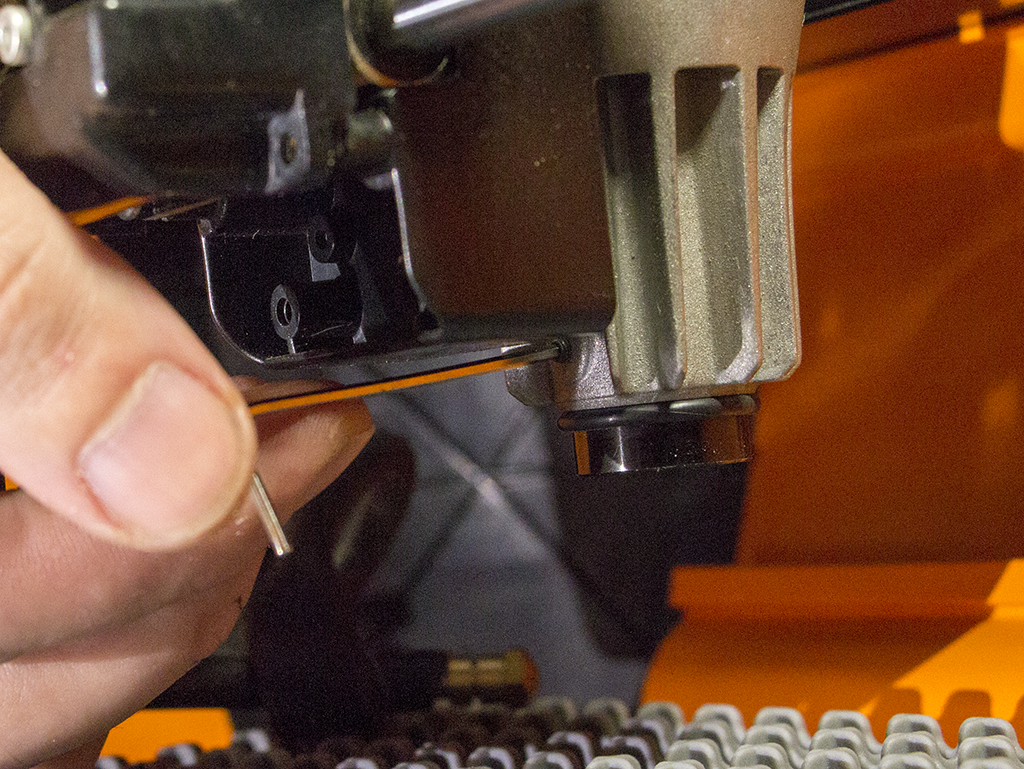
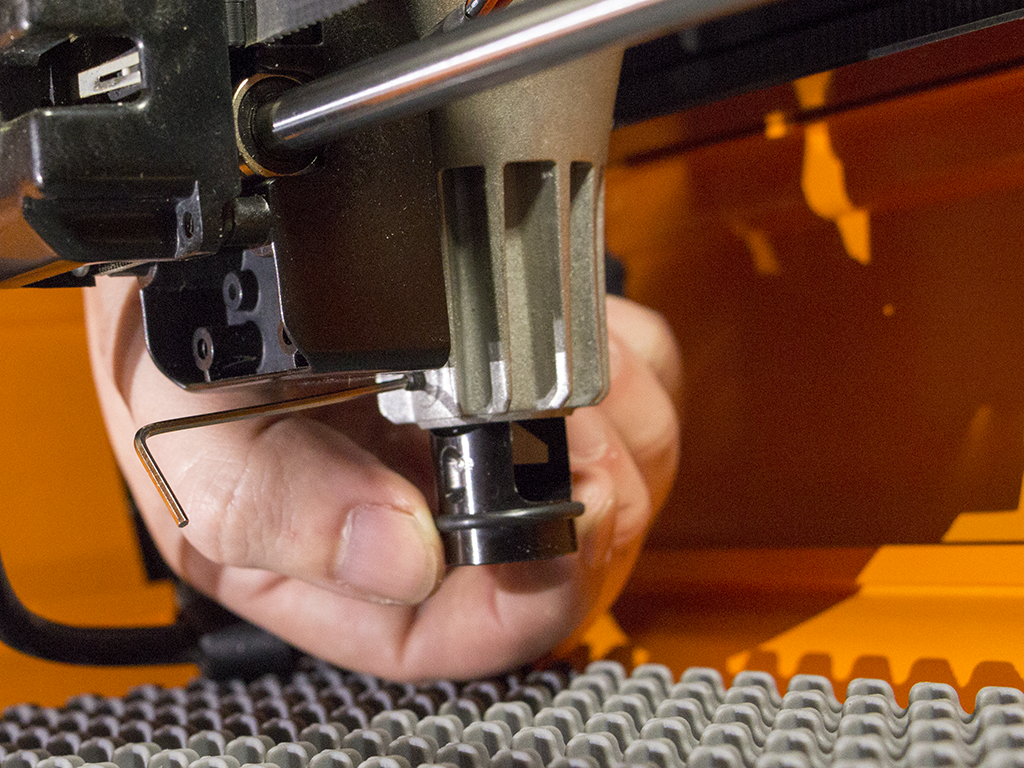
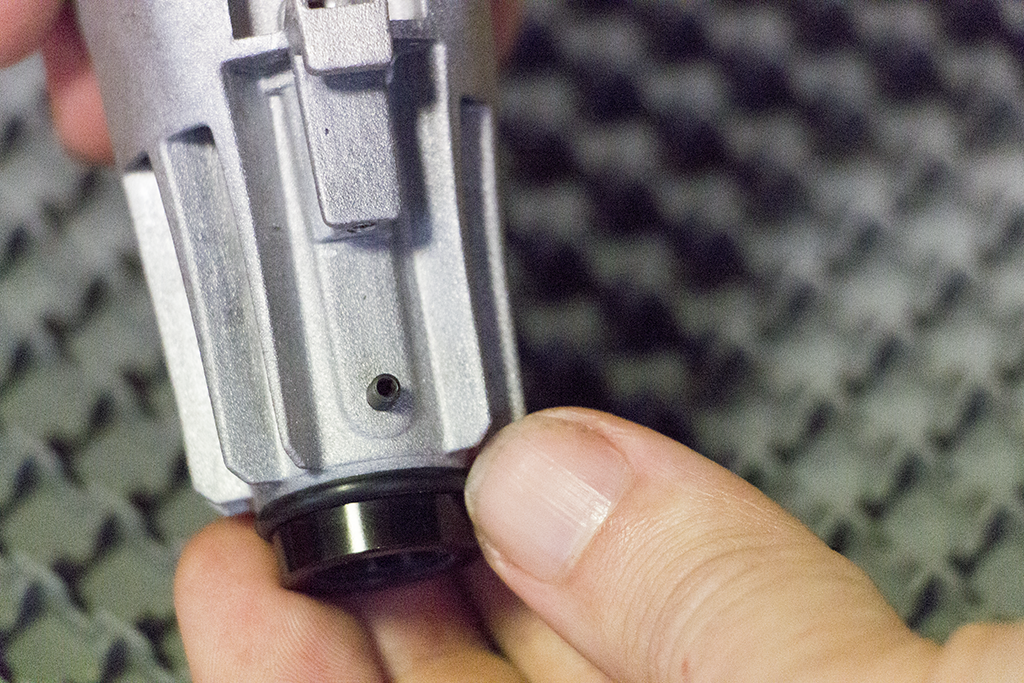
Step 3:
Locate the small set screw on the back of the laser heatsink and carefully use the 1.5mm Hex tool to loosen it off until the lens unit drops out.
He very careful to support the lens unit as it become free.
IMPORTANT: Be very careful to not touch any of the glass surfaces of the lens unit. This can cause the optics to degrade over time.
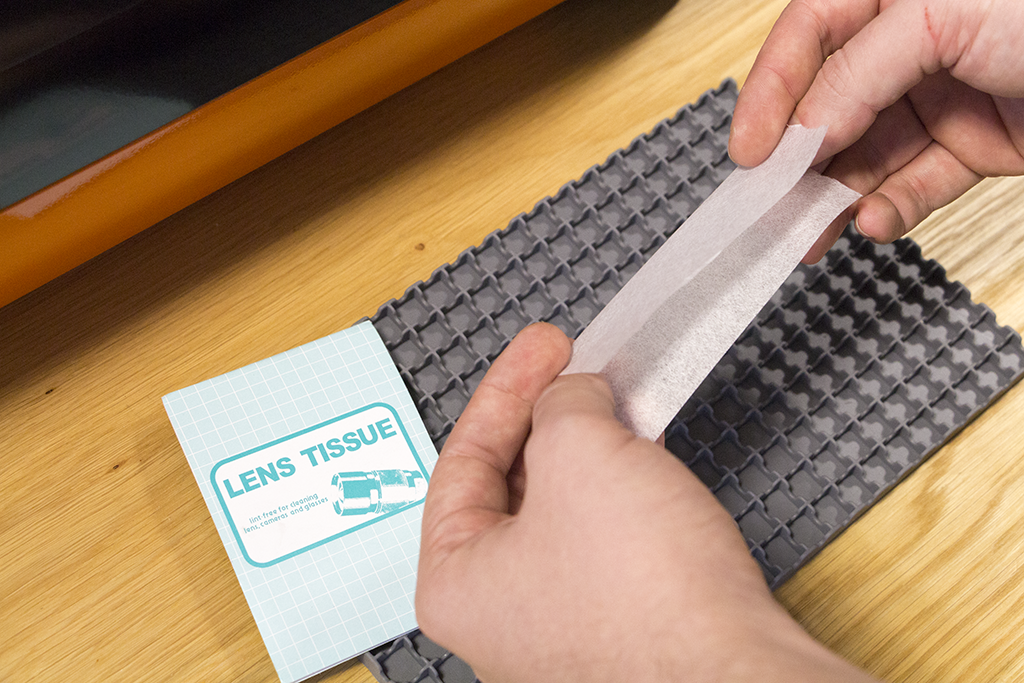
Step 4:
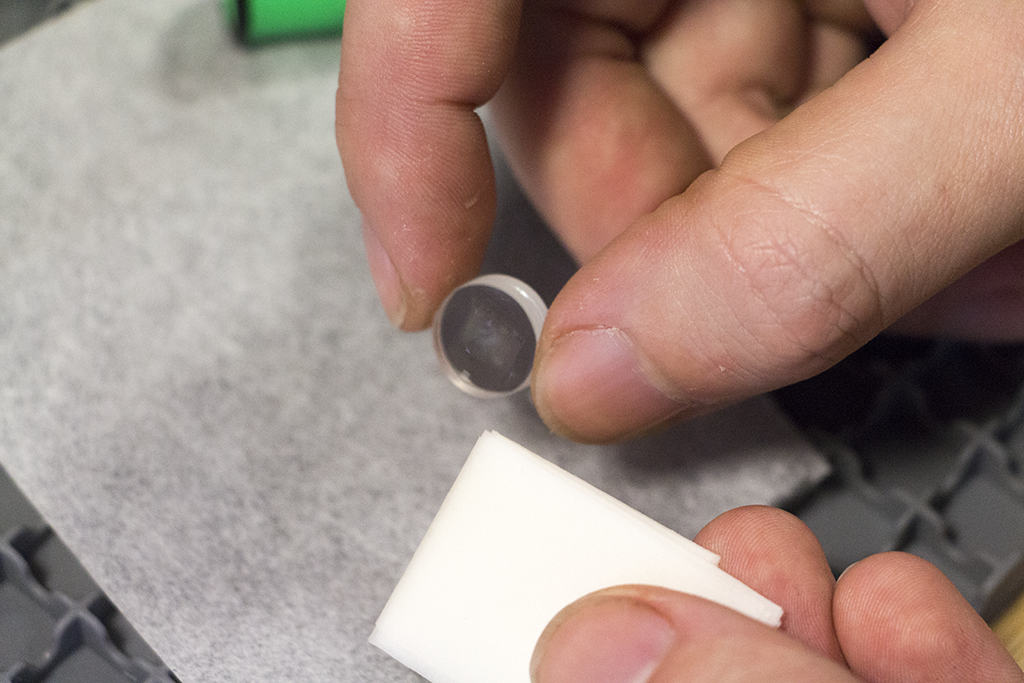
The laser unit is extremely delicate, especially the glass surfaces. Be extremely careful to not touch these surfaces.
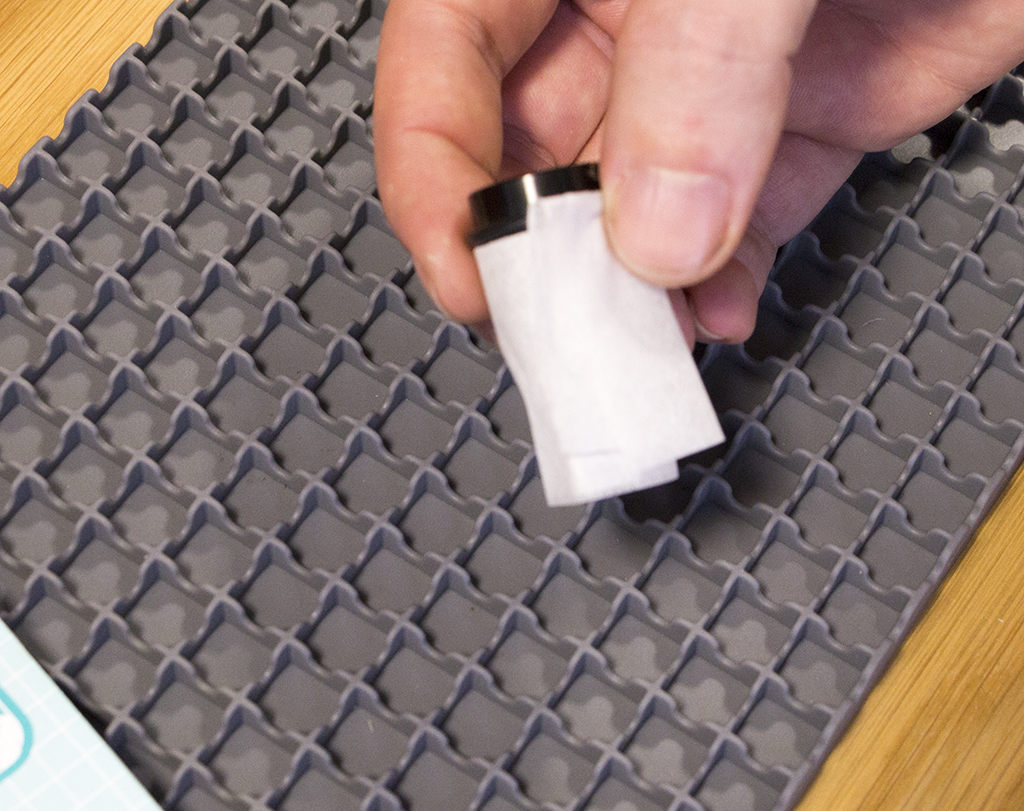
Before beginning to work on the lens unit, fold a piece of lens tissue in half and use it to wrap around the lens unit, to precent touching the glass parts.
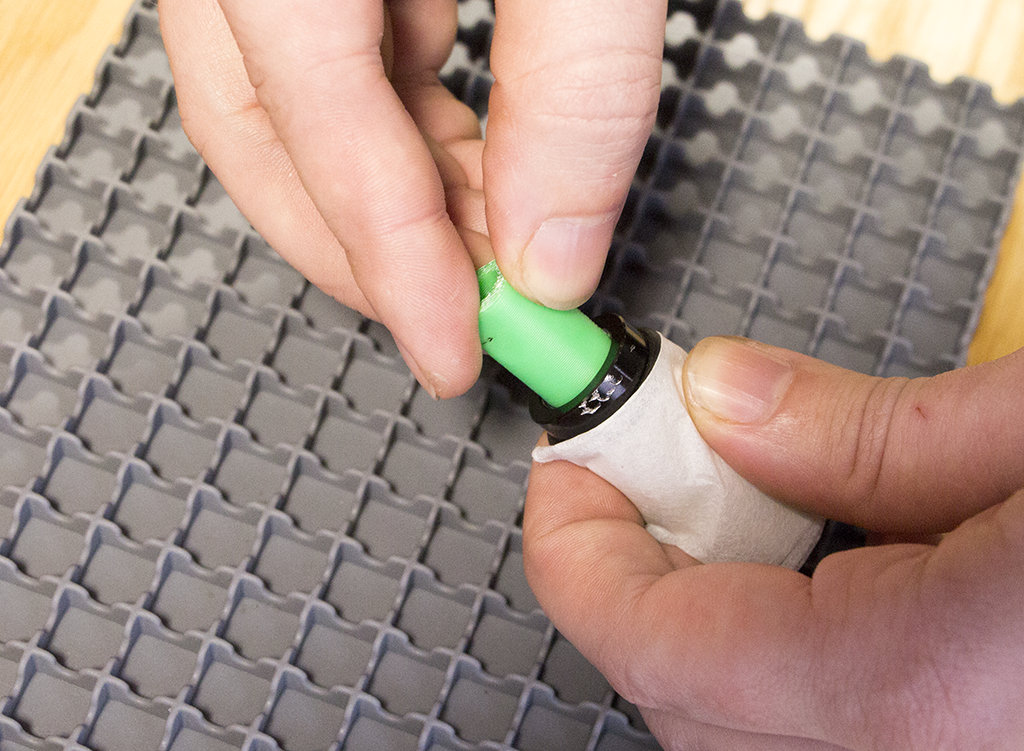
Step 5:
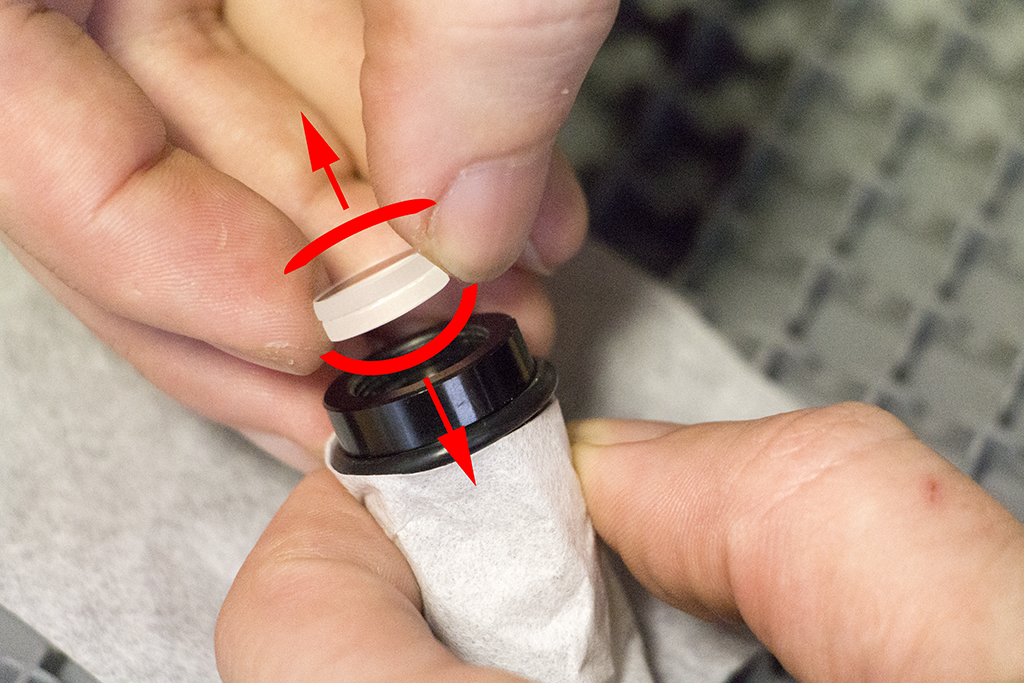
Use your lens removal tool to carefully unscrew the retaining ring which holds the lens in place.
This tool is delicate so please do not use excessive force.
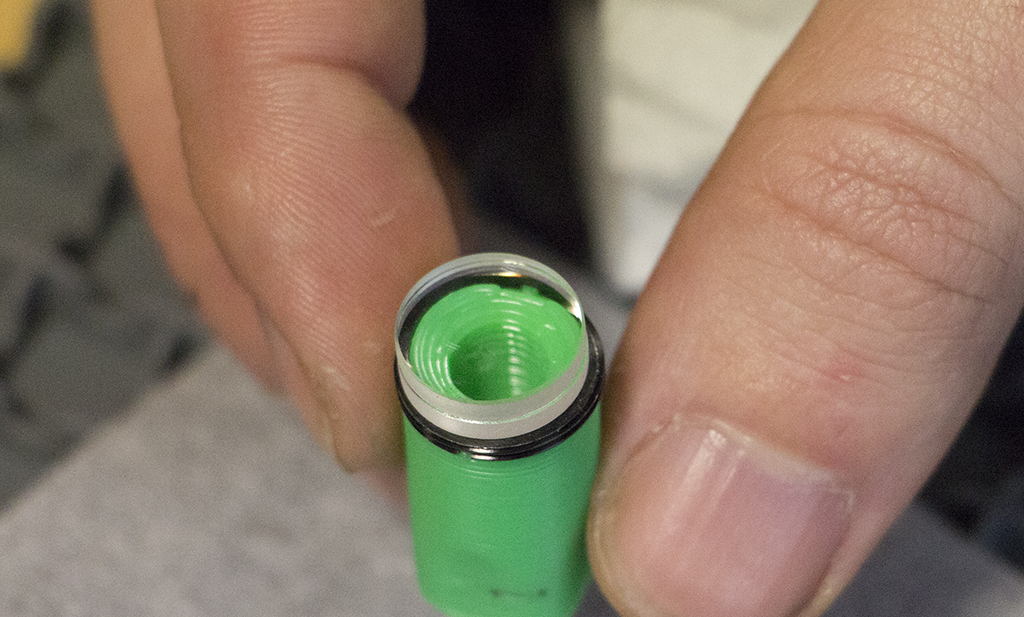
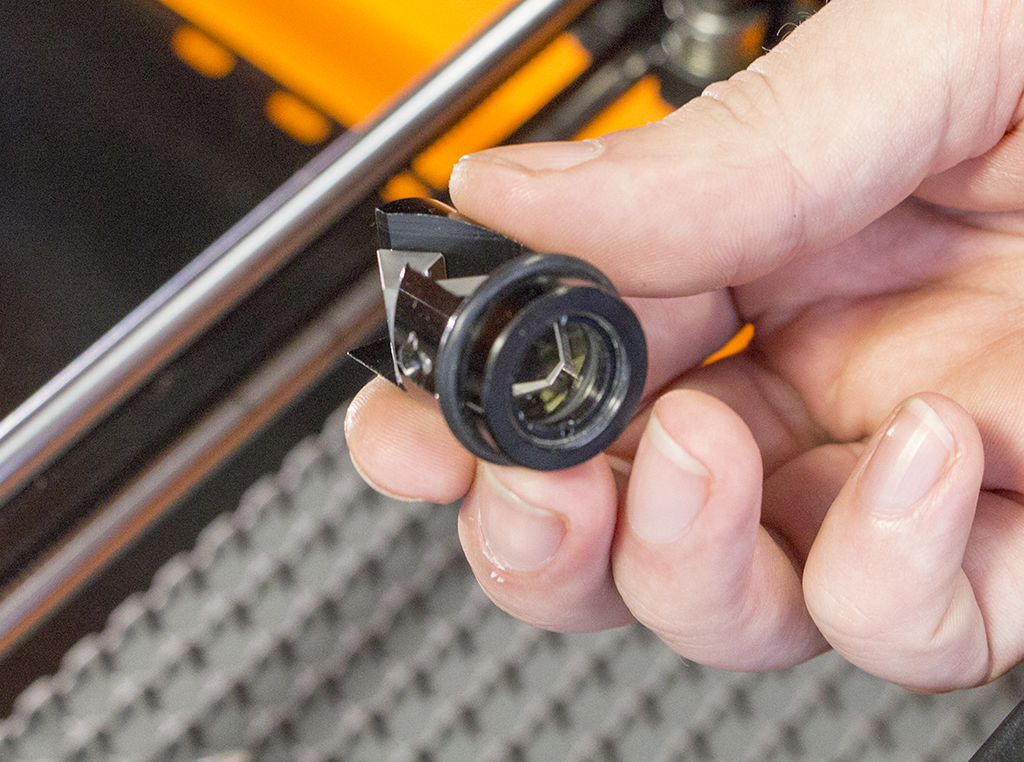
Step 6:
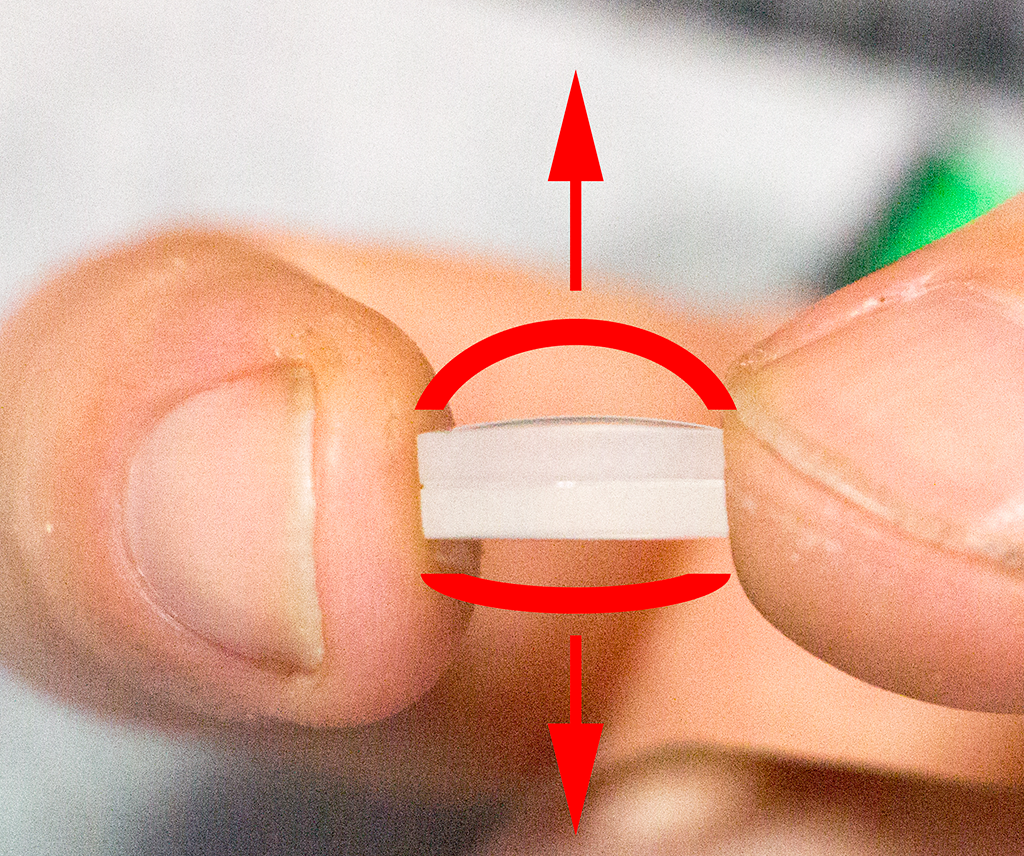
Always hold the lens by its sides. Never touch the lens surfaces of rest the lens on anything other than a lens tissue. These surfaces are delicate and critical to the performance of your machine.
Note that the lens has different curvatures on wither side. It is important to pay attention to this when re-installing your lens.
As seen in the photo, the more curved surface points upwards towards the top of the Emblaser. The lesser curved surface should point downwards towards the baseplate.
Step 7:
Using a new lens wipe, carefully clean the lens surfaces. Be gentle and check carefully to ensure any buildup on the lens has been removed.
Step 8:
Insert the lens back into the lens unit. Note the orientation of the lens and its curved surfaces. This is critical to the correct performance of your machine.
Carefully screw on the retaining ring and avoid over tightening.
Step 9:
Re-insert the lens unit into the heatsink. It is important to ensure the small indentation in the lens unit is aligned with the setscrew before tightening it.

Push the lens unit up until it is resting on the o-ring and tighten the set screw. Do not over-tighten.
Step 10:
Once complete, be sure to run a new optics calibration to ensure your value has not changed.
