

This project was originally designed to be made using traditional woodworking tools, but it caught my attention as being very well adaptable to laser cutting on an Emblaser.
Project Files
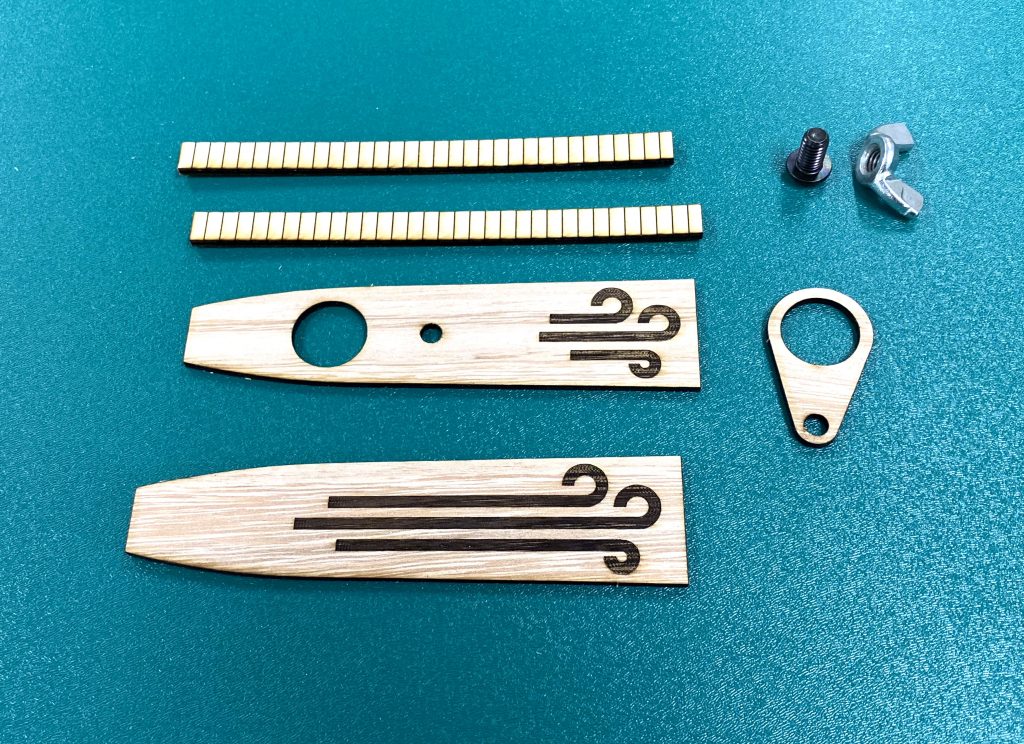
Materials:
- 3mm Poplar Plywood
- 2.5mm Eucalypt Plywood
- Wax or Backing paper
- 5mm bolt
- 5mm wing nut
Other Items Needed:
- Sandpaper
- Wood Glue
The Build
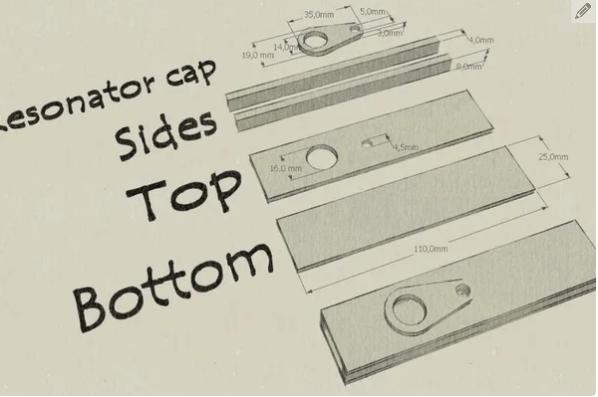
I based this design loosely on the dimensions provided in the instructable.
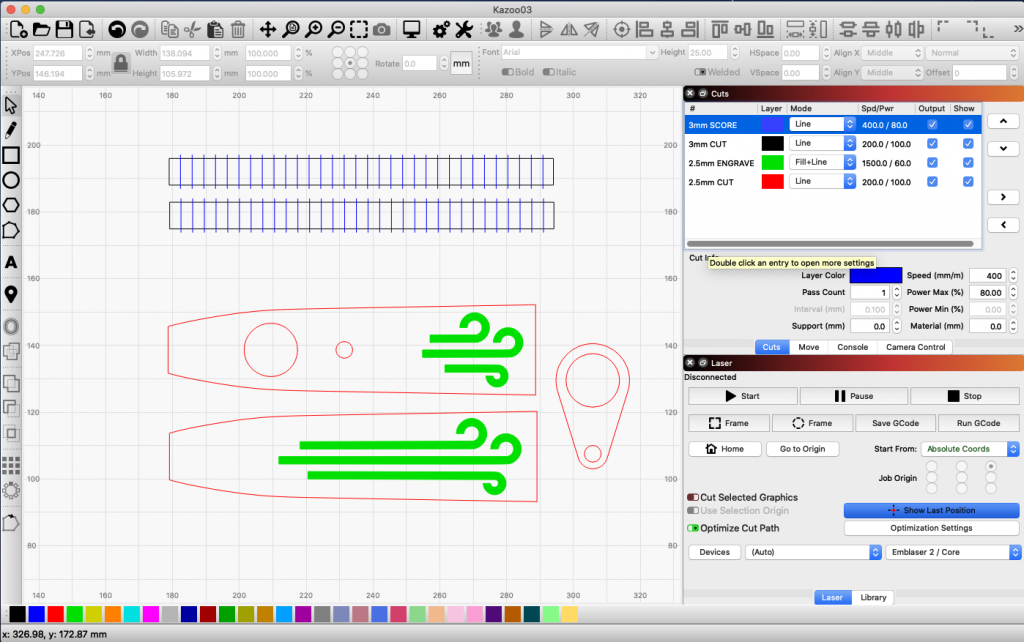
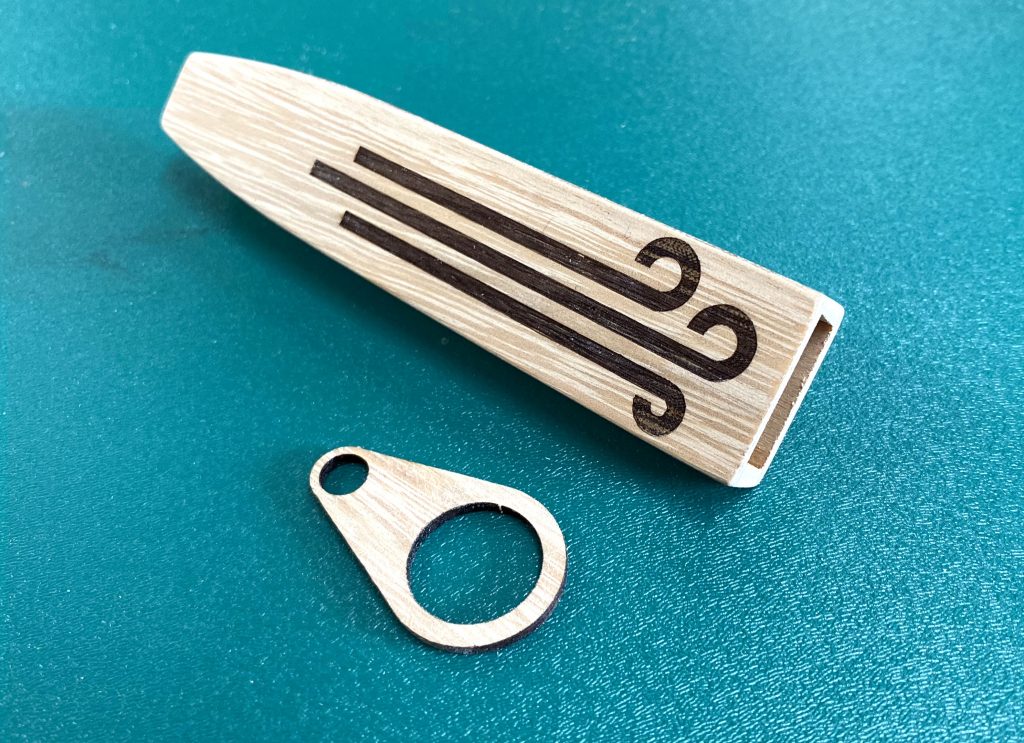
I wanted to introduce a little curvature to the design, so I decided to try an interesting technique with the laser. The idea was to make partial cuts into a piece of wood, allowing it to bend more easily. I will go through this in some more detail further on.
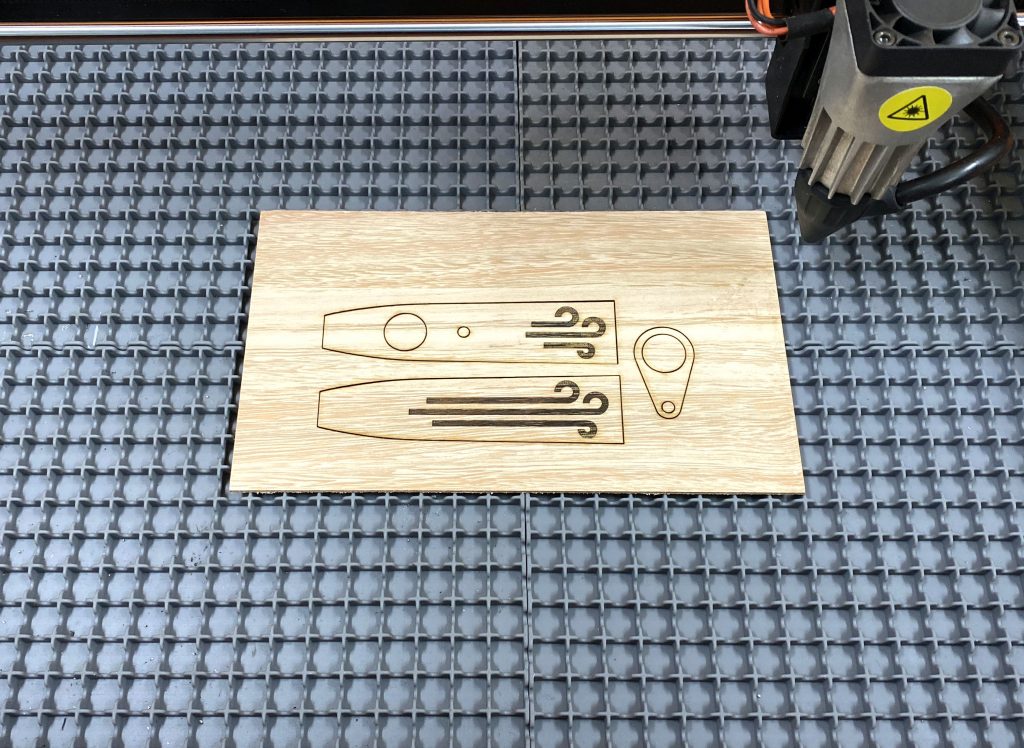
With the laser cutting out of the way, I started assembly.
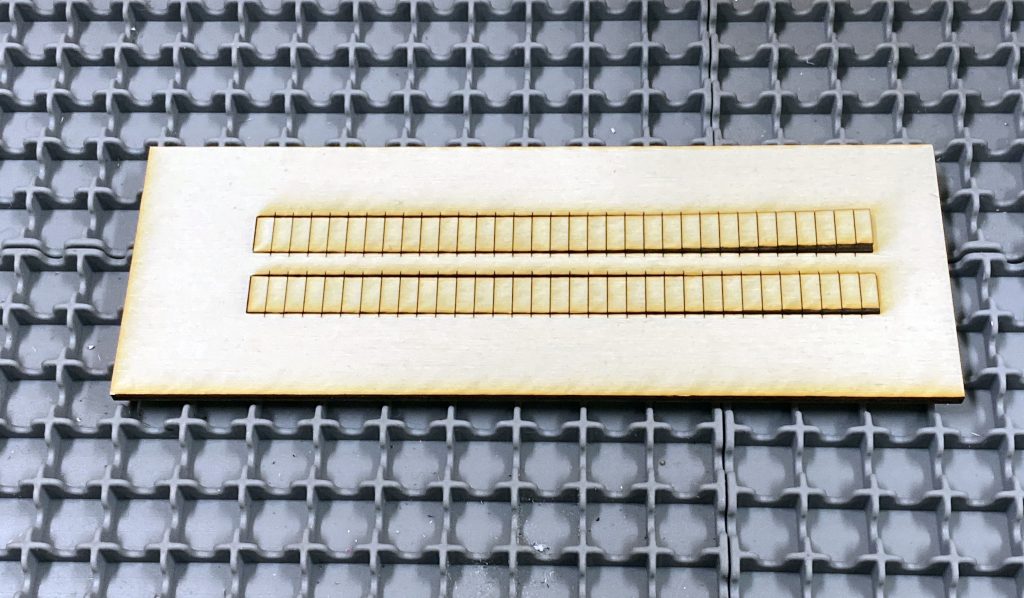
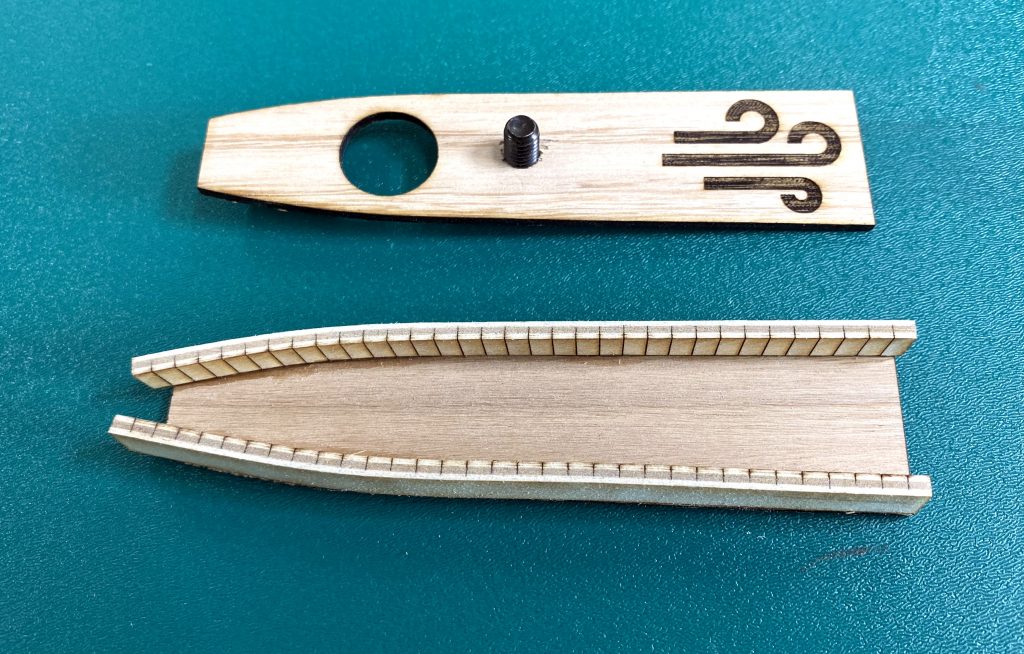
Making a series of cuts part way through the 3mm plywood made the side pieces very flexible. This allowed me to easily have them conform to the shape of the kazoo.
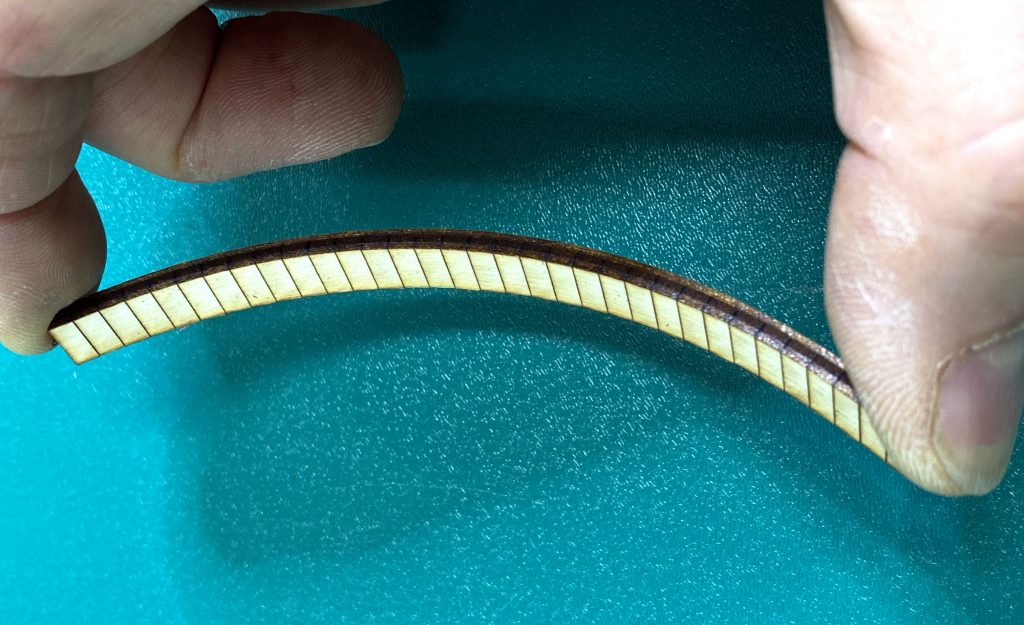
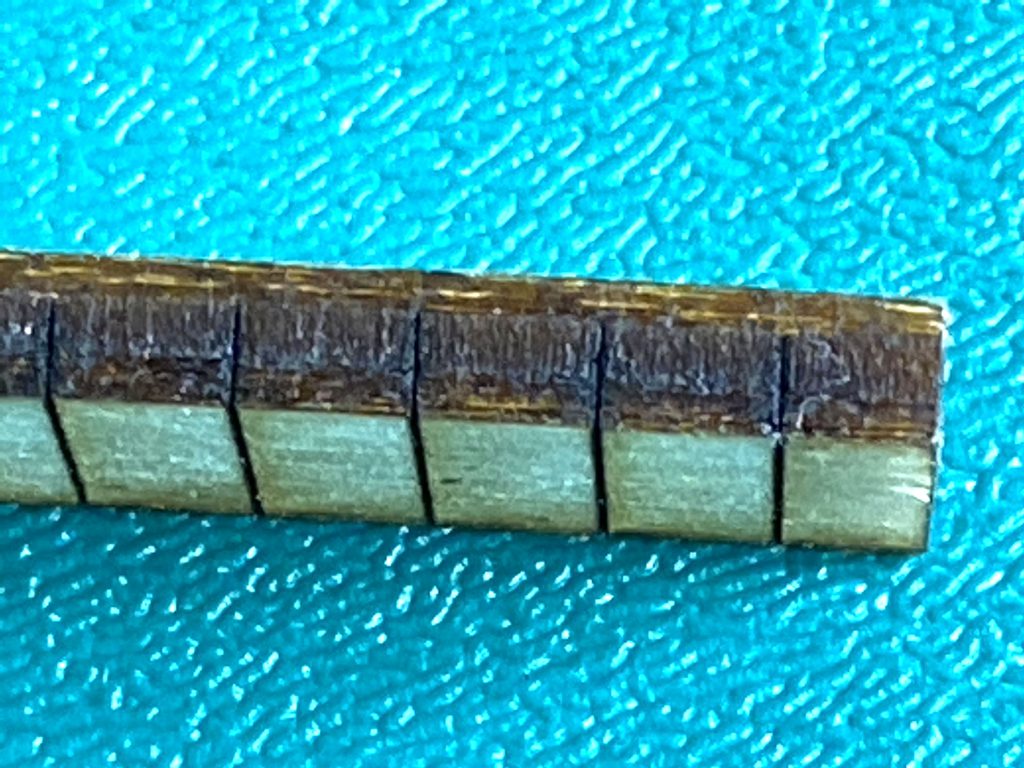
They key to making this technique work was to ensure the laser cut through all the layers except the final face. I was able to adjust the depth of cut easily on the Emblaser by increasing the cutting speed and dropping down the power.
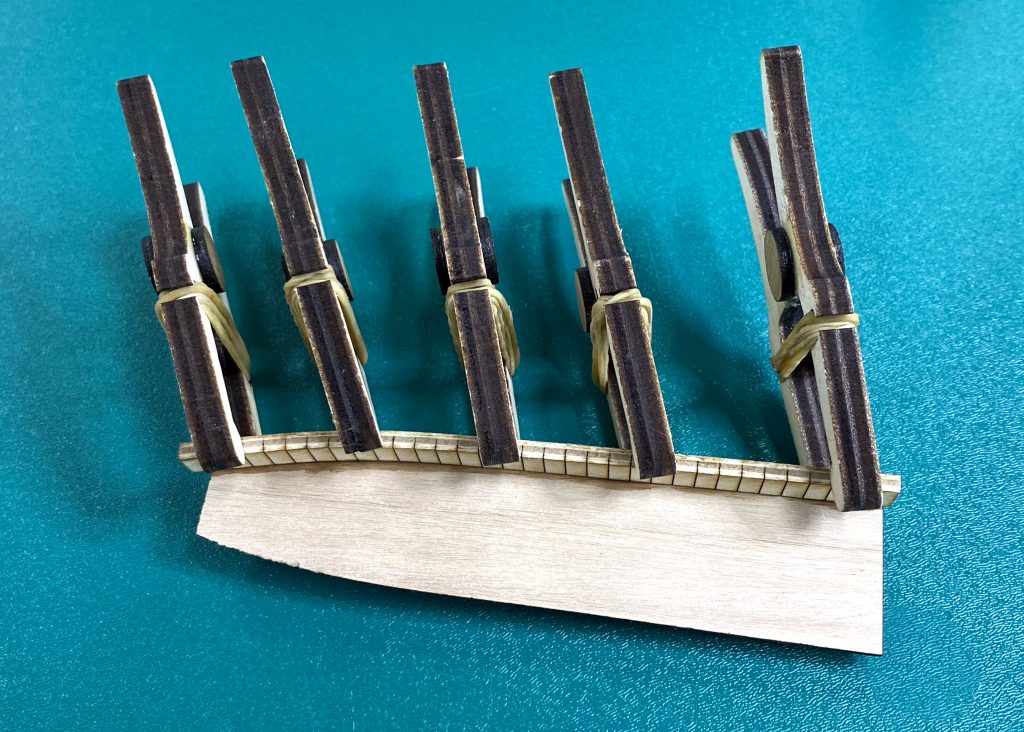
I sanded the edges of the side pieces to remove any burning from the laser. This would help with glueing.

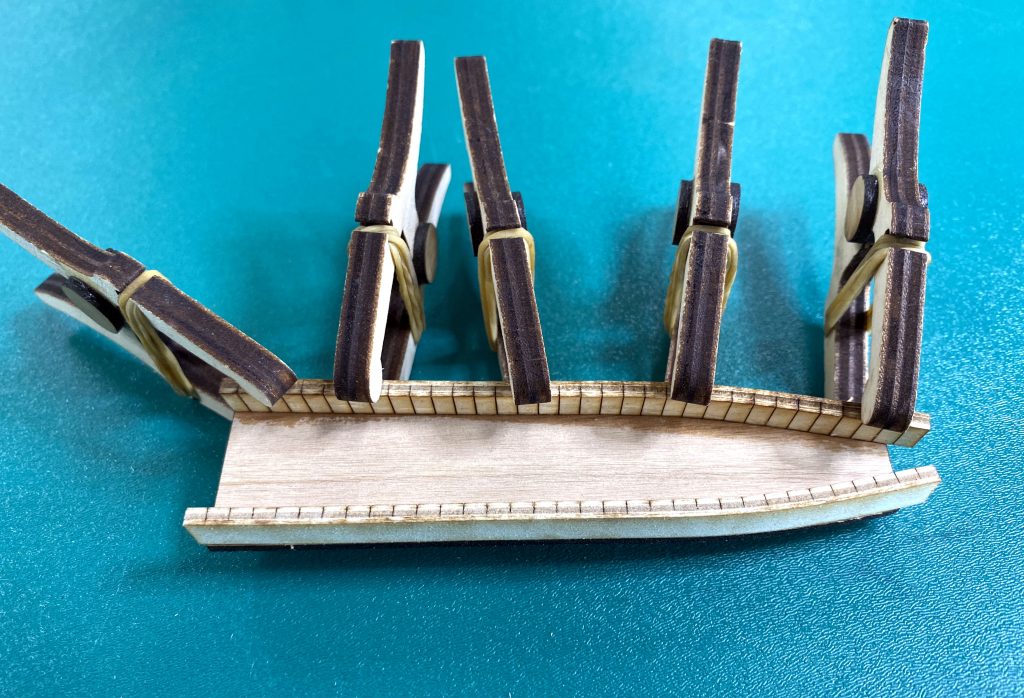
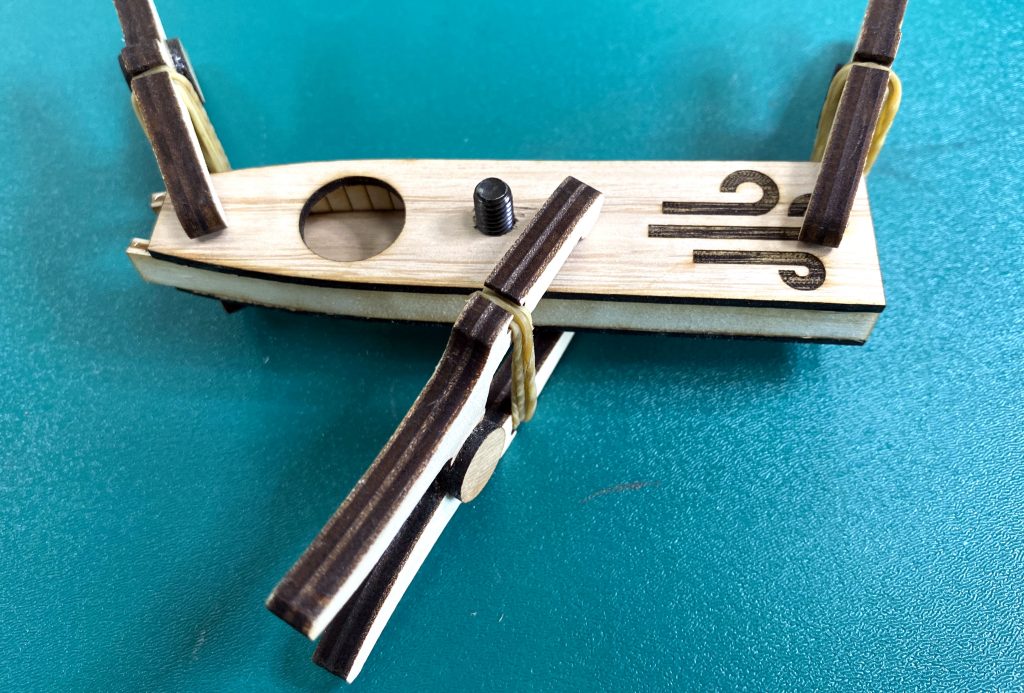
The sides were then glued onto the bottom piece. I held the sides in place with clamps while the glue dried. Notice that I designed the sides to be a little longer than needed. This extra length would be sanded away later on.
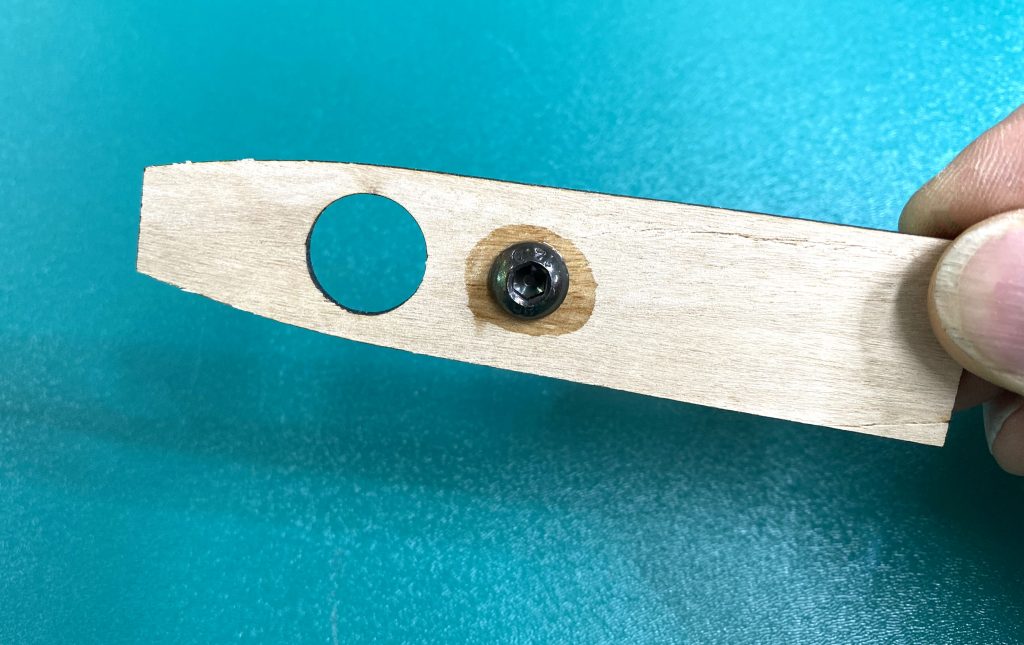
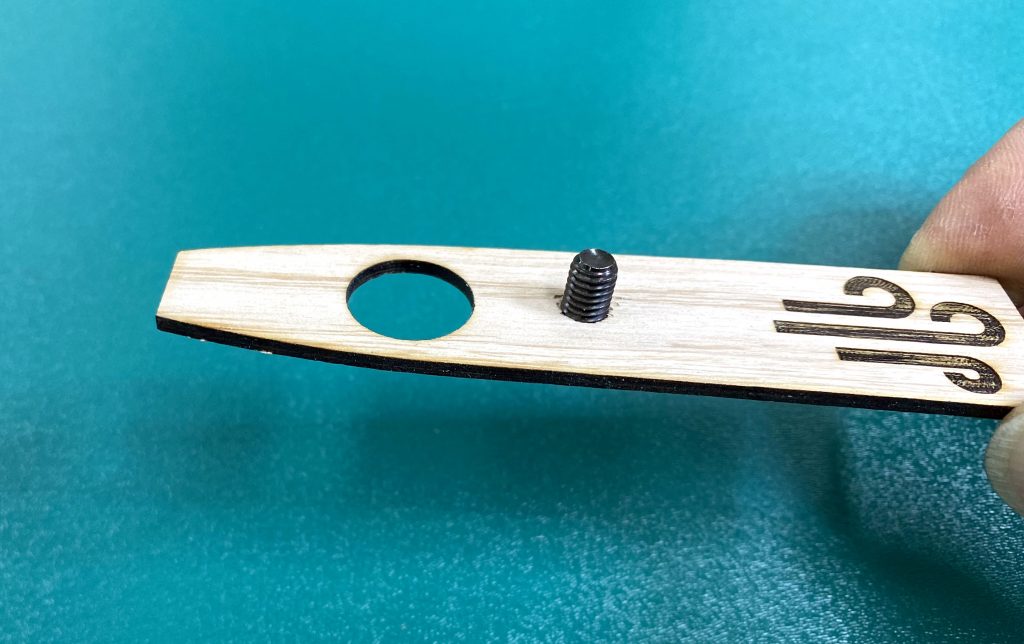
The next step was to glue the resonator cap bolt in place onto the top piece. Be careful to keep any glue off the threads.
The top was then glued onto the sides and held in place while the glue dried.
I then gave the whole kazoo a careful sanding using 240 grit sandpaper. I wanted it to feel nice in the hand, so I gently rounded all the edges.
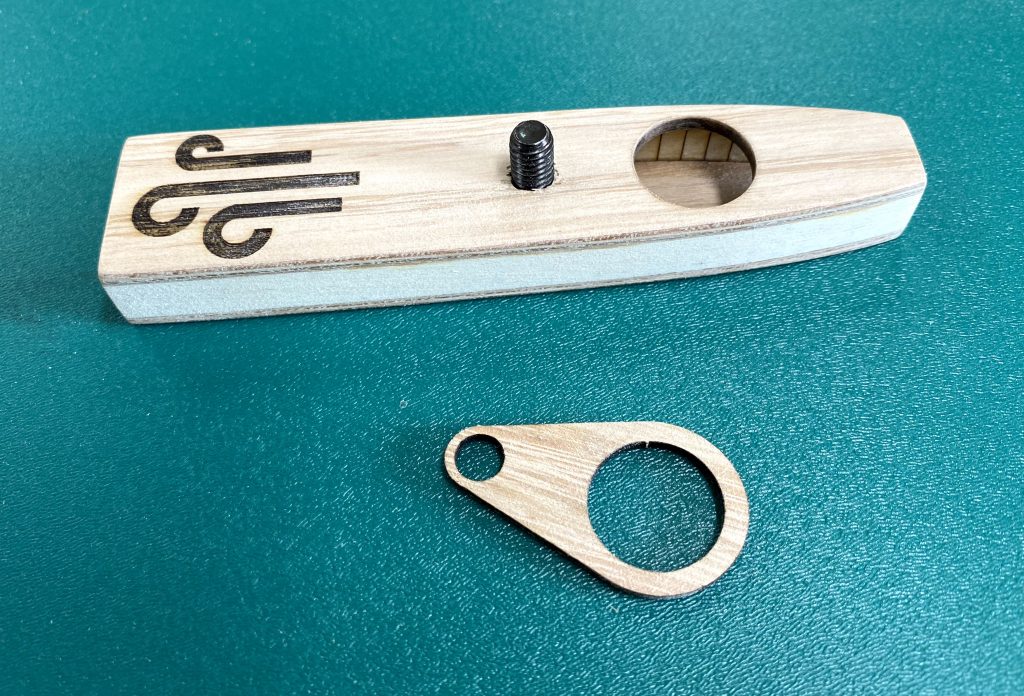
The resonator is the part that makes a kazoo produce its unique sound.
The original project discussed various options for this material, but I found regular wax or baking paper to work really well.
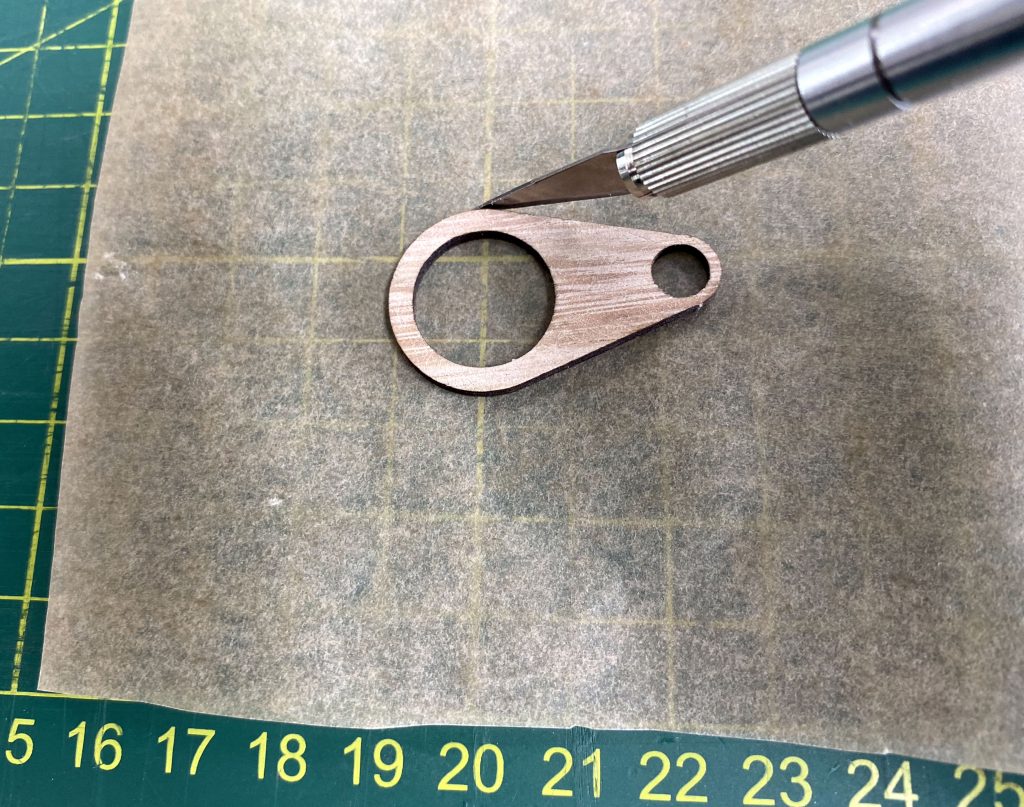
I used the resonator cap as a guide to cut it out.
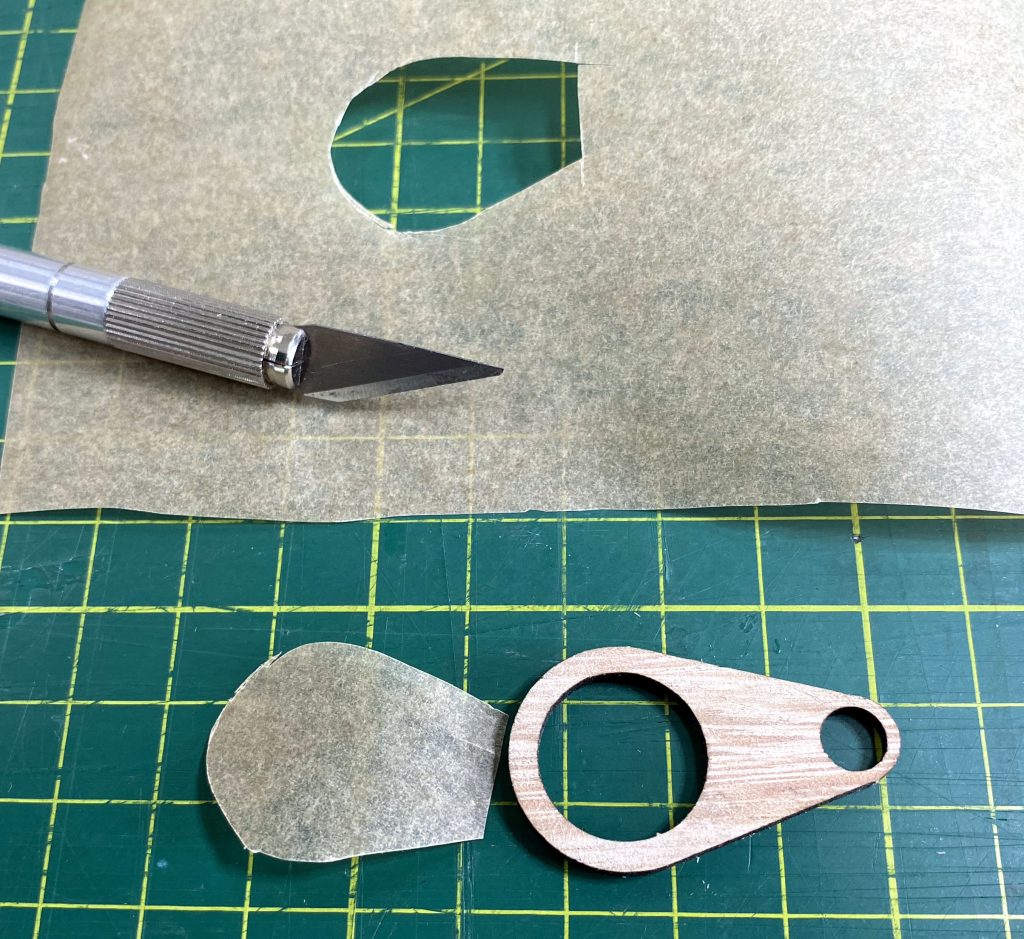
I finally attached the resonator and cap using the wing nut to hold everything in place.
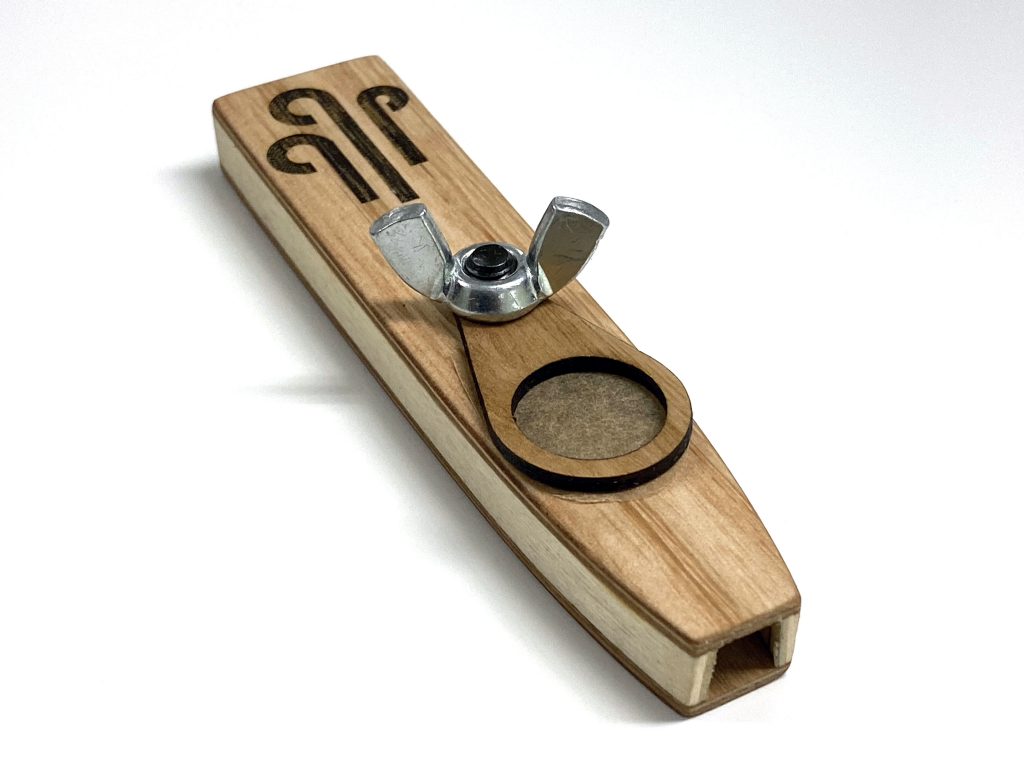
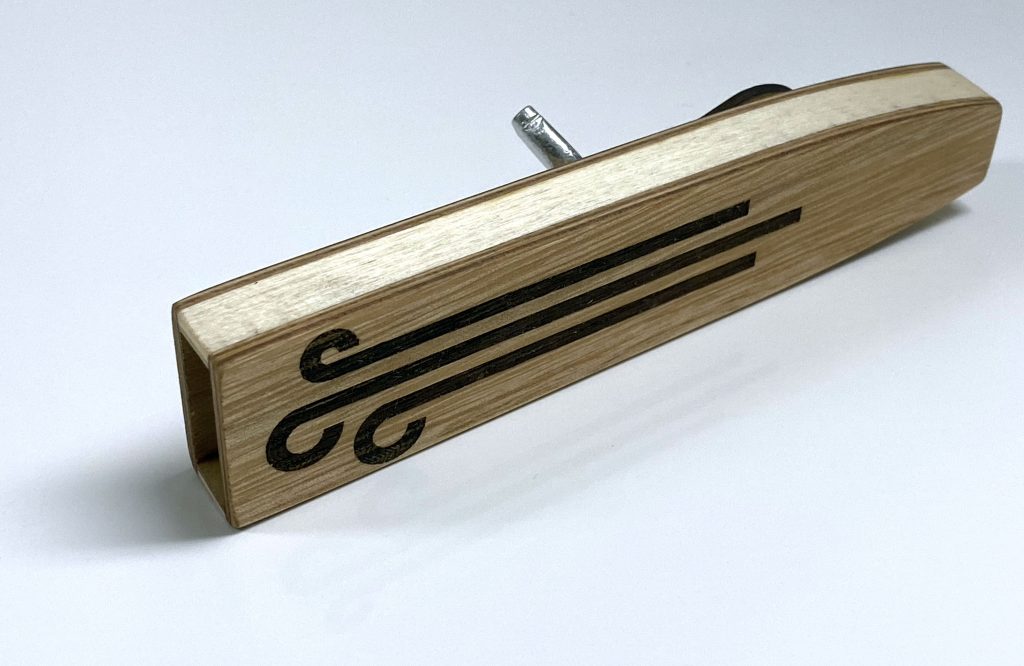
This project was very easy to make. With a little personalised engraving I can see it being a great gift.
