
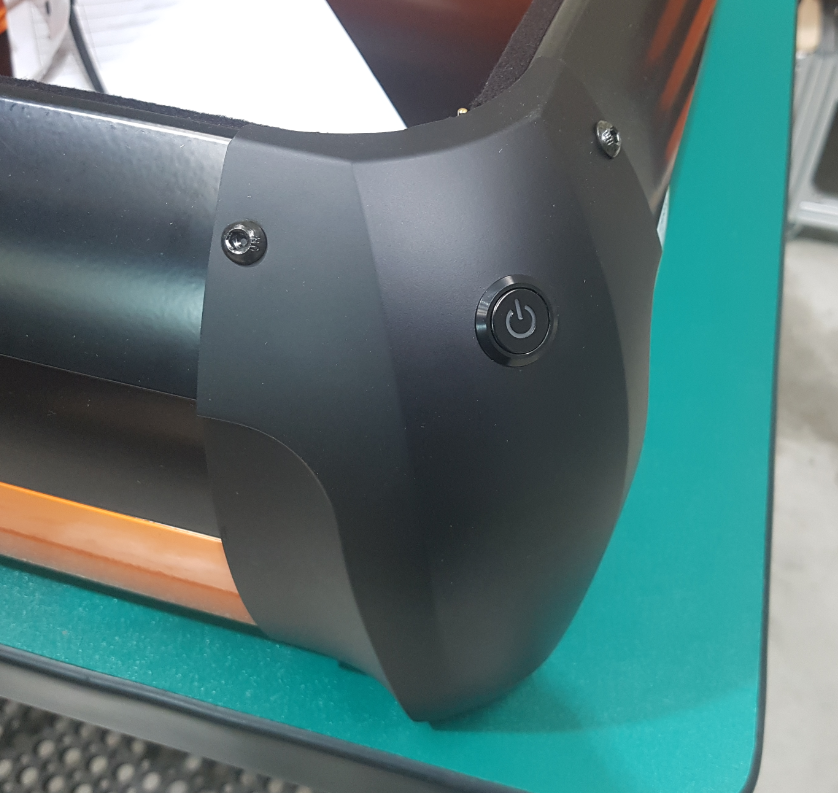
The Corner Interlock PCBs are mounted to the interior of the left and right front corners.
This guide is applicable to both corners.
Step 1:
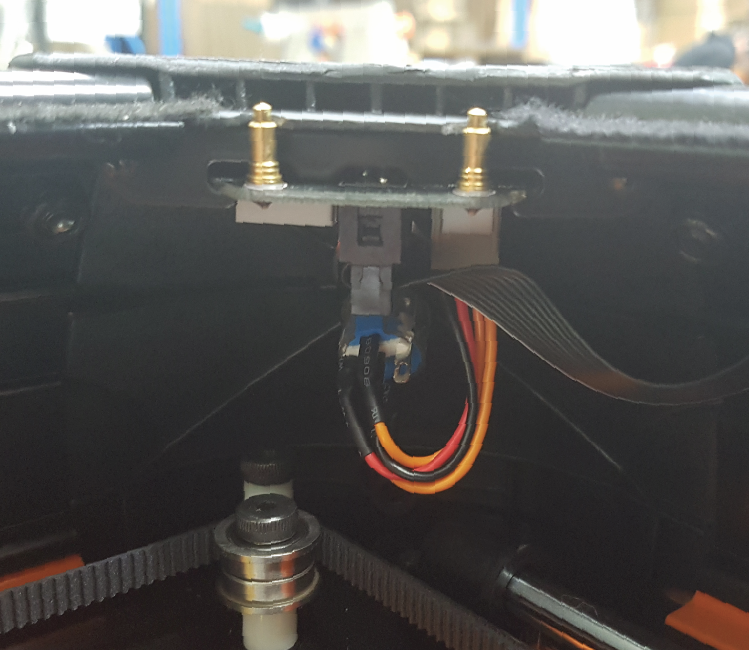
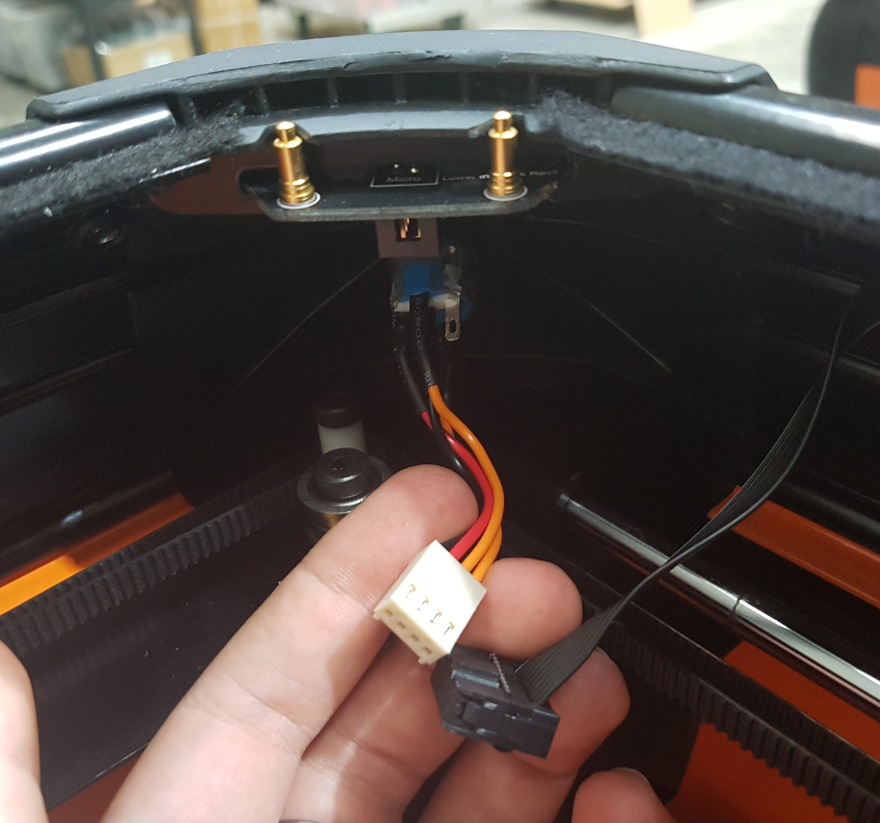
Disconnect all the cables from the PCB.
Carefully peel the ends of the felt strips away from the corner.
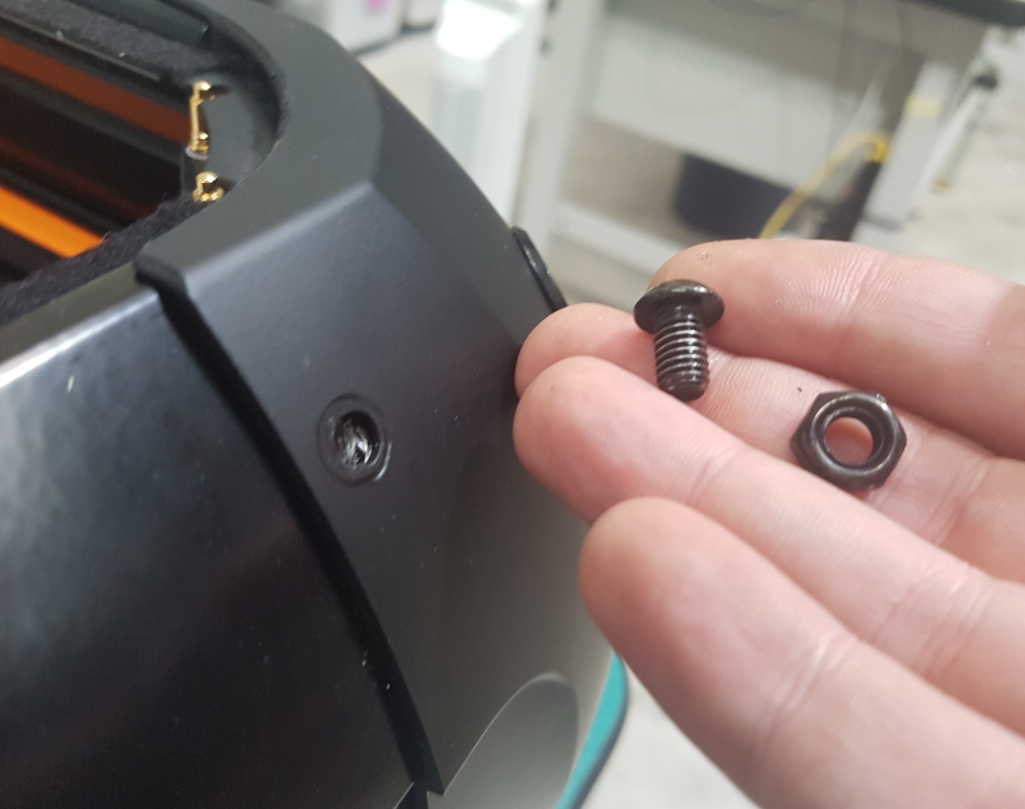
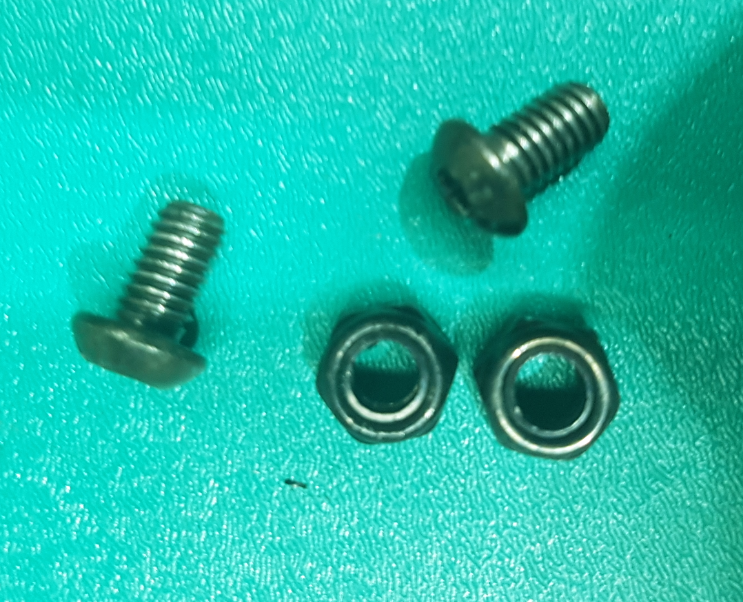
Step 2:
Using a 4mm Hex Wrench, remove the two large bolts and nuts from the top of the corner.
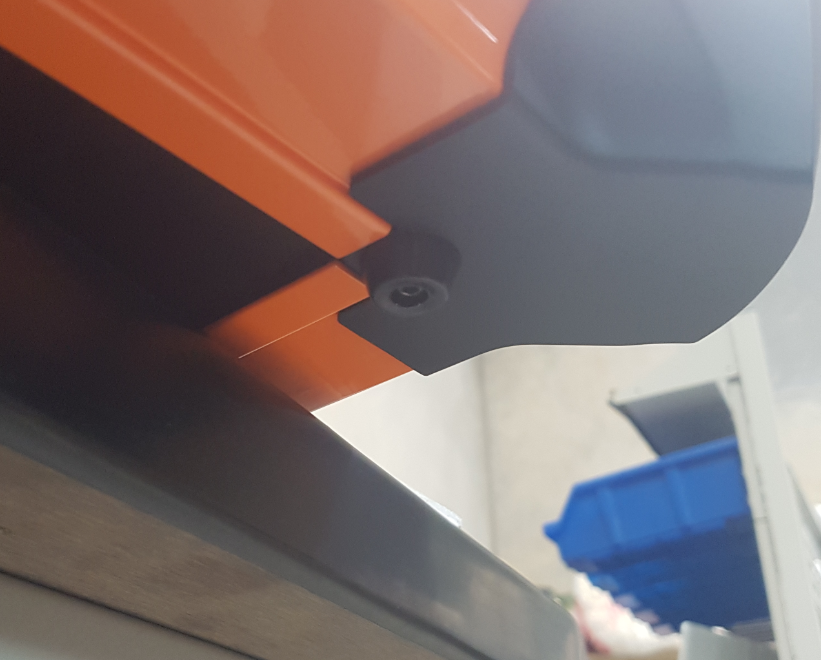
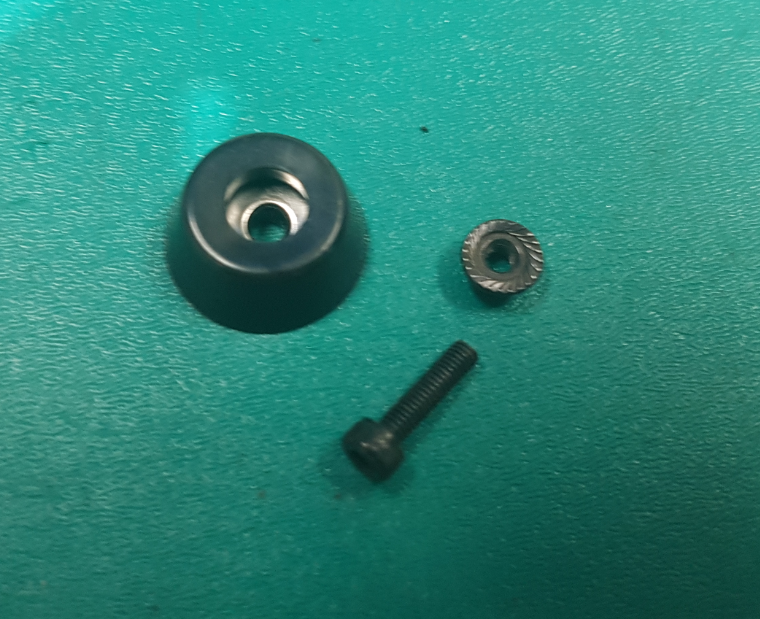
Step 3:
Using a 2.5mm Hex Wrench, remove the bolt and nut holding the rubber foot underneath the corner.
Step 4:
Using a Philips head screw driver, remove the two screws holding the Lower Interlock Bracket.
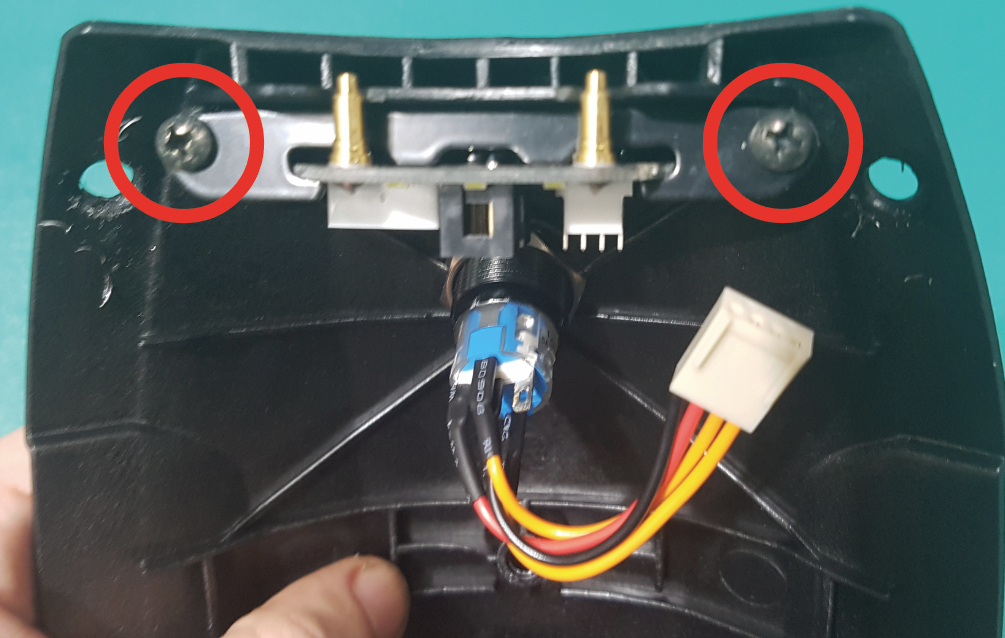
Remove and separate the Corner Interlock PCB and bracket.
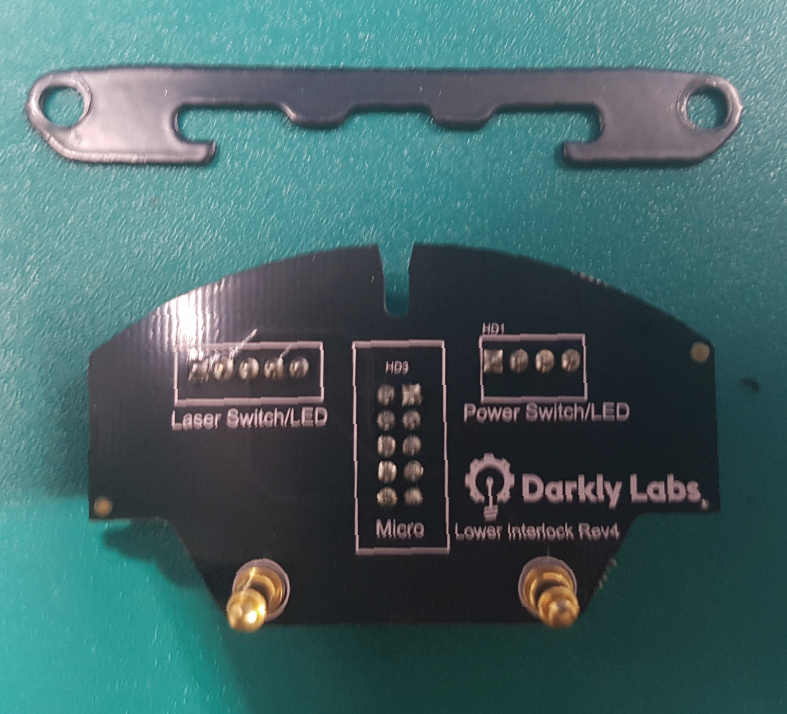
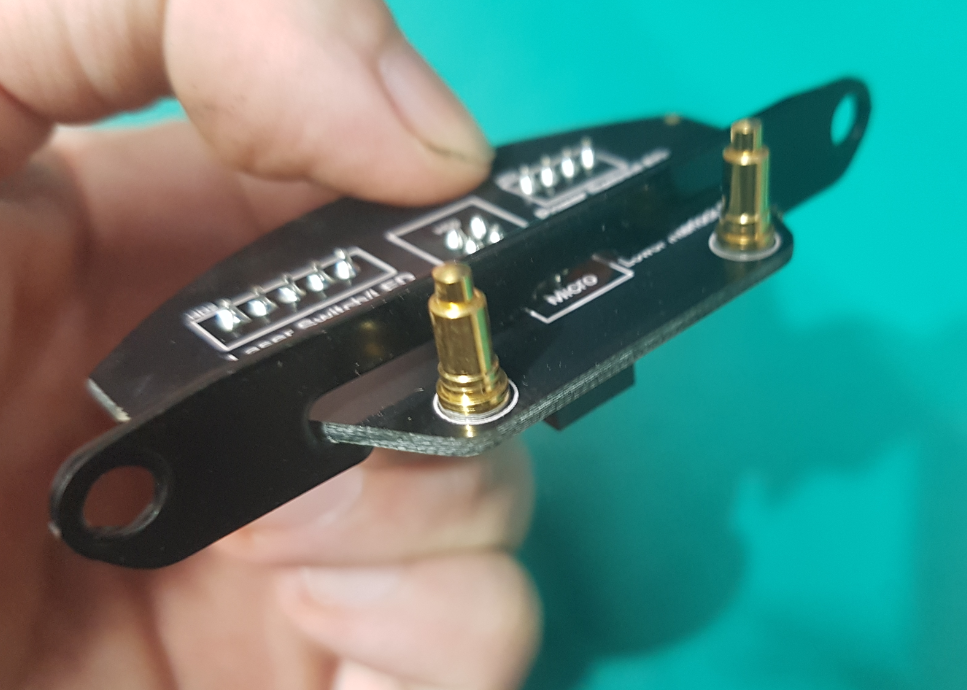
Step 5:
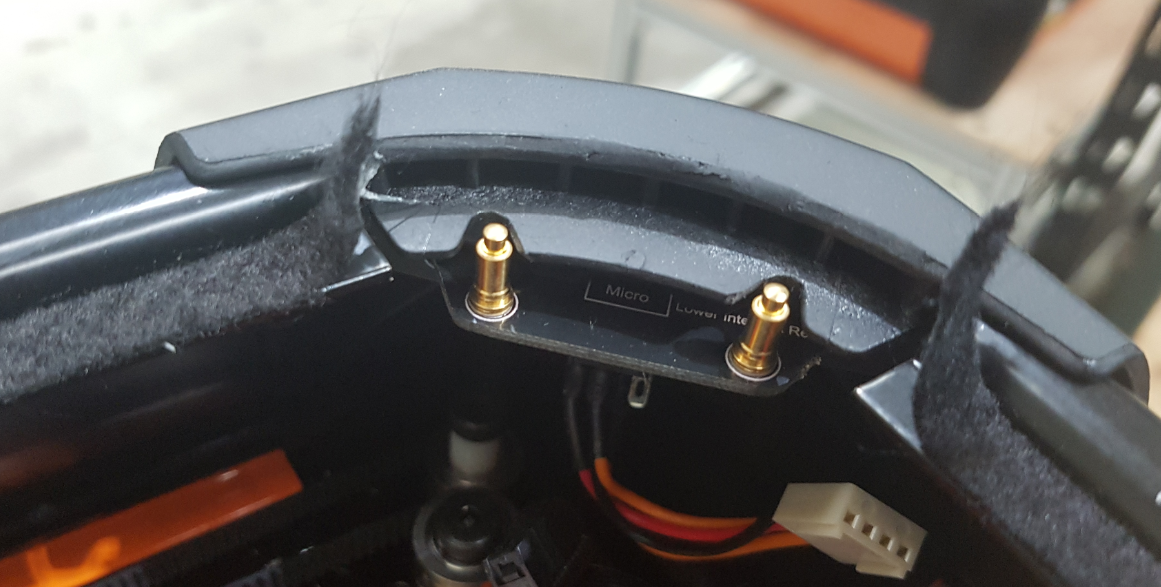
Place the Corner Interlock Bracket onto the replacement PCB.
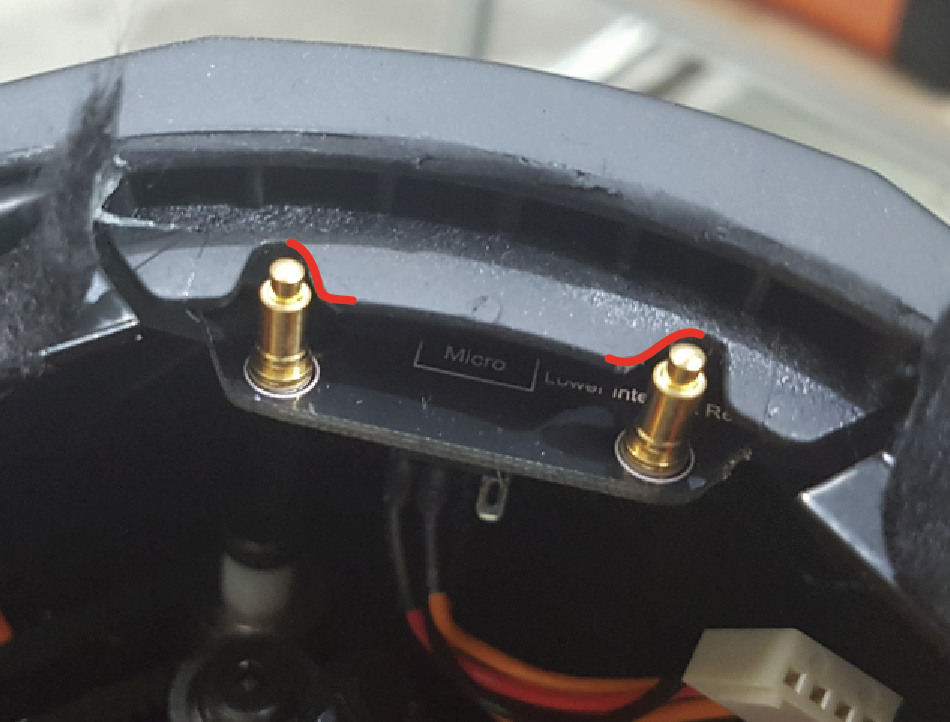
Step 6:
Place the Corner Interlock PCB and Bracket into the Corner and check that there is clearance around the Interlock Pins.
You may need to trim away plastic from older Corners to allow enough clearance for the new Lower Interlock PCBs.
Reattach the Corner Interlock PCB and Bracket to the Corner and the Corner to the Housing by following the previous steps in reverse.
If you encounter any difficulties or have any suggestions for this guide please contact us at info@darkly.com
