You may be able to skip this process if you have access to compressed air; a gentle jet of air directed under the cover should remove most debris from the PCB.
Step 1:
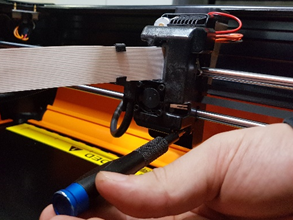
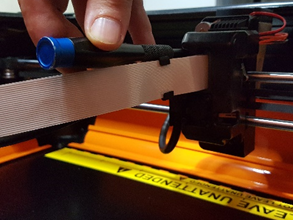
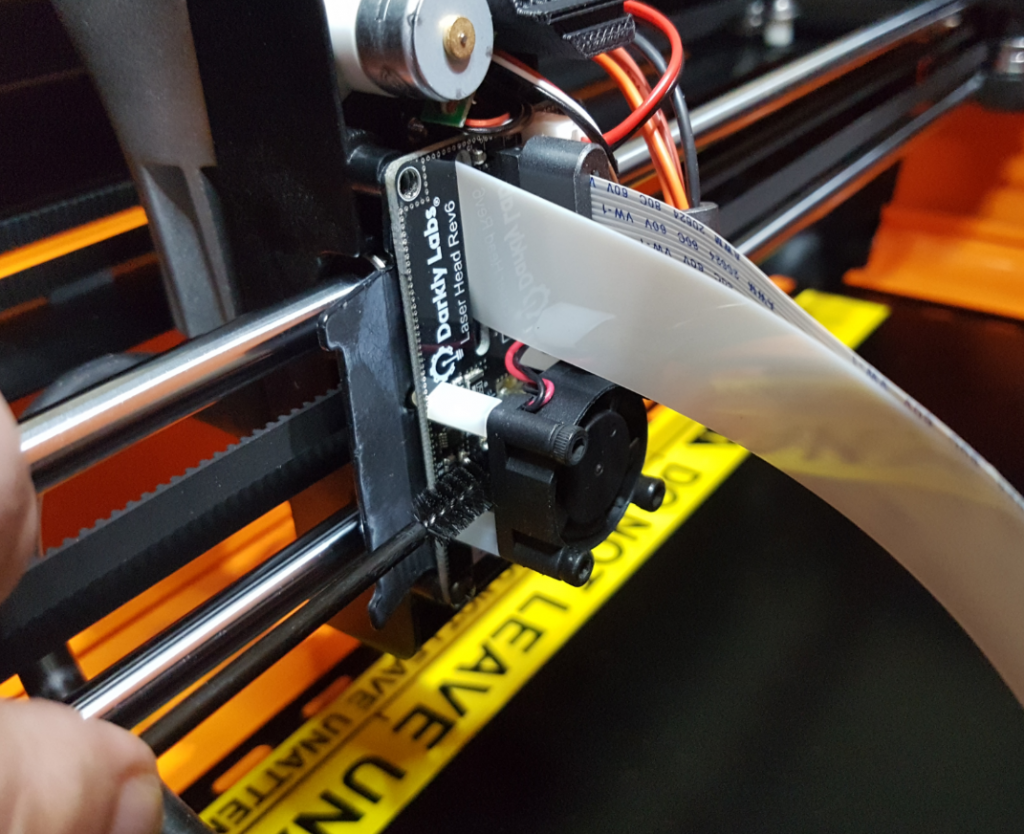
Remove the two screws holding the laser carriage cover.
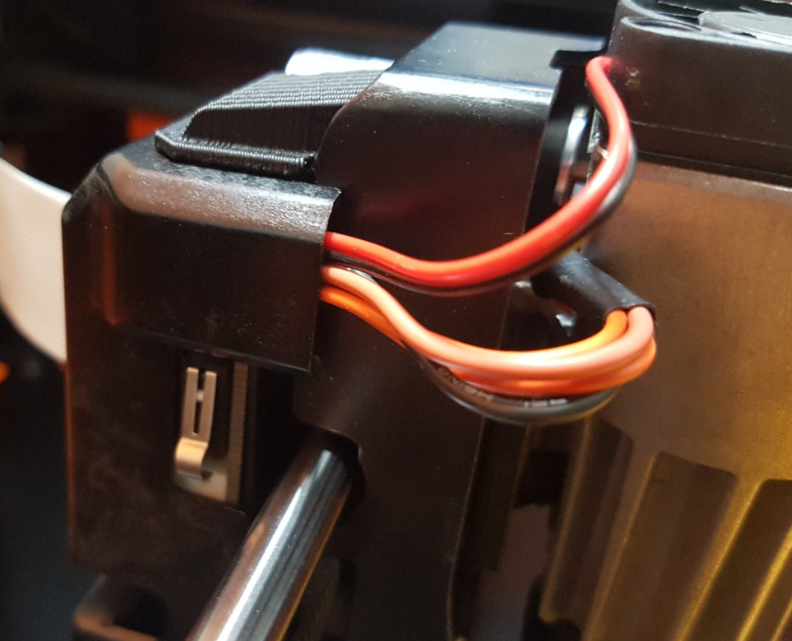
Take note of cable positions when the cover is removed. This will help when putting everything back together.
Step 2:
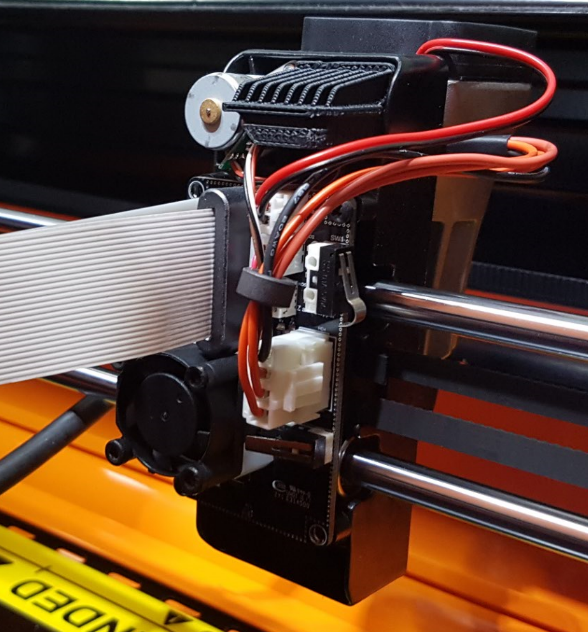
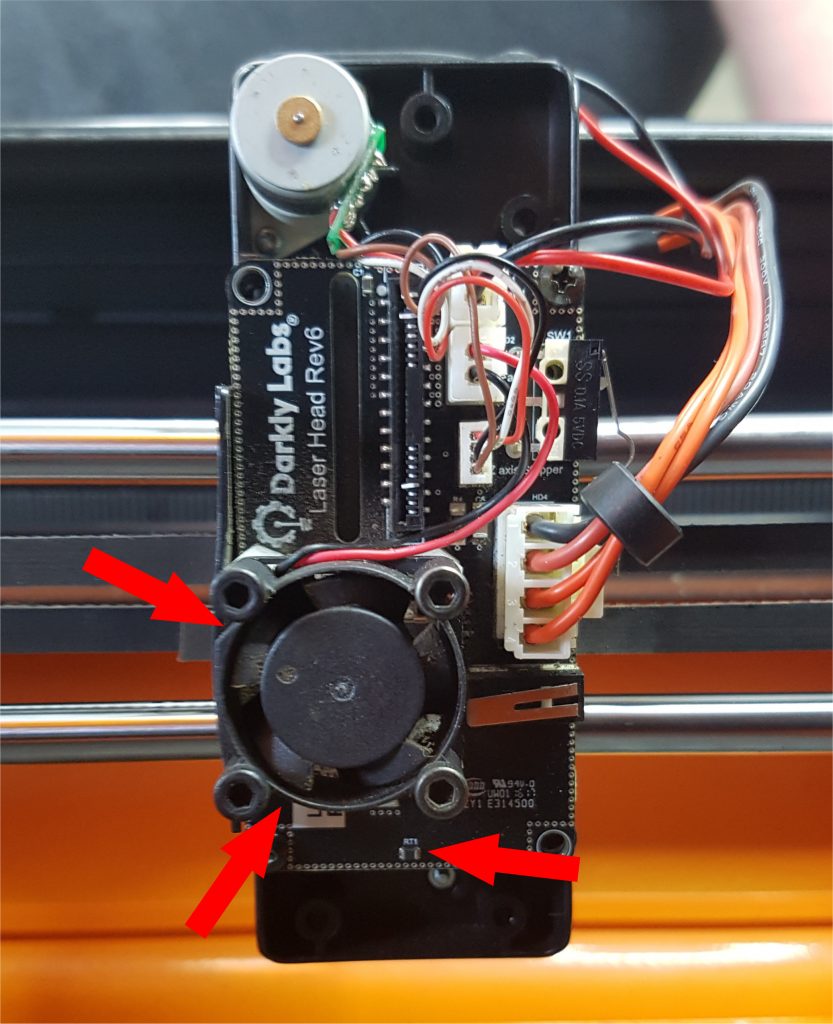
Use the small brush to gently remove any build up of debris on the Laser Driver PCB.
Gently brush the components under the fan and the small component at the bottom of the PCB clean of debris.
Step 3:
Reattach the laser cover. Make sure all cables have been routed correctly.