If you experience issues with your onboard SD card, and are instructed by Darkly Labs or an authorised reseller to replace it, please follow the following steps:
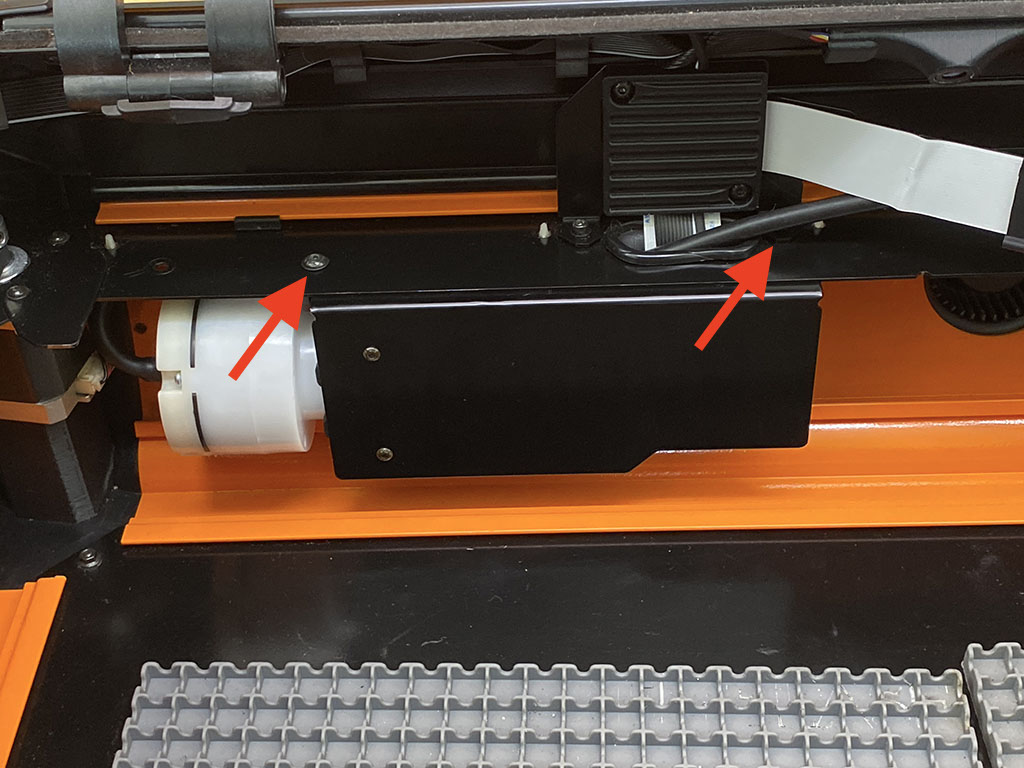
Step 1: (optional if you have v2 air-assist)
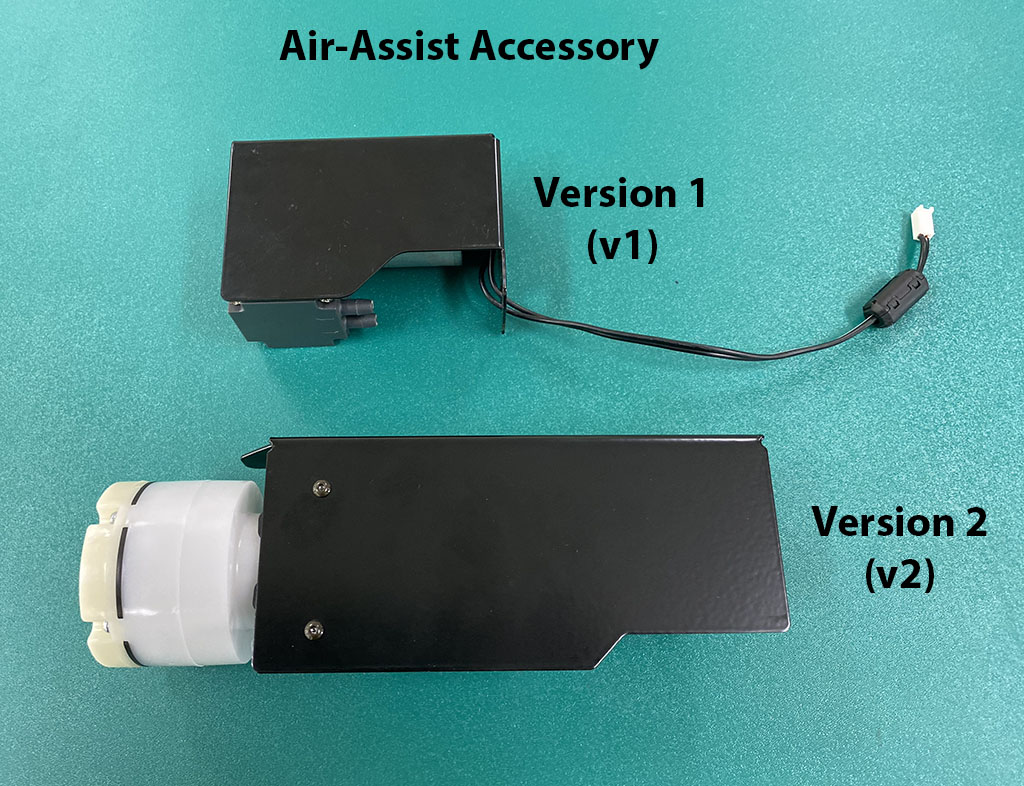
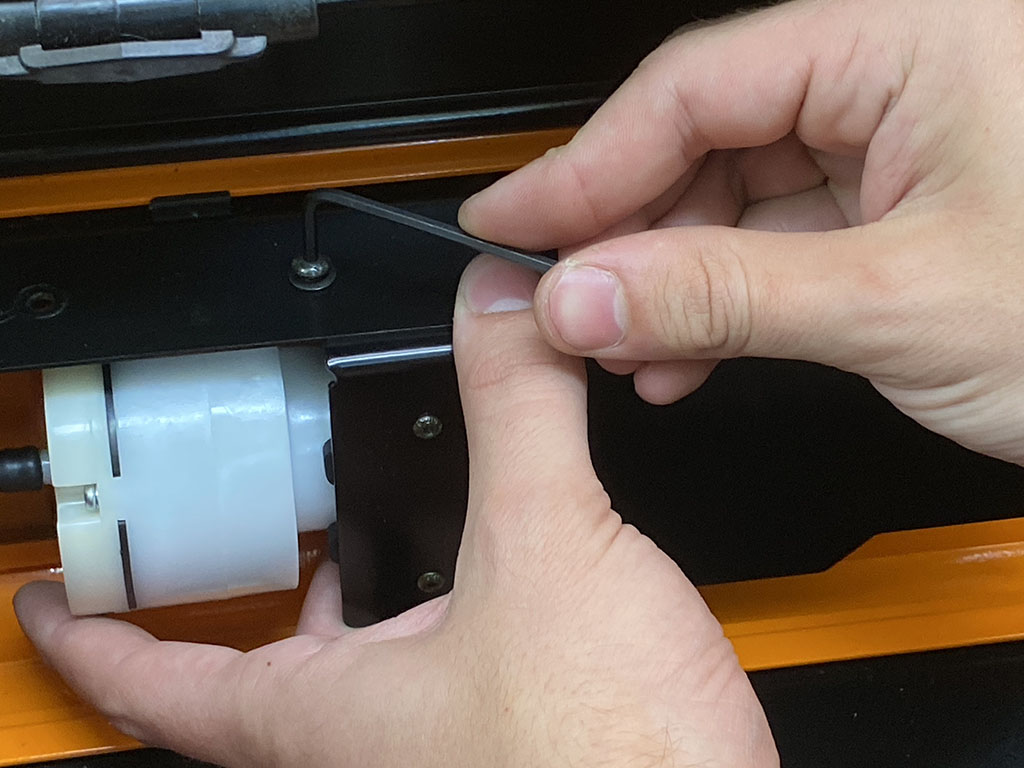
If your machine has the new v2 air-assist accessory, you will need to detach this before you can access all the screws for the electronics pod.

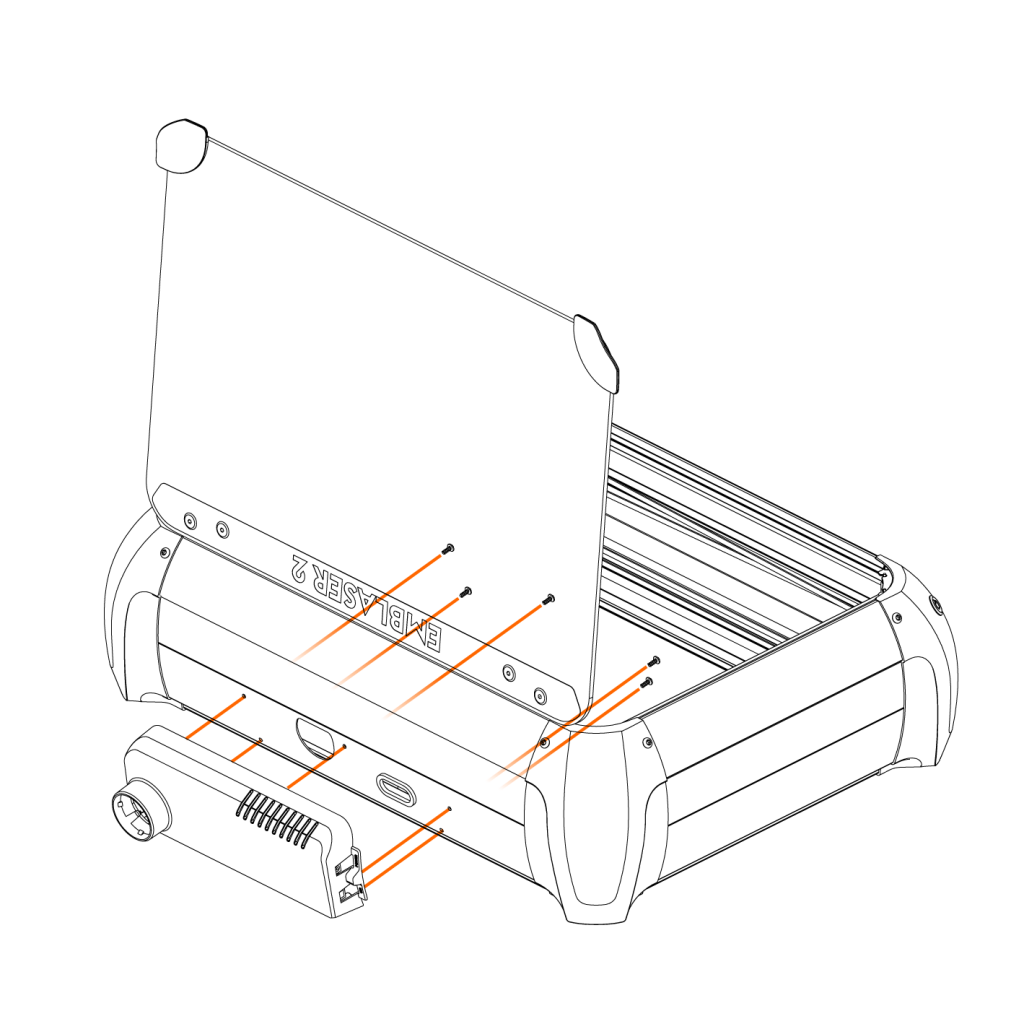
Step 2:
Remove the 5 screws holding the rear electronics pod in place.
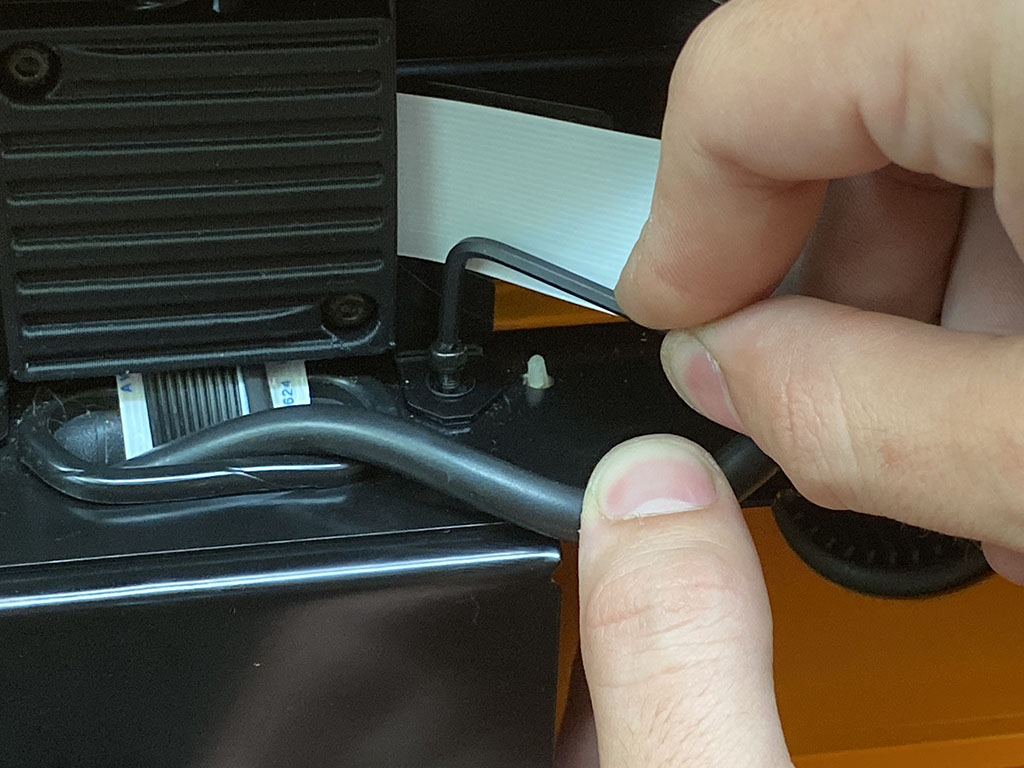
Be careful to not disturb any wiring or connectors as the rear pod comes free.
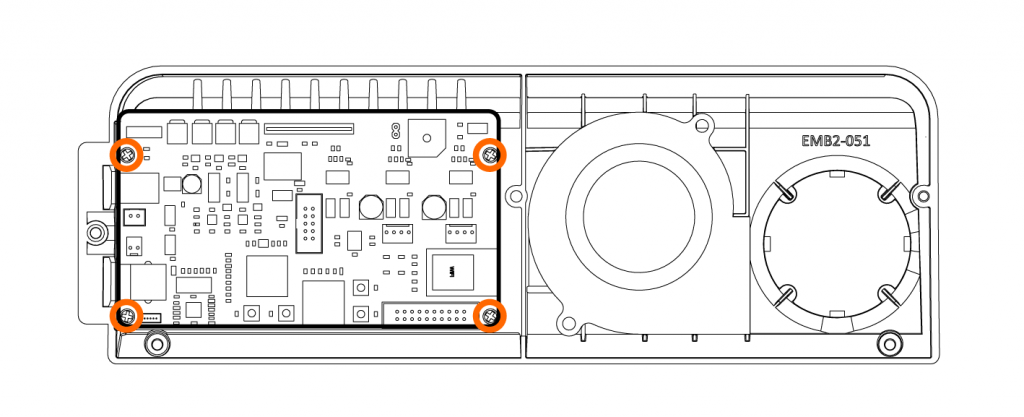
Step 3:
Carefully remove the 4 screws holding the electronics PCB in place.
This will let you gain access to the SD card.
Step 4:
Remove the SD card and replace it with your new card.

Step 5:
Follow the steps in reverse to reassemble your electronics pod.
Important: Please be careful that no cabling becomes trapped between the read pod and the enclosure sides.
Step 6: (optional if you have v2 air-assist)
Re-attach the air-assist accessory.