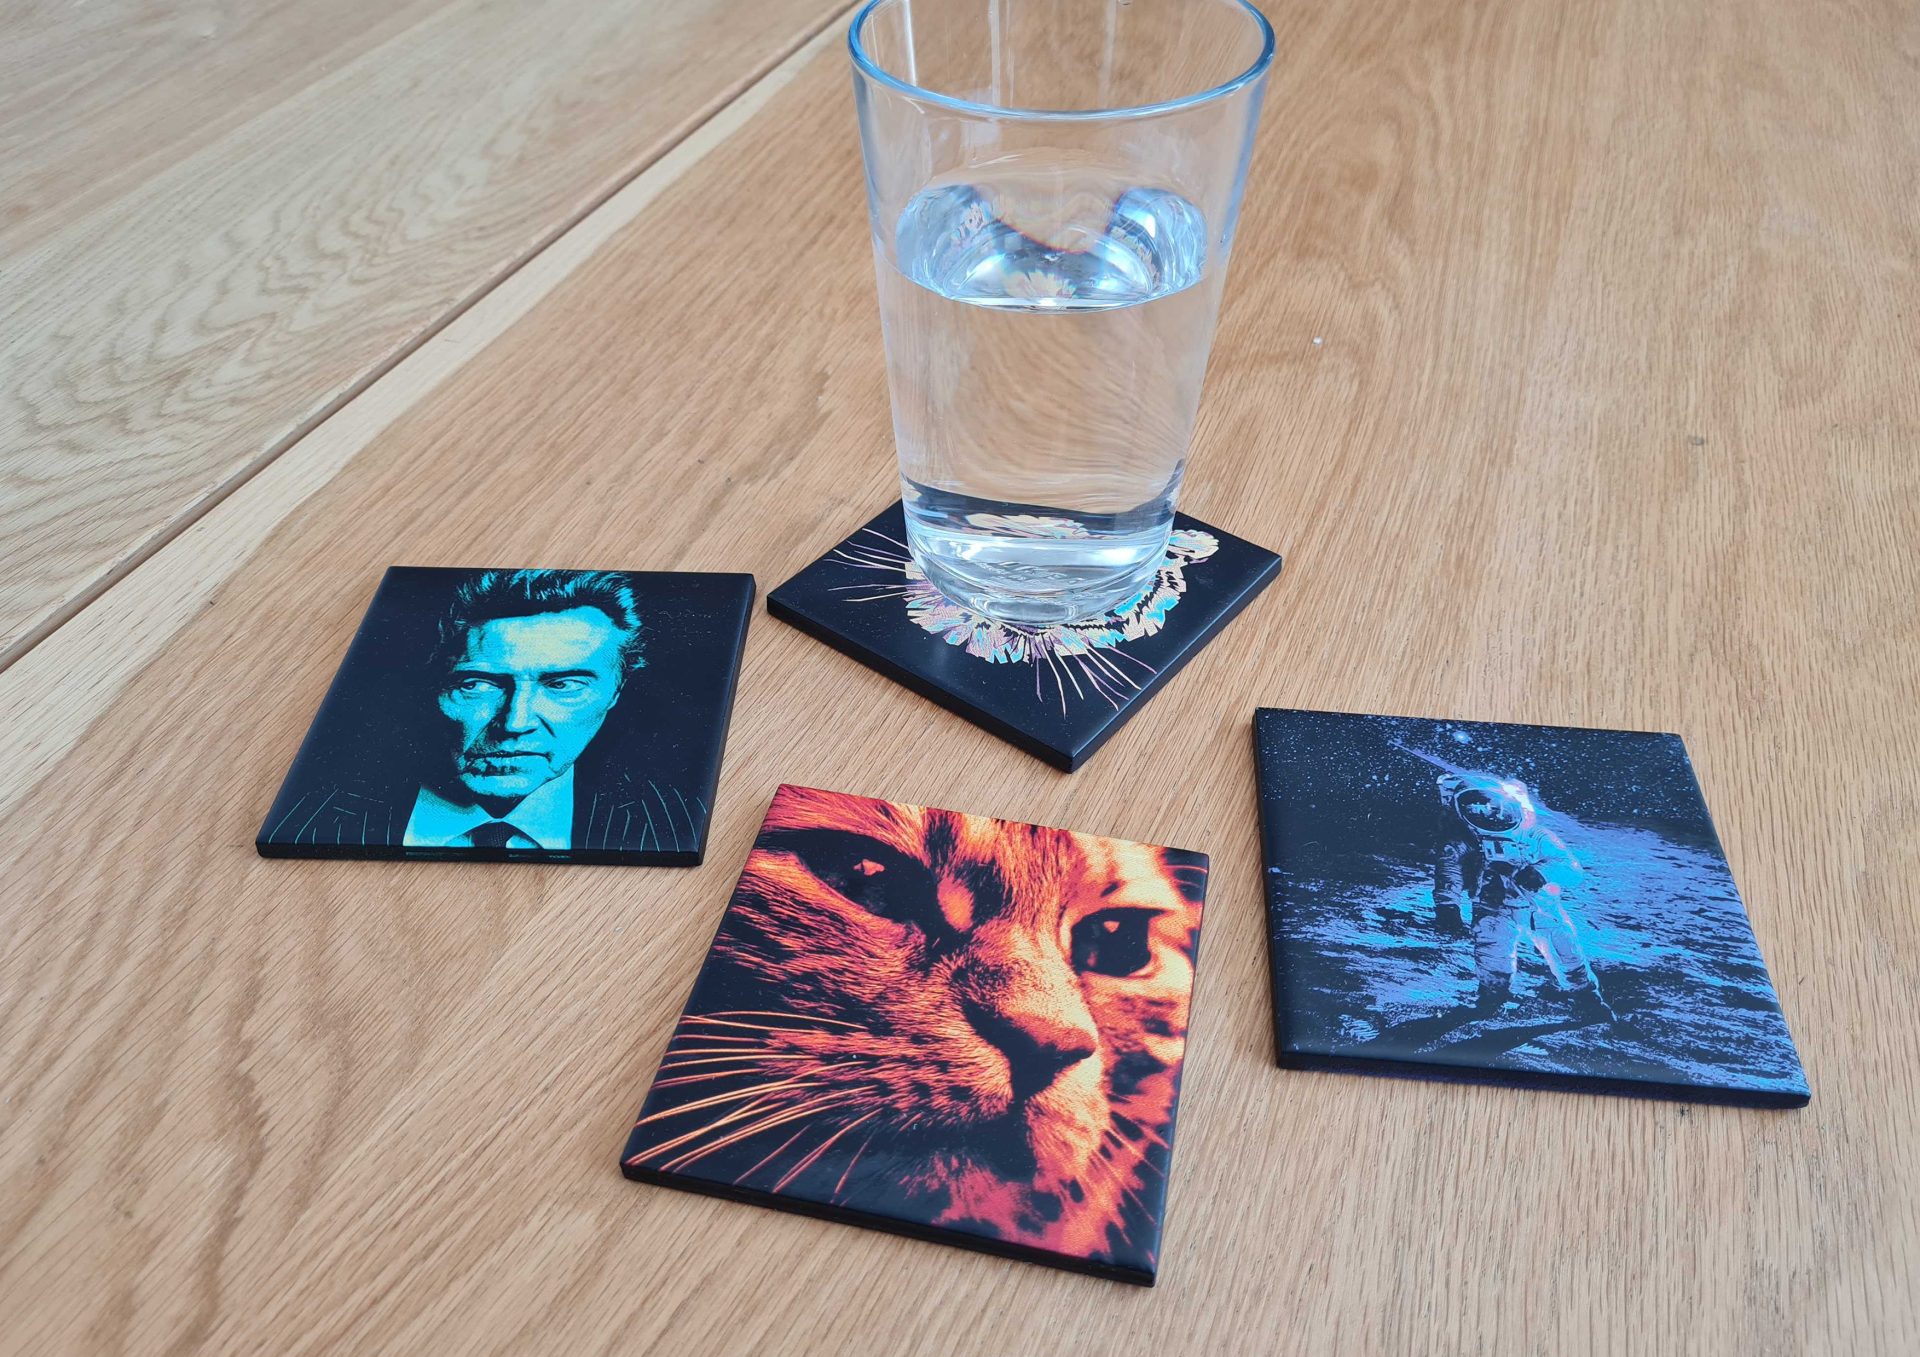
Create unique hardwearing COLOUR artwork on ceramic tiles using an Emblaser and the Fordite engraving technique.
The Fordite technique involves layering a material with different colours of paint, then selectively engraving away layers to create an image.
This is an advanced project; it requires patient experimentation to achieve the results you desire.
Let’s begin!
Project Files
Materials:
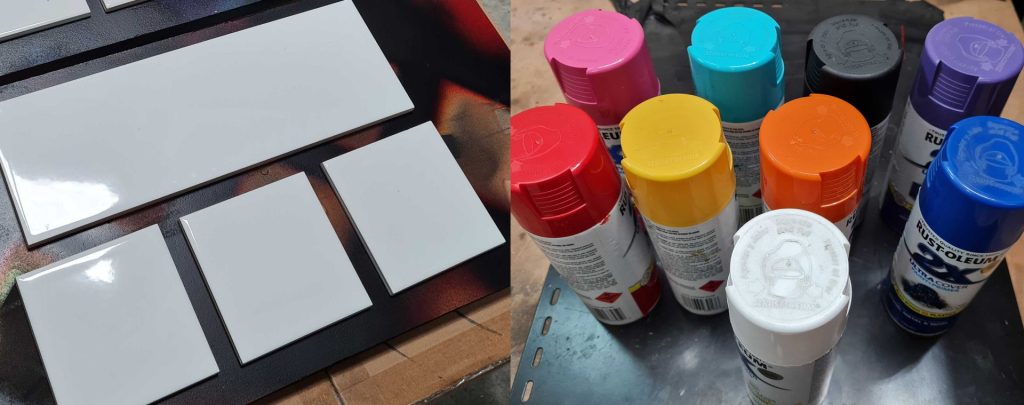
- Ceramic tile – Gloss white.
- Acrylic paints of choice. We have used Rustoleum brand paints for this project, others may work just as well. Follow manufacturer safety guidelines and always ensure good ventilation when laser cutting.
The Build
Any greyscale image can be used in this project, darker parts of an image penetrate deeper into the paint layers exposing lower colours.
Step 1:
I have found that three colour layers with a final fourth layer of black will produce striking results.
I recommend beginners start with a yellow – orange – red – black last layer combination.
This combination works well with the Fordite Cat.lbrn file linked in this project.

If you think you’ve got the hang of it, visualize the effect you want and paint accordingly. Alternatively, don’t do that, its art – have fun with it, lay down some crazy combinations and see what you get.
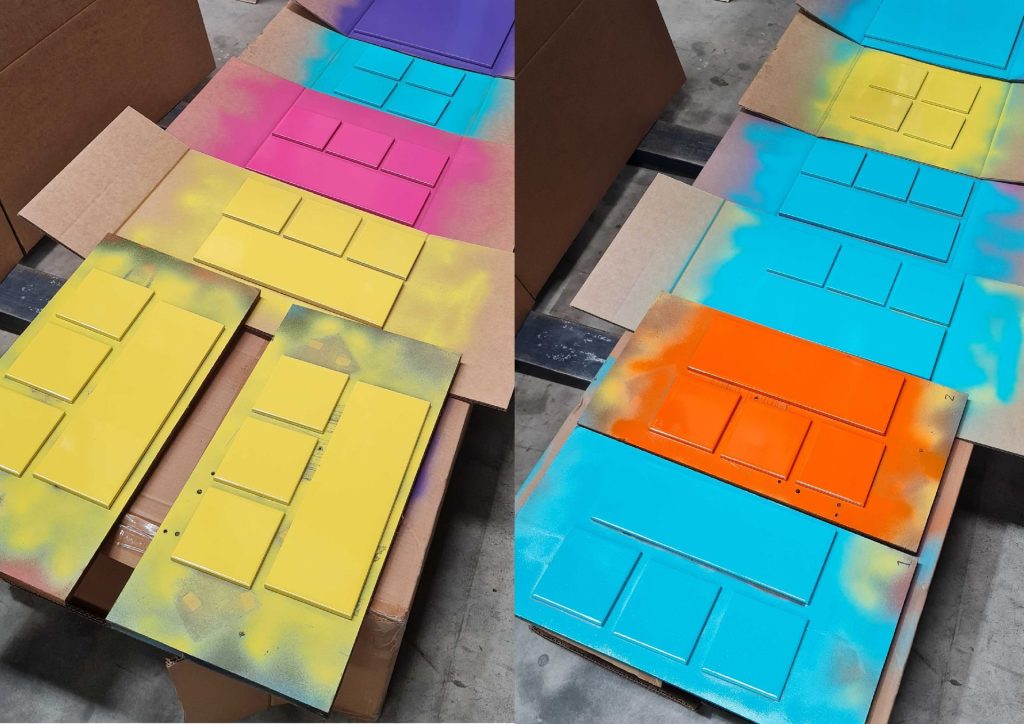
The key to success is consistency. You want very even layers. Spray several light passes to evenly build up a colour before moving on to the next colour. Follow the paint manufacturer’s directions for application technique and drying times.
Unless you are a master spray painter with inhuman consistency, each tile will produce different results when engraved. A way to improve consistency is to paint several tiles in one go. You can use one of these as a test piece to dial in settings for the others.
(It is important to refer to this test piece as the Experimen-tile).
Step 2: Experimen-tile!
A light touch works best. High speeds, very low power, and multiple passes. Keep in mind that different colour combinations will engrave differently.
Engraving away the paint too quickly with high power settings seems to damage and discolor the paint, so the correct settings need to be determined. Emblaser machines excel at this kind of very finely controlled engraving.
To begin with, load the Fordite_Test_Plaque.lbrn project into LightBurn. This will assist in determining settings for your combination of colours.
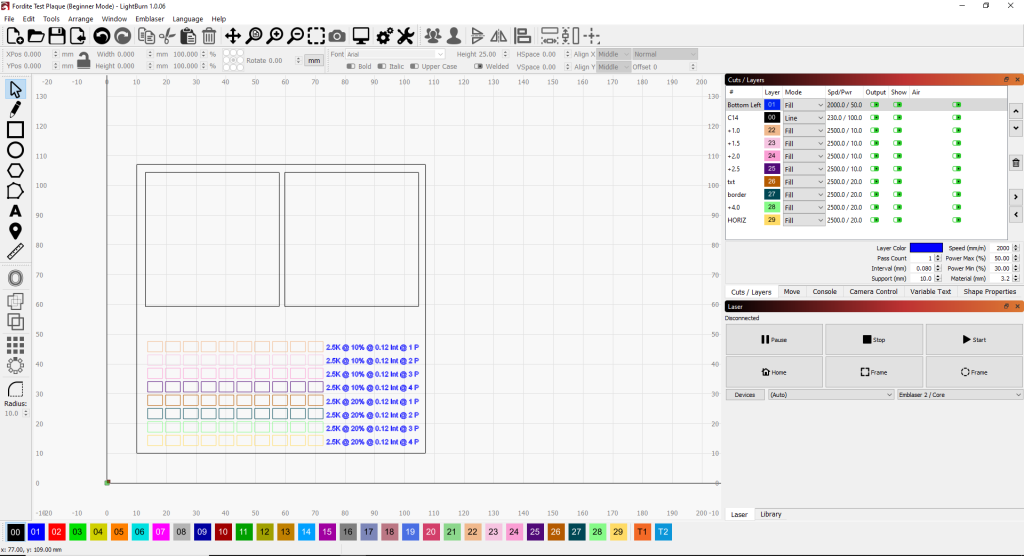
Place your tile into the Emblaser and align your design with it using the frame tool.
Good settings to start experimenting with are:
Greyscale engrave: 10% power – 2500mm/m – 0.12mm line spacing – increase passes as needed.
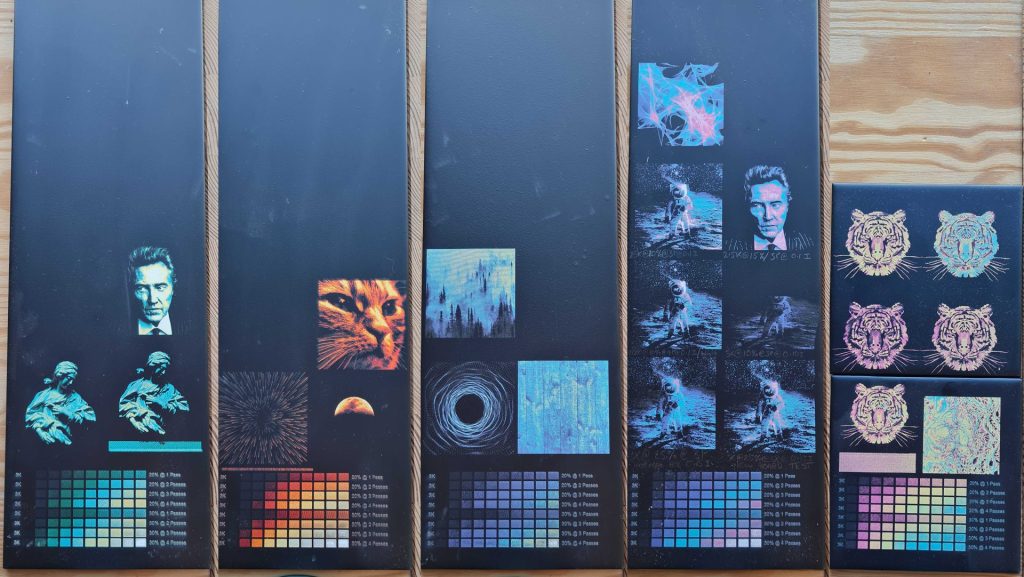
If you have any room left on your Experimen-tile, scale down your artwork to fit in one of the squares and do a test run to make sure the contrast in the image hits the range colours you want.
Once you have some good results, note the speed and power settings.
Step 3: Give it a go!
You can download and use the Fordite_Cat.lbrn file as a starting point.
Start out engraving each pass individually, open the Emblaser lid and check on the colour exposure after each pass.
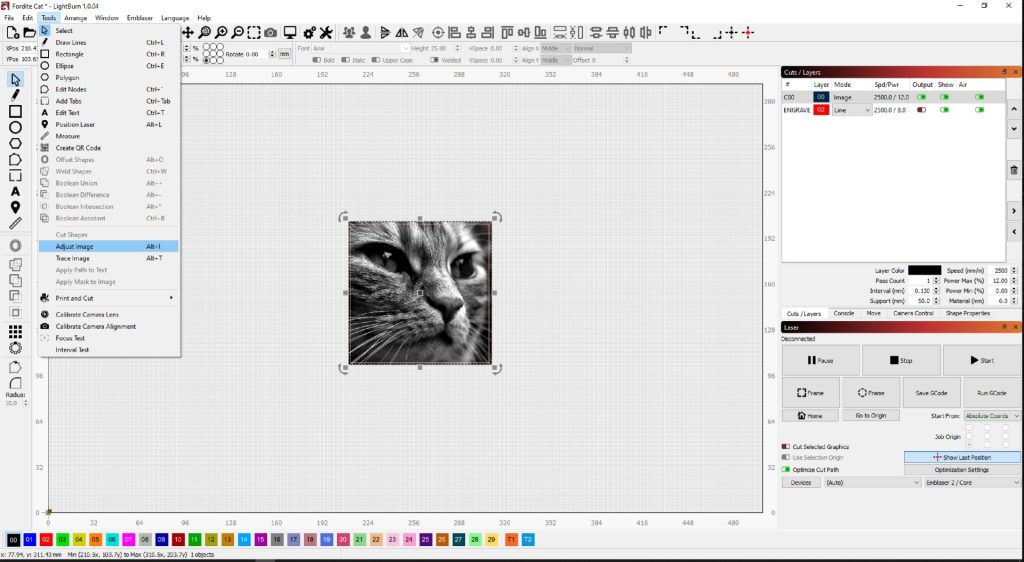
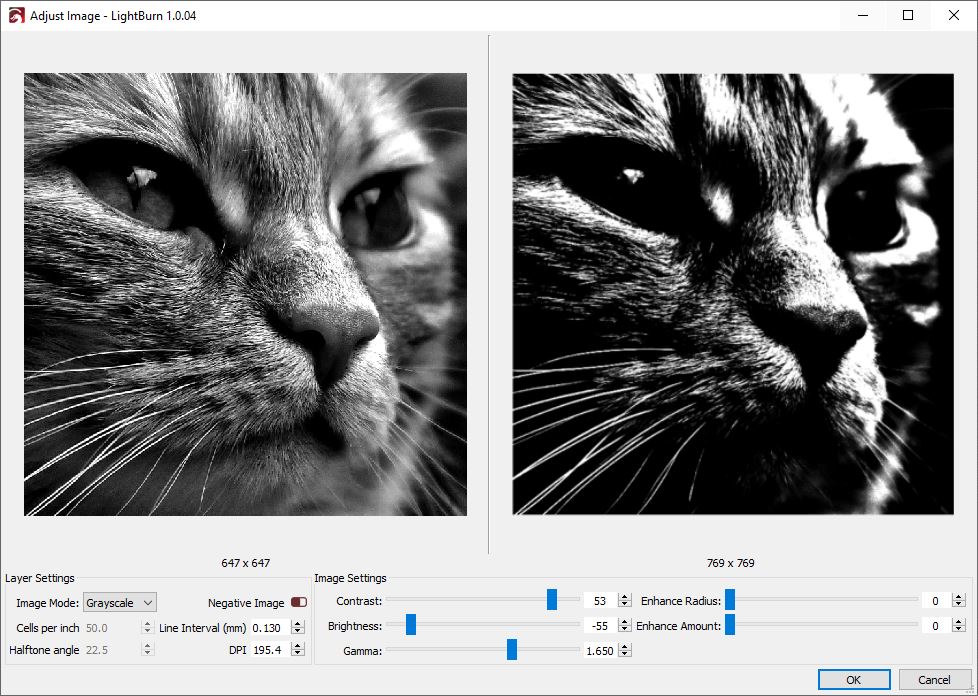
If you’re liking the colour exposure in some areas but want to go deeper in other areas, you can use Lightburn’s handy ‘Adjust Image’ tool to tweak the image to concentrate on darker areas.
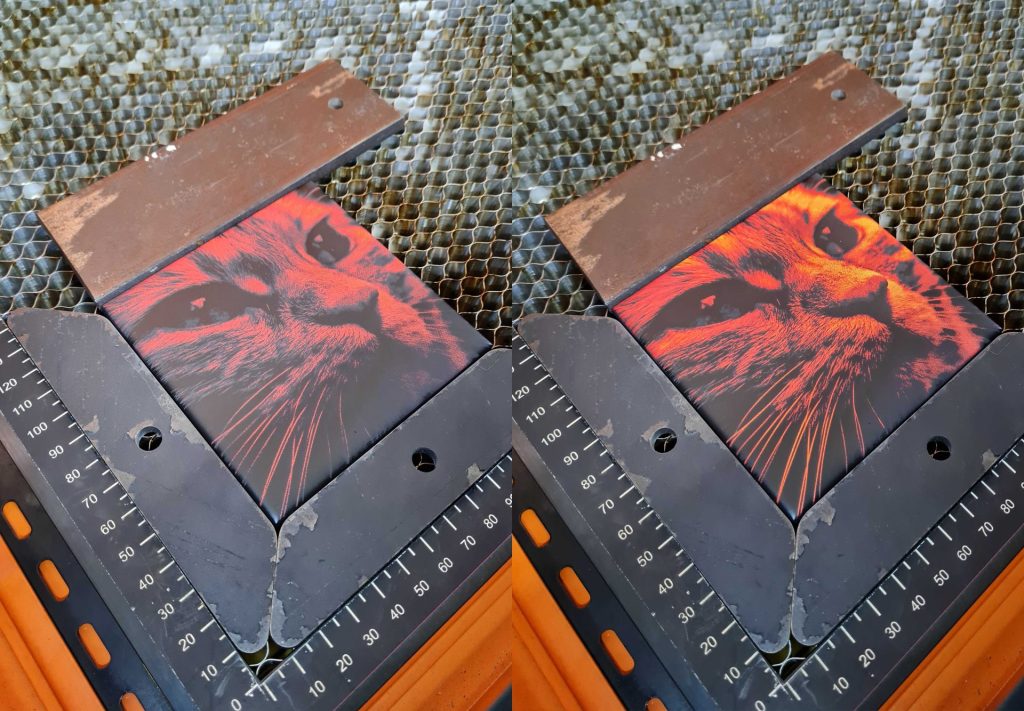
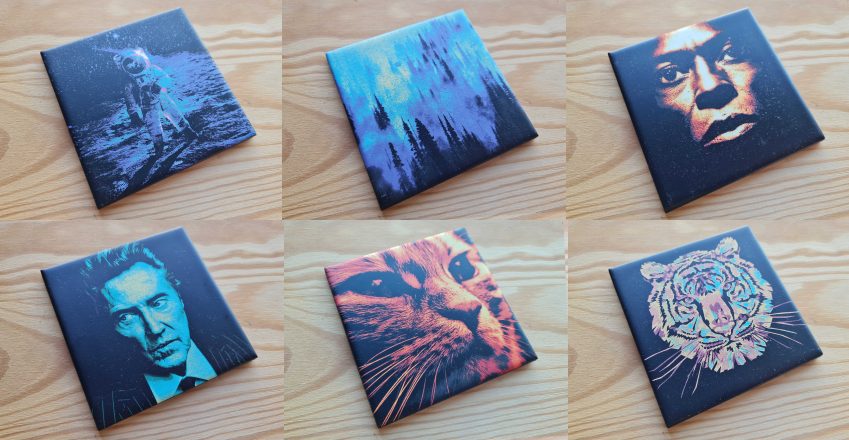
Here’s a selection of coasters that I feel ended up very well.
Tips:
Colour matters.
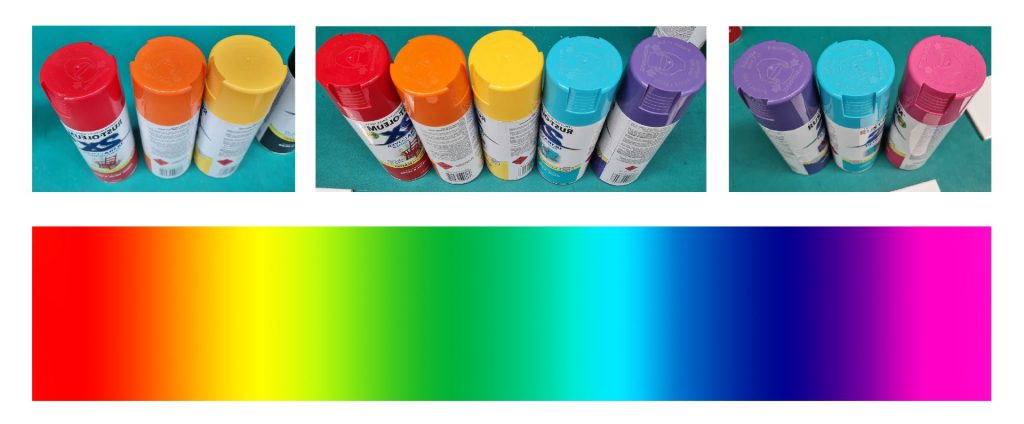
If you’re familiar with diode lasers you know how much the colour of the material can affect your settings. Well, this project brings an extra layer of complexity. I recommend painting on the more stubborn bluer layers first if possible. I’ve had best results when the colours are ‘in order’ eg. Red, orange, yellow, or Blue, green, orange.
But again, have fun with it – no wrong answers.
Material selection.
Coasters have been a convenient project goal while developing this technique, but you are not limited to coaster sized tiles. This technique can be applied to larger tiles or glass plates or possibly any material with layered paint.


