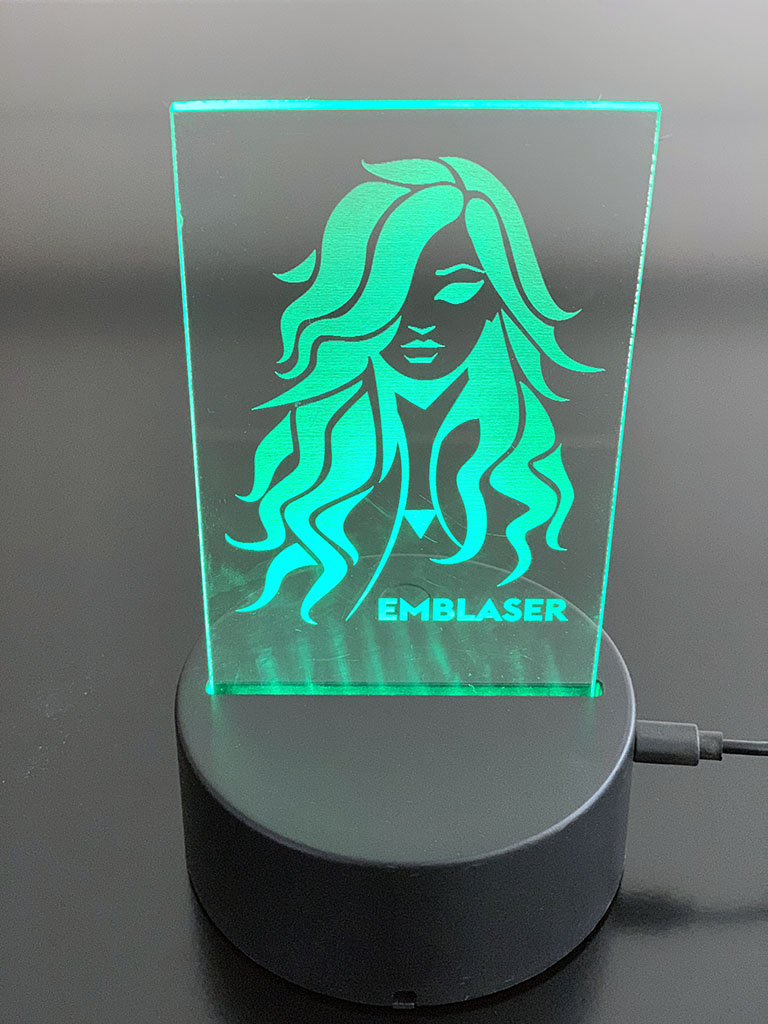
We get asked regularly about how to engrave onto clear materials with an Emblaser, so this project is to show how we go about it.
Solid-state laser systems, such as are used in the Emblaser machines, are not normally able to work with transparent materials. This tutorial shows how to achieve excellent transparent material engraving with just a few extra steps.
Project Files
Materials:
- Clear Acrylic (This will also work with glass)
Other Items Needed:
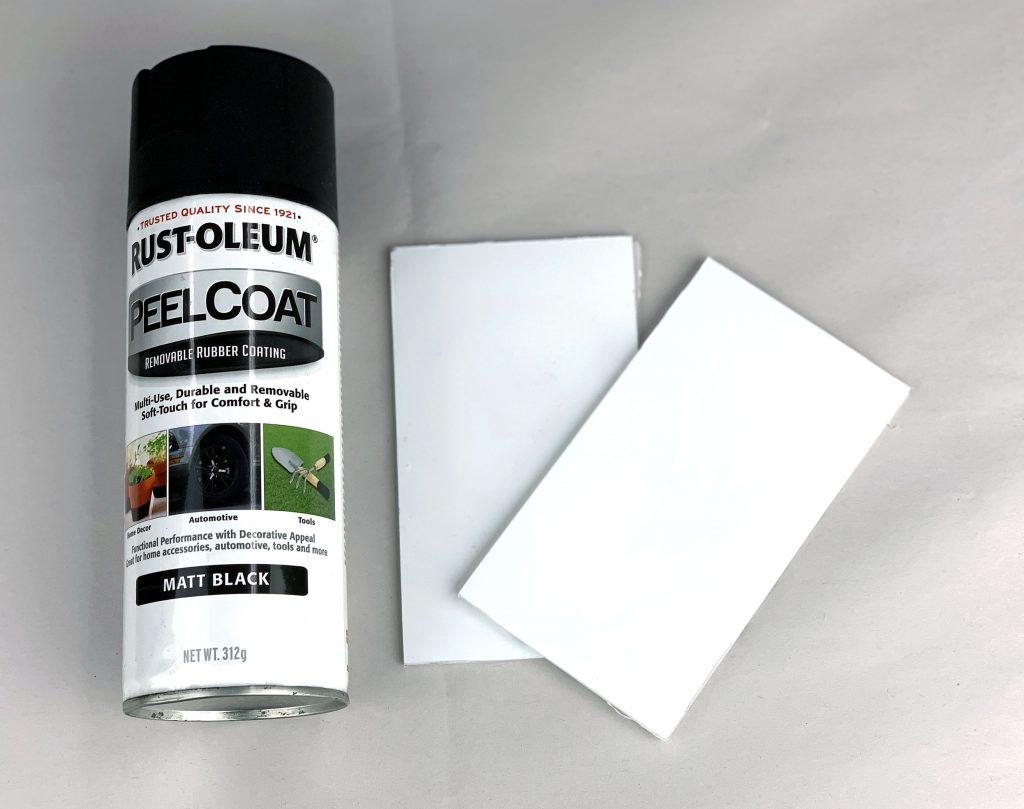
- Black rubberised paint (Peel-Coat or Plasti-Dip)
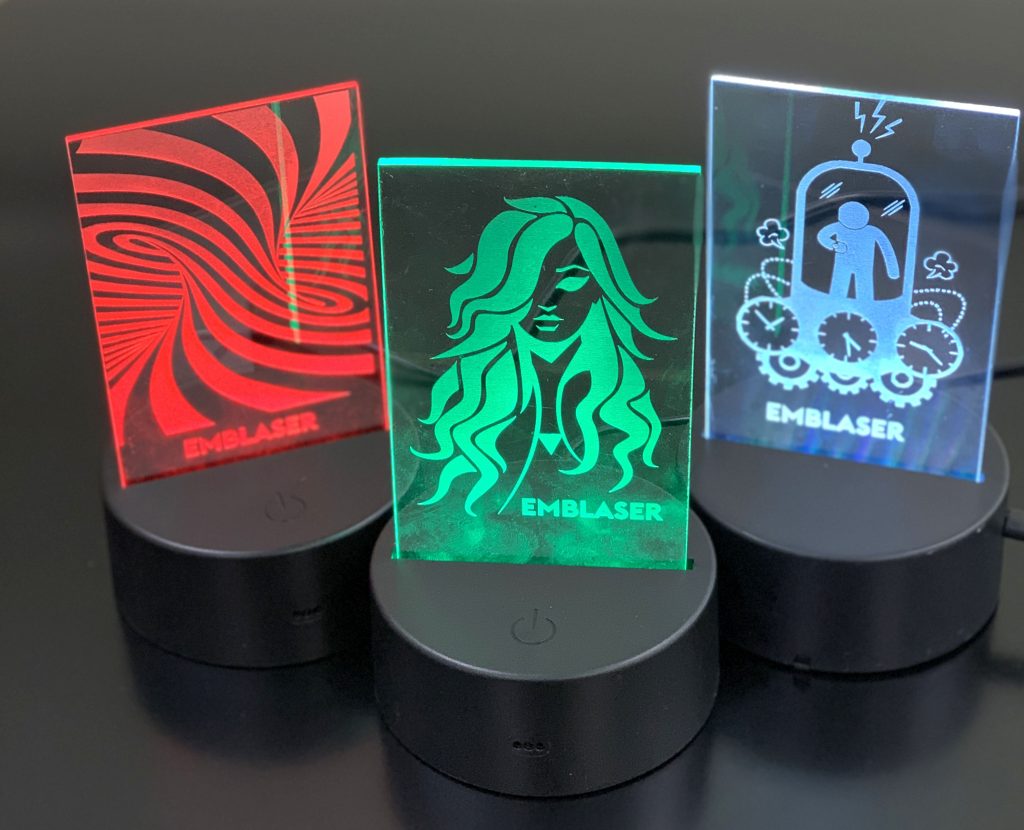
- LED display stand. Check Amazon -> LINK
The Build
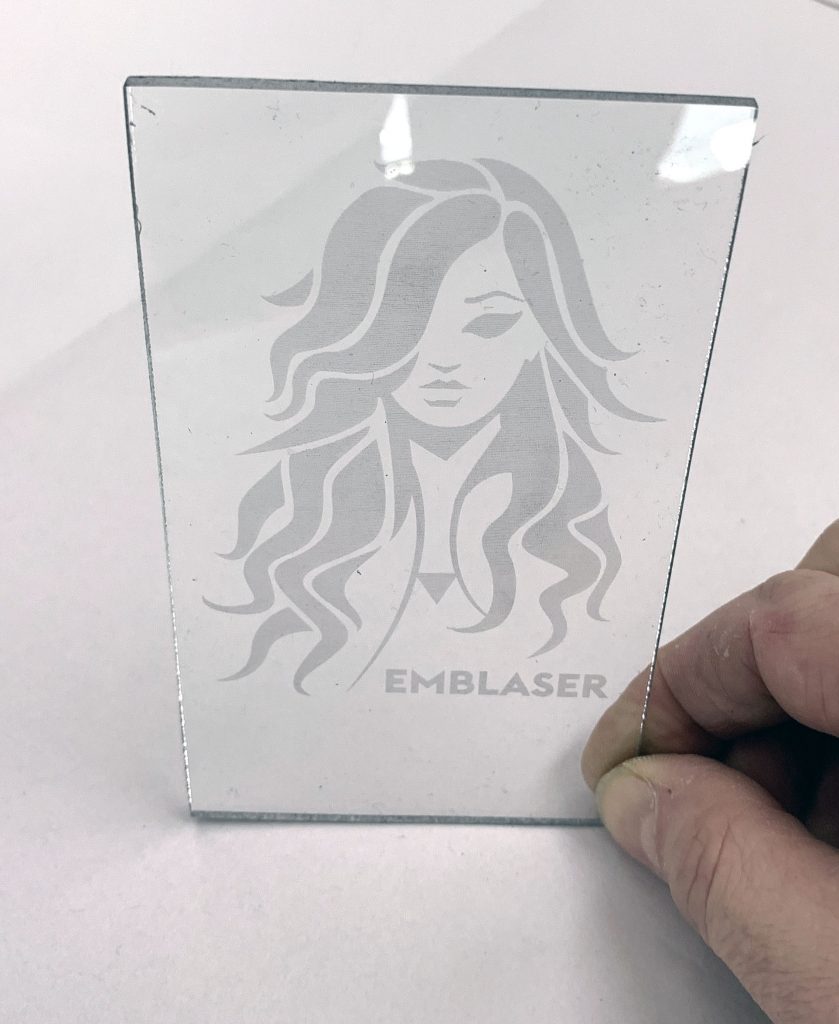
For this tutorial I chose a simple image and imported it into LightBurn.
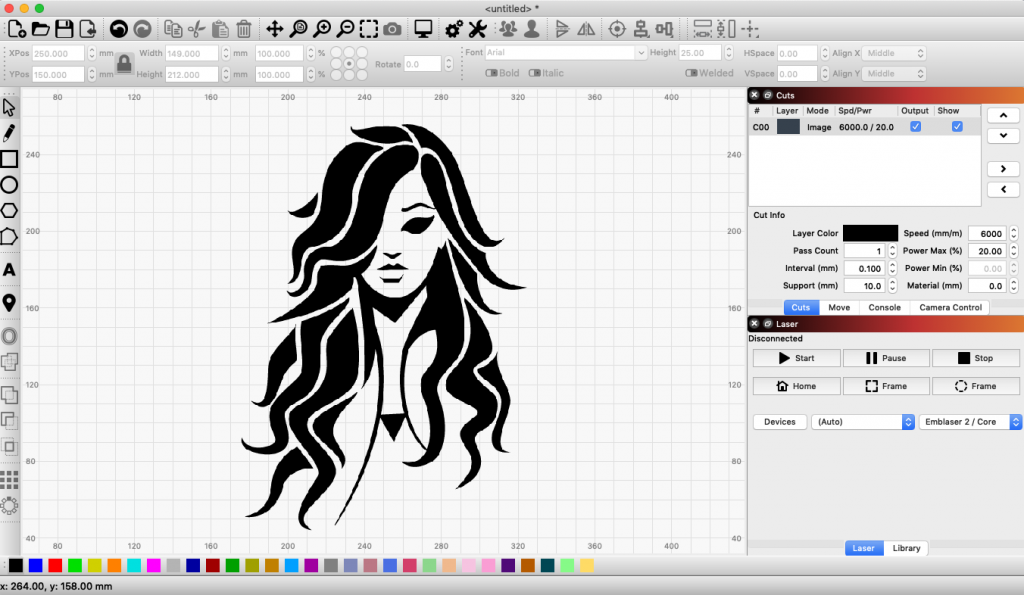
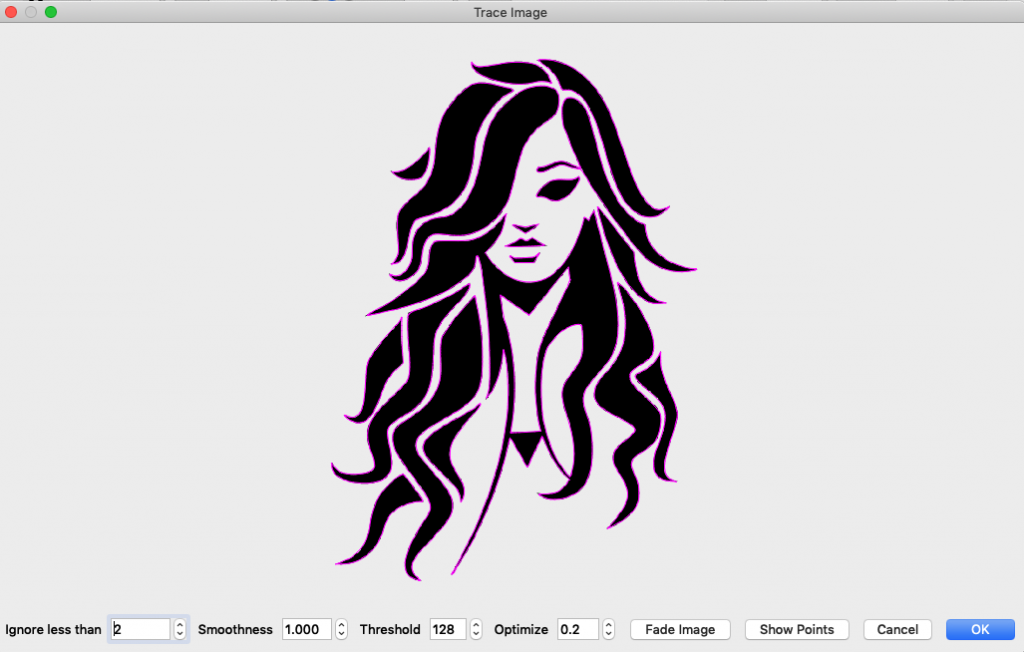
To achieve the cleanest results, I used LightBurn’s ‘Trace’ feature to create a vector curve representation of the image.
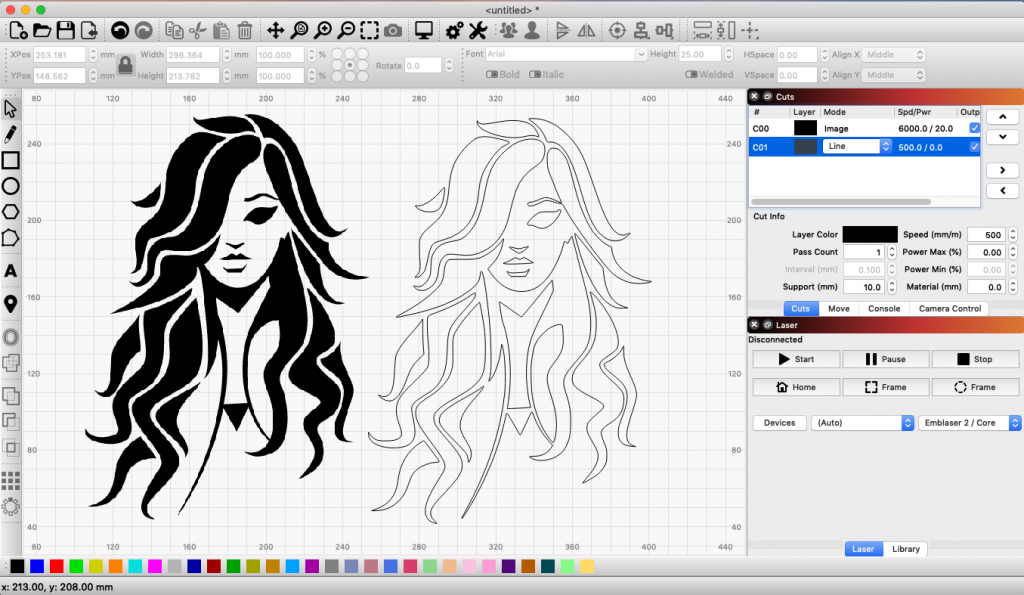
Because the engraving is made onto the back face of the material, I mirror flipped the image to make look the correct way around from the front.
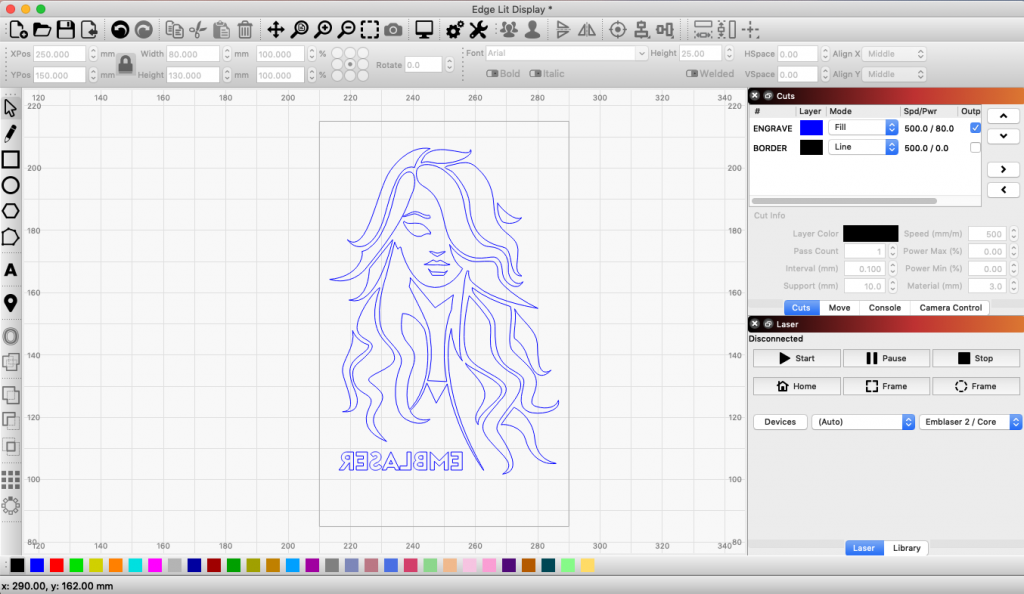
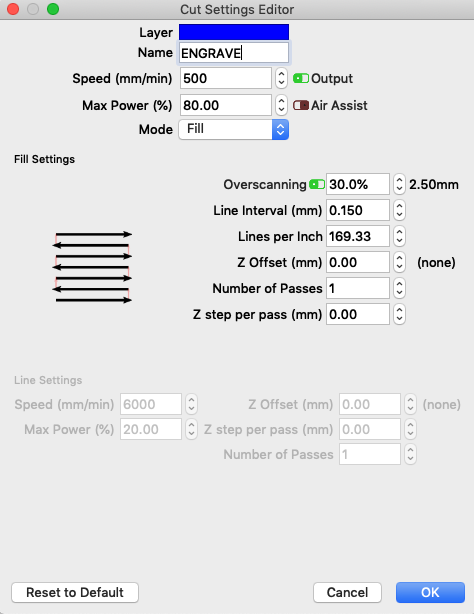
I tend to run the engraving speed fairly slow to ensure the best quality. You can certainly experiment with the power and speed to get a suitable result for you needs.
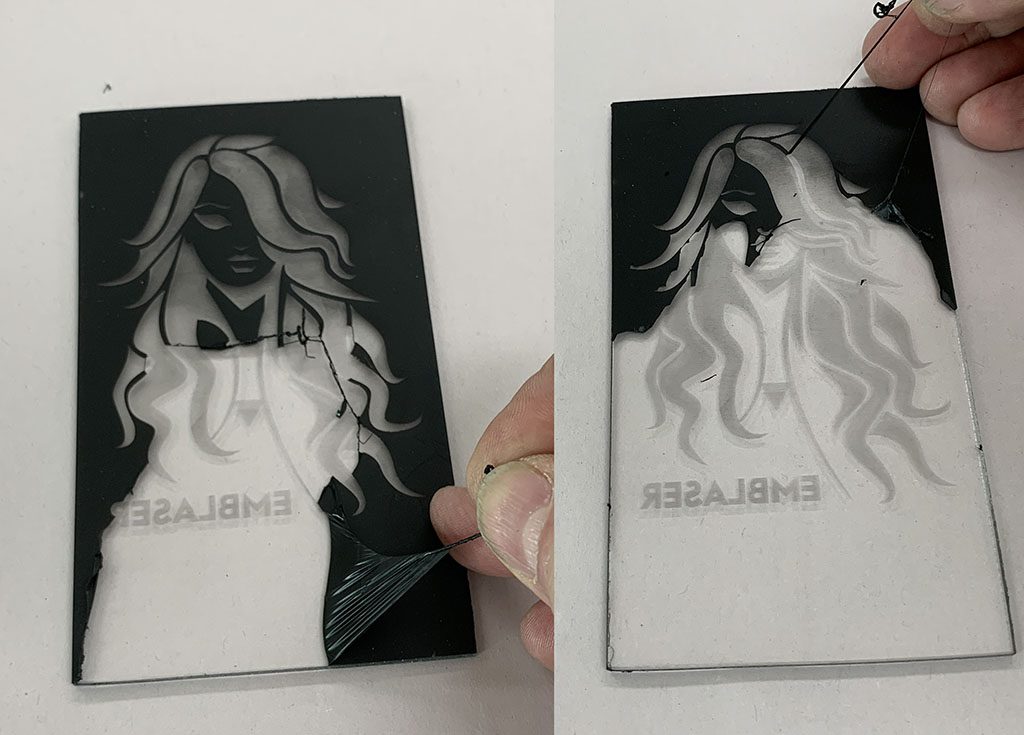
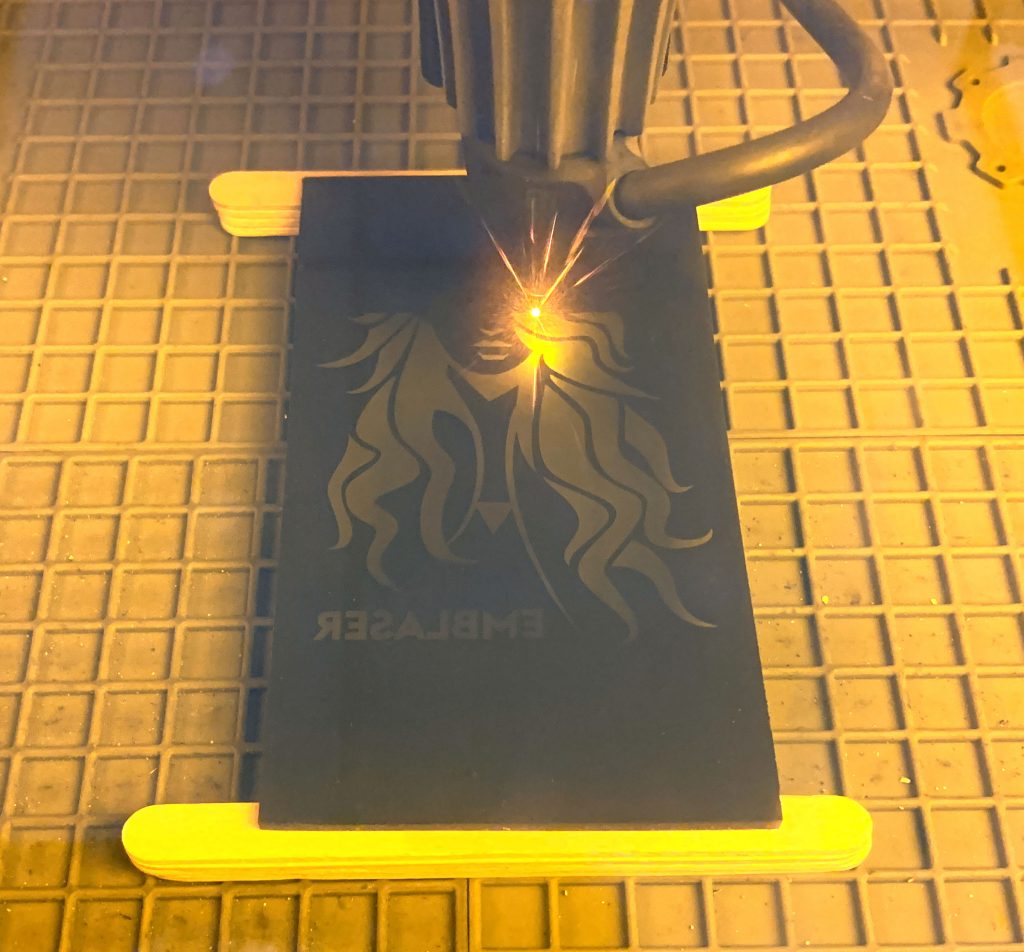
The key to the whole process is to apply a coating onto the transparent material. I used a rubberised paint for this which I purchased from our local hardware store.
I first removed the protective film from one side of the acrylic. I left the second side with the protective film to help keep it clean.
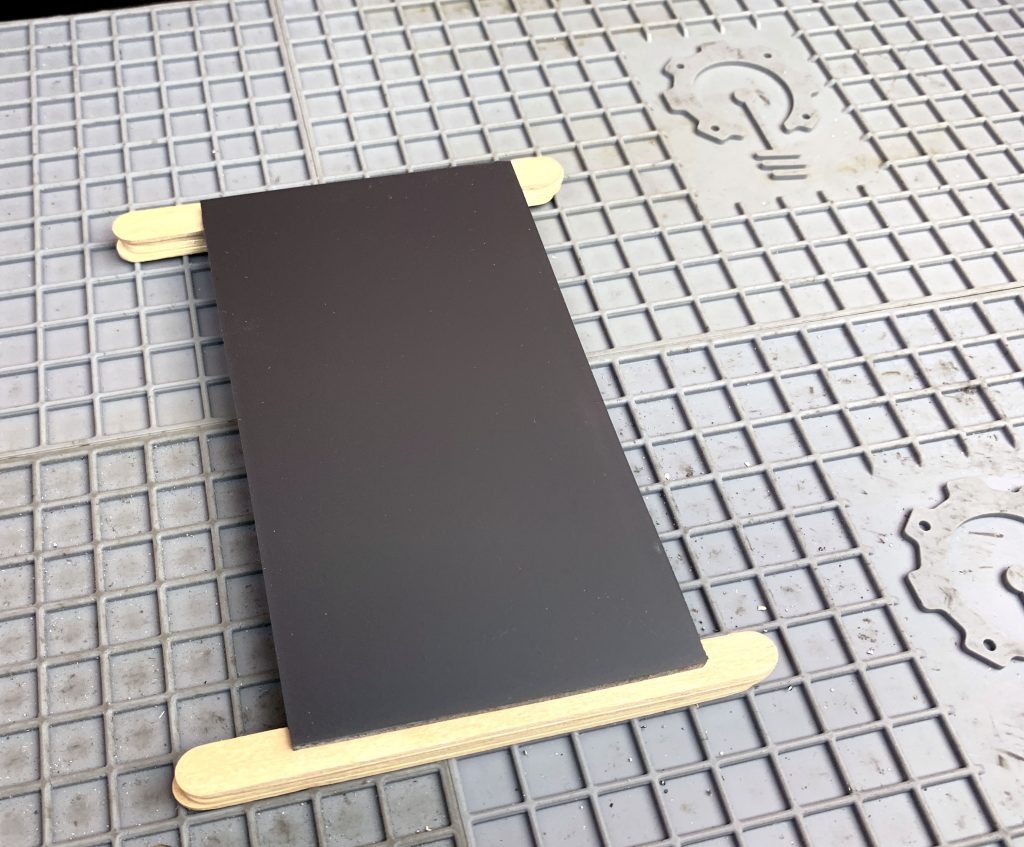
Once the paint was dry, I removed the protective film from the other side and placed the acrylic into the Emblaser workspace with the painted side facing up.
It is important to slightly raise the material off the base to prevent the laser heat marking the other side. I used a few popsicle sticks for this.
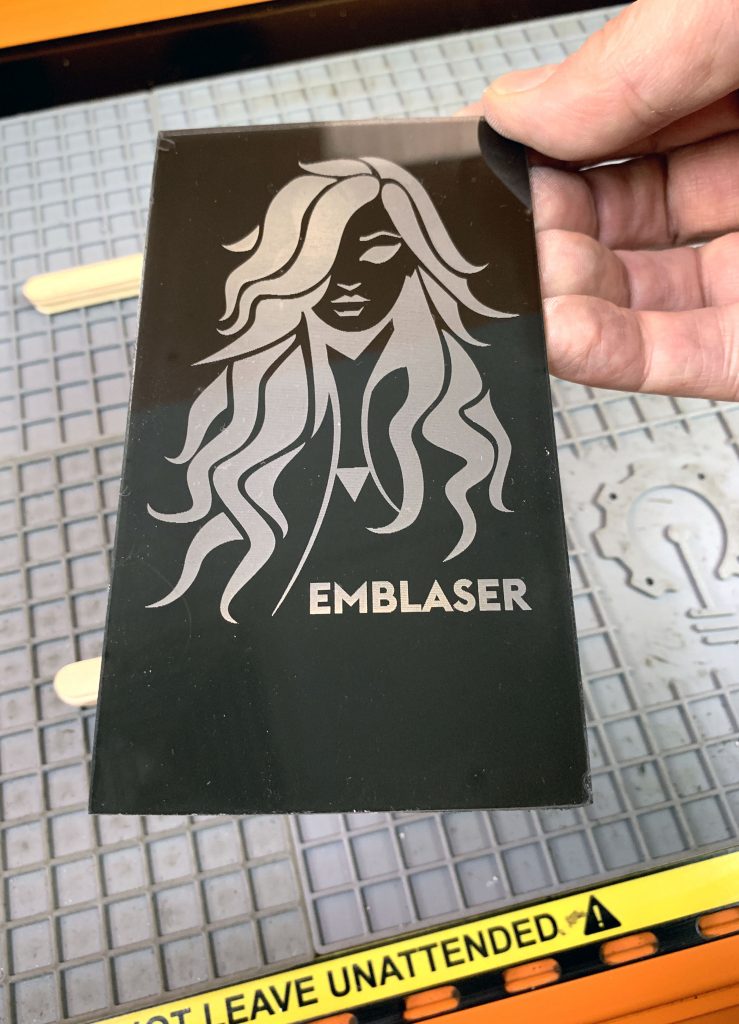
I then removed the excess paint. Since I used the rubberised paint, this process was very easy, with the paint peeling off.