This project sets out to solve one of life’s most frustrating situations, making a decision on what / where to eat and drink. If you have ever faced this dilemma, then this project is for you.
This project can be easily personalized to your food preferences, so make a set and never be stuck on making a dice-ision (get it?).
Project Files
Materials:
- Blank wooden dice OR Wood to create a dice from (We used a piece of reclaimed hardwood)
Other Items Needed:
- Sandpaper
- General woodworking tools
The Build
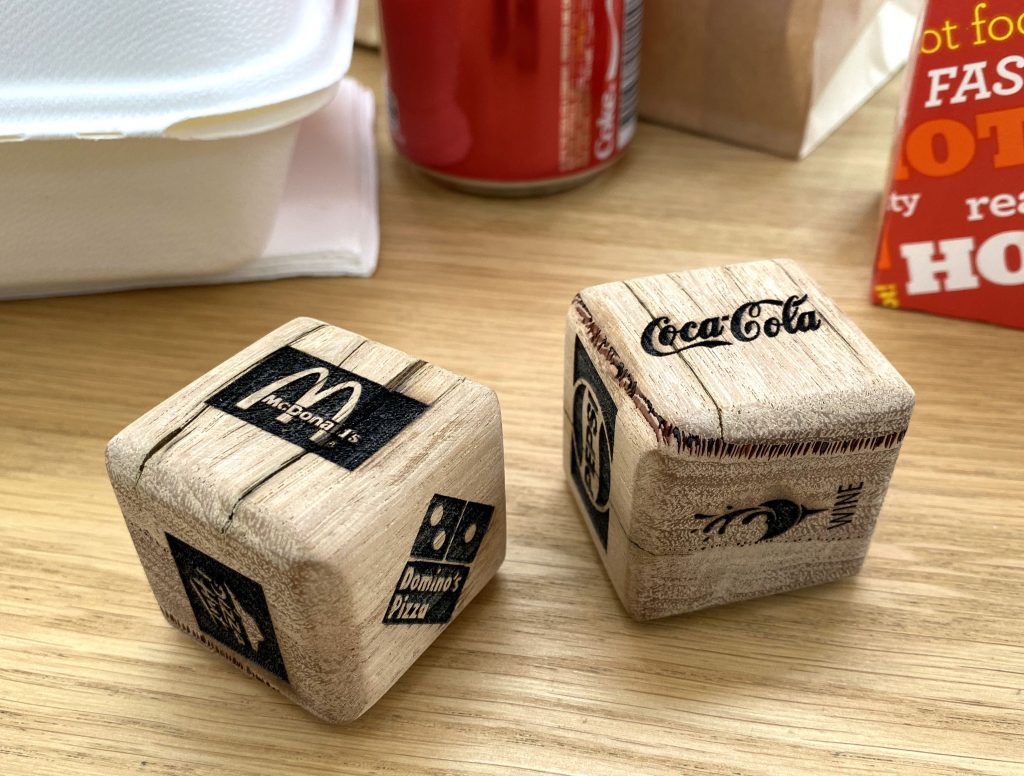
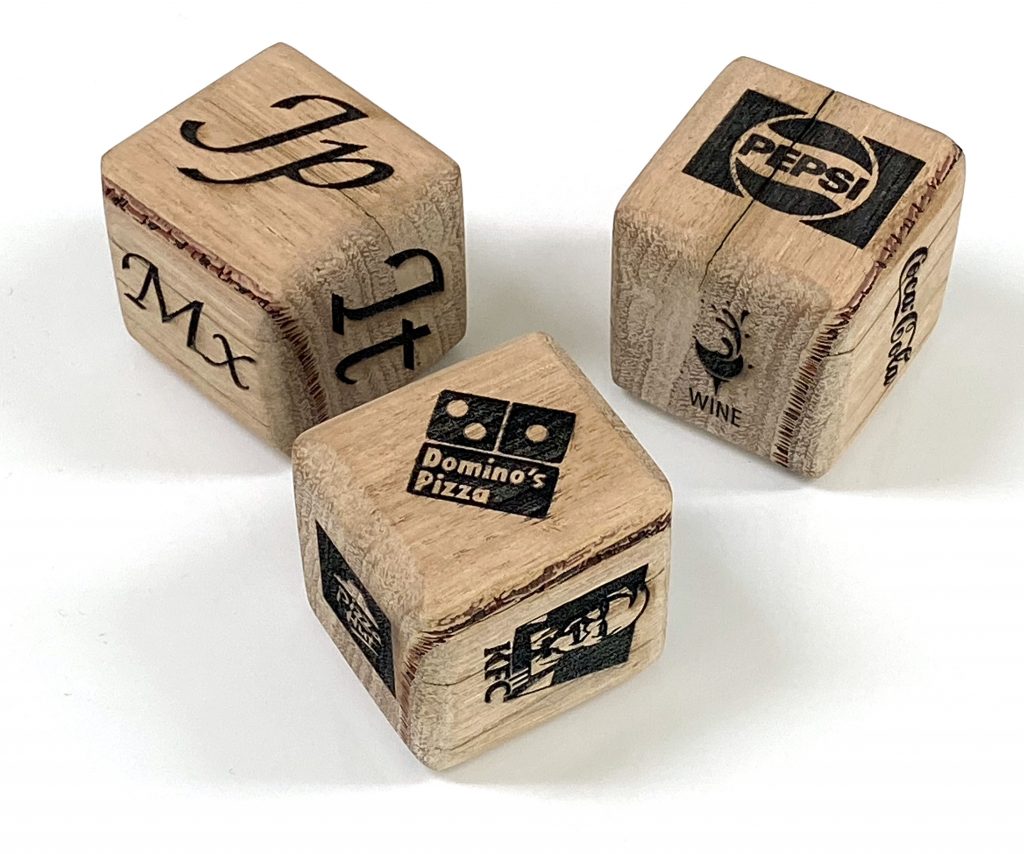
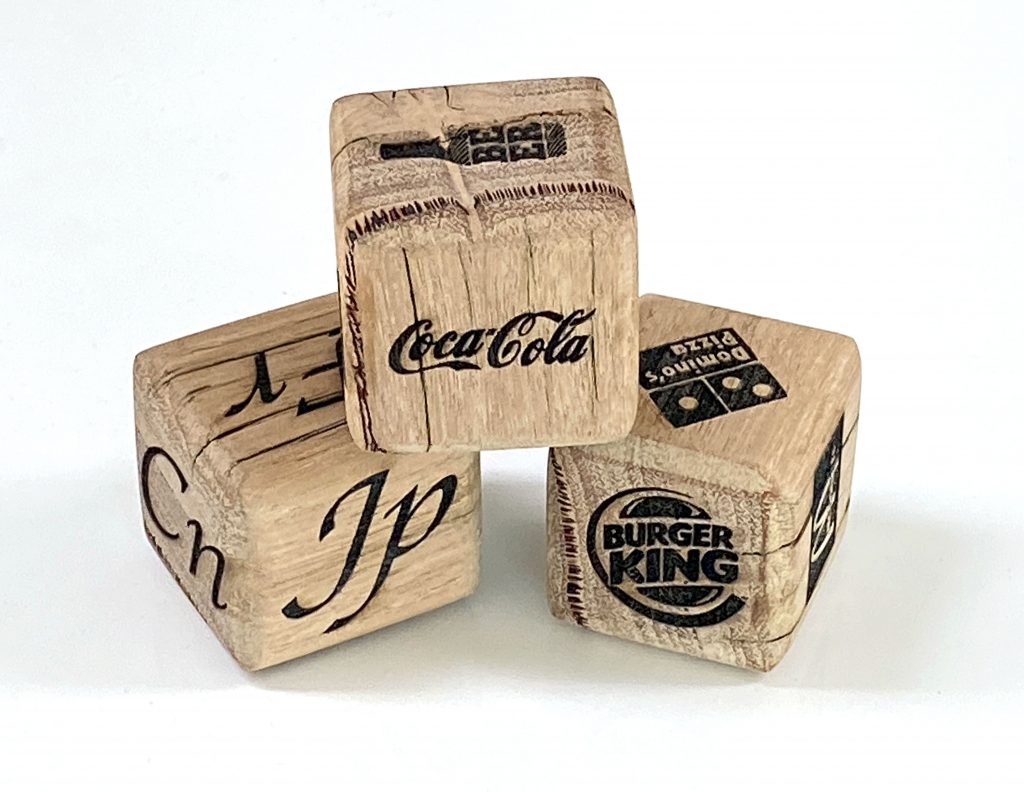
I decided to make three dice-iders. One for deciding which local fast-food franchise to choose. Another for selecting a drink. The third was to decide on a general cuisine.
For this project I used a piece of reclaimed hardwood that I had in the workshop. If you prefer, you can easily find blank wooden dice online and use them instead.
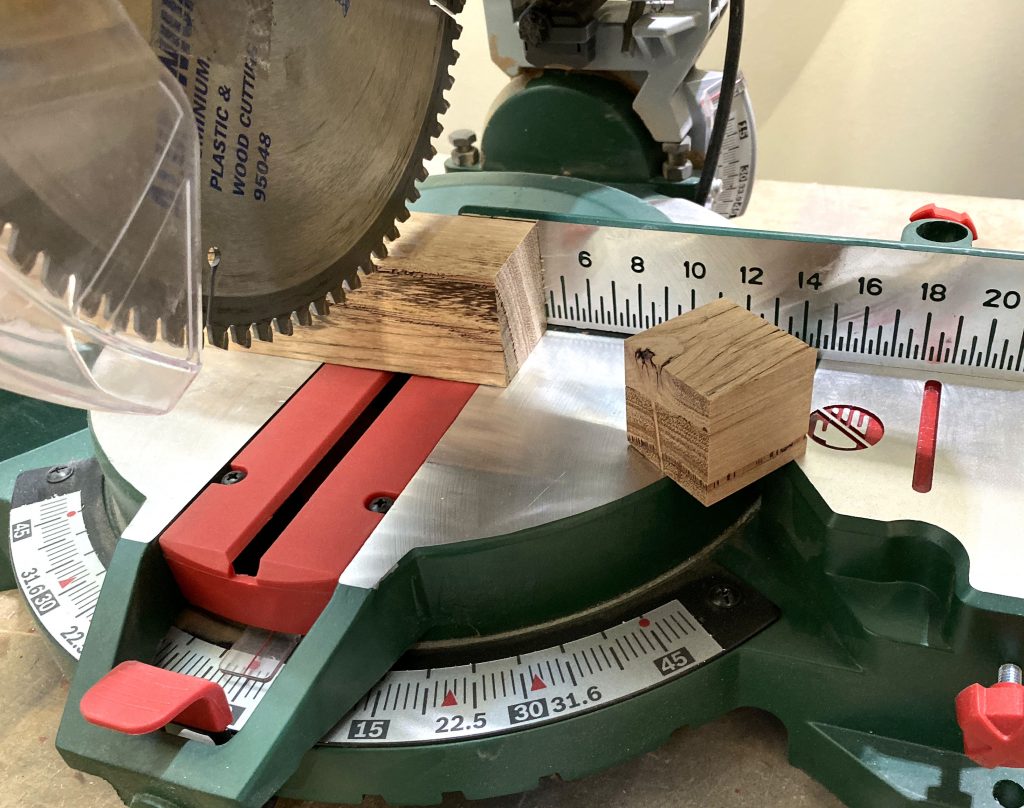
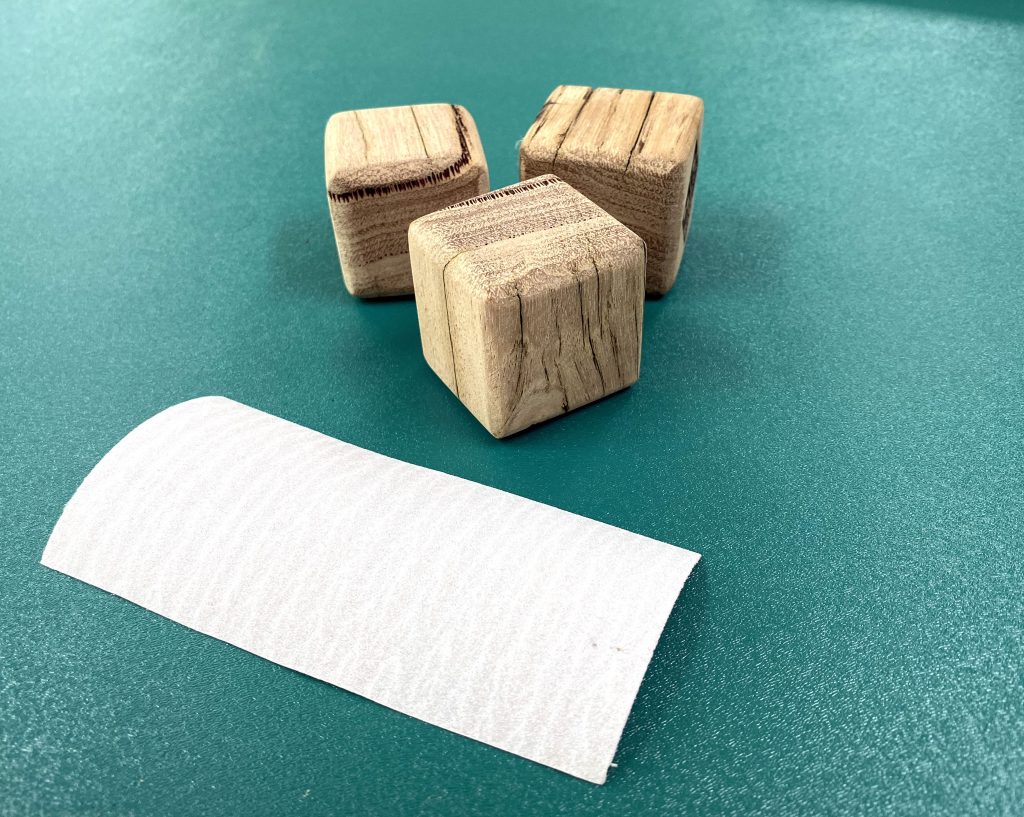
I wanted these dice-iders to be fairly large, so I cut cubes measuring 40x40x40mm with a drop saw.
To make sure the dice wasn’t biased towards any side, I carefully measured each side and sanded them so they were as close to 40mm as I could get.
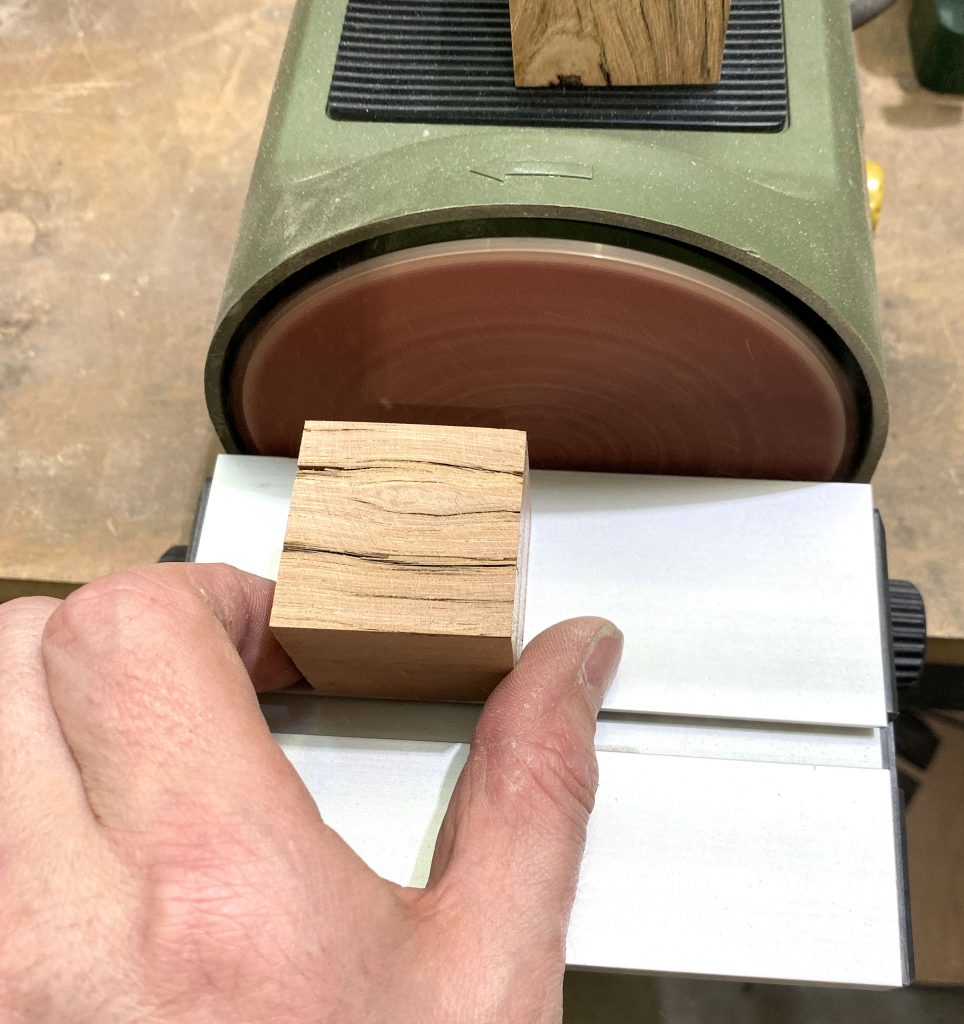
To help the dice roll better when it is thrown, I beveled all the edges at 45 degrees. This was easy with my sander as it has an adjustable rest.
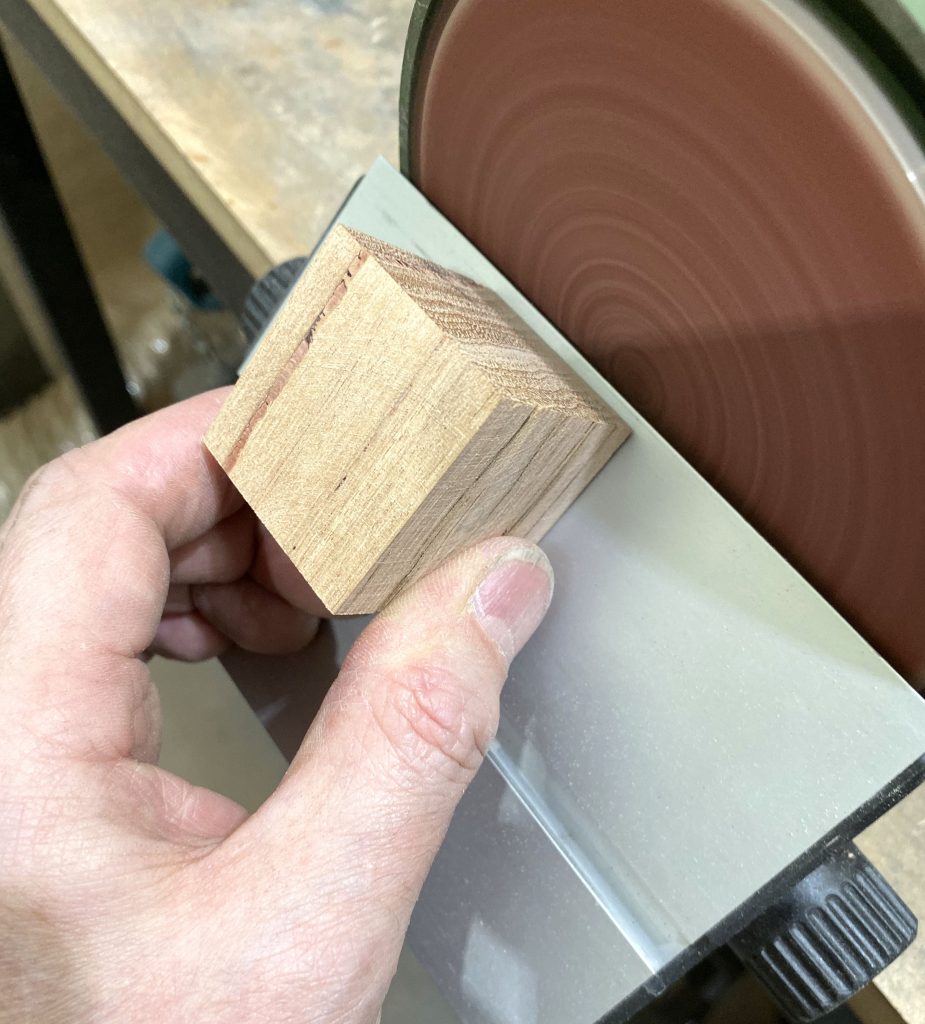
With all the edges beveled, I used some 180 grit sandpaper to smooth them all out.
After my hands had enough time to rest from all the sanding, it was time to jump into LightBurn and create a design for each side.
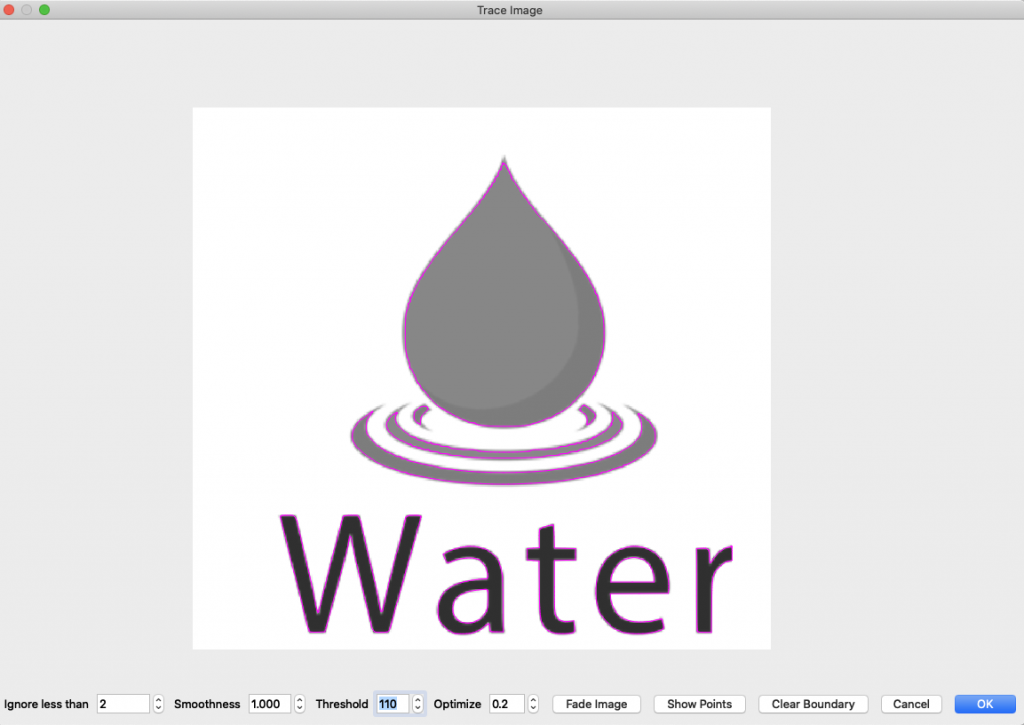
LightBurn has an excellent ‘trace’ feature which creates vector shapes from a basic image. The process it very easy.
I first found an image of the design to engrave on a side and imported it into LightBurn.

I selected the image and then used right-click to bring up the context menu. From there I selected ‘Trace Image’.
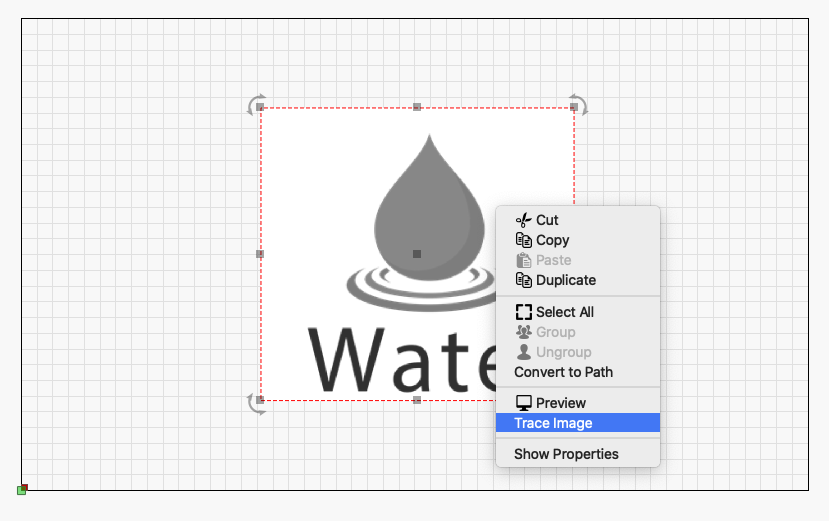
For this image I had to slightly adjust the ‘threshold’ value until all the image was cleanly traced.

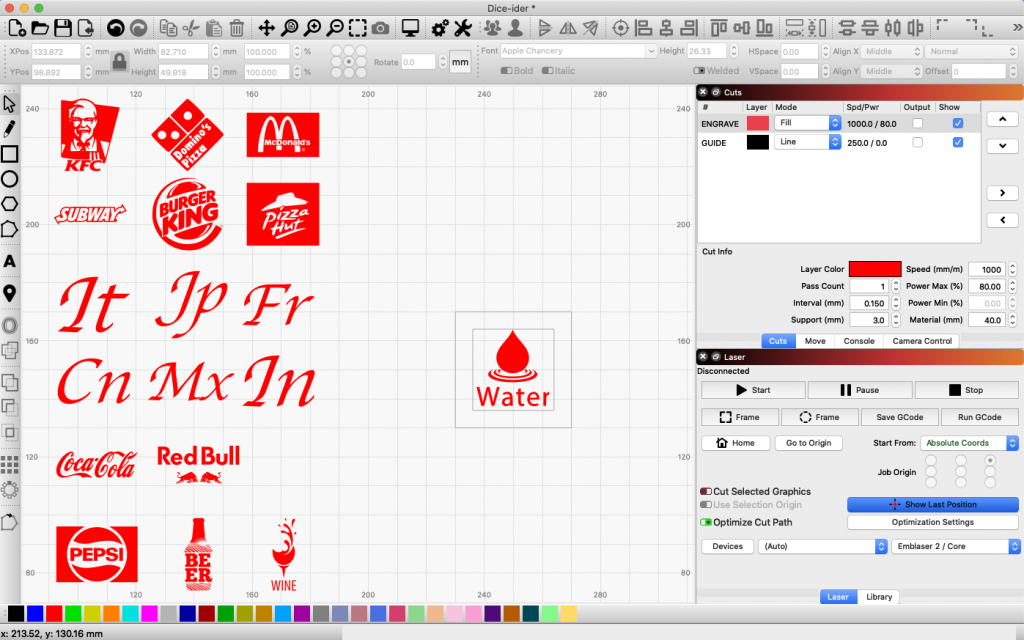
I found other examples online and traced them for my three dice-iders.
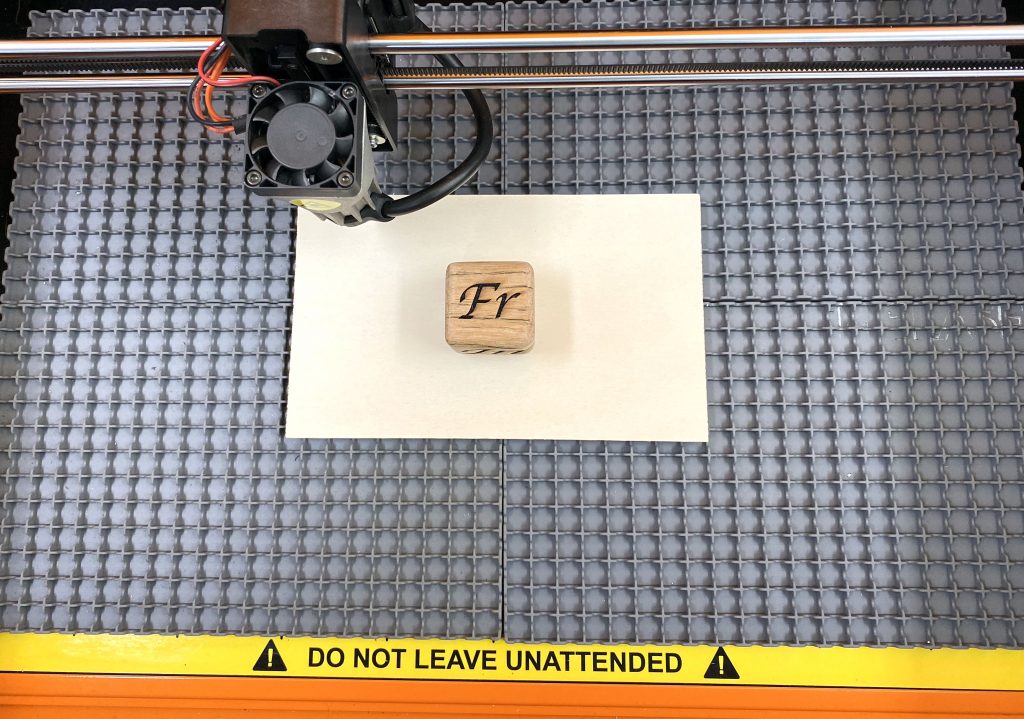
The dice were then engraved with the Emblaser. I wanted a nice deep engraving without over burning any fine detail. For testing the settings, I initially used a scrap piece of the same wood.
This particular wood released some oils after engraving which was sticky and caused some unwanted darkening.
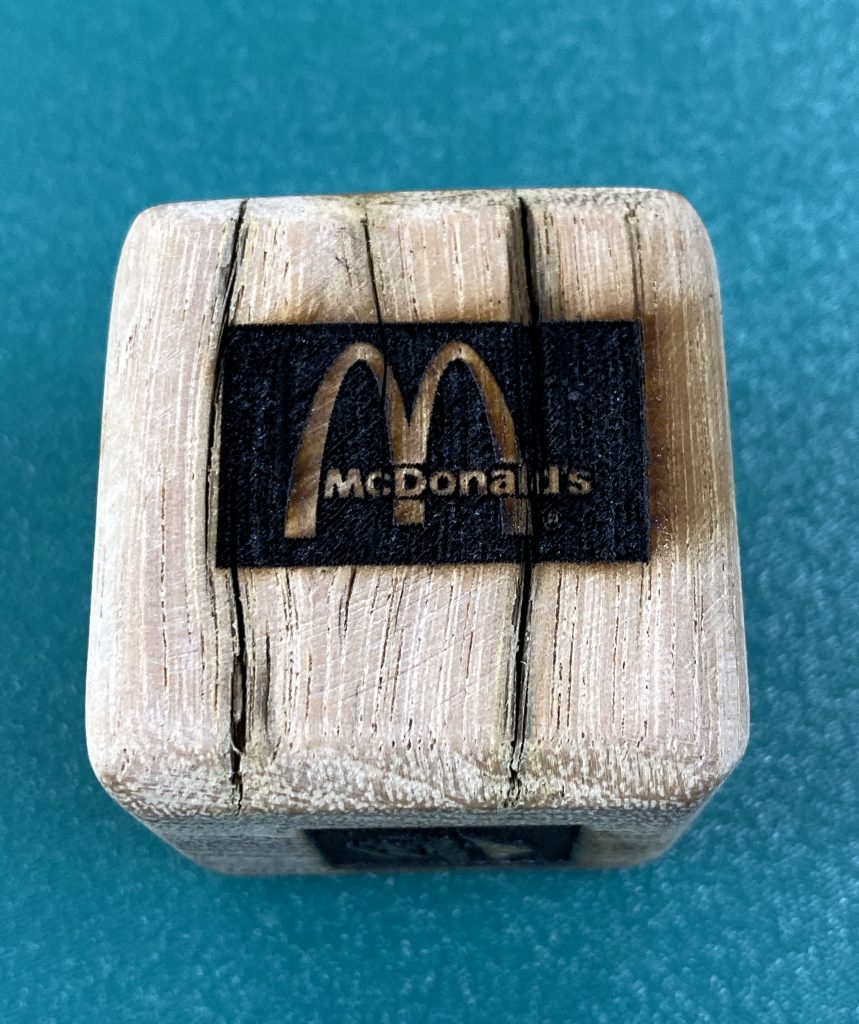
Using a piece of 240 grit sandpaper resting on a flat surface, I gently sanded the engraving. This cleaned the residue away and brought out more of the detail.
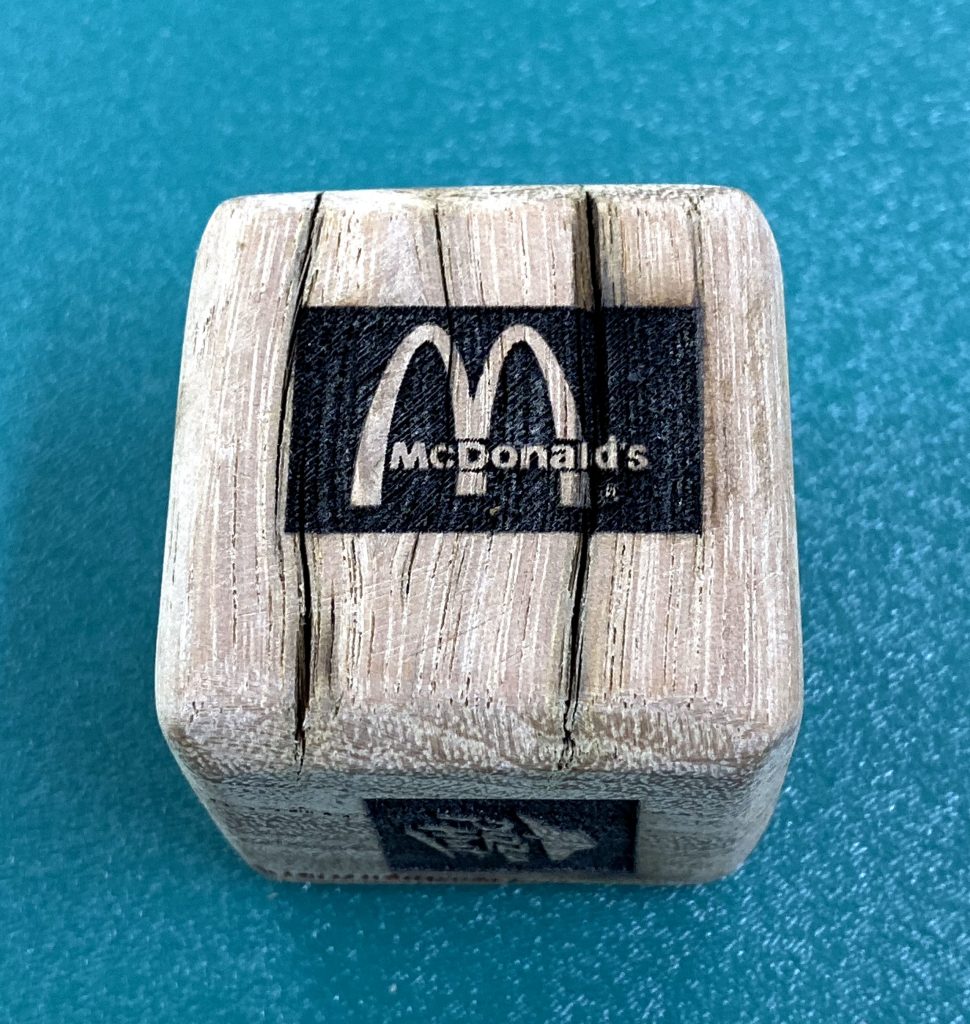
The reclaimed wood I used had a very rustic feel. The grain and cracks added to the character of the pieces. I may eventually apply some varnish, but for now they are bare.