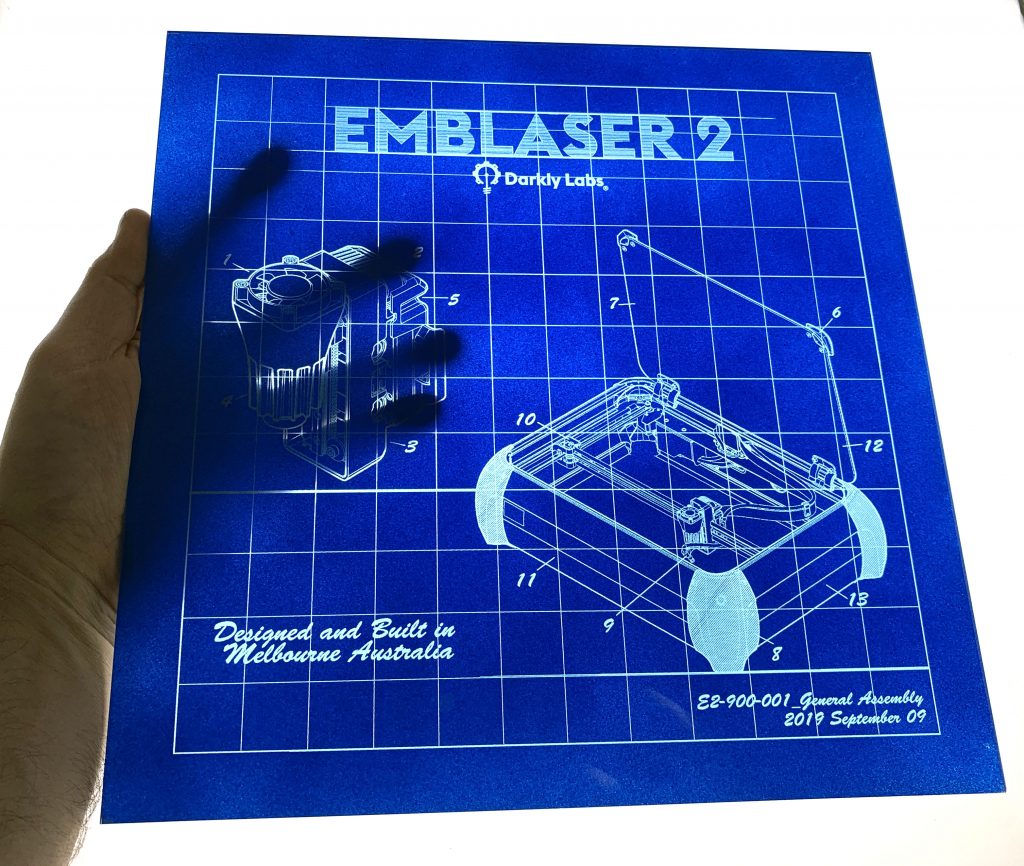
Blueprint artwork has always fascinated me, so I decided to try and achieve a similar effect with the Emblaser.
My goal was to create back-lit artwork for each of the Emblaser machines we have developed. I chose the Emblaser 2 as the first one to tackle.
Project Files
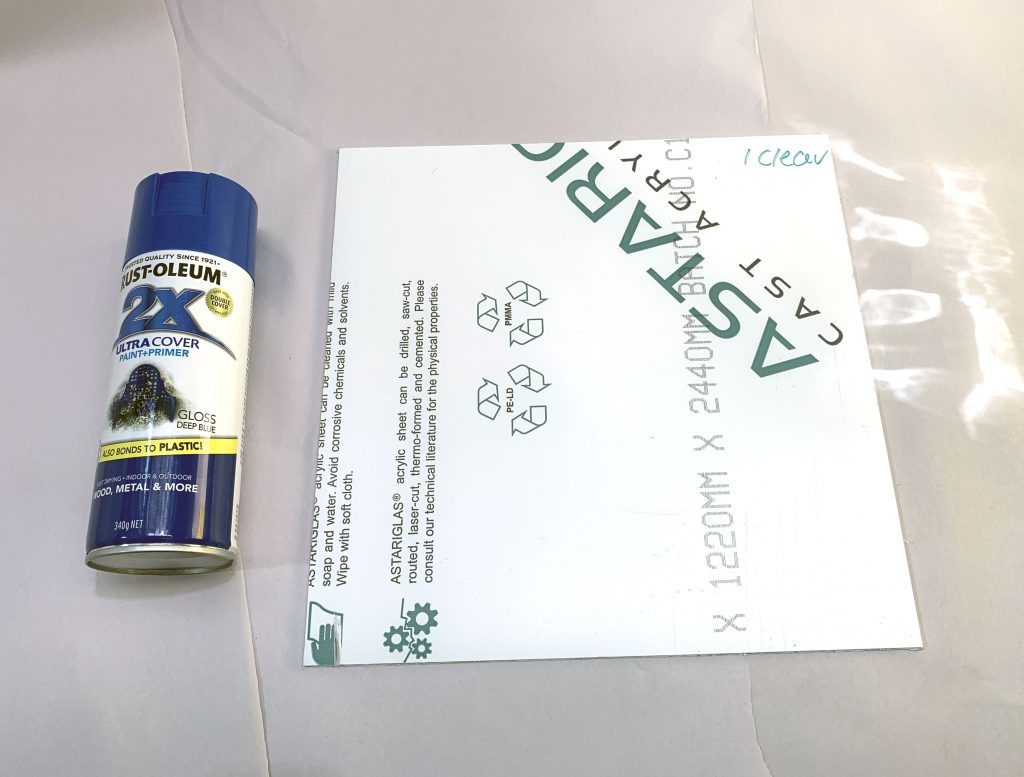
Materials:
- Transparent Acrylic
Other Items Needed:
- Blue spray paint
The Build
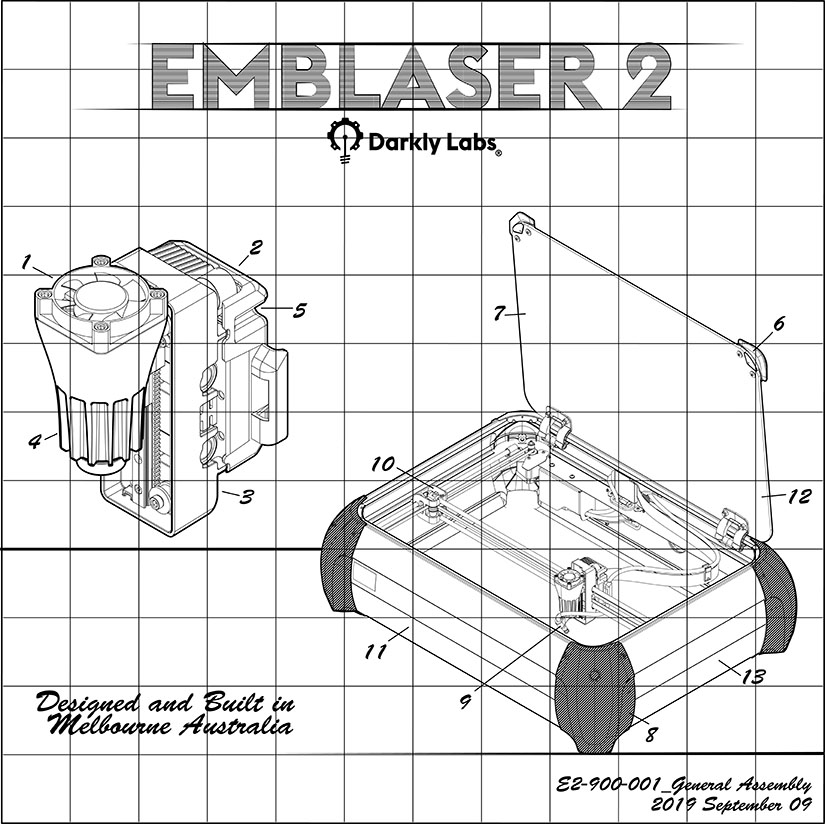
The artwork is the most important aspect to achieving a blueprint look. There are many examples online showing the type of graphic elements that make up the look.
I used CAD data to generate the main Emblaser2 elements. These were then imported into Adobe Illustrator and the secondary elements added.
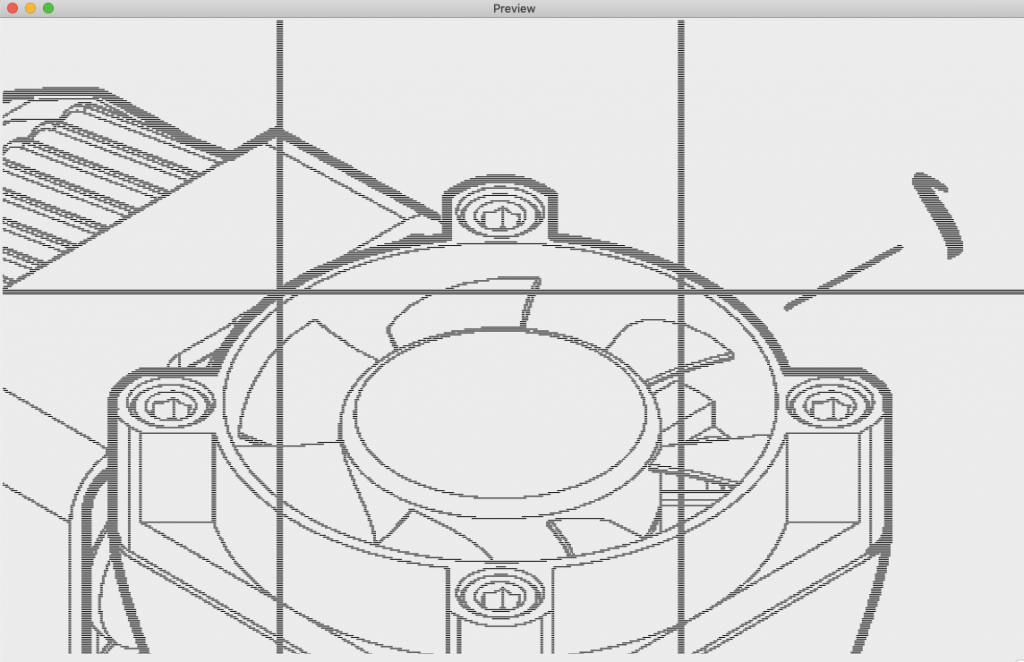
With the artwork imported into LightBurn, I made sure to flip the image horizontally. Since we will be engraving on the back side of the acrylic, this will make it look correct from the front.
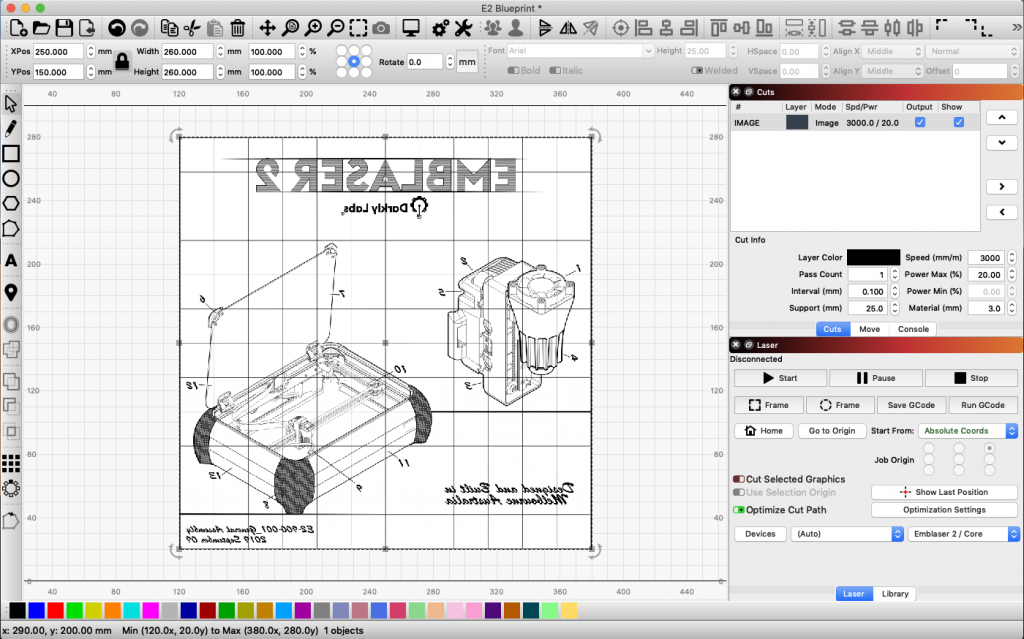
To achieve the delicate line-work in the design I chose to use the ‘threshold’ mode in the image engraving settings. I used the ‘Preview’ from LightBurn to check the detail that would be engraved. ‘Preview’ is a great way to ensure what you will be engraving before wasting any material.
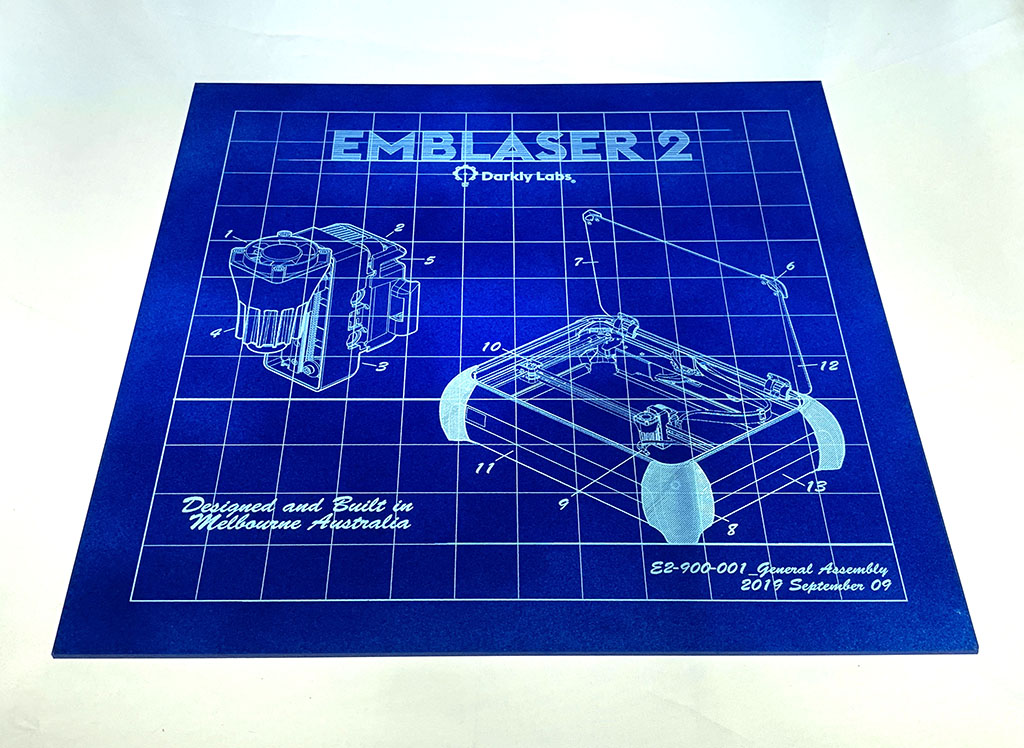
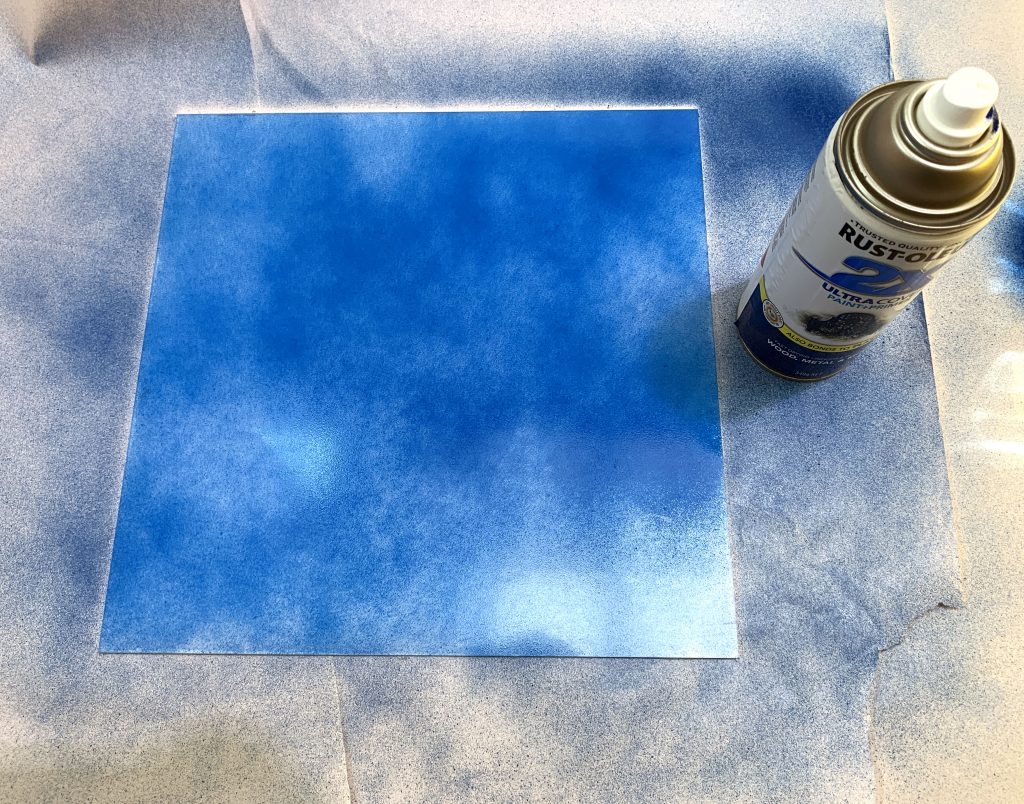
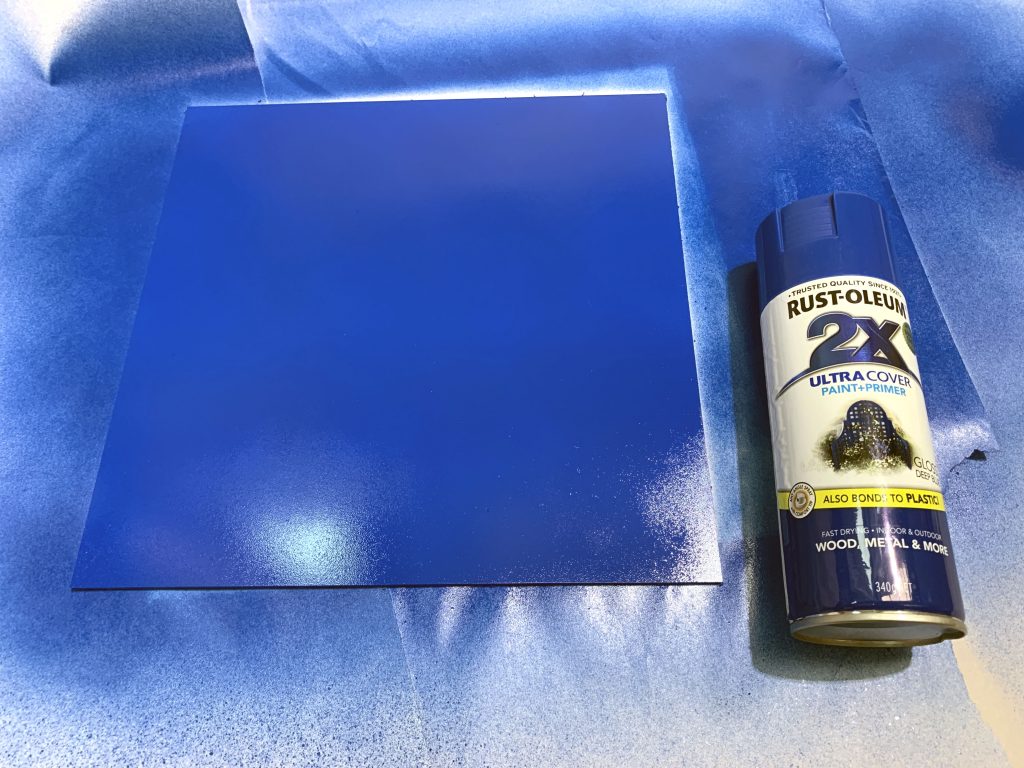
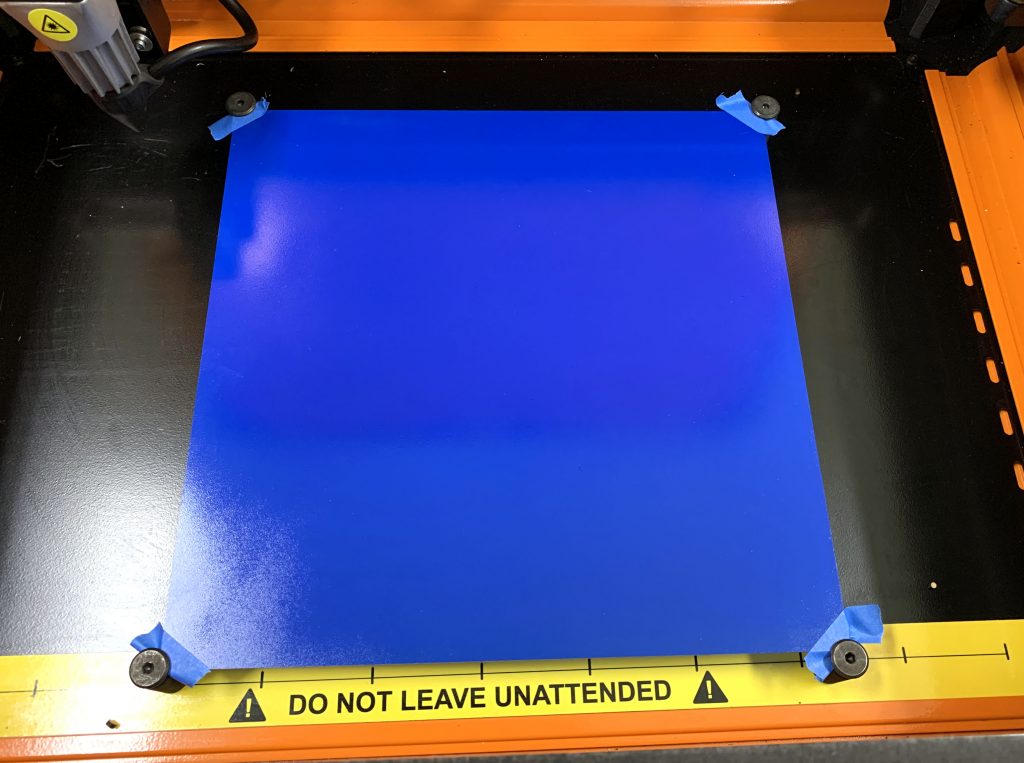
With the graphic side of the project ready, the next step was to paint one side of our acrylic sheet with blue paint. If your acrylic has a protective film, make sure you leave one side of the film on to protect against paint getting onto the wrong side.
Before engraving, I removed the protective film from the other side of the acrylic. I also used our MagClips to support the acrylic above the base of the machine. You can learn more about our MagClips here: LINK
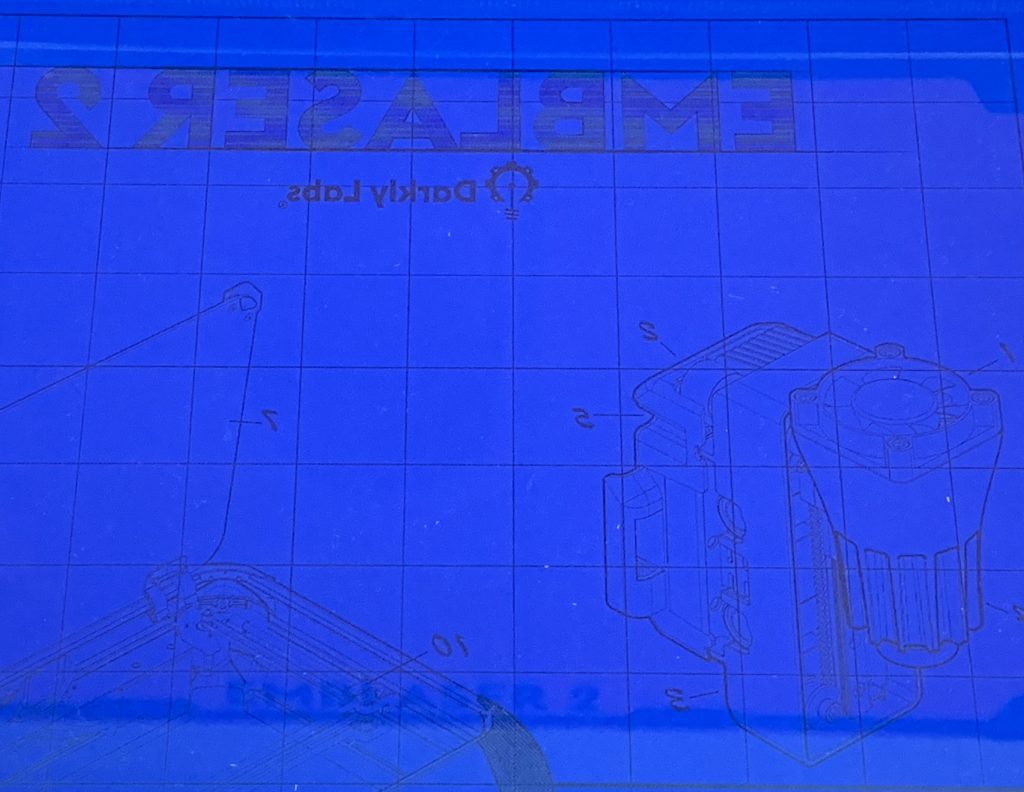
The Emblaser’s fine laser power control lets us remove only the paint layer without marking the acrylic. With some backlighting, all the fine detail shows through.