This article will walk you through the process of connecting to your Emblaser Pro over WiFi.
Prerequisite 1
You will need to download the latest Emblaser Pro Vendor Bundle file from here: LINK
Prerequisite 2
You must be connected to the Emblaser Pro via USB to first setup your WiFi connection.
Prerequisite 3
You must have at least the following firmware versions installed on your Emblaser Pro:
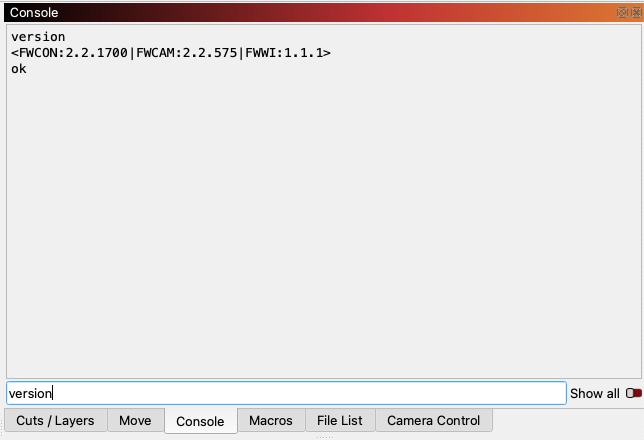
FWCON: 2.2.1700 (or later)
FWWI: 1.1.1 (or later)
You can check the firmware versions on your machine by typing the ‘version’ command into the LightBurn Console window. This will report your firmware versions.
Step 1:
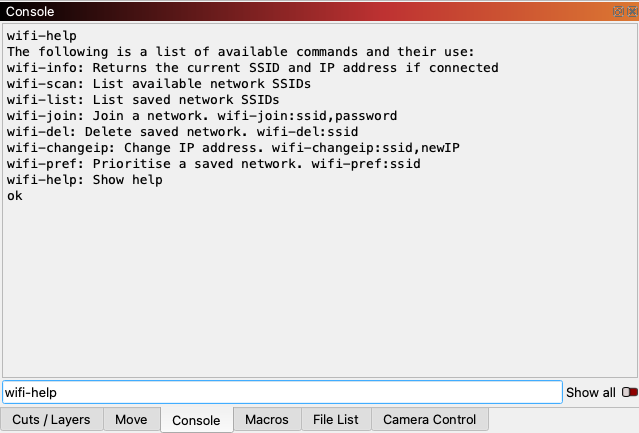
In the Console, type the command ‘wifi-help’ and press enter. This will list out the commands and a description for you.
Step 2:
To get a list of available WiFi network SSIDs, type the command ‘wifi-scan’ and press enter.
If you already know your network SSID you can skip this step.

For this article, we will be using the network called ‘DARKLYLABS’
Step 3:
You are now ready to join the network. This is done using the ‘wifi-join’ command.
In the Console enter the following command by using your SSID and network password:
wifi-join:DARKLYLABS,password1
Make sure you include the colons, commas and dashes as shown above.
If you entered your details correctly, the console will show ‘Success’ and report your machine’s IP address.
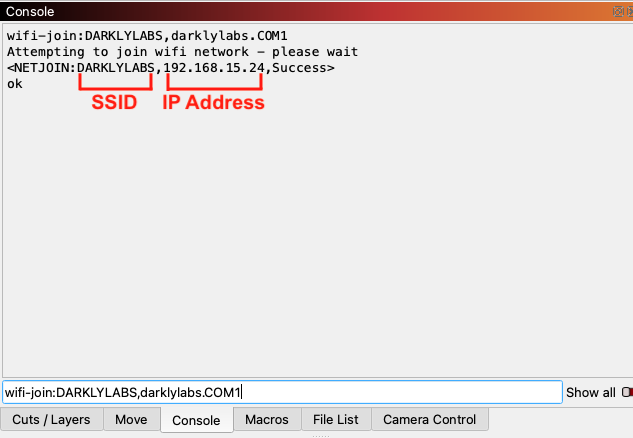
It’s important to make a note of this number. In our case it is: 192.168.15.24. It will be different for your network.
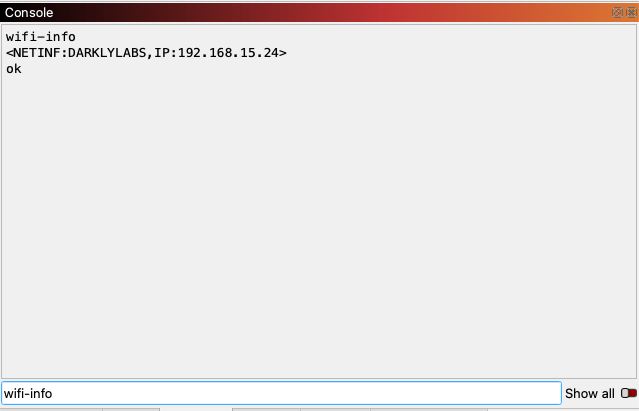
If you forgot this number, you can use the ‘wifi-info’ command to display it again in the Console.
Step 4:
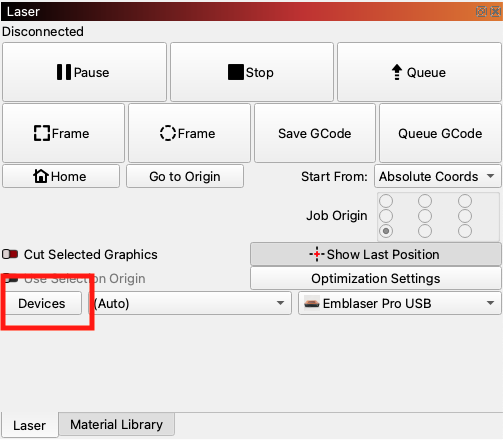
You Emblaser Pro is now connected to your WiFi network. The next step is to create the LightBurn ‘device’. We will use the Import Vendor bundle feature to simplify this process.
In the ‘Laser’ window, click the ‘Devices’ button.
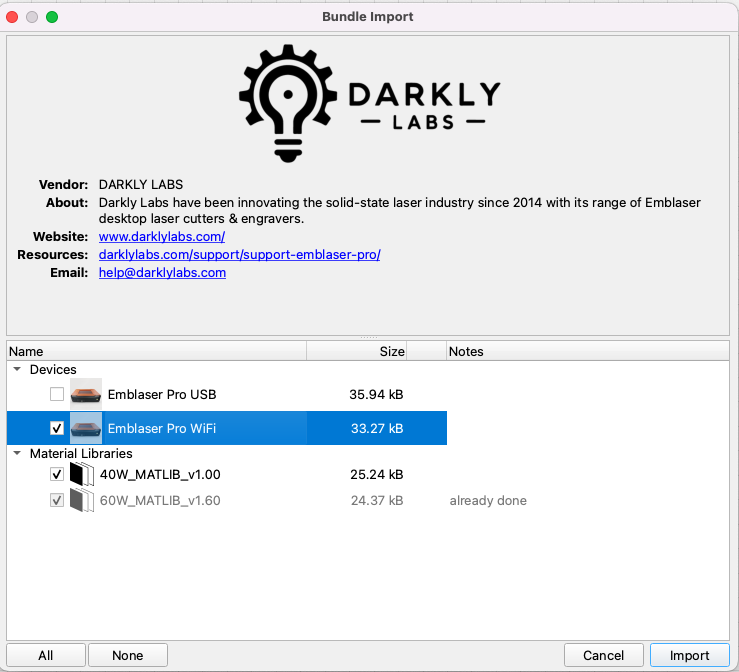
This will open up the Devices window. Click the ‘Import’ button and select the Emblaser Pro vendor bundle file you downloaded at the start of this article.
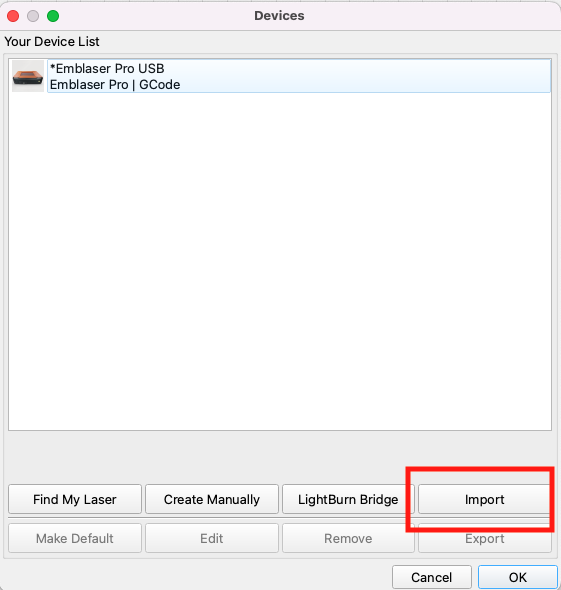
Check the ‘Emblaser Pro WiFi’ box and any any other devices or material libraries you would like to import.
Then click ‘Import’.
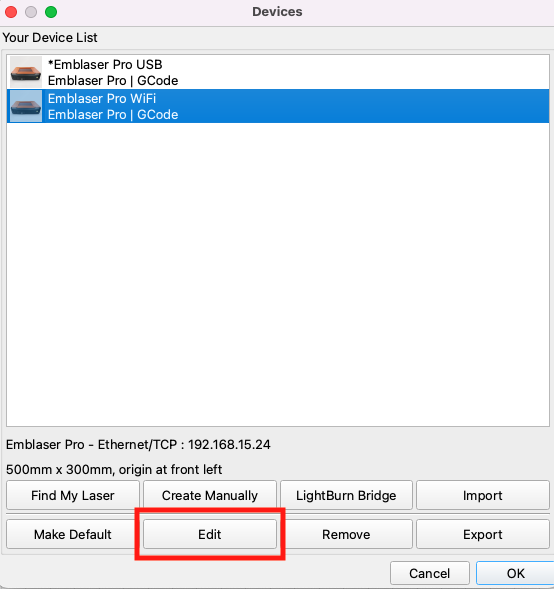
Next, select the new ‘Emblaser Pro WiFi’ device and click ‘Edit’
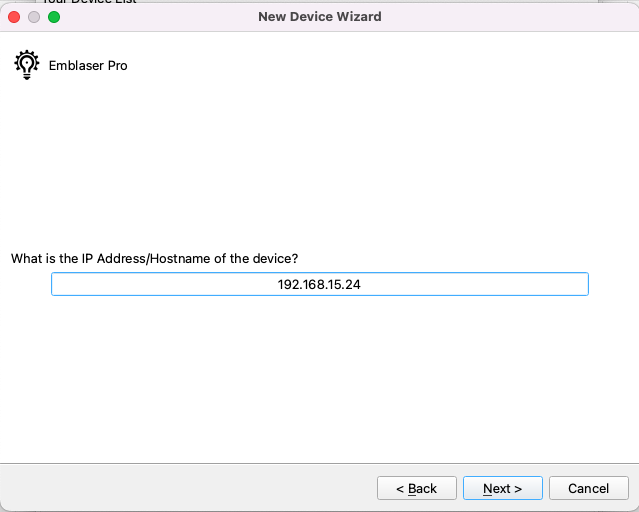
Click the ‘Next’ button until you come to the screen asking for your IP Address.
Here you will enter the IP address of your machine you recorded earlier.
From here, press ‘Next’ until you are asked to press the ‘Finish’ button. Then exit the Device window by pressing ‘Ok’
Step 5:
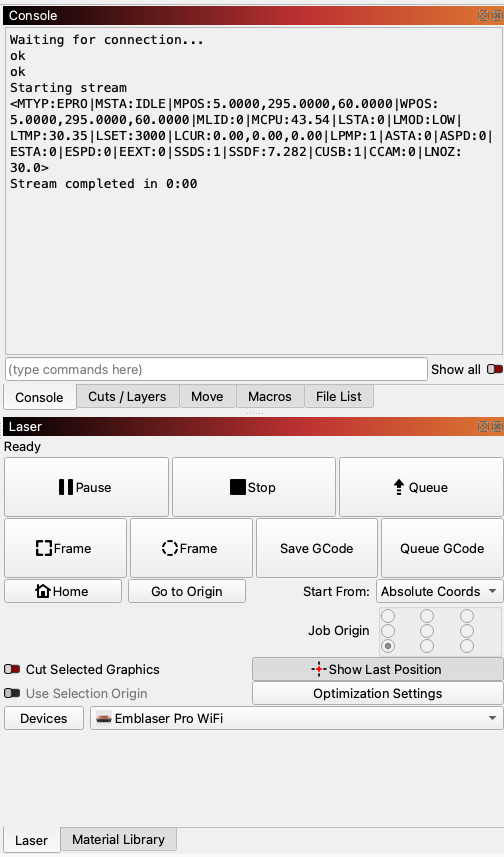
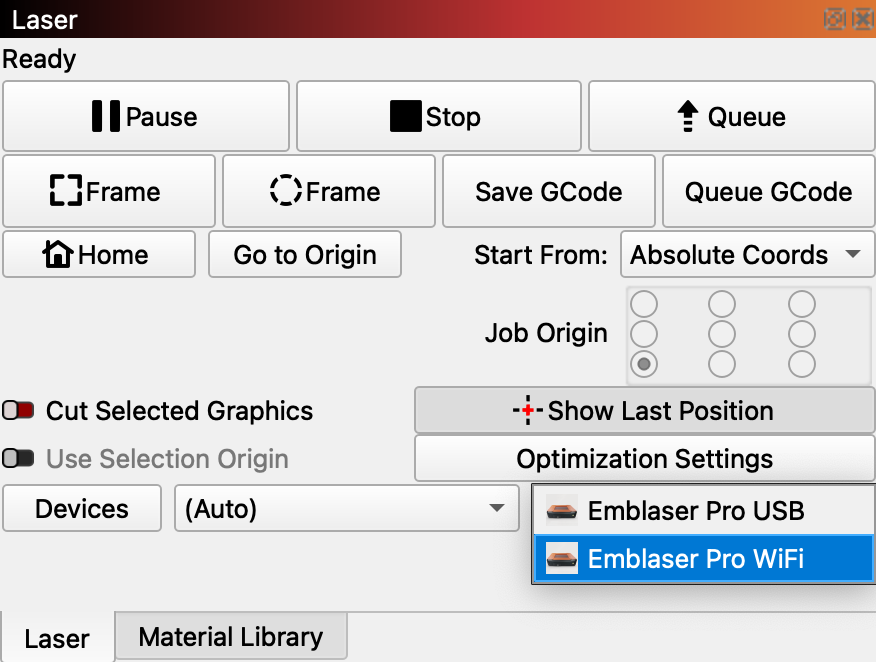
Finally, you can select the ‘Emblaser Pro Wifi’ device from the drop-down in the Laser window.
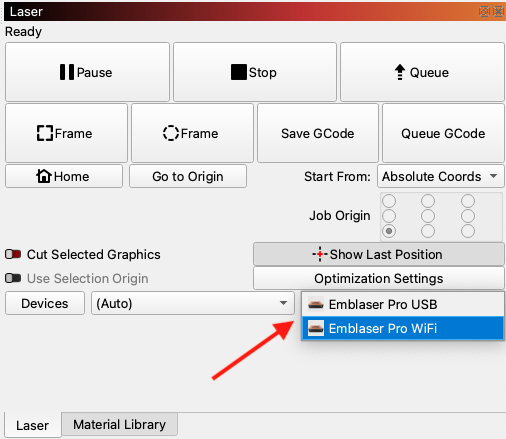
You are now connected by WiFi to your Emblaser Pro. You can unplug the USB cable and work directly by WiFi.