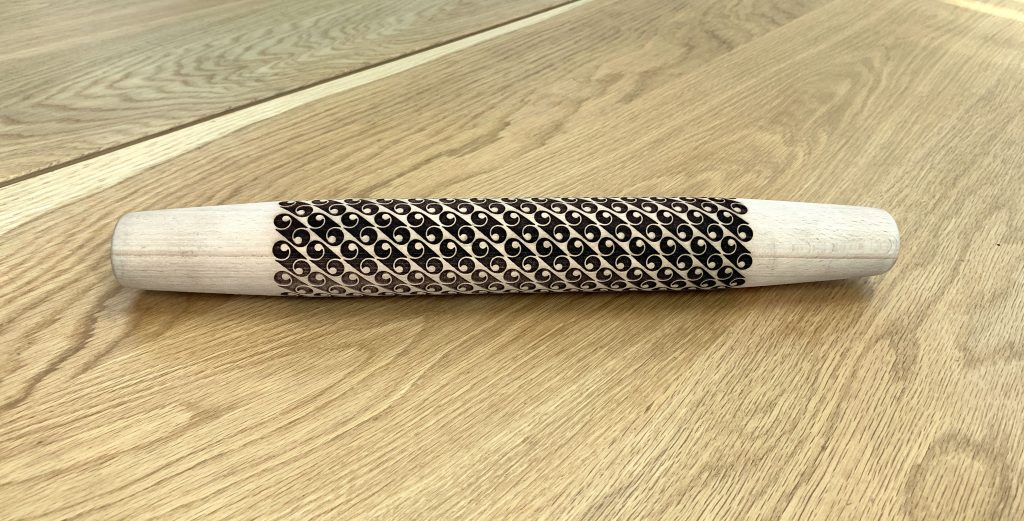
Our designer, Chris, recently showed me a technique he uses to engrave onto cylindrical objects with the Emblaser.
Traditionally, engraving onto cylindrical objects required a rotary-axis attachment for the laser cutter. This technique, although being more manual, is simple requiring no special tools.
Project Files
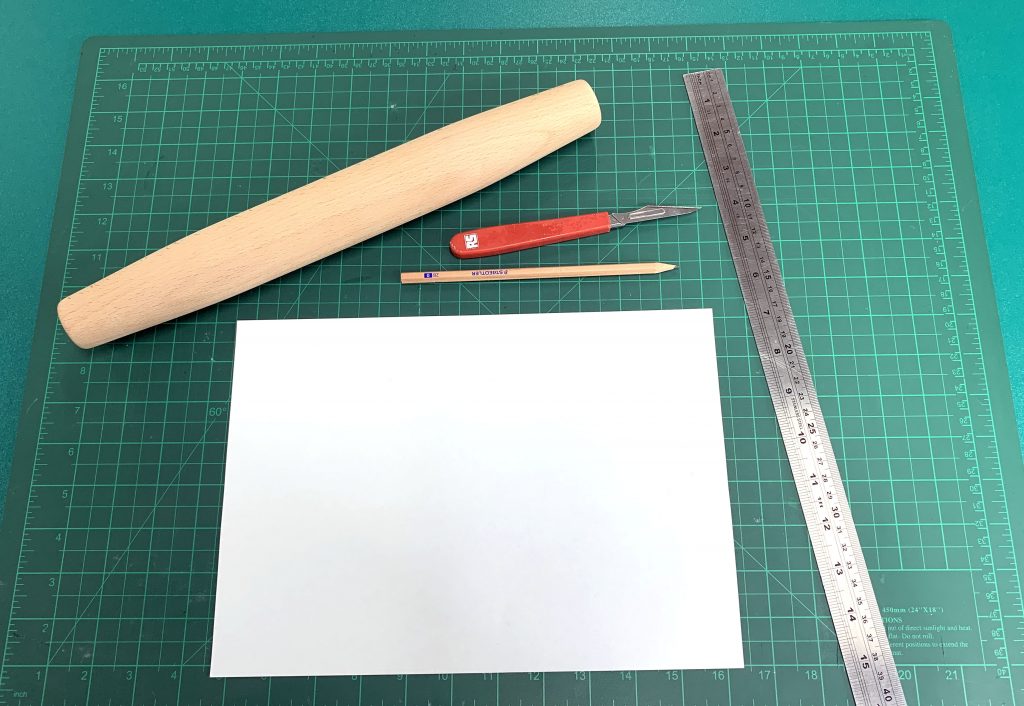
Materials:
- Wooden rolling pin / cylindrical object
Other Items Needed:
- Sheet of paper
- Ruler
- Pencil
The Build
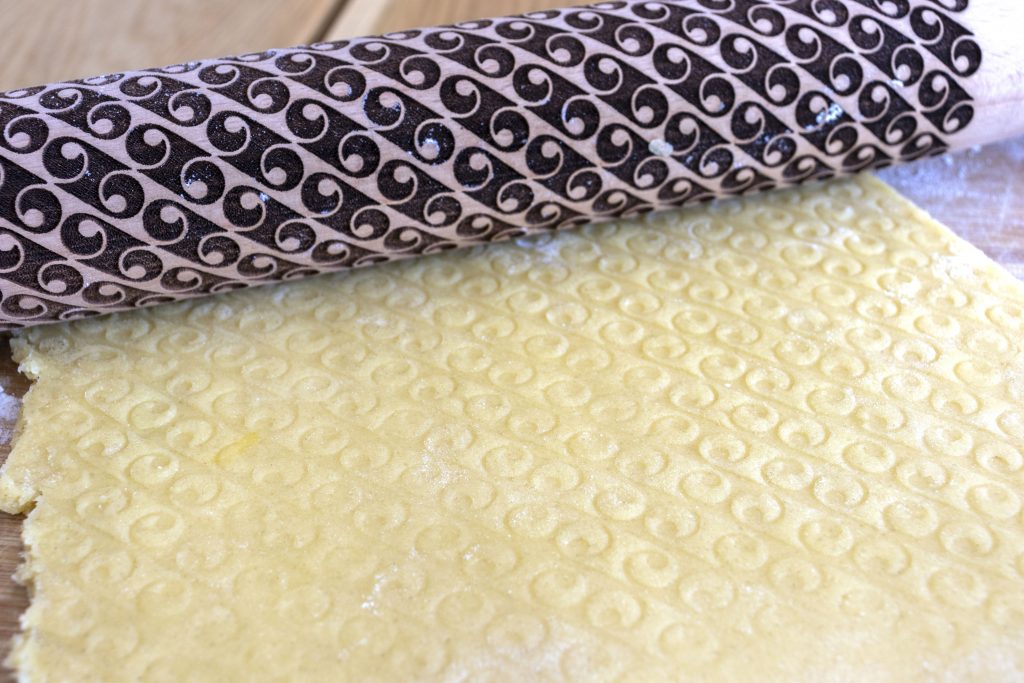
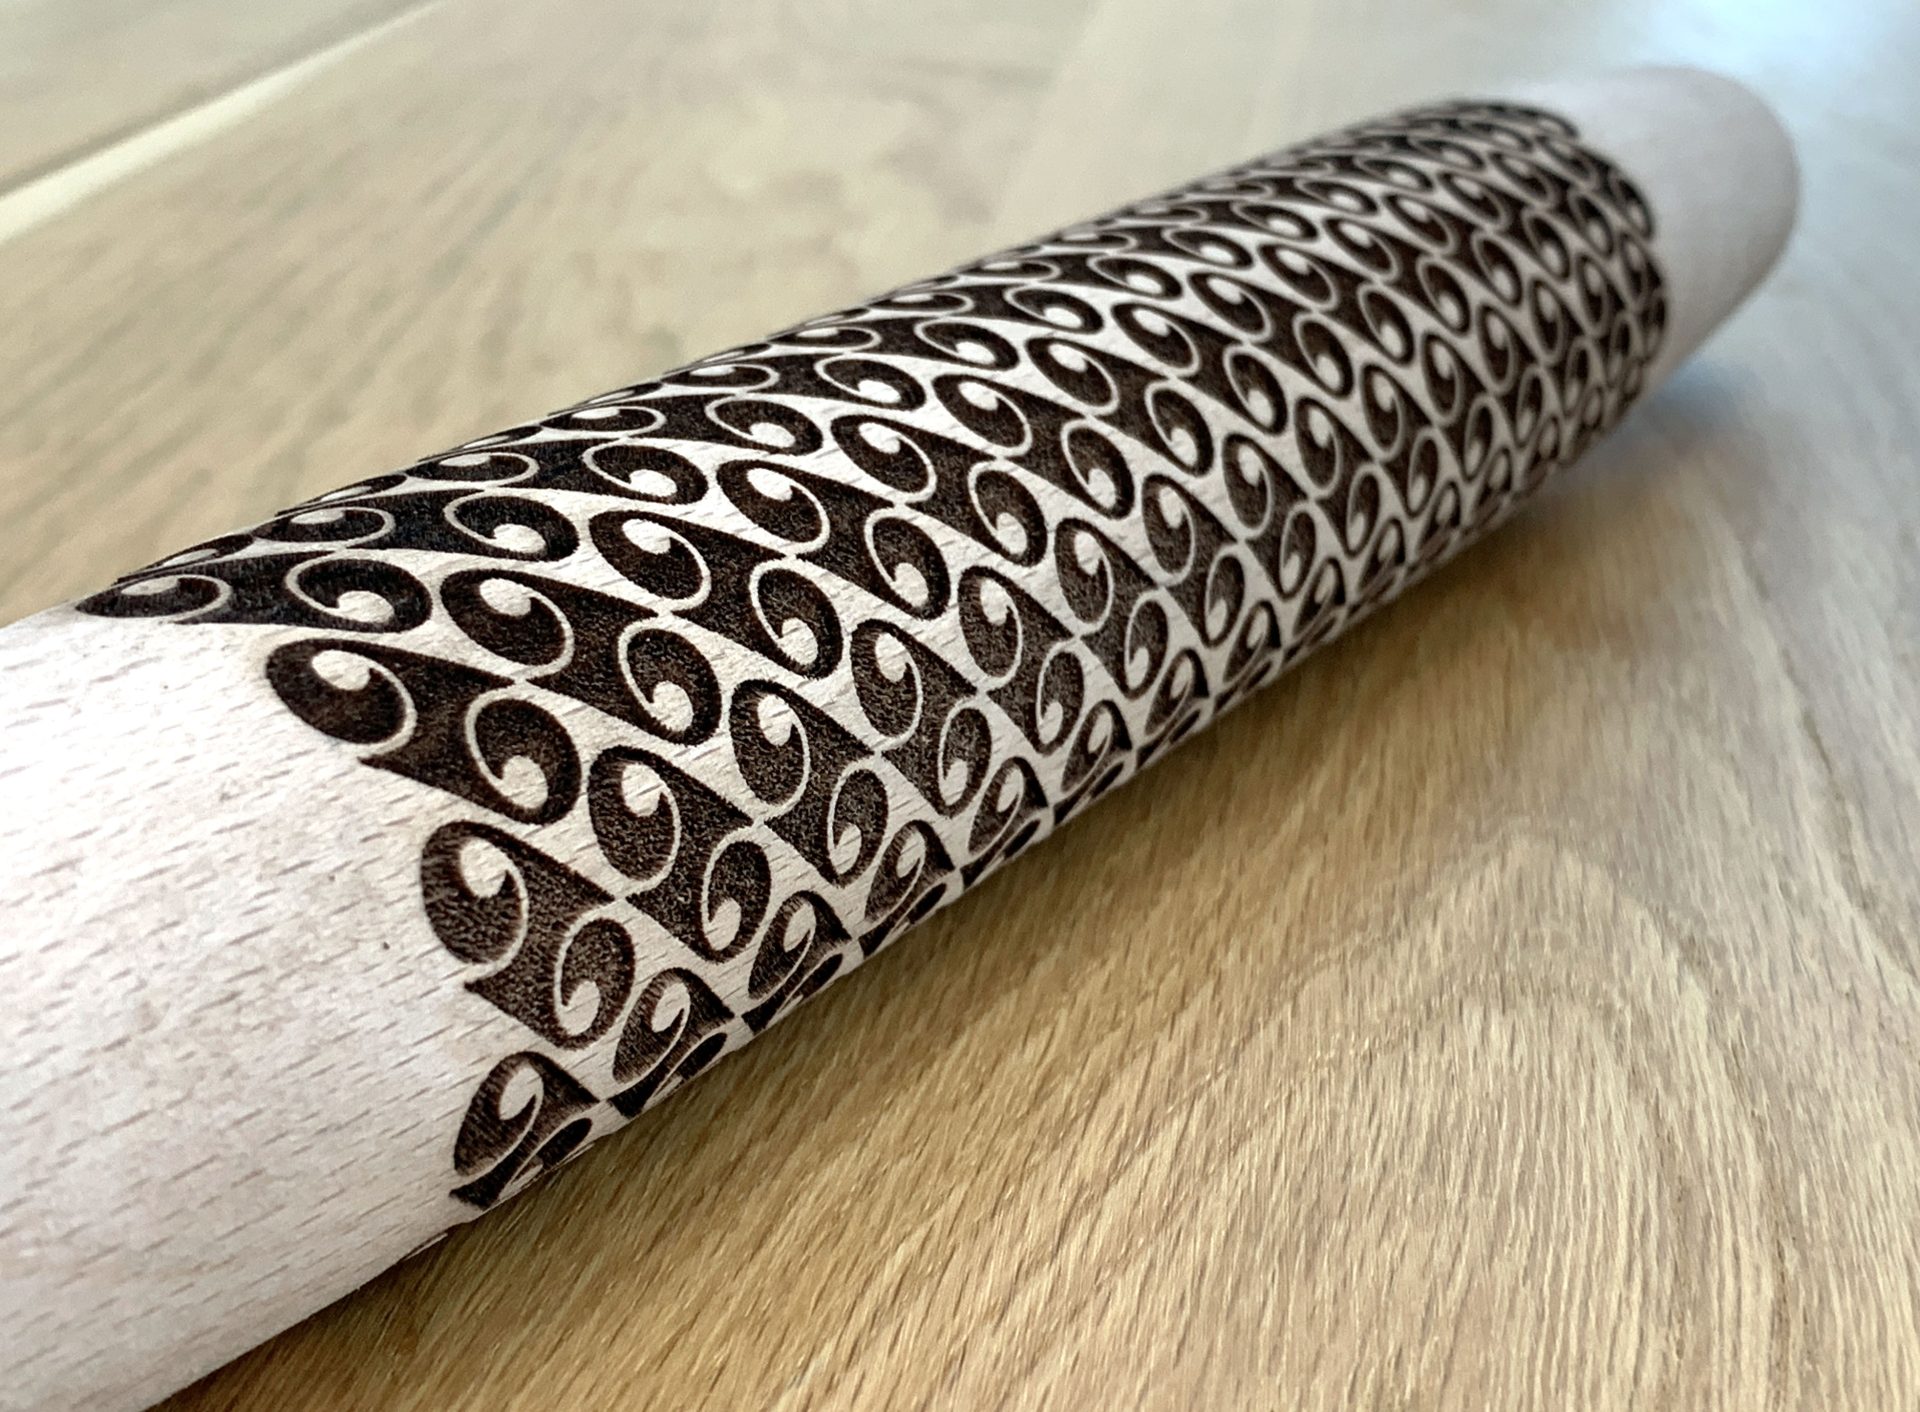
One of the advantages of the Emblaser is the wide focus region for the laser beam. This means that engravings will remain sharp even over moderate curved surfaces. For our rolling pin, the slight curvature where we intend to engrave will not affect the sharpness of the result.
The key to engraving around a cylindrical object is to accurately rotate the object after every engraving pass. This technique is easy and doesn’t require any special measuring tools.
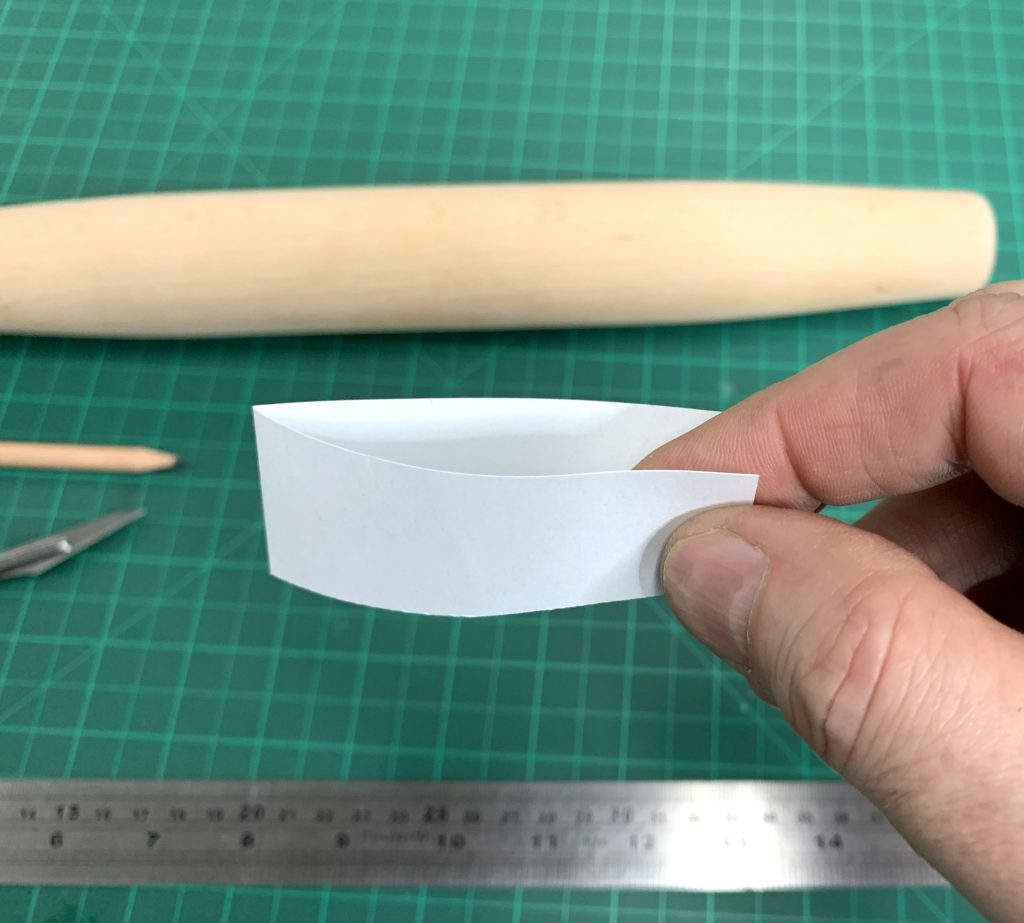
For this I used a sheet of paper, ruler, pencil and knife.
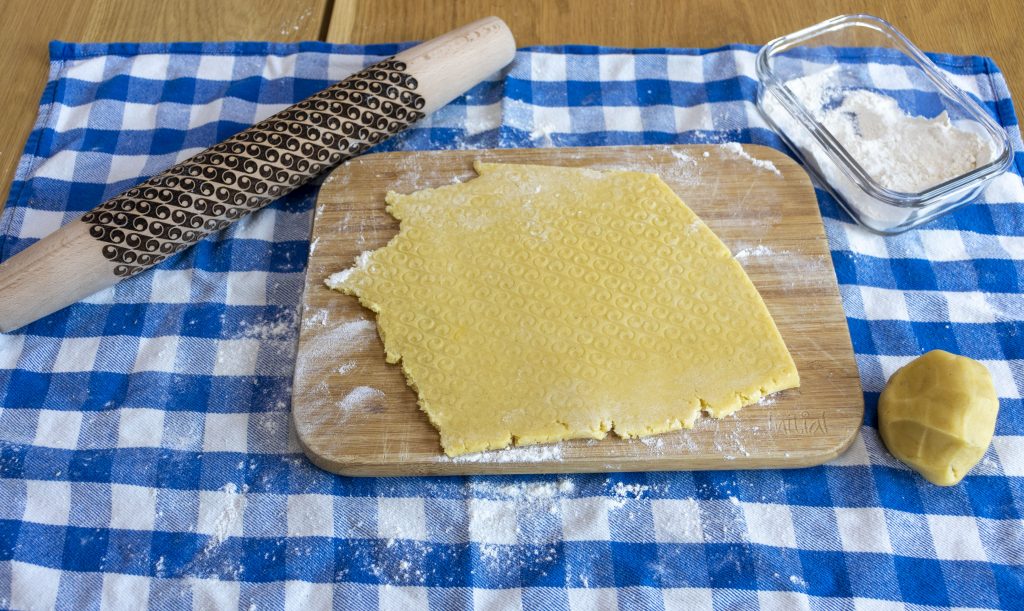
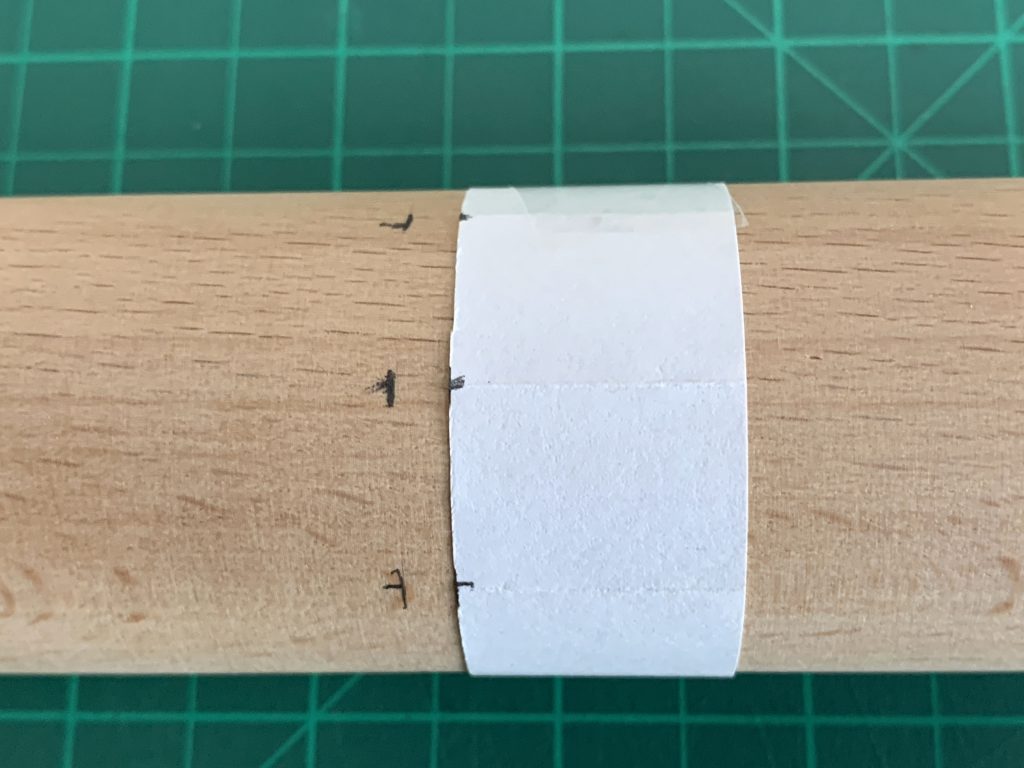
I cut a strip of paper, rolled it around the rolling pin and marked where it overlapped itself. I cut the strip at this mark which gave me a strip that exactly fit around the diameter of the rolling pin.
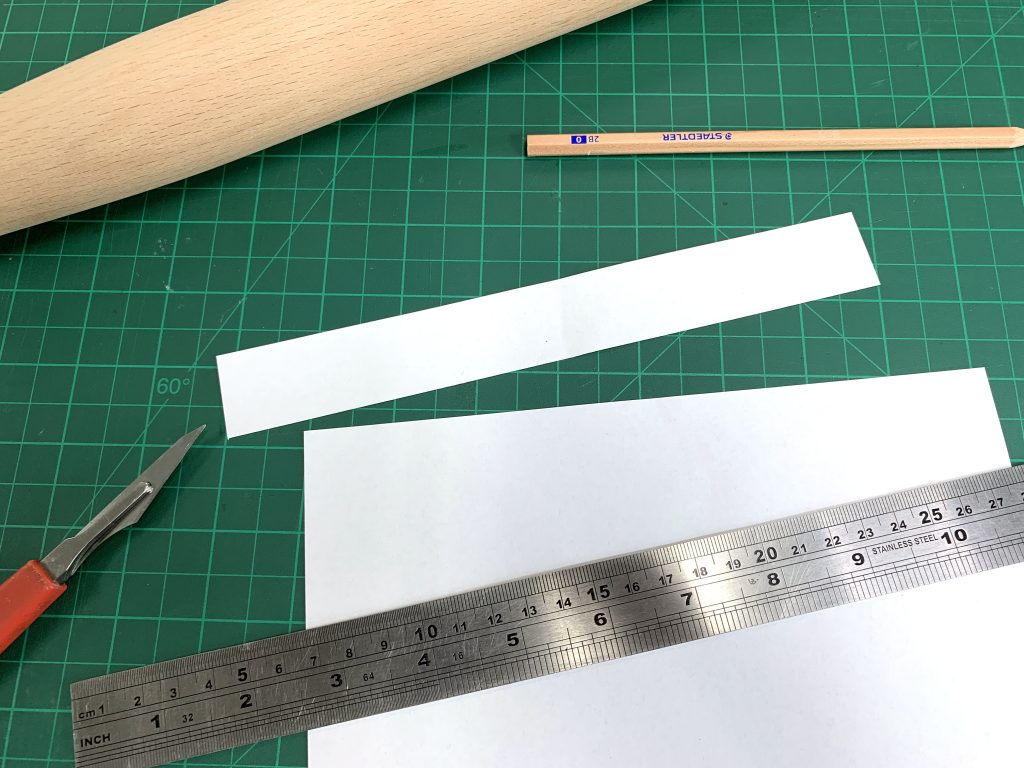
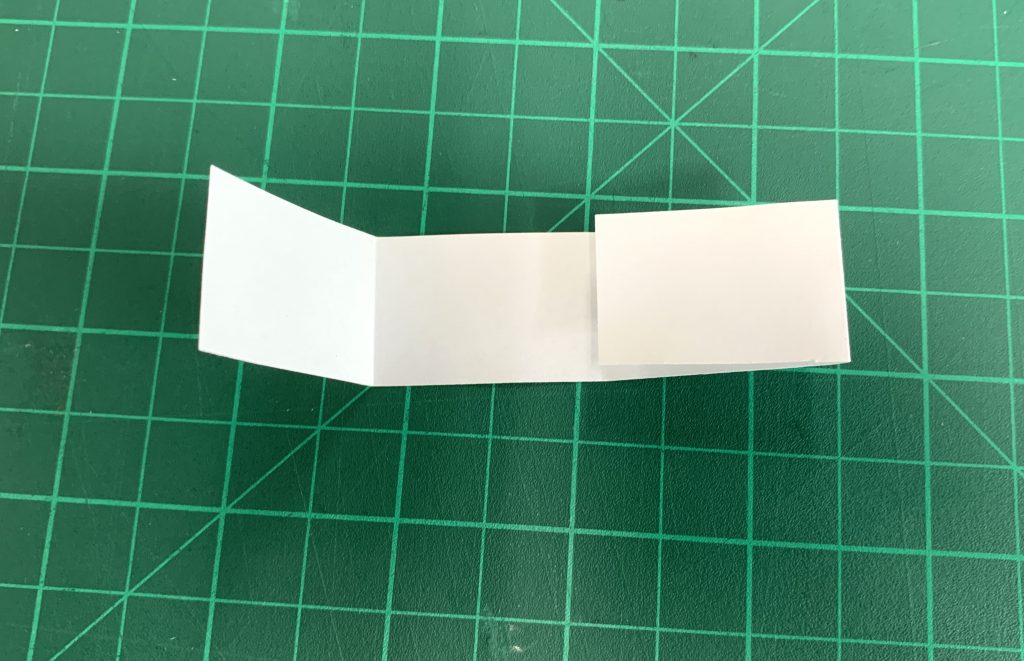
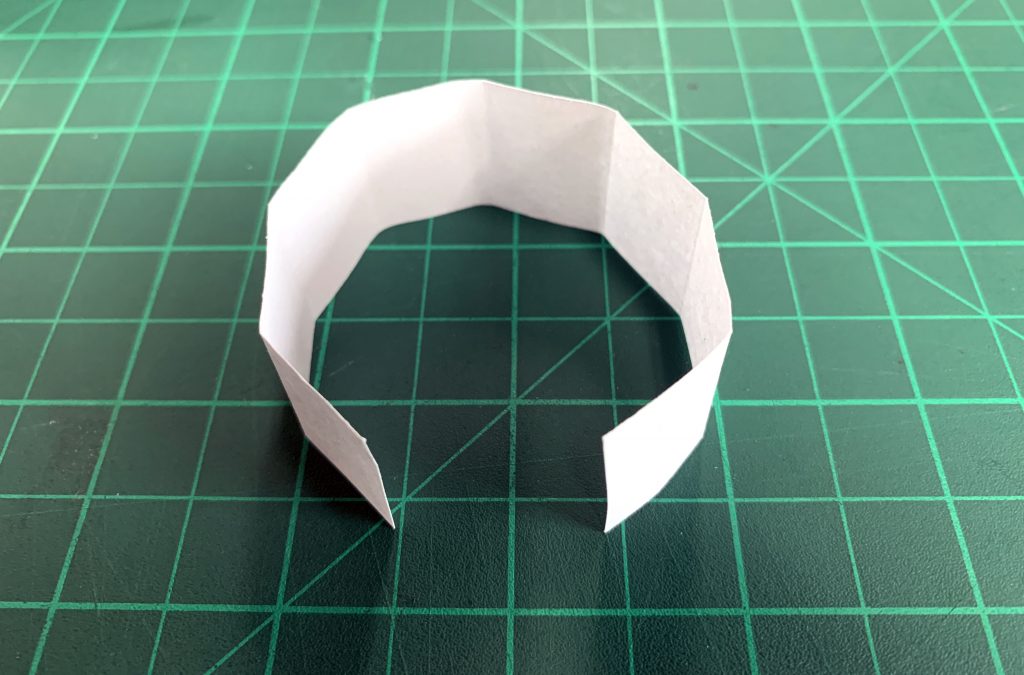
For this project I wanted 8 copies of my design to be engraved around the rolling pin. To achieve this I folded the strip in the following way:
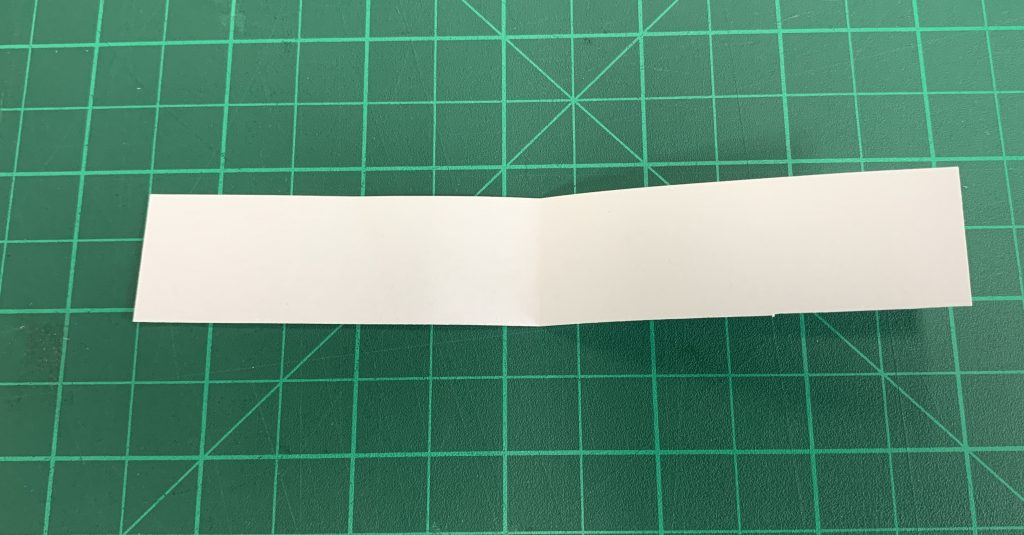
I took care to make the folds accurate and sharp. Since this would be my engraving guide, the neater this was made, the better the final result.
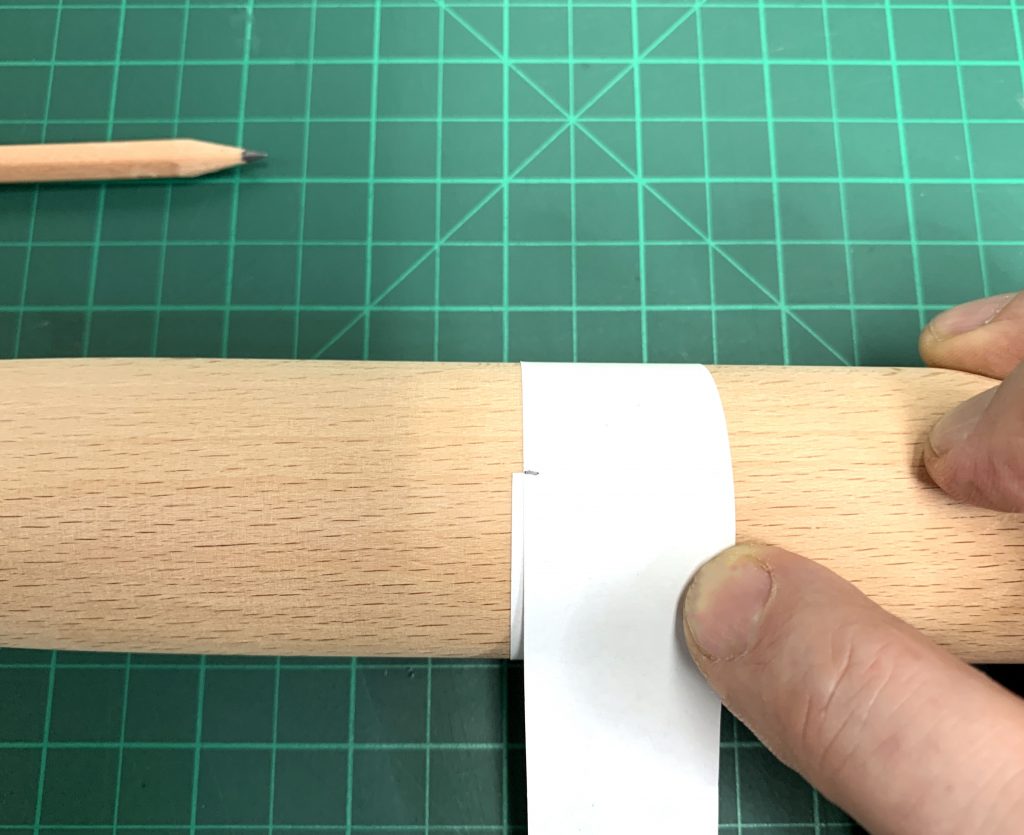
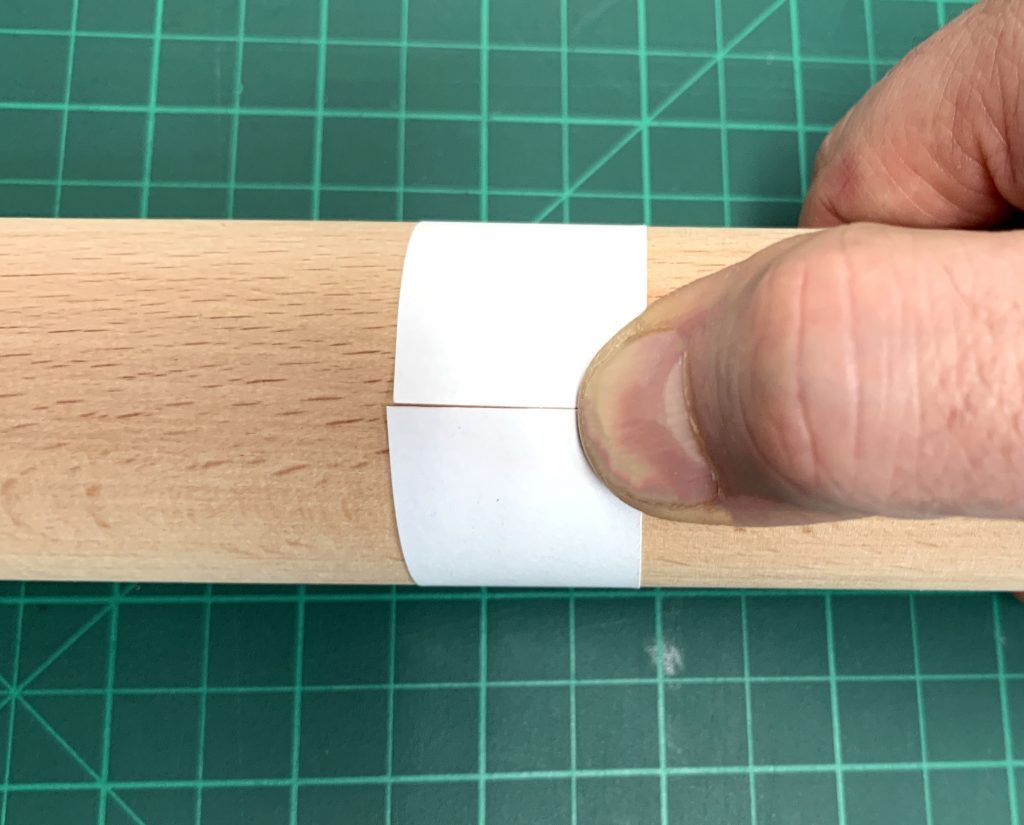
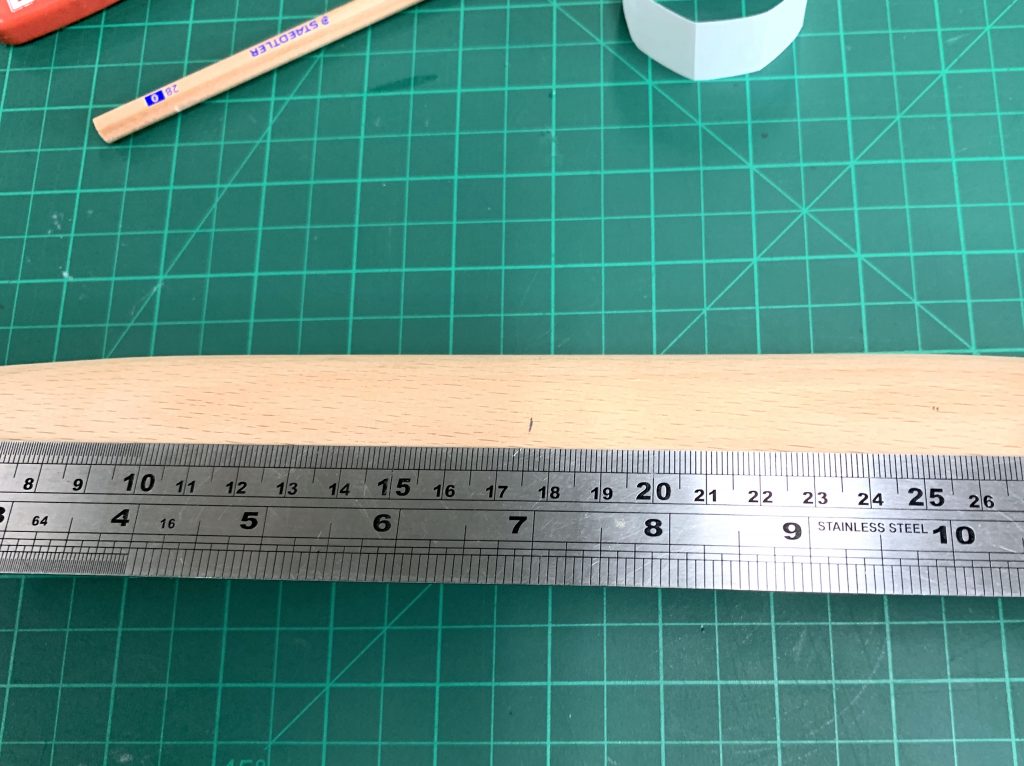
I next measured the rolling pin and marked the exact horizontal centre of it. In my case, the rolling pin was 350mm in length, so I made a mark at 175mm.
I then wrapped the guide over the rolling pin and taped the ends together to hold it in place. With a sharp pencil I made a mark at each of the folds on the rolling pin.
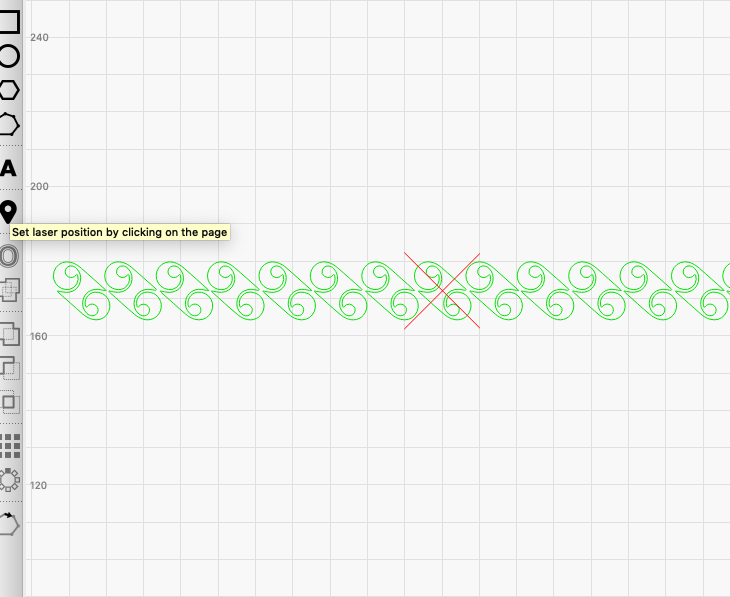
In LightBurn, I used the set laser position button to move the laser to the red ‘X’ in the centre of my design. This ‘X’ should be exactly over one of the 8 pencil marks made on the rolling pin.
I then positioned the rolling pin in the workspace between the mats to hold it in place. I used the blue-dot created by the Emblaser to position the marking exactly in the correct place.
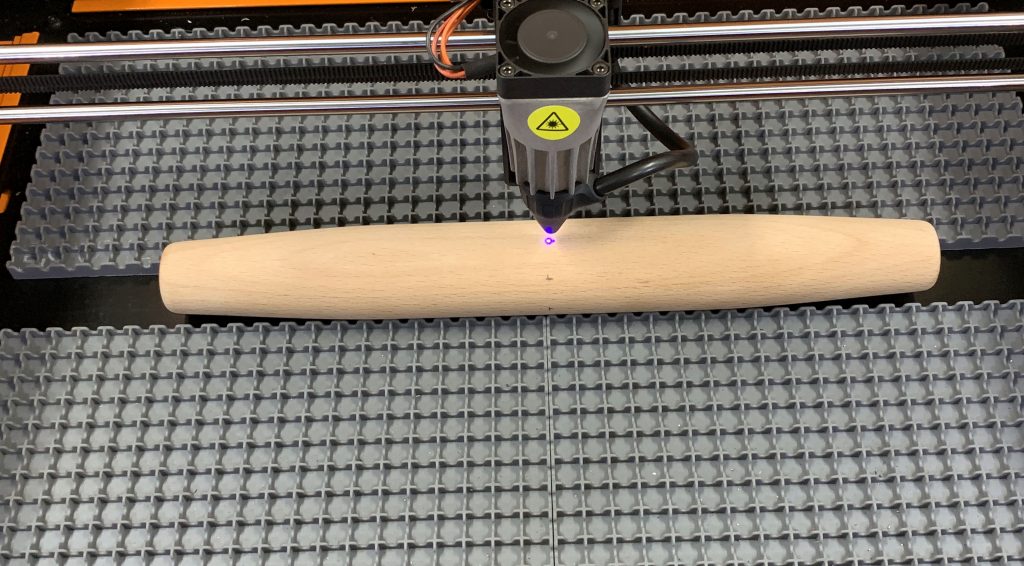
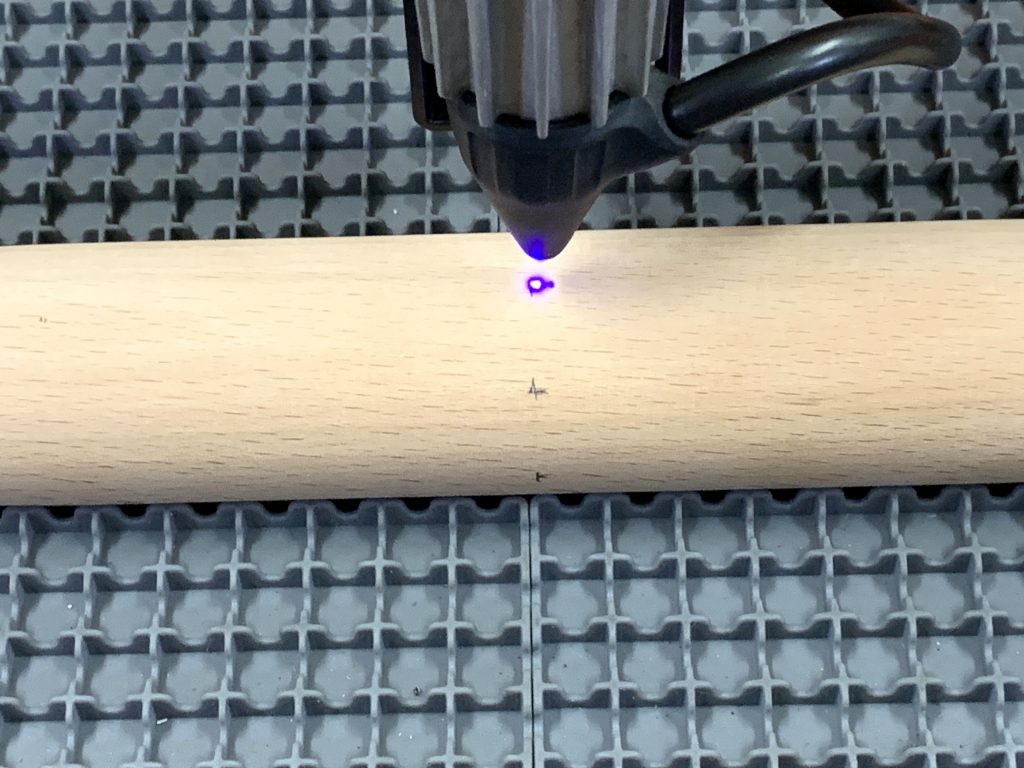
I engraved the first row of the design and then rotated the rolling pin so the next pencil marking is aligned with the blue dot and repeated the process.

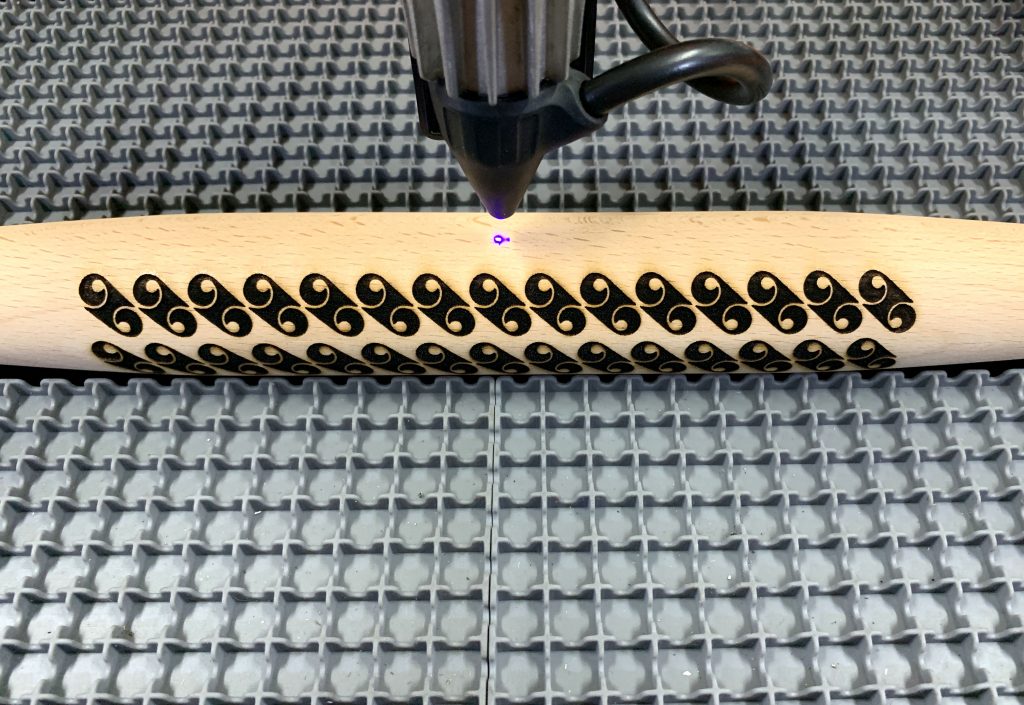
This process is repeated until all the guide marks are engraved.